Baldur's Gate 3 - How To Get The Blood Of Lathander
The Blood of Lathander takes you on a long and intricate quest in Baldur's Gate 3 that winds up with you receiving a powerful mace.
One of the biggest decisions you will have to make early on in Baldur's Gate 3 is whether to take the mountain pass or Underdark to reach Moonrise Towers. Those that took the mountain pass might have missed out on a beautiful underground world in the Underdark, but they were rewarded with a lush landscape full of trees and scenic vistas. Another boon to taking the mountain pass is gaining access to both the Rosymorn Monastery and the Githyanki Creche. Both of these locations are the key sites in starting and finishing the Blood of Lathander quest in Baldur's Gate 3.
You start this quest at the Rosymorn Monastery by clicking on a plaque right below a statue of Lathander, just above the entrance to the Githyanki Creche. What happens next is an arduous and intricate quest that results in you receiving a powerful, legendary mace and perhaps dooming an entire community. Find out exactly how to complete the Blood of Lathander quest in the guide below.
Finding the secret weapons
After starting the quest at the statue of Lathander, you want to head back up the stairs that took you down there. Once you're on the floor with different doors on either side of you, keep going until you reach the room with the large, stained glass window in the middle of the floor. This room also has four tables with two blue gems on them, and one of them has a glowing sword on it. Don't pick up this sword.

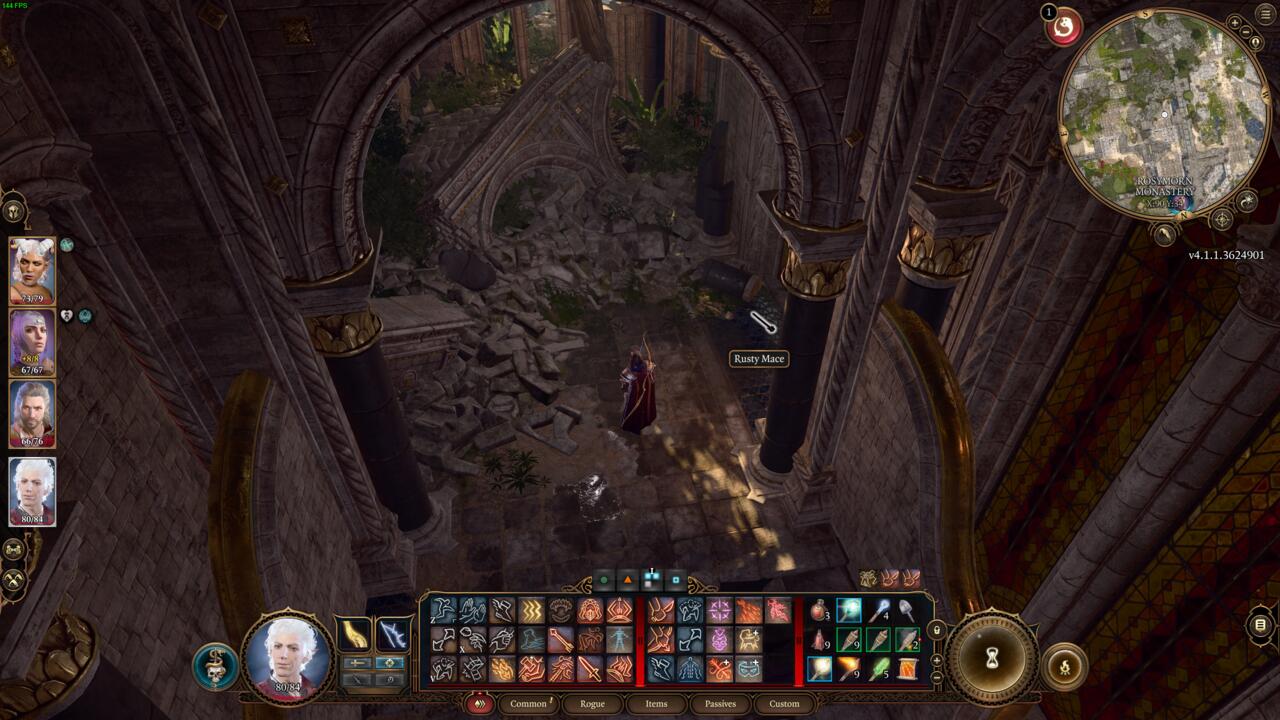
What you need to do is go out through the broken window, as seen in the screenshot above. Keep going until you see a hole in the ground. Using one character with Misty Step, Fly, or simply jumping (you will lose HP), hop down to the lower level and then go through the door right next to you. Go straight up the broken stairs and look to the right of the debris. Using your highlight tool, find the Rusty Mace on the ground and pick it up.
Now, use the other members of your party who did not jump down into the hole and instead jump over the hole. You will find another broken window. Go through it to find a golden glowing construct known as the Guardian of Faith. Using your highlight tool, pick up the Ceremonial Battleaxe on the ground. This will begin a fight with the Guardian of Faith, but it's not difficult to beat. With the battleaxe in your possession, head out through the door to the room (not the broken window) and find hanging vines directly in front of you.
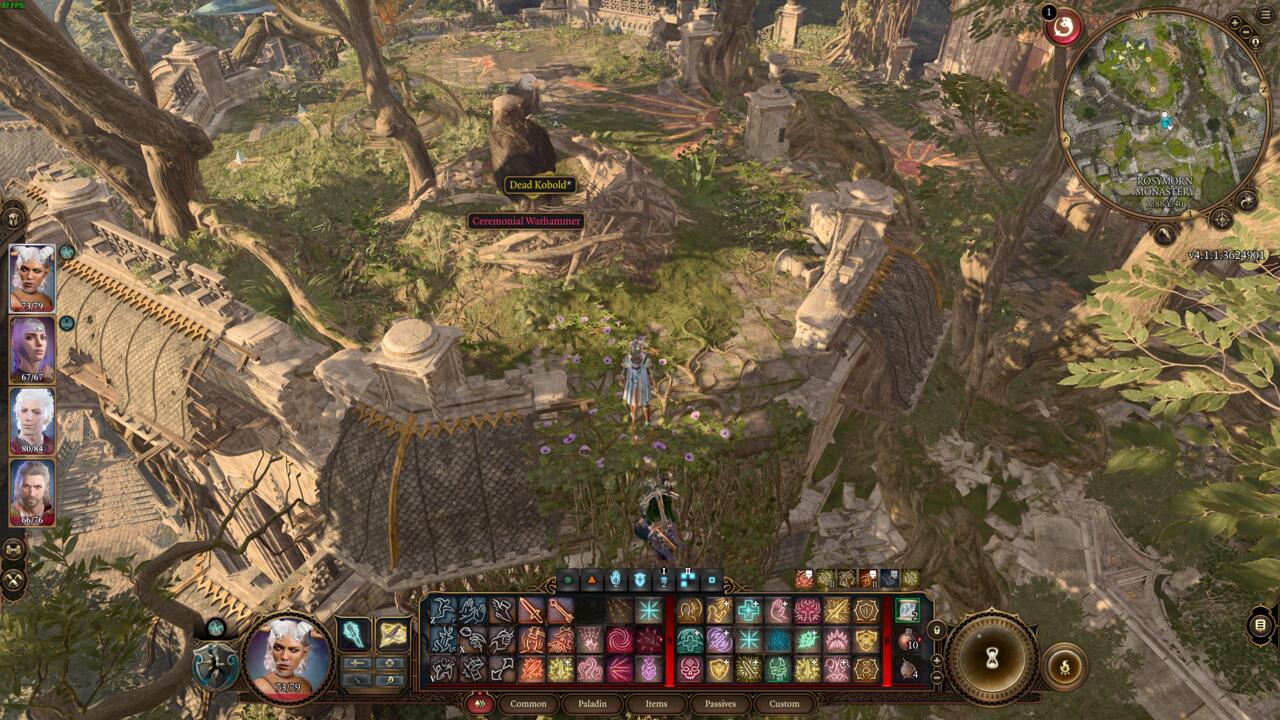
Climb up the vines to find two bald eagles sitting in their nest. They will likely end up attacking you unless you use a character with Animal Speaking and convince them not to. Defeat the eagles and retrieve the Ceremonial Warhammer that is sitting in the front nest. Side note, if you took the Rosymorn Monastery Trail, these are the eagles that the Blue Jay was complaining about. The Blue Jay will fly to your location if you kill the eagles and tell you about a possible reward nearby.
With all three of your new weapons acquired, regather your party and head back to the stained glass window room. You need to place the three weapons in specific spots on the remaining tables around the room. If you're facing the room from the entrance, it should go from left to right: Battleaxe, Longsword, Warhammer, Mace.
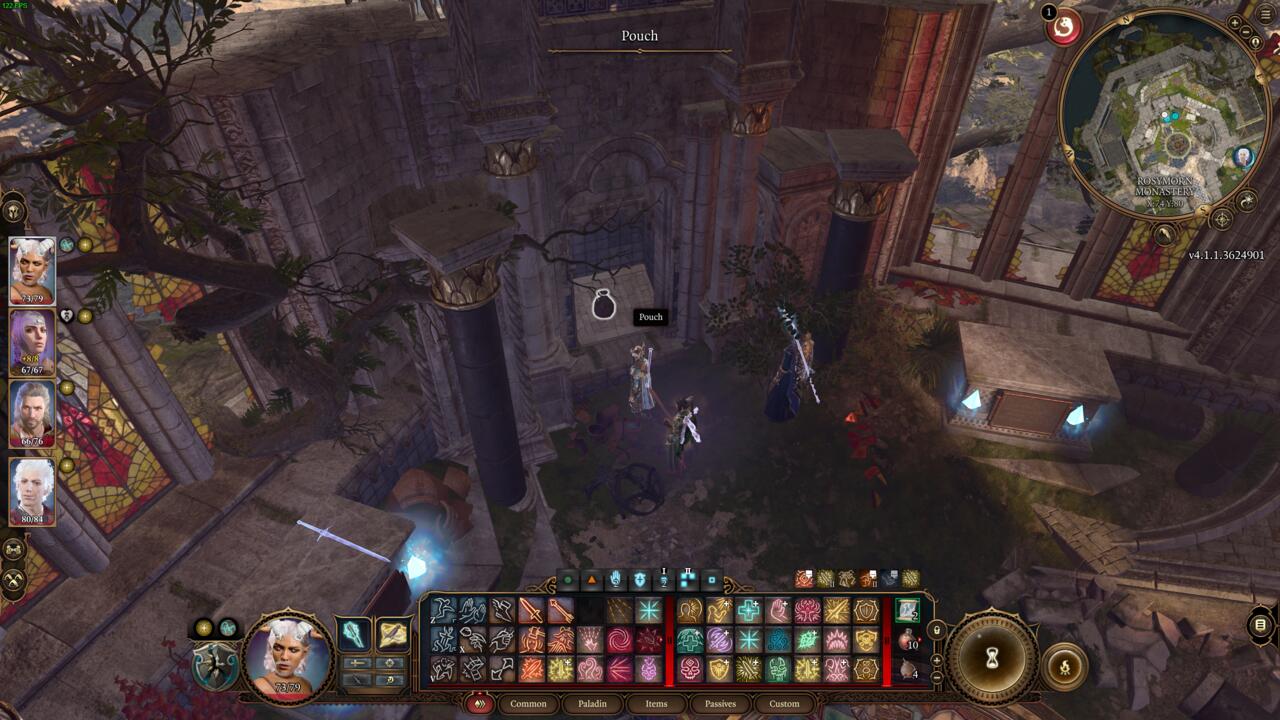
You will know if you don't place a weapon in the right spots because it will knock you back. Once the weapons are placed correctly, a secret compartment will open on the back wall that contains a pouch. Open the pouch and read the note but also make sure to grab the Dawnmaster's Crest. This is crucial for a decision you might have to make later.
Getting inside the Githyanki Creche
With the Crest, you can make your way back down to the statue of Lathander and veer to the left to find the stairs heading down to the basement, which is the Githyanki Creche. Inside, you will have to pass a check to get past the guard and then you can enter the creche, which is where the Githyanki soldiers are still trying to find the Artefact that Shadowheart holds. You want to make your way to the Captain's Quarters, a small room located past the waypoint of the area. Take a right at the four-way intersection if you're coming in from the entrance.
In the Captain's Quarters, a cutscene will play that shows the Githyanki soldiers heading out to find any news on the Artefact, which they refer to as the "weapon." You will also see the captain take a red gem from a pedestal. That same captain, Kith'rak Therezzyn, remains after the soldiers run out of the room. There is a door with a barrier on it at the opposite end of the room, which is also where the pedestal housing the red gems is located. In order to get past the barrier, you need to re-insert the red gem the captain took. To do this, we simply pickpocketed the captain with Astarion and took the red gem, which is called a Gith Shard.
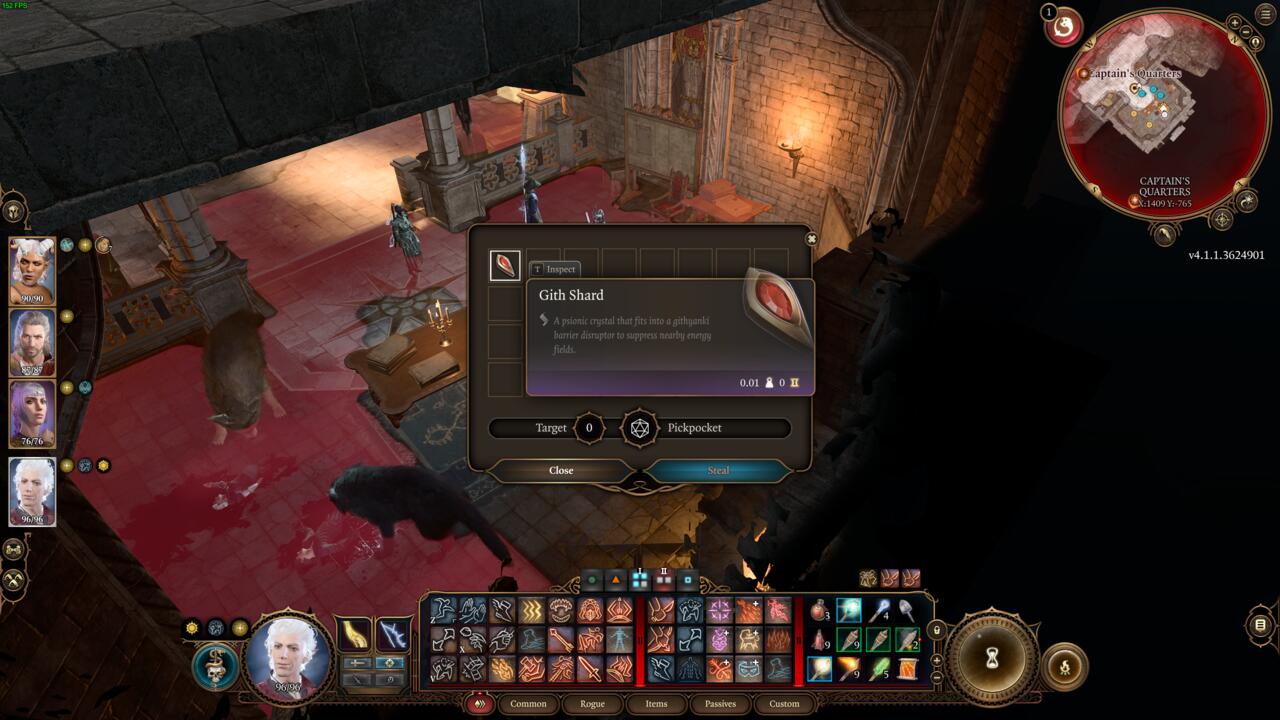
Then, after passing a check to convince Therezzyn we did not pickpocket them, you can insert the gem into the pedestal and the barrier will open. Go through the door and then take a right to go across the bridge. In the next room from the bridge, you will run into a cutscene with the Commander of the Githyanki. This cutscene revolves around the Commander believing you have the weapon they are seeking, and if you refuse to hand it over to them, a fight will break out. However, if you do give the Artefact, an entirely different scenario will play out.
Solving the puzzle in a secret room
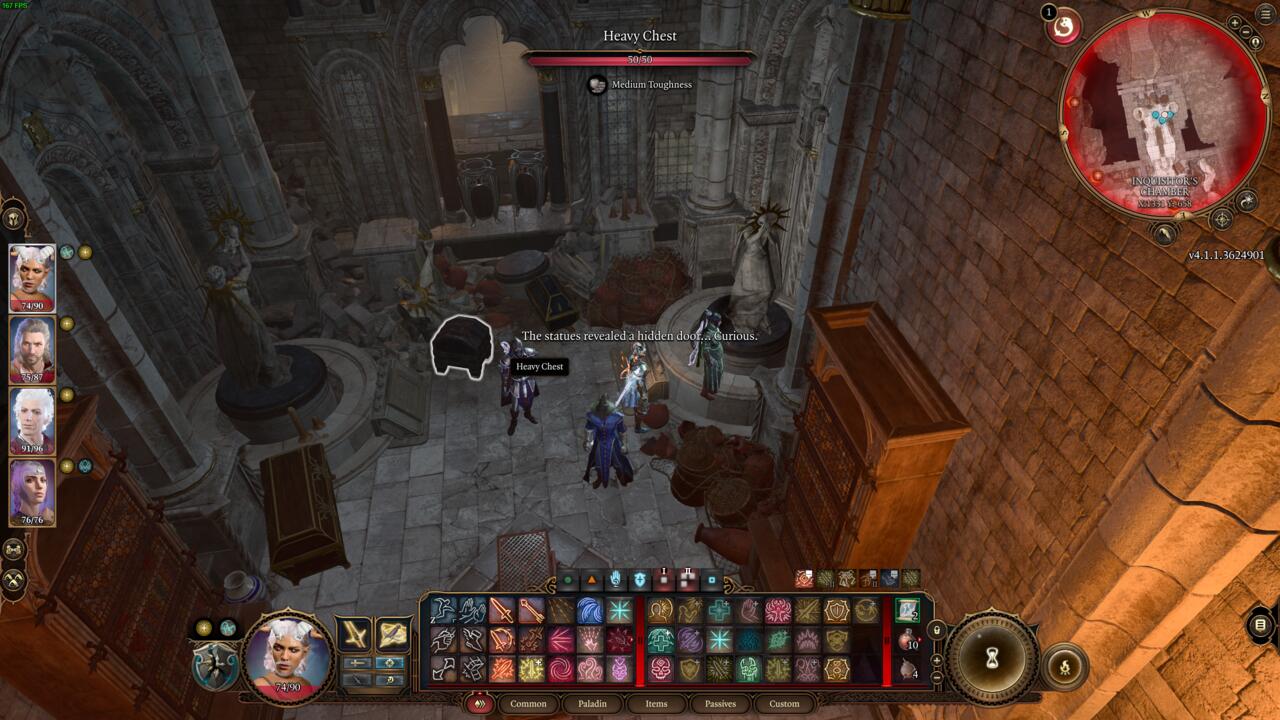
Regardless, after everything happens, you need to head down into the western closet of the room with the Commander. Here, you will find several chests, a display case in the middle of the room, as well as two identical statues on either side. Loot the display case for a Strange Chunk of Amber, and then have a character with high Strength move the statues. The statue on the left needs to be facing toward the west while the statue on the right needs to face the entrance to the room. Once this alignment happens, a secret door will open behind two vases. Go through the door and then down the steps to enter the Daybreak Gate.
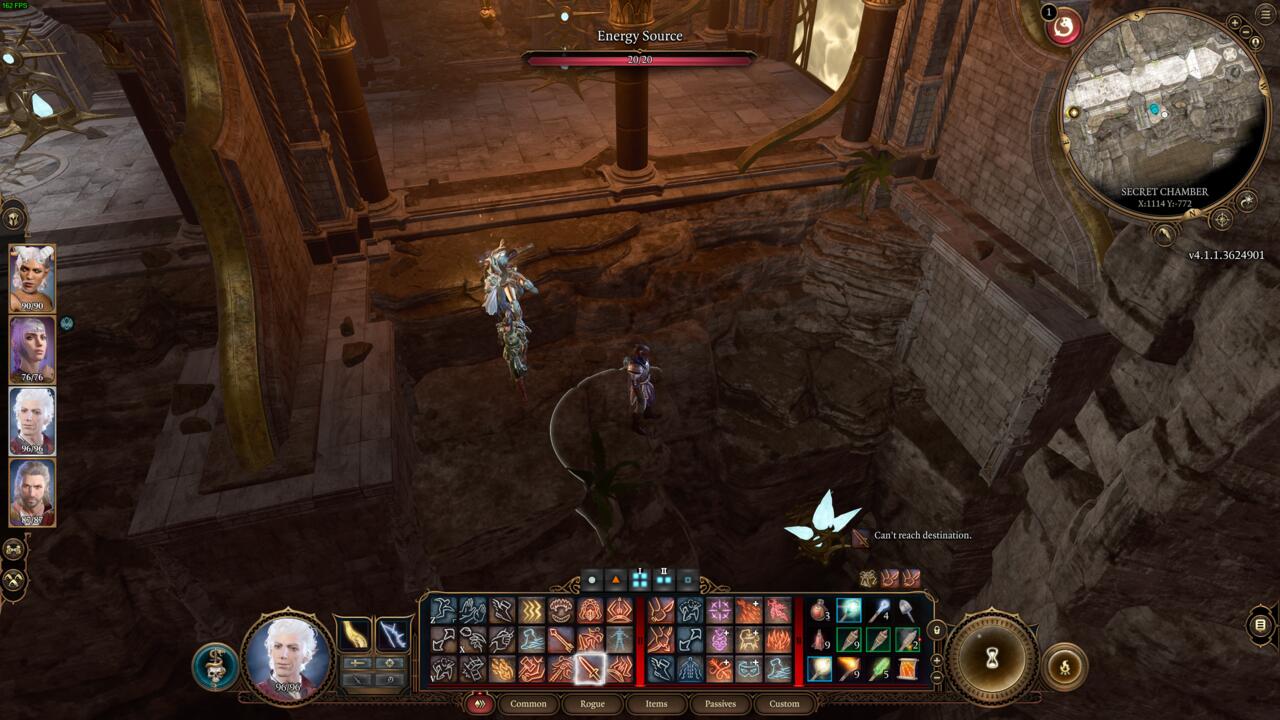
Inside the gate will be a room with another yellow barrier blocking your way. Get past the barrier by shooting the blue crystals hanging to the left of it. Once they're broken, you will enter another room with a barrier, but this time there's a trap that shoots out a force on the ground. Disarm the trap, and then go around the rocks to the left of it to get around the barrier. This will require a jump. Finally, in the next room with another barrier, go down the rocks to find a set of crystals that also need to destroy.
Making a choice for the Blood of Lathander Mace
Your next room contains the Blood of Lathander Mace. It's sitting in the middle of the pedestal on the golden platform, waiting for you to take it. However, if you want to avoid a war with the Githyanki, insert the Dawnmaster's Crest you got earlier into the pedestal. This is done by dragging the Crest into the box that appears when you click on the pedestal.
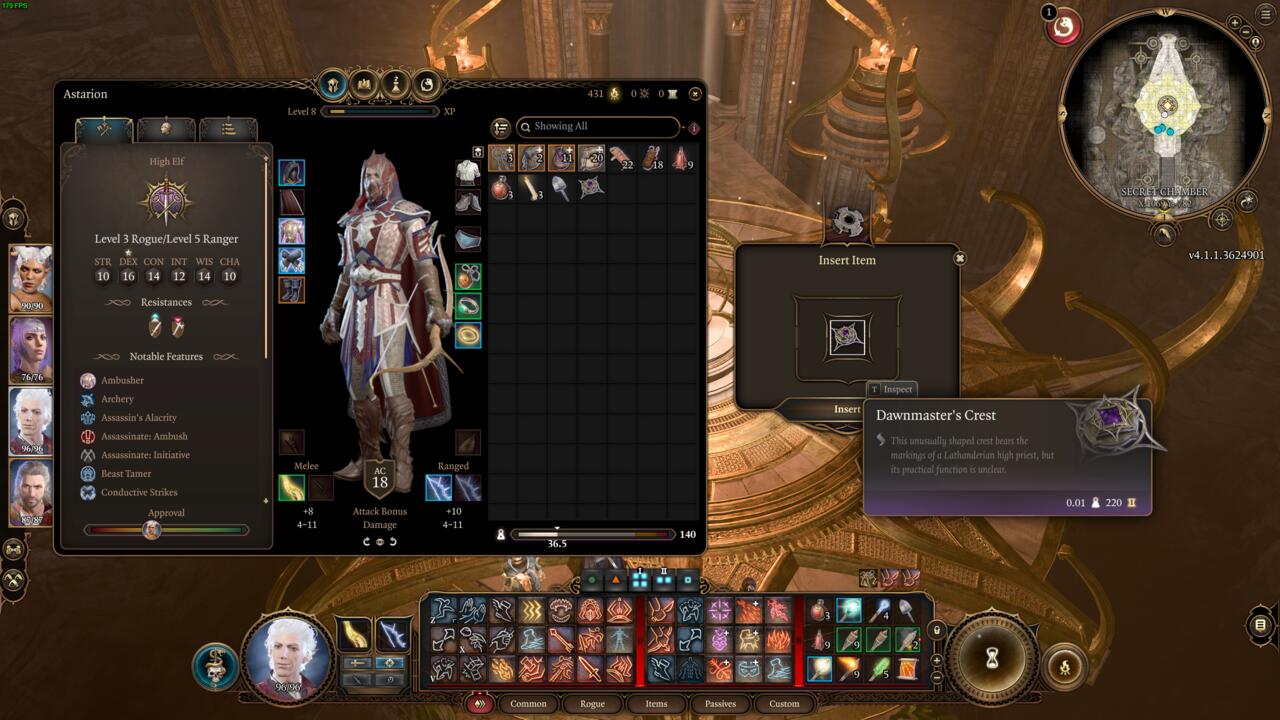
After you do this, you can simply take the mace, and the Blood of Lathander quest is complete. However, if you decide to simply take the mace for yourself, you have a decision to make. The mace's pedestal will trigger several mechanisms to appear, including one that traps you in a force field. All of the mechanisms work together to power a large-scale weapon that is found inside the Rosymorn Monastery. This weapon will destroy the entire Githyanki Creche if you don't act.
Your main goal in this scenario is to destroy the Lathander Solar Machines. We recommend going with magic spells over shooting at them with ranged attacks, as they are resistant to piercing damage. Once they are destroyed, the mechanism powers down and the weapon shuts off. This will complete the Blood of Lathander quest.
Your other choice when faced with the destruction of the creche is to have all of your party go through the doorway at the other end of the room. Once all your characters are out, the weapon will blow and completely annihilate the entire Githyanki Creche. Unfortunately, given your proximity to the weapon, your entire party will die as well. Obviously, we don't recommend making this choice. It's much easier to simply insert the Dawnmaster's Crest into the pedestal and take the Blood of Lathander Mace without any hassle.
Baldur's Gate 3 is filled to the brim with activities and secrets. You'll no doubt be part of an adventure that can take countless hours to complete. For other tips, you can visit ourBG3 guides hub.
Got a news tip or want to contact us directly? Email news@gamespot.com
Join the conversation