Dark Souls Starter Tips: Undead Burg
Getting Dark Souls? Prepare to survive with our essential tips for your baby steps in the Undead Burg.
If you've played the game's prologue, you'll already be well prepared to farm souls and find weapons. However, after this, Dark Souls throws you in at the deep end in an open world. So, if you're brand new to this torturous series, follow our guide to survive the first couple of hours of the game.
After the opening castle, you're dropped into the hub world, Firelink Shrine, and given the freedom to roam wherever you like. However, there's only one area that you are initially skilled enough to explore: the Undead Burg.
Before going off into the Undead Burg, take time to roam around Firelink Shrine and find the hidden treasures that are littered throughout. Dying in the early part of the game costs only a few souls, therefore it's a good time to hone your skills.
Undead Burg
The staircase leading to the Undead Burg can be difficult to locate, but you can find it northeast of the Firelink Shrine bonfire. To survive (at least for a while) in the Undead Burg:
1. Backstab, Backstab, Backstab
To survive against multiple enemies, it's crucial you become effective at backstabbing. This attack does more damage than light and heavy attacks. Backstabs also enter your characters into an animation, which makes them momentarily invulnerable.
The mechanic can be a bit finicky, however, and being directly behind the enemy is no guarantee of success. Being at a slight angle seems to work more reliably. Aiming for the enemy's kidneys (assuming these monsters have kidneys) gets you a higher success rate.
Bear in mind, though: Trying to backstab an enemy when fighting three or more can be risky because running around one leaves you vulnerable to the others.
2. Iron Out the Kinks
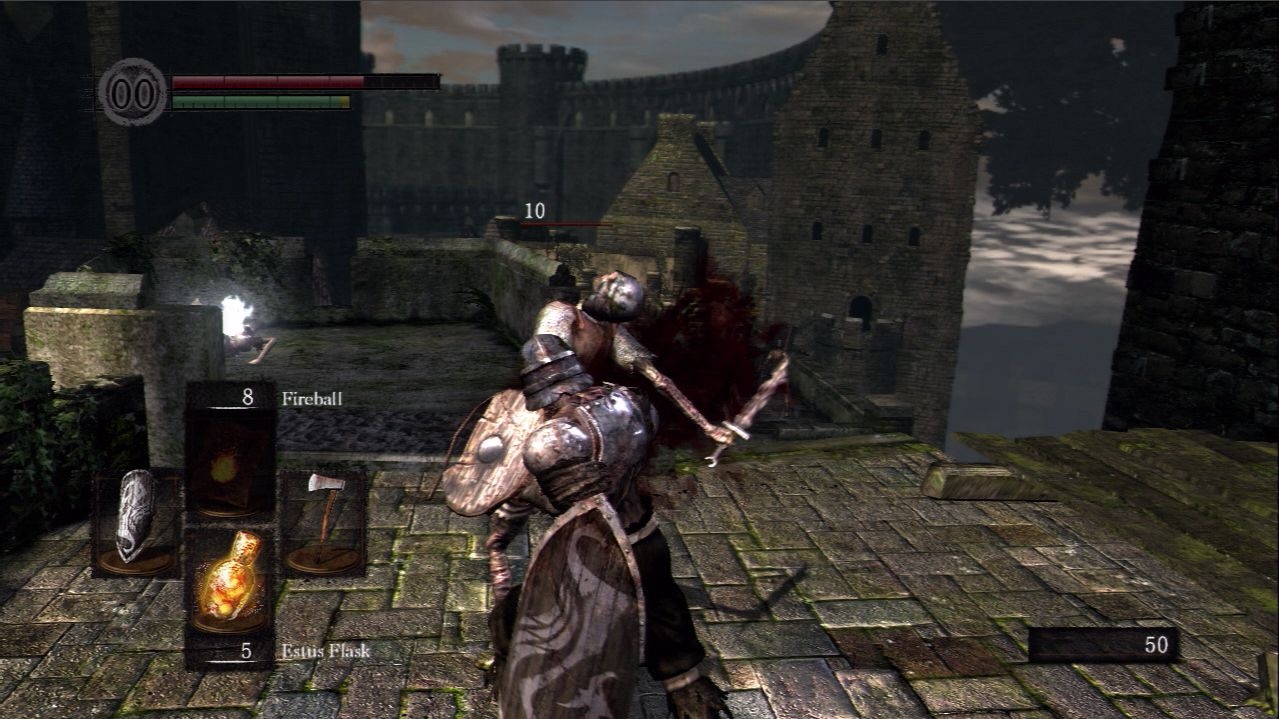
Near the first bonfire (spawn point) in Undead Burg, there are two skeleton like soldiers with iron shields. These provide ideal practice for backstabbing. They can take a while to initiate an attack, so try to coax them to fight by kicking their shields. Kicking gives less recoil than a light attack and allows you to run around and backstab.
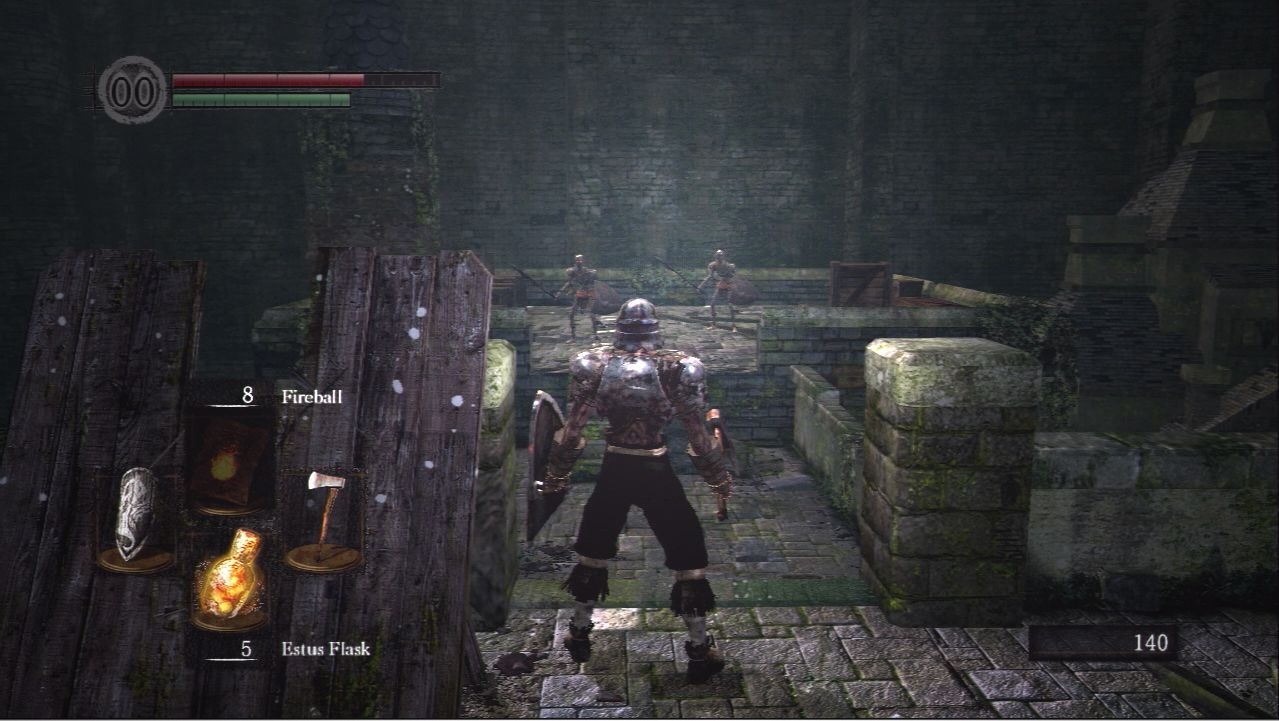
3. Barrel Roll!
When in small rooms surrounded by barrels and other objects that can get in your way, destroy them. This isn't for aesthetic reasons; there is a strategic purpose. If you move into an unexplored area and come across a group of enemies, you will want to backtrack into an open area where you can effectively move and attack. Due to the sometimes finicky lock-on mechanic, knowing your surroundings is vital. Freely moving around the environment is crucial. Rolling around during a fight will waste precious stamina.
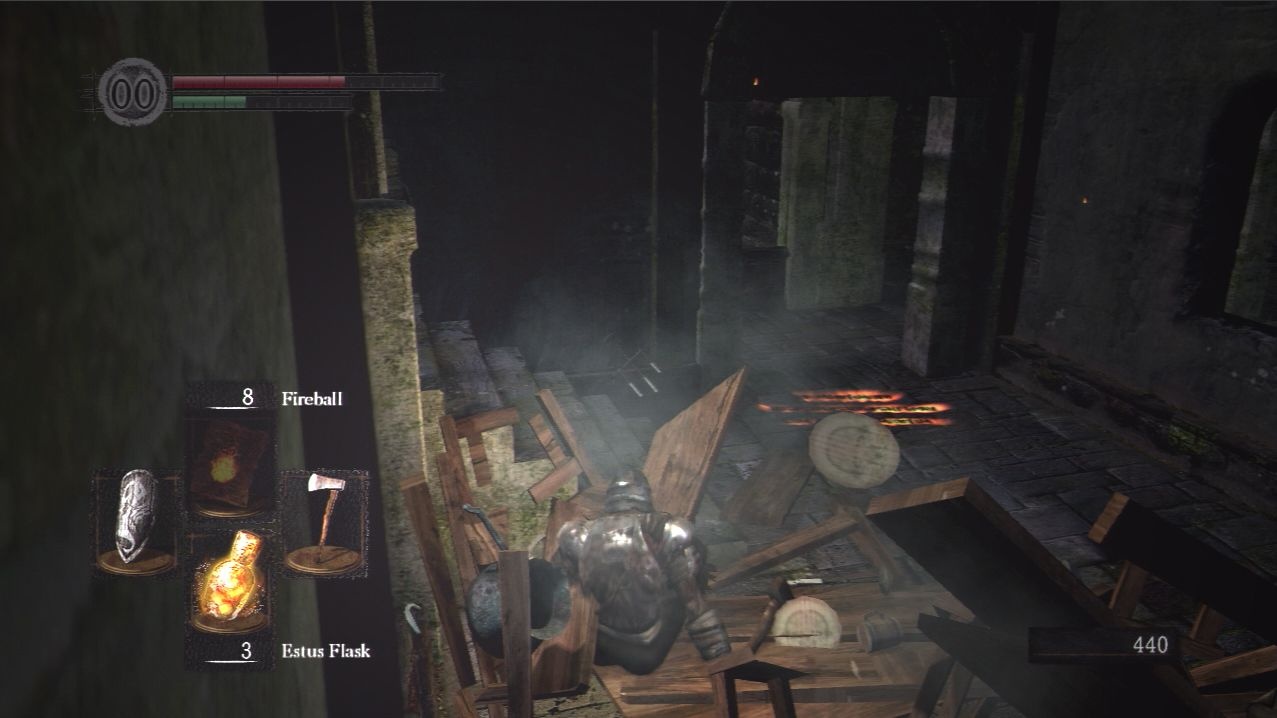
4. Put Out the Fire First
Within the Undead Burg, you come across two similar-looking soldier types. One throws firebombs; the other only uses melee attacks. Take out the guys who throw firebombs first (they never have shields) because they are very annoying when trying to fight groups of enemies. If you are hit by a firebomb, your character tries to fan the flames, leaving you vulnerable to more attacks.
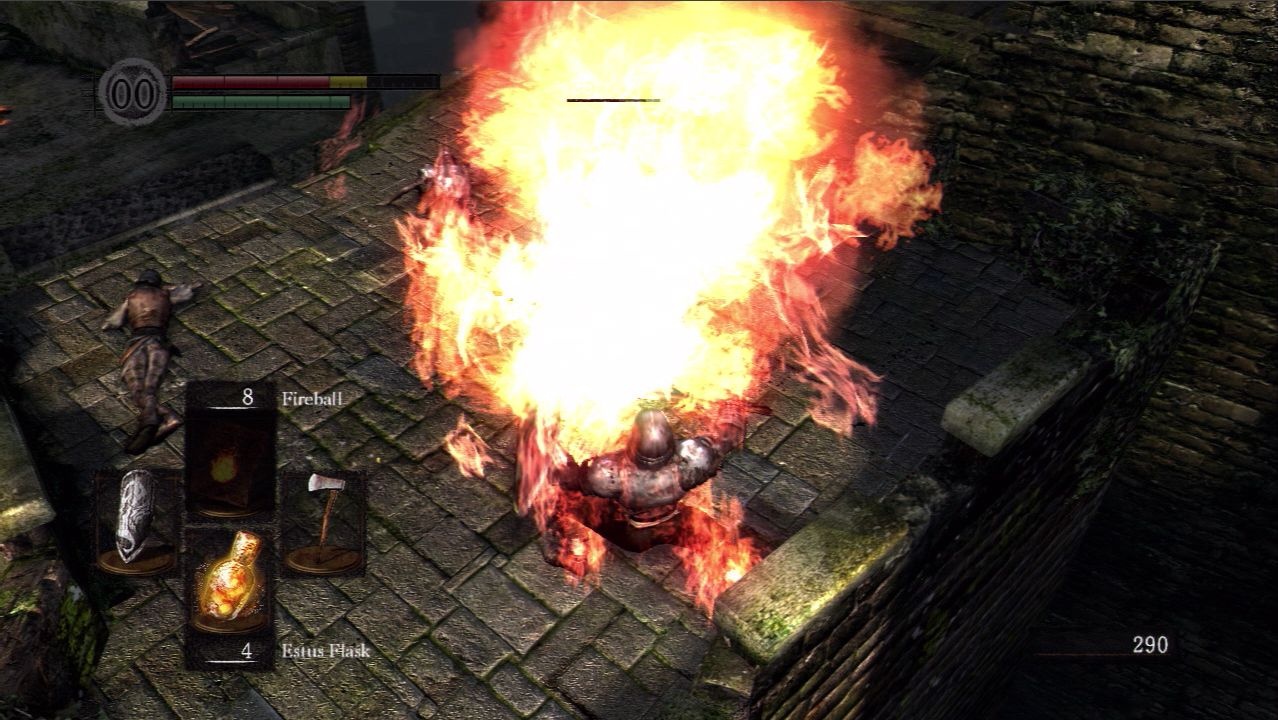
5. Kill Demons Around a Cozy Bonfire
The ideal place to practice combat is around the first bonfire within the Undead Burg. There are at least a dozen enemies here, and they are all reasonably easy to kill. If you die, you spawn very close to your lost souls. Be warned, though: You have to rest at a bonfire for it to become a spawn point.
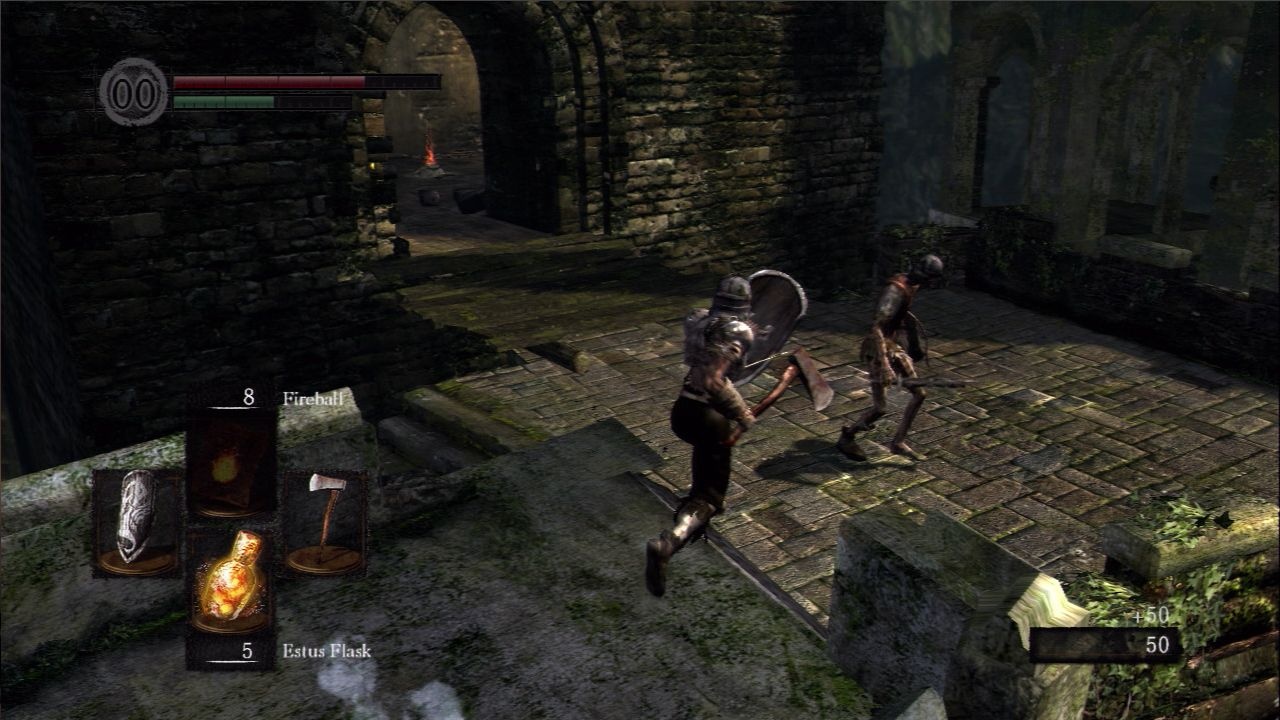
6. Shields Are Heavy
When running from point to point, always keep your shield up. All it takes is one deadly enemy lying in wait to lose you hours of progress and thousands of souls. A ready shield prevents this, as well as the inevitable crying and broken controller that follows. If you block an attack and there's no sign of another, lower your shield. Your stamina regenerates much more slowly if you have your shield up.
7. Beware the Black Knight
There's a staircase (see screenshot below) that leads either up to the Taurus Demon or down to a Black Knight. The Black Knight is arguably harder than the boss because he is quicker and does greater damage. If you are not a pyromancer, or are low on firebombs, he is best left alone.
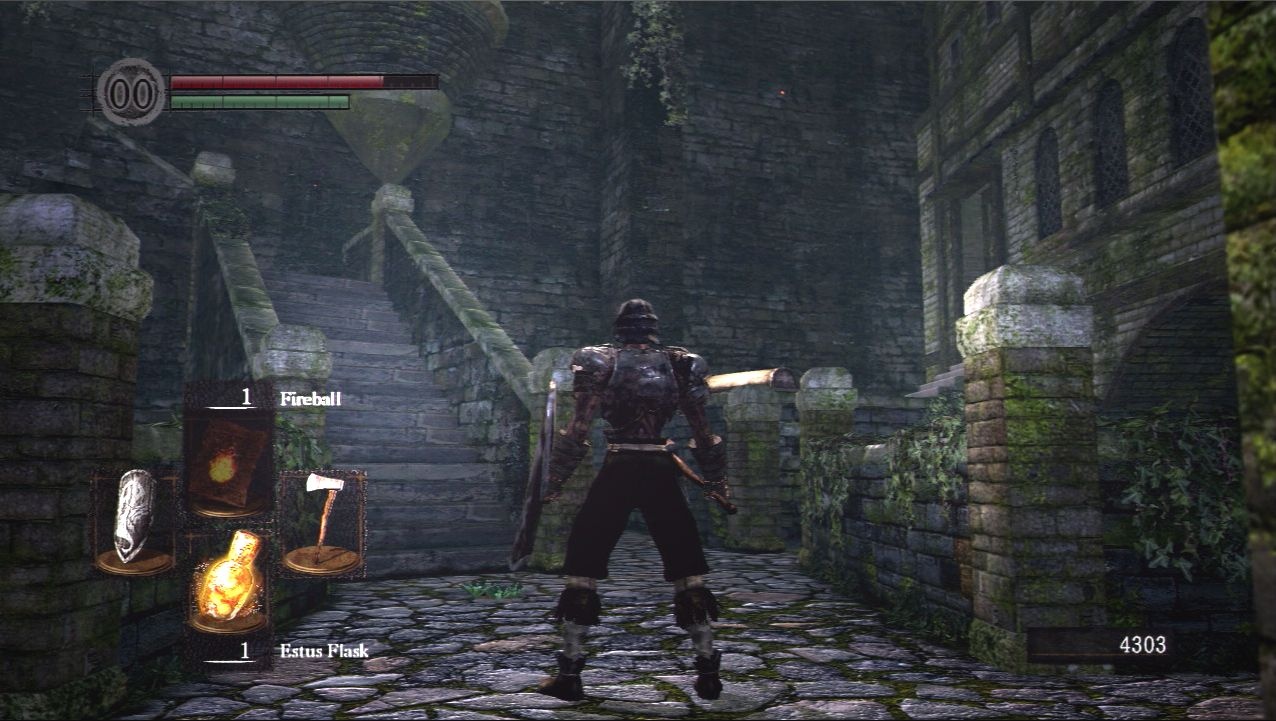
If you do decide to take him on, be aware of his run and stab attack. The best course of action is to stand far away and throw firebombs, due to his speed and reach. Timing and awareness of the distance between you and the knight are vital in this fight. He may take a few attempts to defeat, but the Black Knight doesn't respawn when you die.
Finally, here are some quick pointers on how to tackle the first boss:
Taking on the Taurus Demon
Before taking on this beast, make sure you have at least 10 firebombs or black firebombs. The Taurus Demon is weak to fire, and these will let you maintain distance from his massive mace.
As soon as you traverse the white light, head down the steps, around the right, and up the ladder. Take out the archers once you get up there. If you ignore them, it is almost impossible to fight the boss because their arrows interrupt your attacks.
Once you've dealt with the archers, head back down the ladder and across the bridge. Eventually, the Taurus Demon will drop down and sprint toward you. Don't run away until he begins his attack. He will just continue to charge until you end up back at the staircase with nowhere to go.
If you find yourself trapped at either end of the bridge, wait for the demon to reach the end of his back swing (if he does a side swing) or peak of his downward crush and then quickly roll away. If he is swinging from right to left, roll to his left and vice versa. When at a safe distance, use your firebombs (or fireball, if you are a pyromancer). It should take six to eight firebombs to defeat him.
Want more tips for Dark Souls? Be sure to check out our Starting Block!
Got a news tip or want to contact us directly? Email news@gamespot.com
Join the conversation