Doom Eternal Arc Complex: Mission 6 Walkthrough And Tips
Here's how to get through the Arc Complex to find an old friend.
Now that you've reached Doom Eternal's sixth mission, things are in full gear. You're nearly halfway through the game, so keep at it! Below you can find a walkthrough detailing how to get through the sixth mission, including the game's second major boss fight.
For walkthroughs of Doom Eternal's other chapters, check out our guide hub collecting what we have up so far. We'll be publishing more in subsequent days. But if you're looking for more basic Doom Eternal tips, be sure to read our guide detailing everything you should know before playing. Otherwise, you can read our Doom Eternal review.
Mission 6 Walkthrough -- Arc Complex
Time to go meet a familiar face! As soon as the mission begins, immediately punch through the wall and follow this corridor to an elevator shaft you can hop down. After the doors open there are a few fodder enemies to take care of, and you'll eventually be faced with a Mancubus and Whiplash. Once all the enemies are dead, the demonic seal blocking the path forward will disappear.
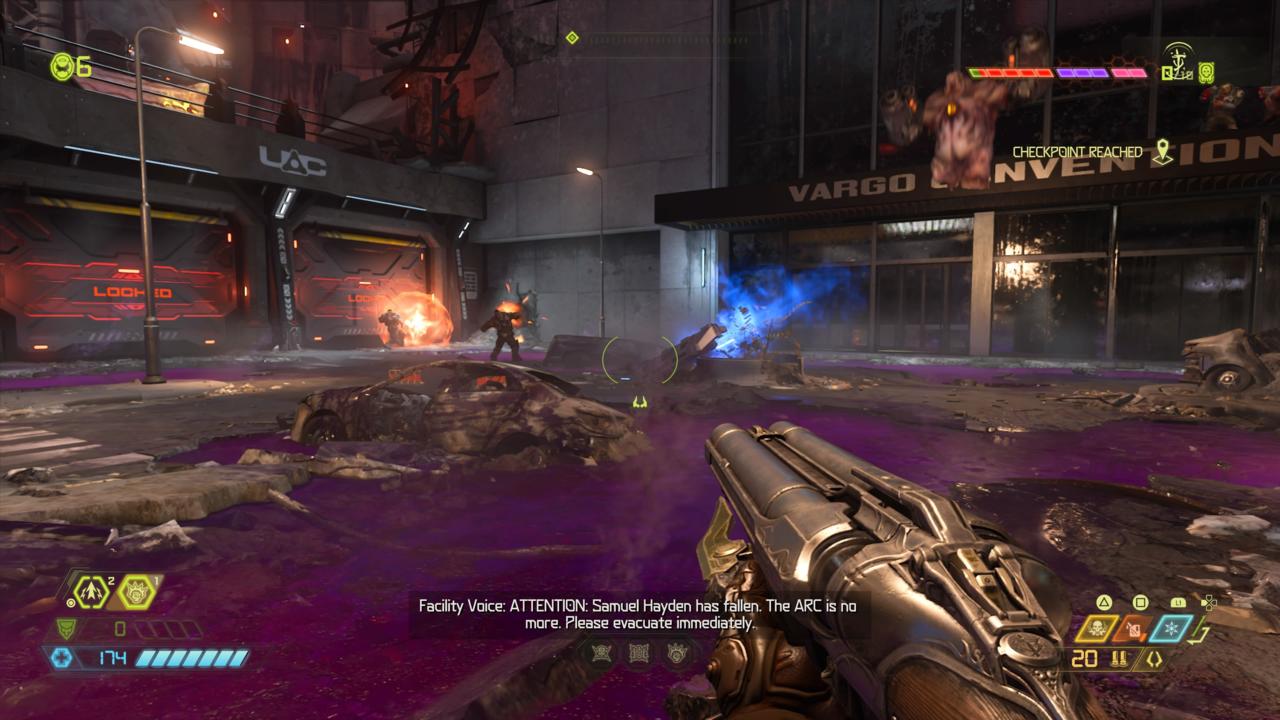
Continue through the facility and you'll find a consistent onslaught of enemies emerging from every nook and cranny, even the gift shop. Utilise your full arsenal to fight your way through them--whether that means using an Ice Bomb to freeze a Pinky in place, or peppering a Dread Knight with the Chaingun--until you eventually reach the building's lobby. Go left and drop down the hole in the floor, then use the Plasma Rifle to cut through the Energy Shields being used by the Soldiers and Carcass in this area. Head down the stairs and continue following the waypoint down the corridor, defeating any enemies along the way.

Jump up a floor and drop down the hole on the other side to kill the rest of the enemies here. Follow the waypoint and you'll eventually reemerge outside. The purple goo returns in this area, so try and stay out of it to avoid being slowed down. If you do find yourself wading through the goo, use the Super Shotgun's meat hook to quickly pull yourself out of it.
Once all the enemies in this combat arena are dead, you can attempt to open the main gate. With the path blocked, you need to enter through the building a Pinky just emerged from. As you engage in combat with the enemies inside, a Cyber Mancubus will eventually appear. This enemy type is a heavily armored variant of the regular Mancubus, but a single Blood Punch will destroy all of its armor. A couple of Super Shotgun shells and rockets work well, too.
With the Cyber Mancubus and all of its pals dead, follow the waypoint and climb up a floor. Use the pole to swing over to the next building over and clear out the enemies inside before heading up the stairs. Jump down onto the jump pad below and then Dash across to the other building using the Dash Refill to reach it. More Zombies and Imps will swarm in here, so take them out and exit through the large gap in the wall. Swing across the two poles and launch yourself to the right to grab onto the wall. Turn around and jump to the next platform, then hop behind the pile of broken office supplies with the green light shining on it to find a block you can melee. Use that to reach the next floor, then swing across the next pole and onto the climbable wall. Now you'll have to jump to the wall on the right that's a fair distance away, and follow the waypoint through the gap in the wall from there.

Clear out the enemies inside, then use the elevator as a stepping stone to reach the next floor. Face the destroyed plane and you'll see some more green lights projected onto the billboard beneath the wreckage. Jump down here and there's a wall you can latch onto. Climb up and fight your way through the plane's interior until you emerge inside another building. Take out the enemies in this arena until the demonic seal is broken, then make your way up the flights of stairs.
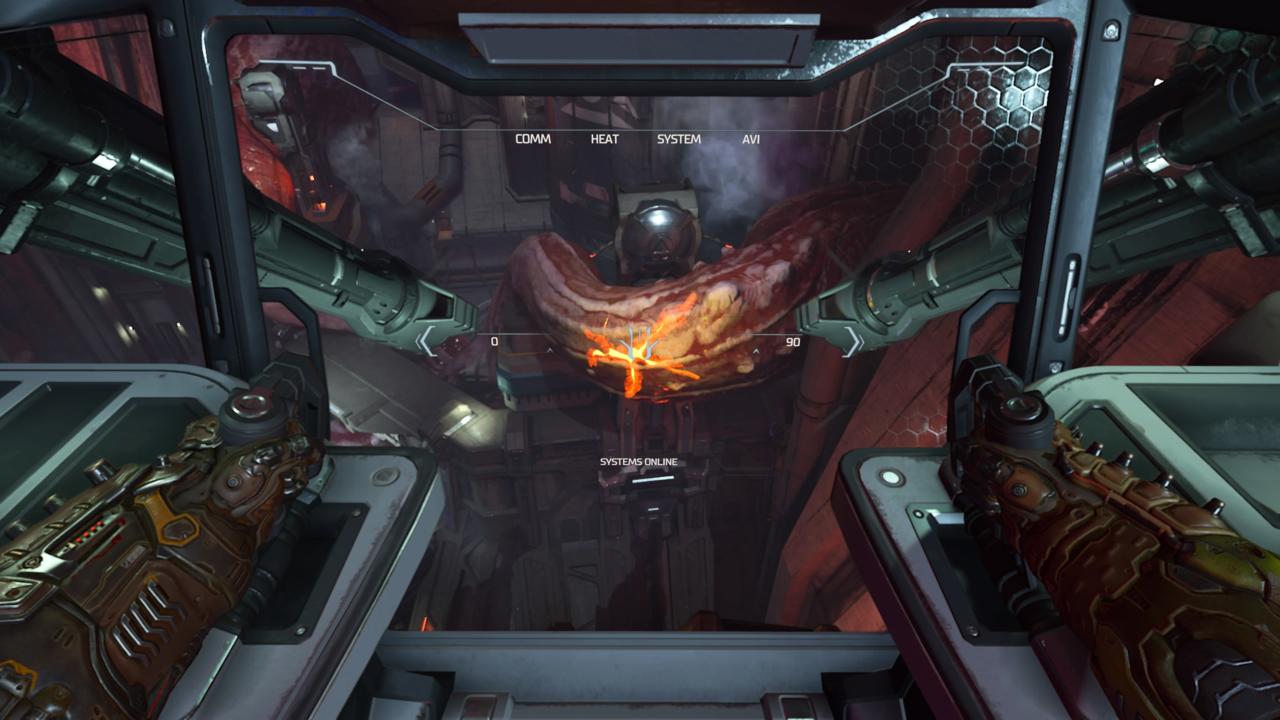
When you reach the top, jump across to the burning building and make your way down until you can hop in the elevator. There's a tough encounter in the foyer, so just make sure you're replenishing your health, armor, and ammo with the tools in your arsenal. Head through the door and there's a few more enemies to take care of outside. Once they're all dead, head to the waypoint and jump down to the right and into the portal. Now you can enter the turret and destroy the first tentacle blocking the path to Hayden.

Exit the turret and fight through the next corridor until you reach an elevator. Continue moving through the innards of the facility and you'll eventually enter another combat arena. There are multiple floors and a portal you can use to get out of danger, so utilise the environment when you can. With everything defeated, a Cyber Mancubus will burst through the floor. Take it out and drop into the hole it opened up and you'll find yourself in the sewer.
There's more purple goo here so your movement speed is impeded. Use the Super Shotgun to clear out the enemies, including the tentacles, and melee the blocks right in front of you as you enter the larger area with a chain link fence. Climb up the blocks and launch off the pole to your right to reach the next platform. Continue moving through the facility, while making sure to avoid the electric traps, until you reach the second turret.

With the massive tentacles now gone, follow the waypoint down the next few corridors and into the car park until you're back outside in the main courtyard. Now you can access the shutter doors and fight your way across the bridge to the Arc building where Hayden is.
Boss fight - Marauder
Now it's time to fight Doom Eternal's second boss. The Marauder is a defensive opponent who uses an impenetrable shield to block your shots. You want to stay fairly close to him, but not too close, and wait until his eyes flash green to counter his melee attack and damage him with the Super Shotgun.

Quickly dispatch the golden wolf whenever he summons it, and make use of the fodder enemies that come in to replenish your health, armor, and ammo. This can be a lengthy fight because of the Marauder's defensive strengths, so you just need to be patient and wait for those openings when his eyes flash green, utilising your Dash to avoid his other attacks in the meantime. Damage him enough and you can end the fight with a gruesome Glory Kill.
Got a news tip or want to contact us directly? Email news@gamespot.com
Join the conversation