Doom Eternal Mission 1 Walkthrough -- Hell on Earth
Doom Eternal's first mission is mostly straightforward, but several threats await, so here's a step-by-step walkthrough to keep you moving!
The first mission of Doom Eternal is mostly straightforward, with the game providing several basic tutorials getting you up to speed with the ripping and tearing it so eagerly wants you to do. You'll also become acquainted with the game's new main hub area, The Fortress of Doom, where you can take a breather and find unlockables. Doom Eternal is pretty easy-going at first, but don't let your guard down! More challenges await up ahead. Below you can find a step-by-step walkthrough of the first mission that'll offer you insight into the incoming threats
For walkthroughs of Doom Eternal's later chapters, heck out our guide hub collecting what we have up so far. We'll be publishing more in subsequent days. But if you're looking for more basic Doom Eternal tips, be sure to read our guide detailing everything you should know before playing. Otherwise, you can read our Doom Eternal review.
Mission 1 Walkthrough -- Hell on Earth
Your first order of business as a Demon slayer is to kill the first three Zombies in the starting area using your Combat Shotgun. Exit this room and take a left down the stairs, killing the few straggling Zombies as you go, and pick up the Chainsaw.
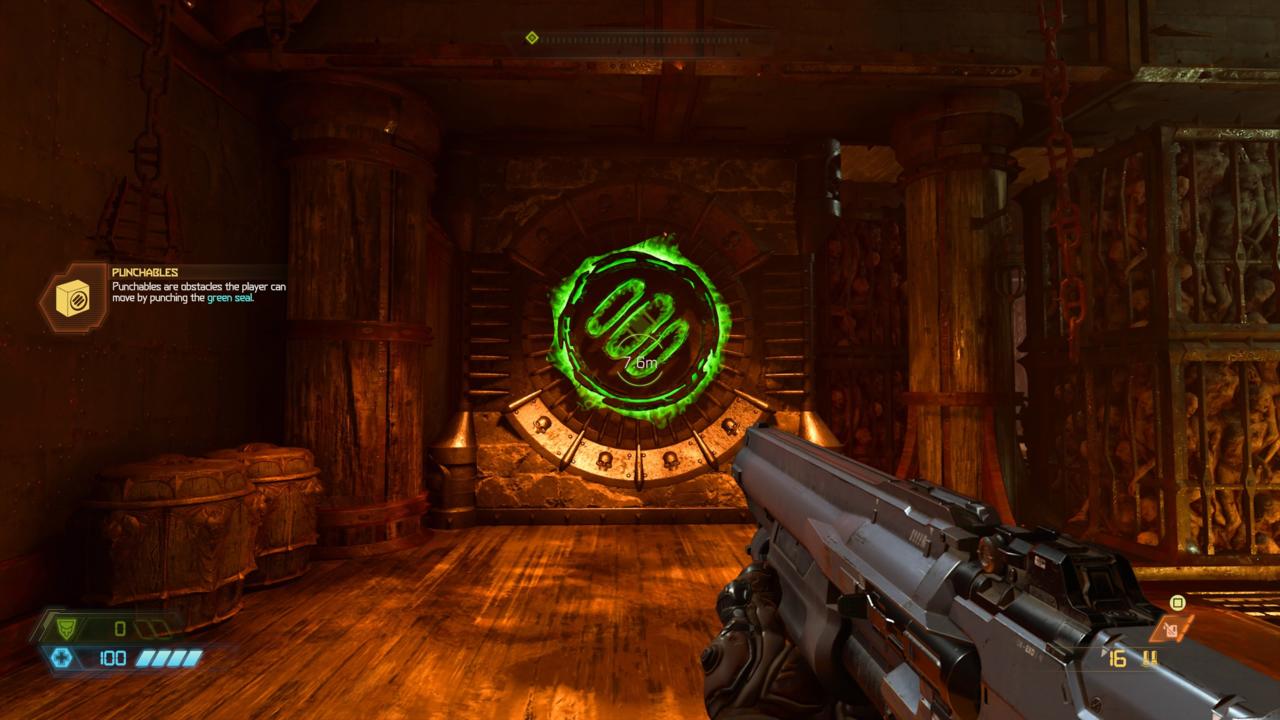
Follow the waypoint through the bowels of the Hell Barge until you come to a large square block. Melee this and then double jump onto it to climb through the hole in the ceiling. Head towards the waypoint in this room and you'll find a glowing blue drone called a Mod Bot. There's no right or wrong way to go here when choosing an upgrade, it all comes down to personal preference--and there will be a chance to unlock the other option sooner than you might think.

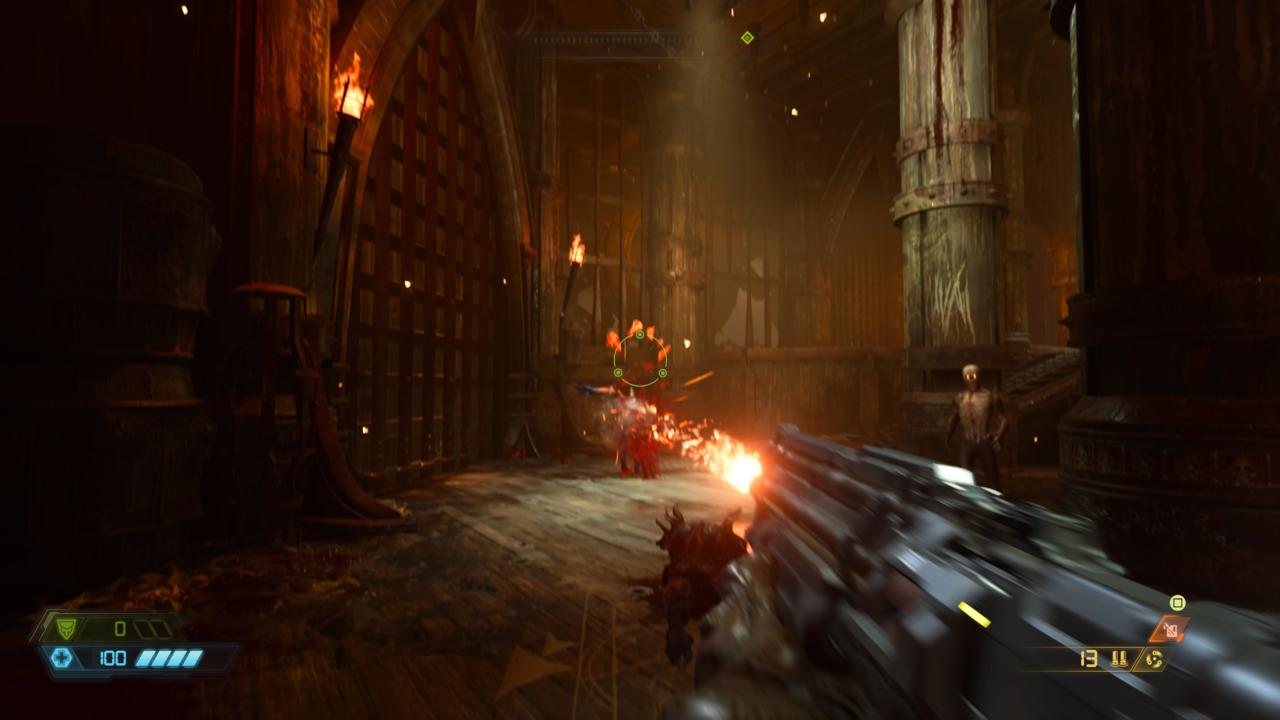
Move down the corridor and through the door and you'll encounter your first combat arena. Doom Eternal is made up of combat-focused rooms like these. Much like its predecessor, one of the keys to staying alive in Doom Eternal is to be constantly moving. You never want to be standing still in a firefight. Stay on the move, strafe from side to side to avoid incoming fire, and do your best to stay relatively close to enemies so you can quickly use a Glory Kill to regain any lost health.
Zombies, Imps, and Soldiers make up the assortment of enemies in this room. The latter two will both launch fiery projectiles at you that are fairly easy to dodge if you know they're coming. A couple of shotgun blasts is enough to put them down, but you'll also want to mix in the Chainsaw to replenish ammo when you begin to run out.

After clearing the room you'll want to follow the waypoint through the next door where a cutscene will play. Once the cinematic is over, head forward and jump inside the destroyed building on your right to find another Mod Bot waiting.
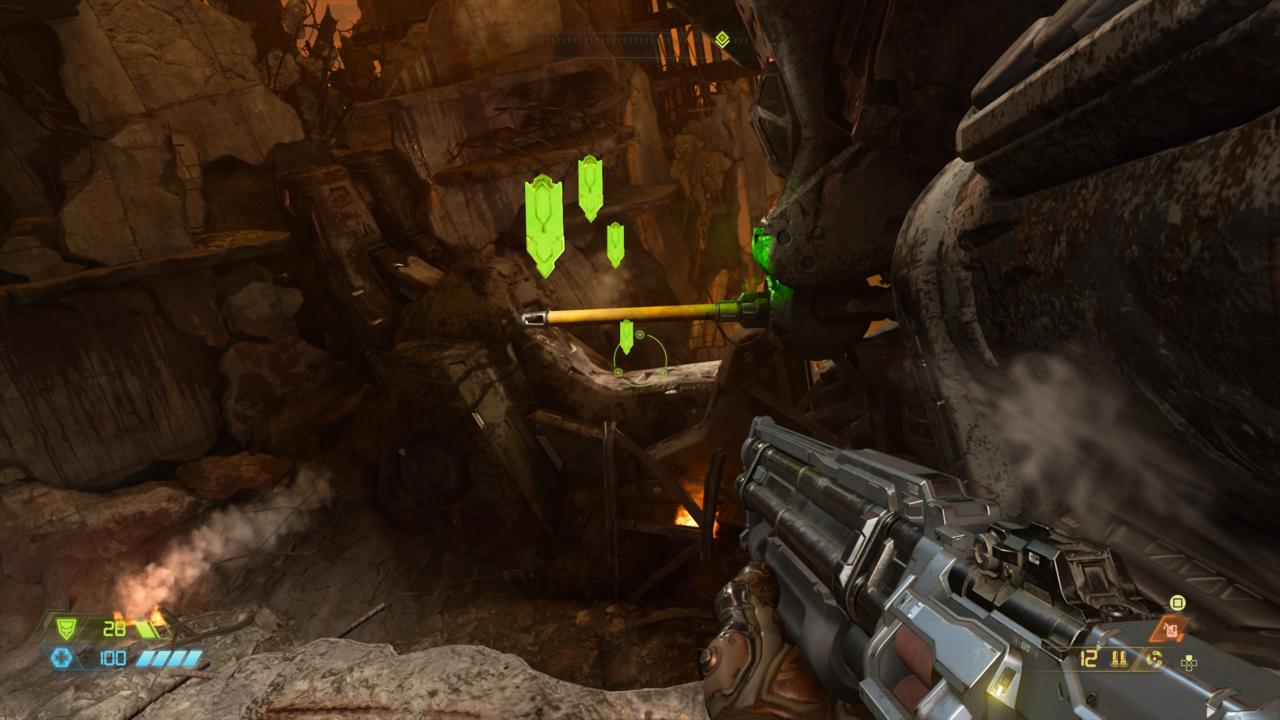
Next you'll come into an open area with a few Zombies standing conspicuously near some red barrels. Shoot these to make quick work of the undead and jump down to the dilapidated street below--don't worry, Doomguy doesn't believe in fall damage. Take out the Imp and two Soldiers waiting for you at the bottom, then you'll want to follow the green armor pickups leading to a gap between two platforms with a pipe stretching across it. Double jump onto this pipe and Doomguy will automatically grab onto it and launch himself forward.

Now you'll come across another combat arena and an Arachnotron, a Heavy, Ranged Demon with a turret on its back. Focus your fire on this weak point to disable the Arachnotron's long-range attacks, then pepper it with a couple more shotguns blasts to finish it off.
The same strategy as the last combat arena applies for this one, too. Aside from maintaining your constant movement, however, you can also make use of this area's verticality by either double jumping or using the blue jump pads to reach higher platforms. This is handy for getting out of sticky situations or gaining a better view of the arena and where enemies are located. Once you've cleared the area, a gate will open up revealing your second firearm: the Heavy Cannon. This is a punchy automatic rifle that's adept at tearing through Demons with relative ease.
Hop over the short wall to the left of the Heavy Cannon and you'll find a glowing AutoMap Station to your right. Grab the rest of the pickups in this room and head through the door to discover another combat arena.
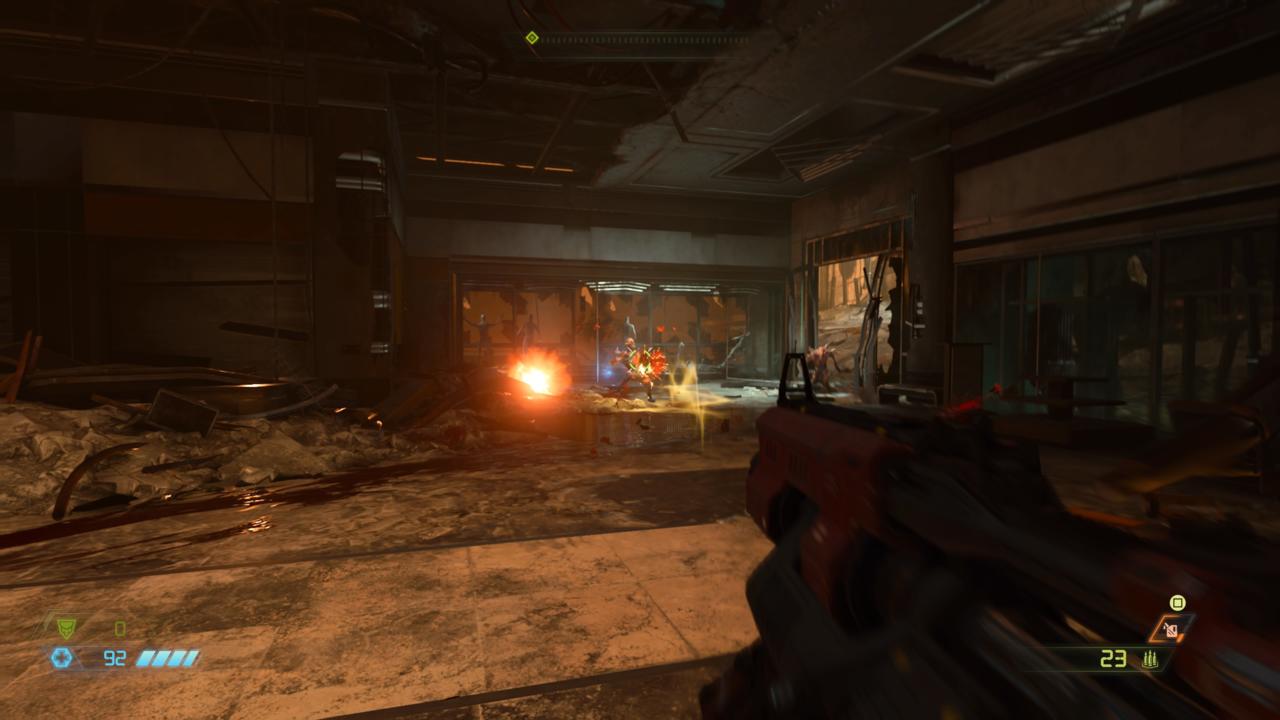
Now that you have the Heavy Cannon, you can mix and match with the Combat Shotgun to preserve ammo and deal with enemies at both close range and longer distances. There's another Arachntron in this area that you'll want to deal with pretty quickly. The Heavy Cannon makes it easier to target its turret without getting too close. Just remember to focus on Imps and Soldiers if you're ever low on health and need a quick Glory Kill to fill the life meter back up.
Once you've cleared this area, the waypoint will point you towards a parking garage. Head through the door here, dispatch the Zombies and Imps, and follow the series of ramps heading up to a distinct-looking wall. You're able to wall climb on surfaces such as this one by jumping into them, so climb to the top of the wall and pick up the yellow keycard in the center of the room. A soldier will burst through the parking garage wall, so kill him and then hop down to the shutter door heading into the subway.

There's not much room to maneuver in the subway's narrow corridors, and the Demons have set up fireball-spewing cannons at the end of the hallway that you'll want to time your movements to avoid. Another Arachnotron appears down here, which isn't ideal in such a confined space. Make use of the Combat Shotgun's Sticky Bombs to try and make short work of the ghastly Demon, then it's a matter of making it to the end of the corridor and dropping down onto the train platform where you'll find another Mod Bot. Now you're able to unlock a weapon mod for the Heavy Cannon. Much like the Combat Shotgun, whichever mod you choose is a matter of taste, and you'll be able to unlock the other option later on, so pick whatever feels right.
Head inside the train carriage and pick up the Frag Grenades waiting for you, then use your double jump and the overhanging pipe to reach the next combat area. Now it's time to come face-to-face with the iconic Cacodemon. Much like the Arachnotron, the Cacodemon has a weakness of its own: its big mouth. Fire a Frag Grenade or Sticky Bomb into its mouth when it opens wide to trigger an instant Stagger, allowing you to execute a Glory Kill. If you miss, shooting the Cacodemon in the face is also effective. The rest of the room is full of Zombies, Imps, and Soldiers, but you'll also have to contend with back-to-back Arachnotrons. Keeping your distance and peppering their gun turrets with Heavy Cannon fire is the safest way to dispatch them.

Once the room is cleared, head through the door that opens up and take a left inside a building, where you'll find a set of stairs and a lone Cacodemon. Take care of it and head up the stairs and back outside to a large chasm and a collapsed train tunnel. From here, jump across to another climbable wall and make your way to the top to head down inside a train carriage.
This leads to a subway tunnel with a few Zombies and an Imp inside. Kill this group and then head right into the maintenance tunnels to find your first Tentacle. Get close enough to bait it out of its hole and then finish it off with a quick shotgun blast. Continue through these corridors, taking out the Zombies and Tentacles along the way. Head up the stairs and you'll come to another parking garage, inhabited by a Cacodemon and a couple of other enemies. Get rid of them and then climb up through the elevator shaft to reach another combat arena. Once you've cleared out this area, focusing on the weak points to defeat the Cacodemons and Arachnotron attempting to spoil the party, a hole will open up on the top floor, leading to the next area.

Head through this hole and jump down to the street below. You'll need to fight your way through a number of enemies to reach a Demonic portal that will take you to a new location. Go through the large double doors here and then take a right up the stairs to enter a room with an elevator sitting in the middle. It's at this point that you unlock the ability to fast travel.
Once you're ready, activating the elevator will take you to another cutscene and the end of Doom Eternal's first mission.
The Fortress of Doom
The Fortress of Doom is Doom Eternal's hub area. You'll return here after most missions, and there will be more to do later, but for now, follow the instructions to get your hands on the flamethrower.
Doom Eternal News
Got a news tip or want to contact us directly? Email news@gamespot.com
Join the conversation