Fall Guys: Ultimate Knockout has taken the gaming world by storm with its deceptively simple and original take on the battle royale formula. You'll need some luck to outlast the other 59 players vying for each episode's coveted Crown, but a little know-how can go a long way in helping you achieve victory.
We've put together various tips, tricks, and strategies for each round to help you rack up more Crowns and Kudos. The chaotic nature of Fall Guys doesn't guarantee success, but knowing the ins-and-outs of each round will give you a fighting chance of emerging victorious.
If you're curious about our thoughts around hilarious battle royale party game, be sure to read our Fall Guys review. Otherwise, read the tips below.
Race Rounds
Races are simple: cross the finish line before the cut-off point and you'll qualify for the next round. There are also bonuses that go towards the season pass if you come in first or finish in the top 20 or 50%. Below are each of the race rounds that can appear in an episode of Fall Guys.
Dizzy Heights
Every episode of Fall Guys begins with a race, so you'll want to try and push ahead of the crowd to reach the finish line before the elimination cut-off.
Dizzy Heights starts with a set of spinning platforms. The majority of players tend to crowd the middle here, massively increasing the risk that you'll get knocked down and sent backwards by the yellow obstacles dotted around this part of the race. Immediately heading to either the left or right is the best course of action as you'll have more room to work with. Obviously, following the arrows on the spinning platforms is the quickest way to get through them, and jumping between each one makes things a lot easier than trying to simply walk from one to the next.
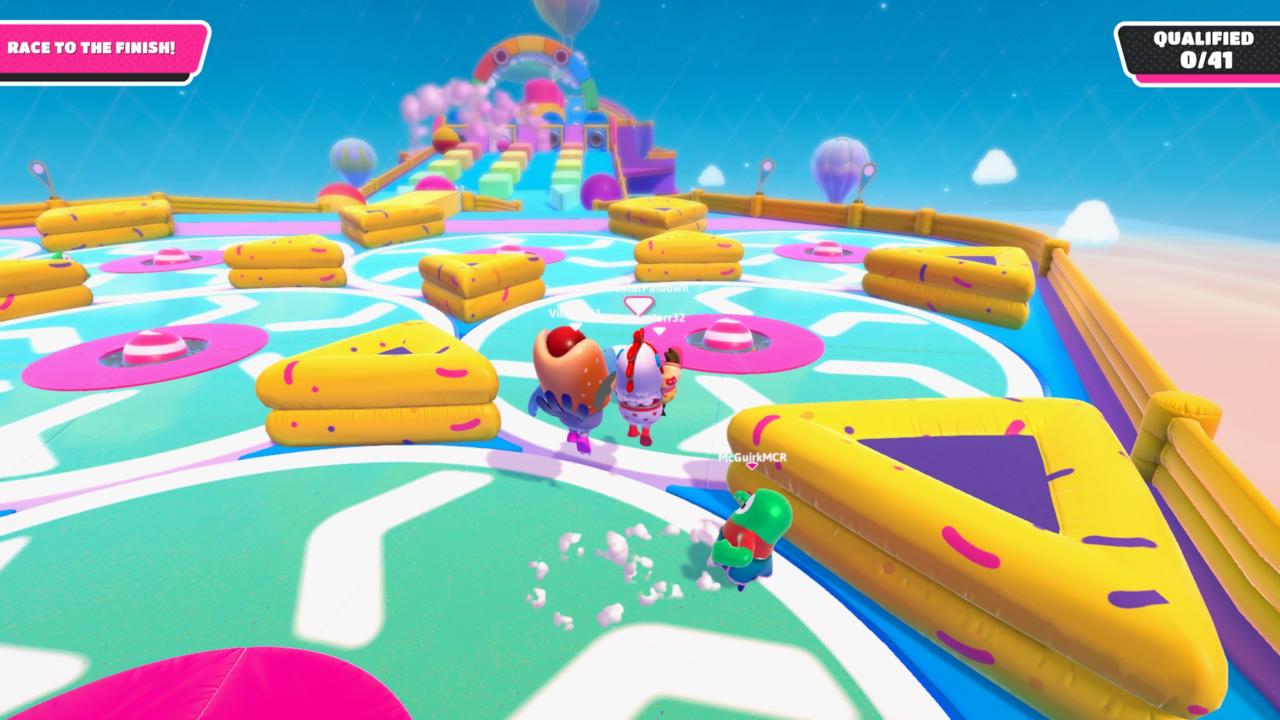
Once you reach the rolling balls you'll want to try and run down an empty avenue for as long as you can. The rate at which the balls are spit out is seemingly random; sometimes one will come out immediately following another, while other times there will be a lengthy delay, giving you time to run down an avenue unscathed. You can duck to the side to wait for a ball to pass, but getting hit by one is surprisingly negligible when it comes to slowing you down, as long as you get hit on either side rather than straight down the middle.
The second set of spinning platforms is easier than the first, mainly because it's very unlikely there will be a crowd. Following the arrows again to gain as much speed as possible and simply jump between each one. After this you'll head up a hill where you'll want to do a diving jump at the top to reach a set of large spinning platforms. The key here is to keep moving forward while avoiding the yellow balls. Once you reach the slope, it's best to keep to the sides, so you don't take a yellow ball directly to the face.
See Saw
See Saw might be the most frustrating round in Fall Guys, mainly because the majority of other players have a very loose concept of how seesaws actually work. It can also be relatively stress-free if you're able to get ahead of the crowd and control the tilt of each seesaw yourself.
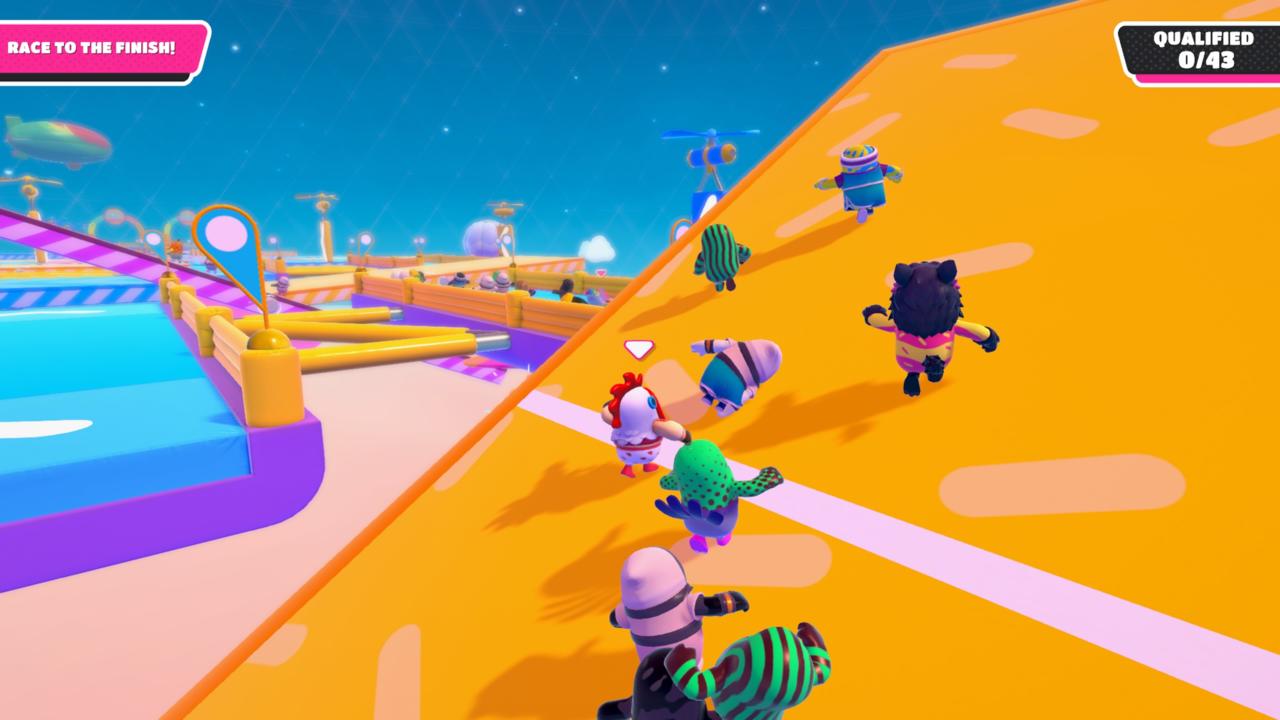
Starting on the front row is ideal, but this is entirely dependent on fate so it's not something you can consistently rely on. You'll want to jump onto the centre of each seesaw--which is helpfully signposted by a white line--but eventually you'll be forced to pick a side that's usually governed by whichever direction the other players are causing the see saw to tip towards.
If you're behind the pack, you'll often come across a see saw that's horribly skewed to one side. Jumping on one like this will probably result in a quick slide to your death, so it's best to wait for it to even out. Other players are less patient in these moments, opting instead to jump to their deaths over and over again, meaning the seesaw can take an age to start flattening out. You'll need to pick the right moment and immediately begin running up the slope in the hope other players do the same and you can even it out.
Most of the rounds in Fall Guys are dependent on absolute chaos, and See Saw is a clear example of this. You can be smart and pick the right moments to advance, but if you're stuck in the middle of the pack, there's a high chance you're going to be victim to the whim of other players. At this point, you can only do your best and hope it all works out.
Door Dash
Door Dash will be familiar to anyone who's ever watched Takeshi's Castle, pitting you against a gauntlet of identical doors. Some of the doors are breakable, while others are solid as a rock.
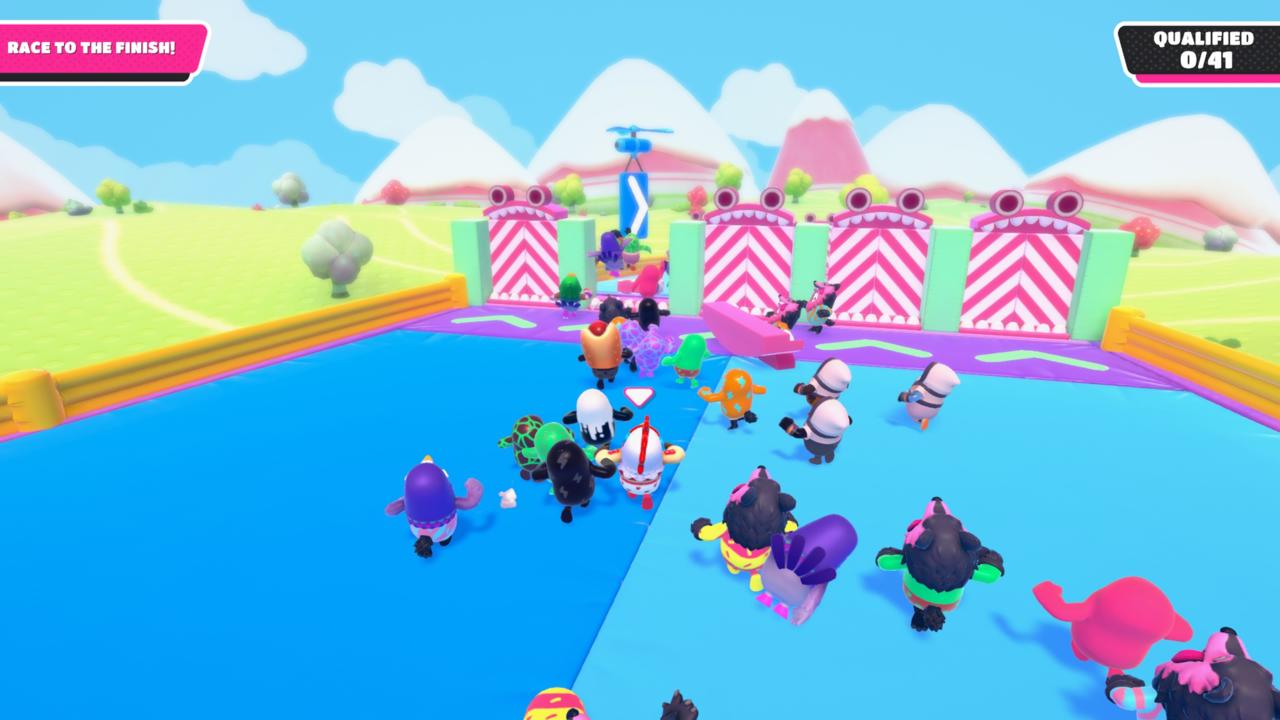
Starting on the back row during Door Dash is actually an advantage because the path forward will usually be apparent before you reach the first set of doors. Of course, you can always hang back for a couple of seconds if you start at the front, but being bold can pay off, too. If you jump and crash through one of the breakable doors on your first attempt, you can get a minor head start as a traffic jam begins to form behind you. This gives you a little leeway if you jump into one of the fake doors on the next set, as everyone else will still be catching up.
If there is a blockage of people cramming into a door ahead of you, doing a jumping dive is a more reliable way of making it through without immediately being trampled. Once you reach the final three doors, aim for the middle one if you're at the front. Only one of these doors is real, so targeting the middle allows you to shift to either side without wasting too much time. You'll always want to do a jumping dive through the final door, as this will often launch you past the players who are simply falling. As with See Saw, chaos and luck rule the roost in Door Dash, but these techniques can improve your chances of succeeding.
Gate Crash
Gate Crash is similar to Door Dash, albeit with a gauntlet of raising and falling gates instead of doors. You'll want to target gates that are already raised since they should lower by the time you reach them. Jumping and diving is particularly useful here because not only do you achieve more distance, but if a gate is rising and you dive towards it, it will usually hit you and send you spinning to safety.
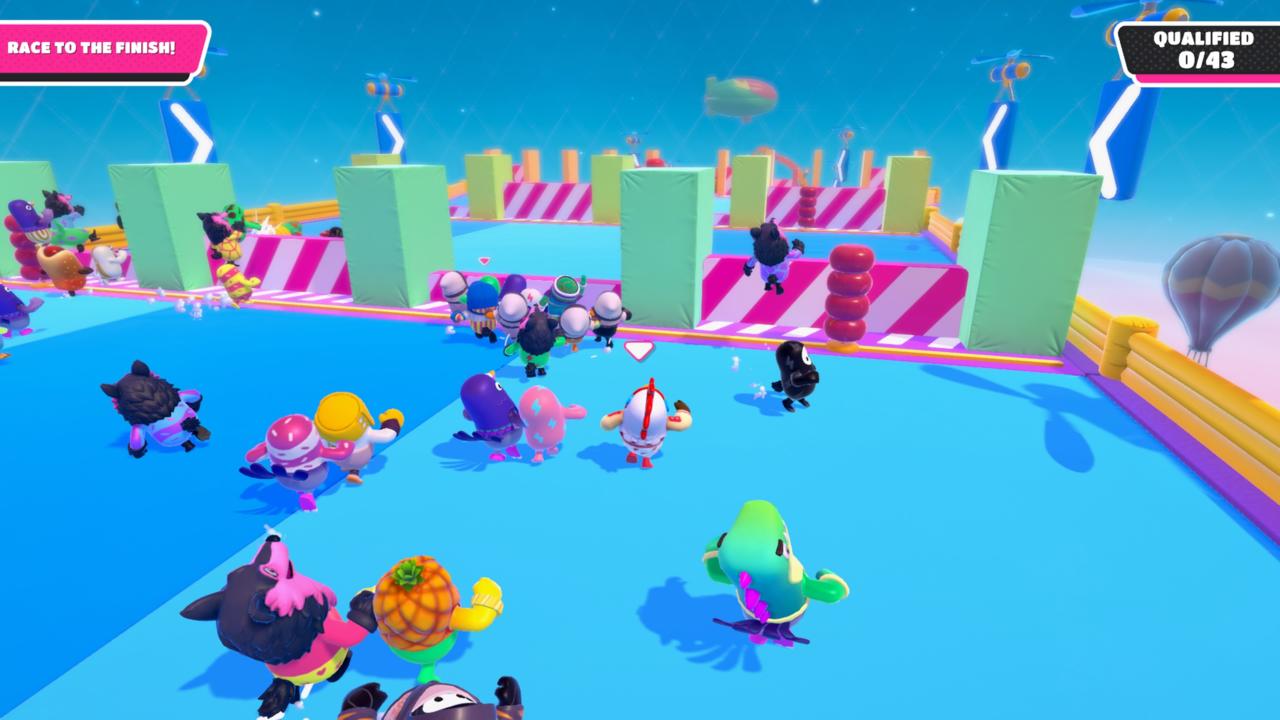
Once you reach the slime slope just before the finish line, you'll want to begin sliding down it as one of the gates at the bottom is at its maximum height. By the time you reach the bottom, it should be lowered, making it easy to do a jumping dive to the finish line. If you've timed it wrong, you can start walking backwards on the slope to slow your descent and give you time to pick the right gate.
Hit Parade
You'll have an easier time crossing the rotating logs at the beginning of Hit Parade if you start at the front, but if it's crowded and you fall off you can head straight up the slope without losing much time. Following the crowd during the next turnstile section is actually ideal since you'll have no chance trying to push against them. You'll want to break off once you reach the gate, though, as there are two openings on the left and right that no one else seems to use. Opting for one of these is much easier than struggling to get through the middle when there's a congested crowd of players all trying to do the same thing.
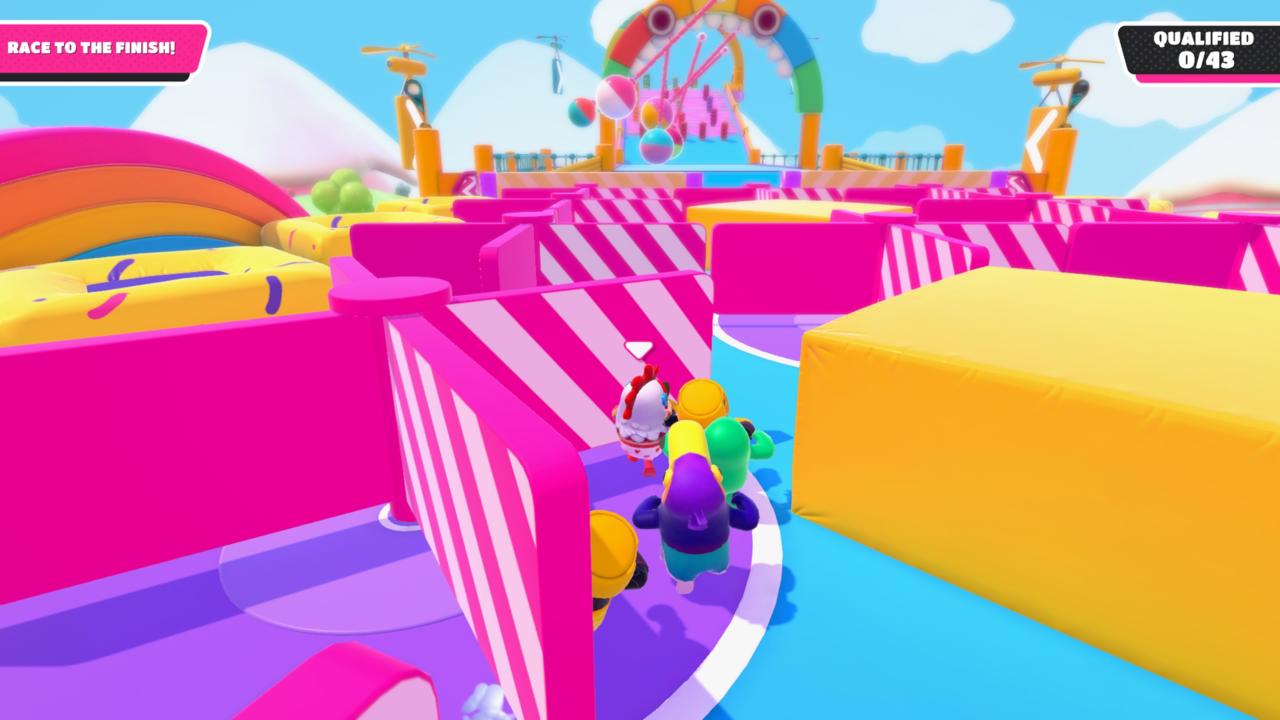
Avoiding the swinging obstacles is easy enough as long as no other players knock you into their path. The final slope is also very simple; you just need to stick to the left or right side of the ramp and none of the obstacles are able to hit you.
The Whirlygig
You'll want to time your jumps to get over the first set of spinning obstacles in The Whirlygig, but it can actually be highly beneficial to let yourself get hit by them. As long as the obstacle is hitting you in the back, you can stand still and take the hit, and it will often launch you forwards and into the lead.
Next up you'll want to use the yellow conveyor belt to give yourself a running jump towards the next platform. Getting up here can be tricky if there are a lot of people in the way, but you can ignore the yellow platform completely and simply jump towards the highest ledge and use the grab button to pull yourself up. This is usually easier than trying to jump between both platforms amidst a sea of players.
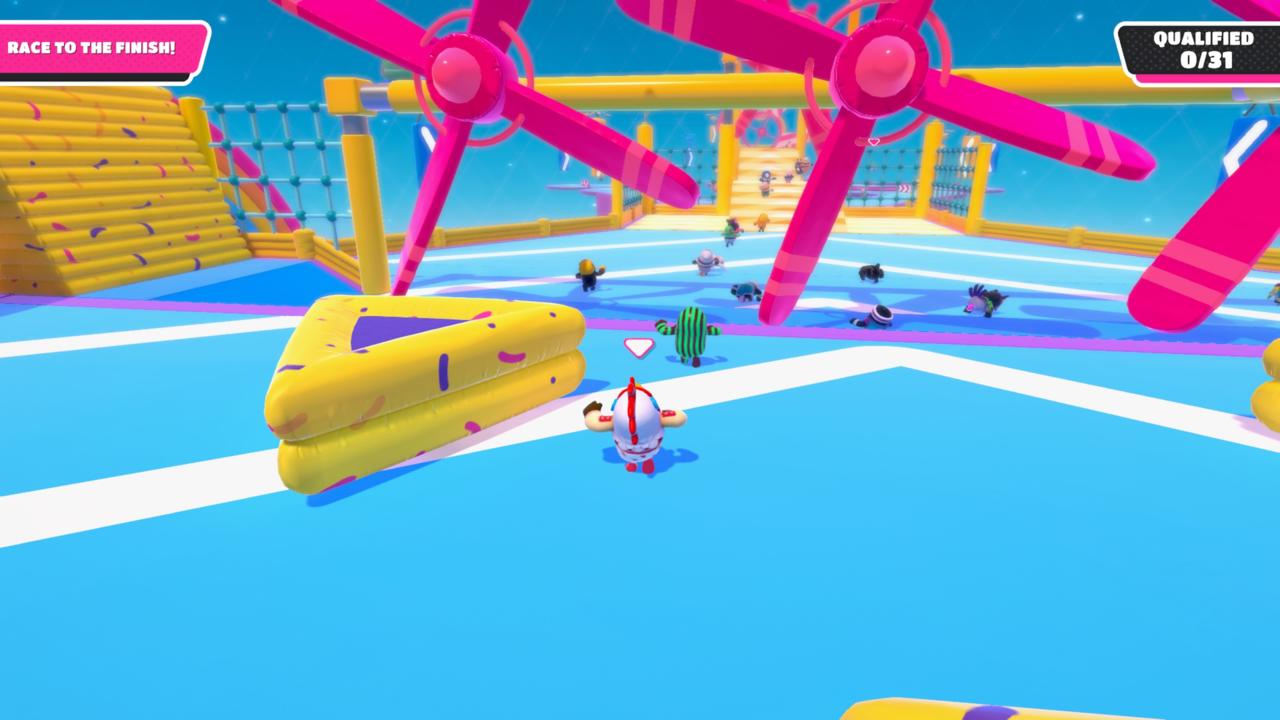
The first large fan you encounter can be avoided by timing your diving jump. The next fan is the easiest of the lot, since you can just run through the small gap between the middle fan and the ones on either side without getting hit. The next one is slightly trickier since you can't time your jump when a conveyor belt is sending you hurtling towards it. Diving does increase your chances of getting through, however, even if you get hit.
Coming up to the final set of obstacles, the middle path can seem a bit daunting, but it's definitely worth a try. It's best to just barrel forward and hope you make it through the spinning fan unscathed, but even if you get hit by it, you'll usually land on one of the platforms on the right side. From here, you need to keep an eye on the spinning obstacles and jump between each platform. Once you reach the final one, you'll sometimes have to wait for the slow-moving fan to create a gap you can jump through, so make sure you don't get hit by the spinning obstacles while waiting.
Fruit Chute
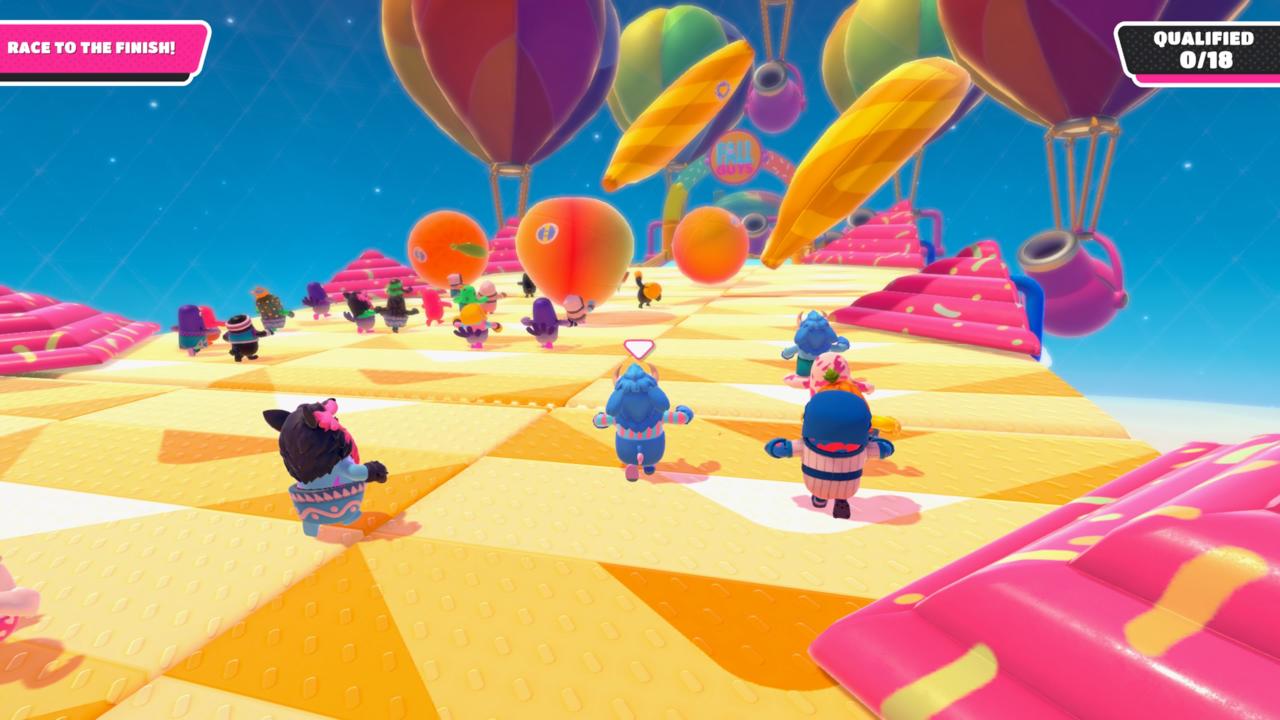
Fruit Chute features one long conveyor belt and a load of giant falling fruit that you'll obviously want to avoid. The key to this round is avoiding the middle altogether. The majority of the fruit tumbles down this way, and you also need to look out for a log that's frequently sent down. Stick to either side and try to predict which way the fruit is going to fall. Using the players ahead of you as human shields is also a viable strategy, but it can be risky if they fall into you and knock you over. Once you reach the top of the conveyor belt, you can run and dive to save time.
Tip Toe
Tip Toe usually appears in the latter rounds of a Fall Guys episode, which makes it tricky because only a few people can qualify. Your aim is to try and find the true path between the start and finish lines without stepping on the fake tiles.
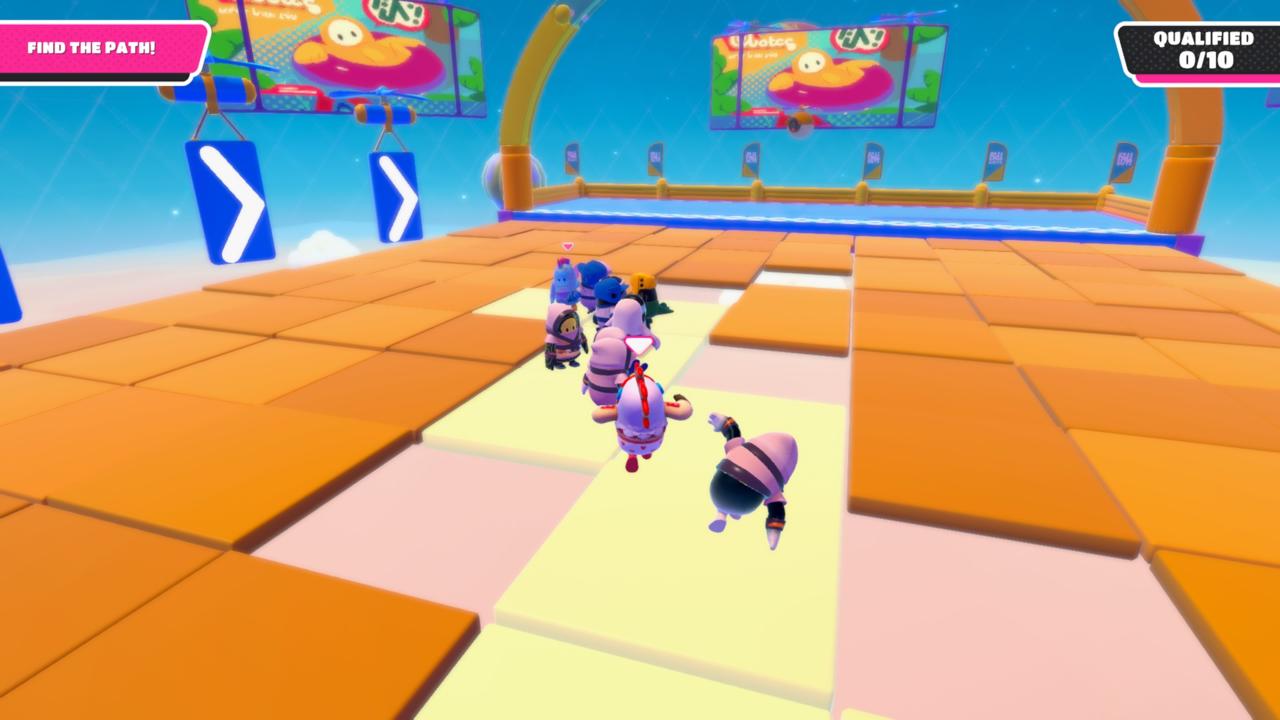
You can hang back and wait for other players to reveal the path forward, but this can backfire if you're too far behind when the final few tiles are revealed. The best course of action is to charge ahead at the very start of the round and hope you step on a correct tile. You can afford to try and chart a path forward because there's a little leeway near the start where you don't have to worry about falling behind. Once you approach the end, however, everyone tends to bunch up and begin pushing and shoving each other to try and test the next set of tiles without falling themselves. You'll want to try and get in the middle of the crowd so you're not easily pushed off, then it's a matter of waiting until the final path is revealed before running and jumping to safety. You can also perform a diving jump over a single tile, which is useful for cutting ahead of people.
Slime Climb
Slime Climb is the hardest race in Fall Guys, regularly knocking out the majority of the field in one fell swoop. This is mainly because it differs from other races by featuring a timer of sorts, and immediate death if you fall into the slime. Because of this, outpacing the other players isn't as important as outpacing the slime. As long as you can stay ahead of it, you should be able to qualify.
At the start of the race, you can jump up the yellow bumpers and use them as a shortcut to reach the next platform. This is common knowledge at this point, though, so it can be a risky move when a bunch of other players are doing the same thing. You don't want to get knocked off before the race has even really begun.
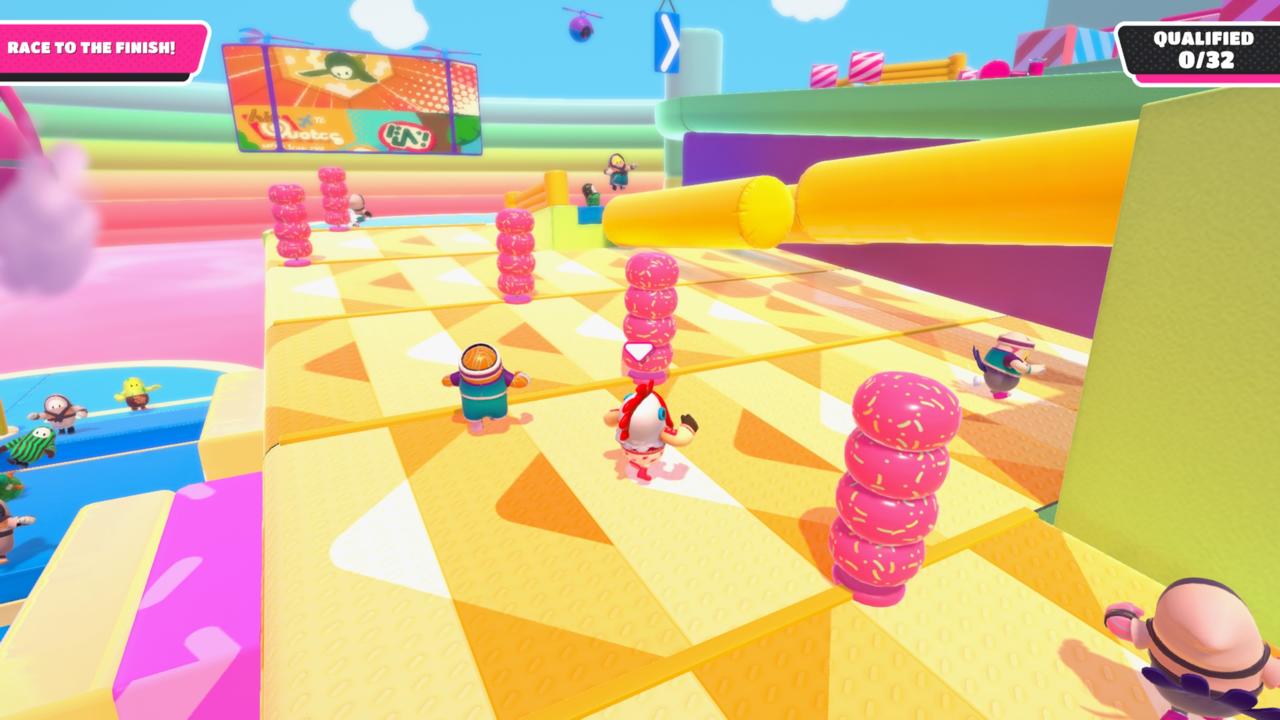
Avoiding the balls is simple enough, as you can pass by them on either side, but other players are your biggest threat when jumping between the next set of platforms. You need to time your jump between the moving blocks, which means a lot of players often end up bunched together here. The timing of the moving blocks also changes at random, so ideally you'll want to jump between them when they're alternating instead of synchronised. Sticking to the right side also gives you more room to make the final jump if the block is heading your way.
You'll want to keep running to the right on the conveyor belt to avoid falling off the side, then avoiding the obstacles is as simple as timing your dash between them. The rotating yellow logs can be tough to navigate when other players are in the way, so it can be worth waiting till it's free before making your way across. At least then you have some control over each log's rotation.
Heading up the slimy slope is fairly easy, but sticking to the right side is safer since the spinning mallet's have less chance of knocking you off the platform. You can play the next set of moving blocks safe by stopping between each one if you have the time. For the final slime-covered area, you'll want to stay in the middle and within the yellow lines on the floor. From here, it's relatively easy to move between each obstacle one at a time; just avoid the edges so you don't slip off. Then you just need to time your dashes between each of the swinging balls to make it to the finish line.
Survival Rounds
Some Survival rounds have timers that will automatically qualify you for the next round if you're still alive when it hits zero. You can also qualify by avoiding elimination and outlasting a set number of players. Below are the survival rounds that can appear in an episode of Fall Guys.
Roll Out
Roll Out places you on a massive rolling log where the goal is to simply survive before enough people have fallen off and been eliminated. The log is split into five sections defined by different colours. Each section rotates in the opposite direction to the one next to it, so you constantly need to alternate between them to avoid rolling off the side.
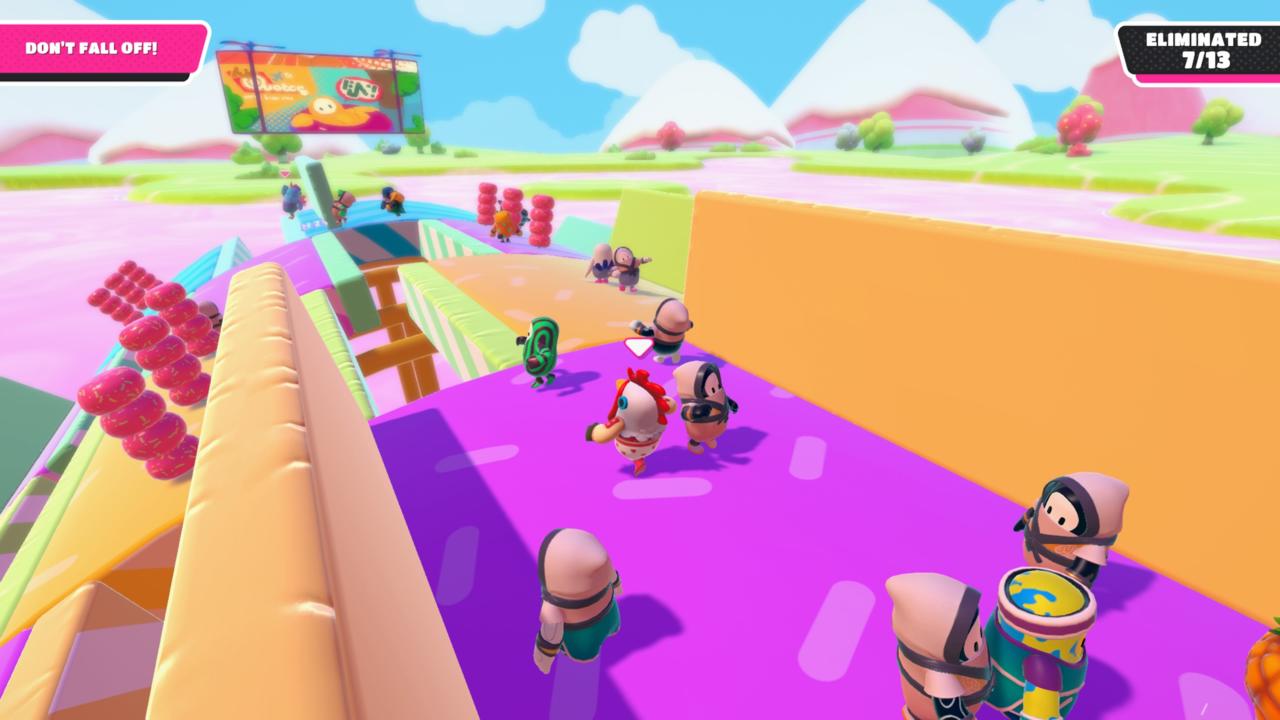
Camera control is key because it's easy to lose track of how far you've rotated unless the camera is level. Walking between two sections keeps things simple, but you may have to abandon this strategy just to find small pockets of space. Other players don't like to adhere to proper Fall Guys etiquette, especially in elimination rounds, so they will grab onto you in an attempt to make you fall. You'll mainly want to look out for gaps in each section that are easy to fall into. You can jump and dive over these to keep your position on a single section, but this is a risky strategy if you mistime your jump or collide with another player while doing so.
Block Party
Block Party takes place on a single platform as you dart back and forth to avoid an array of obstacles trying to push you off. The round will end after a set number of players have been eliminated, but there's also a timer, so you can simply wait out the clock.
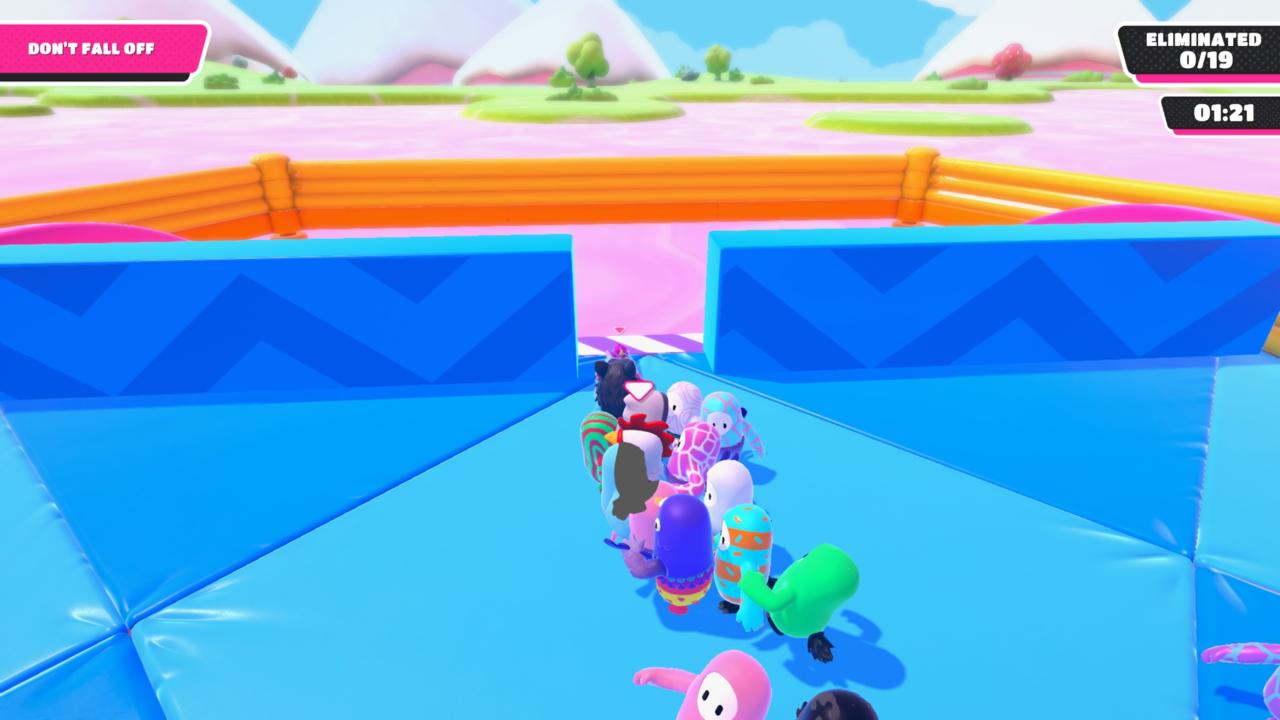
You'll want to stand somewhat close to the front, so you can get a view of what's coming and you're further away from the impending doom at the back of the platform. From here, you need to dash from side to side to squeeze through the gaps between each obstacle. Eventually, there are low blocks connecting the obstacles that you'll need to jump over. Don't worry if you fall down because you can usually get back to your feet before the next one arrives. Mashing the jump button also helps. There's no concrete proof that this actually does anything, but it will make you feel better.
As you reach the end of a timer, everyone will be funneled between obstacles in the middle of the platform. This part can get tricky if there's a lot of people left and you end up bunched together. Chaos reigns supreme here once more, but if you can keep an eye on what's ahead and stay somewhat close to the front, you should be able to survive the last few seconds of the round.
Perfect Match
Perfect Match is a little different to anything else in Fall Guys, requiring you to memorise the location of fruit on a variety of platforms. The first round is easy enough as you only need to remember two types of fruit. The best strategy is to stand somewhere where both types of fruit are right next to each other, that way you can either stay put or move to one side depending on which fruit appears on the screen.
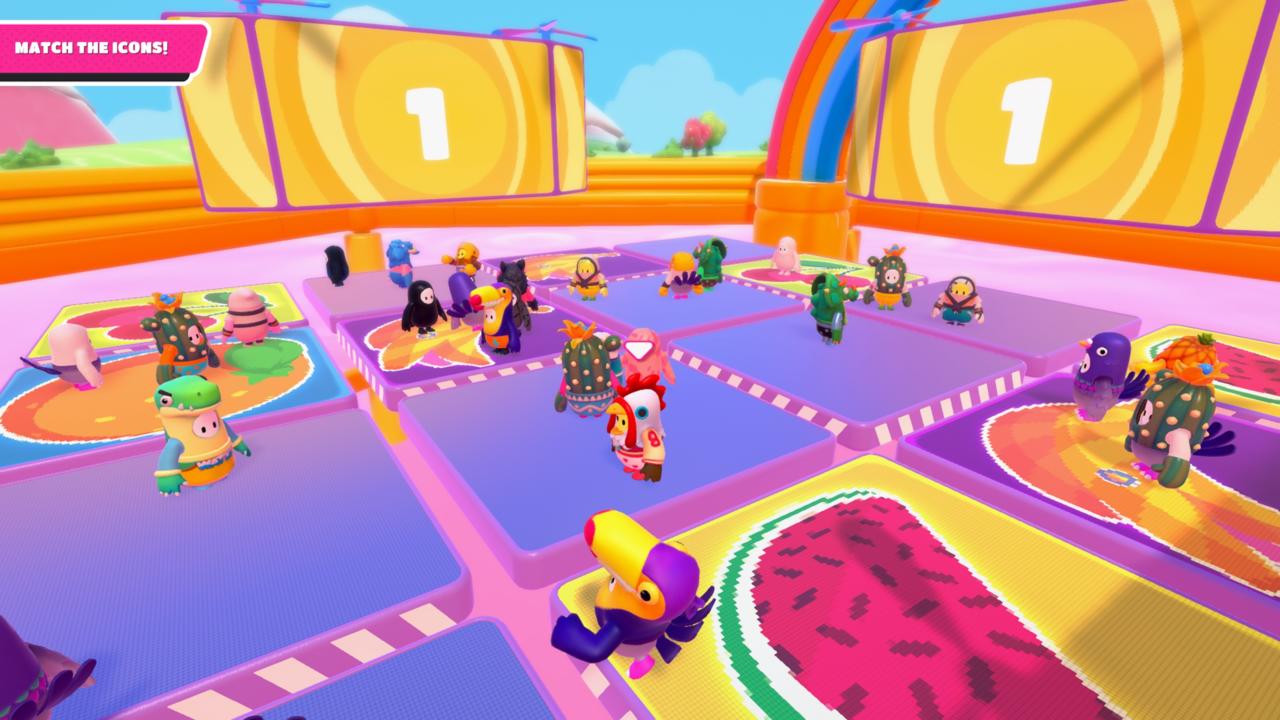
Things get a little harder after this, as you're asked to memorise the location of multiple types of fruit. You'll want to try and position yourself between a cross-section of different fruit panels, so you never have too far to travel. This is easier if you're playing in a four-person party since you can each stand on a specific fruit and make note of the others in their immediate vicinity. If you're not playing in a group and you're not very good at remembering where things are, you can always just follow other players that look confident enough and hope they're right. This actually works most of the time, and there aren't that many eliminations in Perfect Match as a result.
Jump Club
Jump Club tasks you with hopping over a spinning log that gets increasingly faster as the round progresses. You need to jump over a smaller log positioned at feet height while also being aware of the larger second log that spins around at head height. The key is to make sure you're able to jump over the smaller log without getting hit by the larger one.
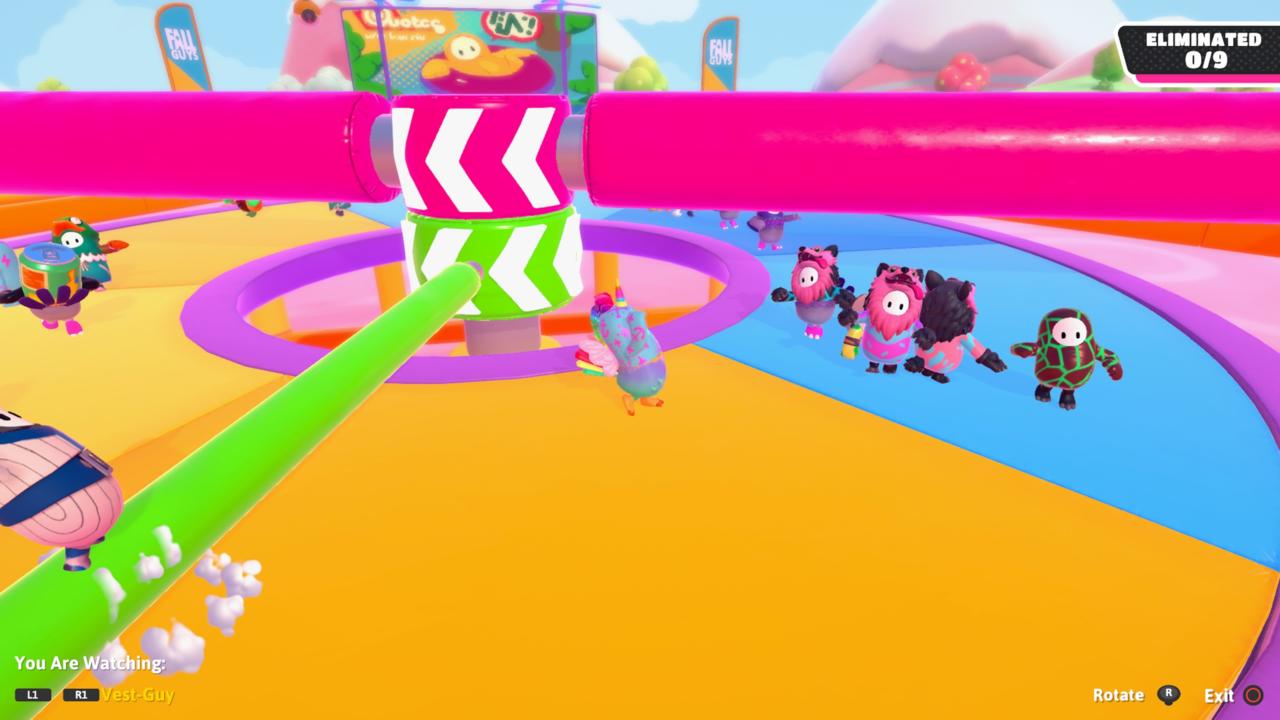
Other players are a hazard in this round, as they often are. If you can, you'll want to try and find some space, so you're free to jump without colliding with other players or being grabbed by them. You'll also want to stand towards the middle of the platform, so if you do get hit, there's a chance you're not immediately flung off the side. You can sometimes survive being dragged around the platform by the smaller log, and this might give you the time you need to outlast the other players.
Tail Tag
You need to be in possession of a tail at the end of the round to qualify from Tail Tag. It doesn't matter how long you hold a tail for, only that you have one when the timer hits zero. It does make it slightly easier, however, if you're one of the lucky people to begin the round with a tail already. By making a beeline straight for the middle of the arena, you can move into the centre of the spinning mallet. This gives you some degree of protection since people will often rush in and get hit by the mallet instead of being patient and timing their run.
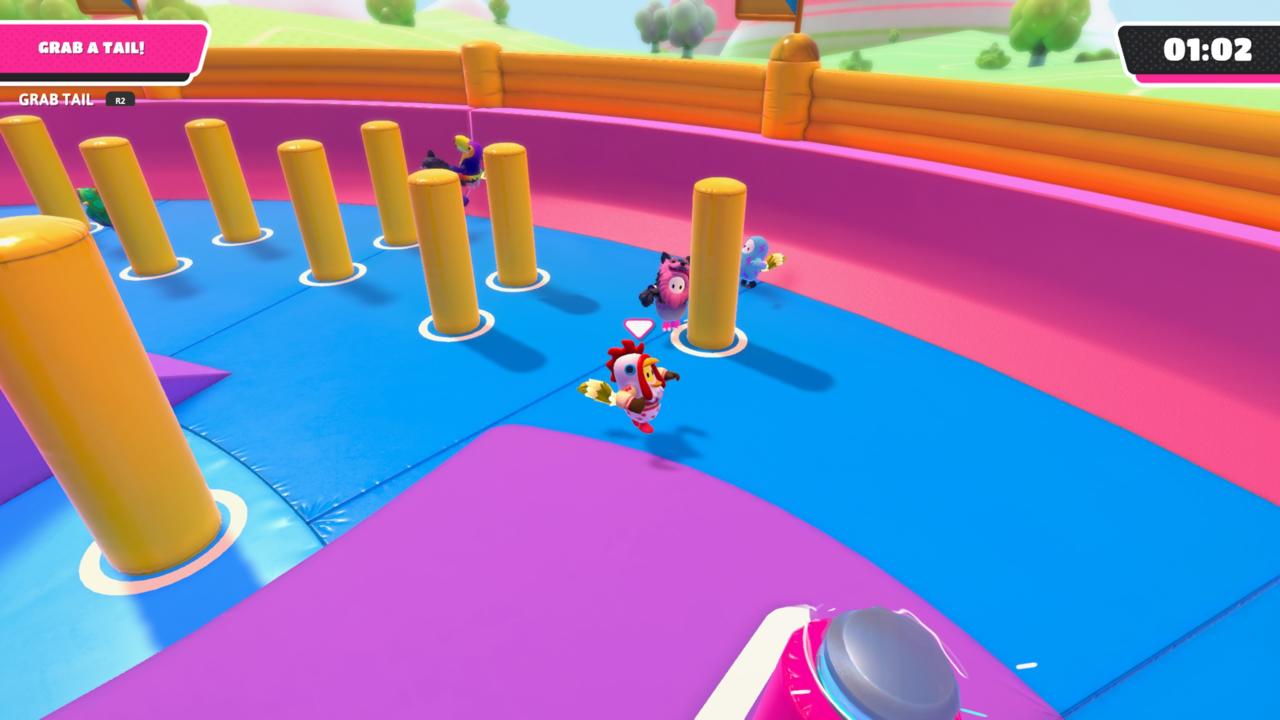
Executing a diving jump between the ramps leading up to the mallet is also a viable strategy. You can stand still and wait for any tailless opponents to start heading towards you before diving between the ramps to avoid them. If you don't have a tail, just remember that everyone runs at the same speed. You're going to need to cut other players off by taking shorter routes. Holding down the grab button also slows you down, so only do it when you know you're in range and can grab onto someone.
Team Rounds
Team rounds but you together with other players in random teams. The number of teams varies from round to round, but the losing team will always be eliminated, whether there are two teams, three teams, or four teams, so you don't necessarily need to win to qualify. Although the best way to progress is probably by not being yellow team. Below you'll find the team rounds that appear in a Fall Guys' episode.
Team Tail Tag
Team Tail Tag is an obvious variant of Tail Tag, so many of the same strategies apply. The arenas are different, but there are still mallets you can hide in the centre of, and the only thing that matters is how many tails your team has at the end of the round.
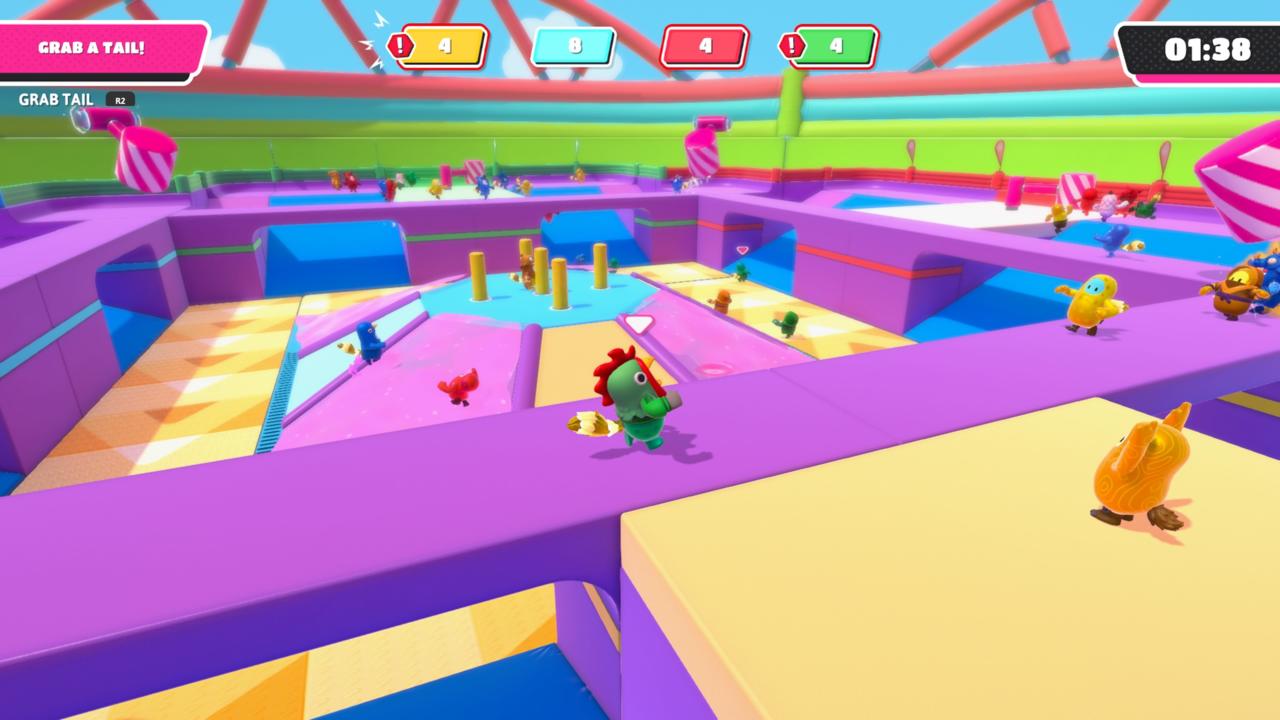
Being in possession of a tail is the best way of helping your team win, but there are also other ways to help out. If, for instance, you see a teammate chasing a member of the opposition, you can grab onto them if you have a tail yourself and let your teammate catch up and nab it for themselves.
Fall Ball
Fall Ball is essentially football with two balls or Rocket League with no cars. Score more goals than your opponents and you win. Simple.
Teams vary in size between one Fall Ball match and another, so you might find yourself in a 10v10 while the next time you encounter the round it might be 4v4. No matter how big or small your team is, you always need a goalkeeper (or two). If you're not playing with friends, this isn't something you can work out, so just look between the goalposts and make sure you're there if no one else is.
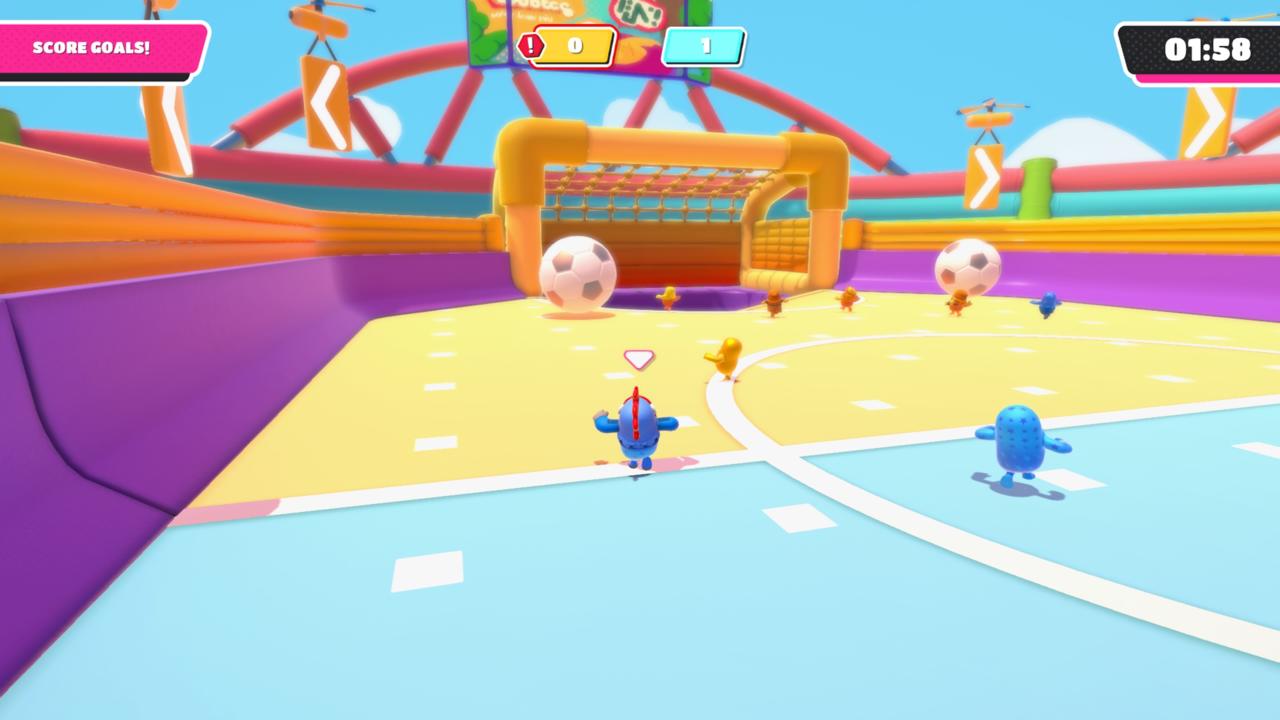
Jumping or diving at the ball can give it a substantial boost, but this doesn't really help if an opposition player is directly behind the ball. You'll want to make sure you're only propelling in forward when there's space for the ball to travel. One of the easiest ways to score is by positioning yourself on the halfway line after a team has scored. A new ball will drop out of the sky, so if you can position yourself near its shadow, you can time your jump right and connect with it like a Steven Gerrard volley, sending it hurtling into the top corner.
Rock 'N' Roll
Rock 'N' Roll is another team game centered around a giant ball. It tasks your team with rolling your ball through a series of obstacles to reach the end of the arena before both of the other teams can.
It's very rare that one or two people won't immediately dash to the final stretch in a bid to intercept the other team's balls. As long as you still have enough people pushing it, you'll be able to roll the ball through the obstacle course without too much trouble. You can get past the first obstacle by moving the ball left or right, depending on which side you initially take. From here, you can avoid the rest by pushing it to the left or right wall and then moving forward.
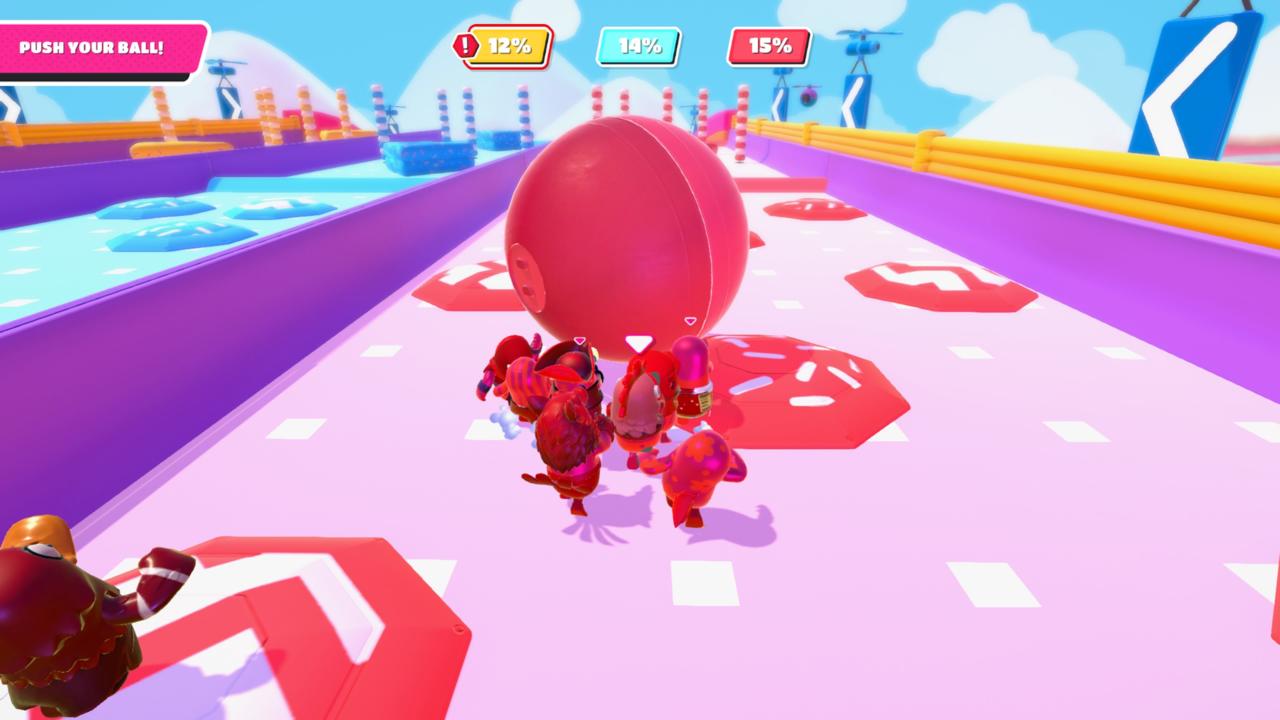
Once you reach the final ramp, there's going to be a bunch of rival team members trying to get in front of your ball and stop it. If you have enough people behind the ball, you can usually force it past them, but it's also beneficial to have some team members go and grab them to shove them out of the way. You only need to beat one team to qualify, so focus on pushing your ball onto the slope where there's nothing anyone else can do to stop it.
Hoarders
Hoarders continues the giant ball theme, except this time you need to keep as many of the balls inside your team's zone as you can to qualify. The only thing that matters is how many balls you have when the timer runs out, but things can change very quickly, so don't ever think you're safe.
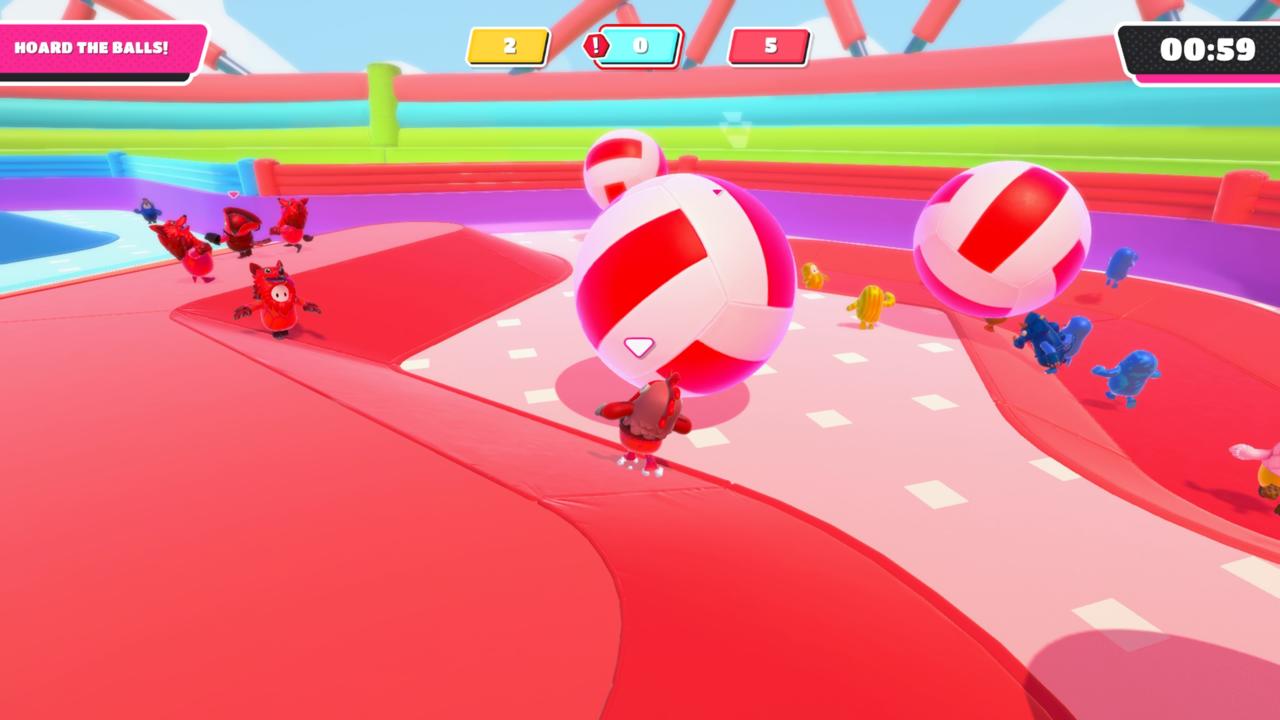
If your team has a few balls inside its zone, the best thing you can do is push them to the very back where there's a shallow pit in the floor. It's harder to steal a ball from this area because you have much farther to travel, and the shallow pit acts as another obstacle in your path since you need to push each ball out over the lip. If you have a few balls in the pit, you just need to focus on defence and stop anyone trying to take them.
If you're losing, head to whichever team has the most balls and try to push one or more out. Pushing a ball into the other team's zone can work, too, since you only need to not come last in order to qualify. As long as you have more than one of the three teams, you'll go through.
Egg Scramble
Egg Scramble is similar to Hoarders, except you're dealing with a plethora of small eggs. Like Hoarders, you just need to avoid coming last to qualify, so ensuring one of the teams has next to no eggs can sometimes be more beneficial than having a bunch yourselves.
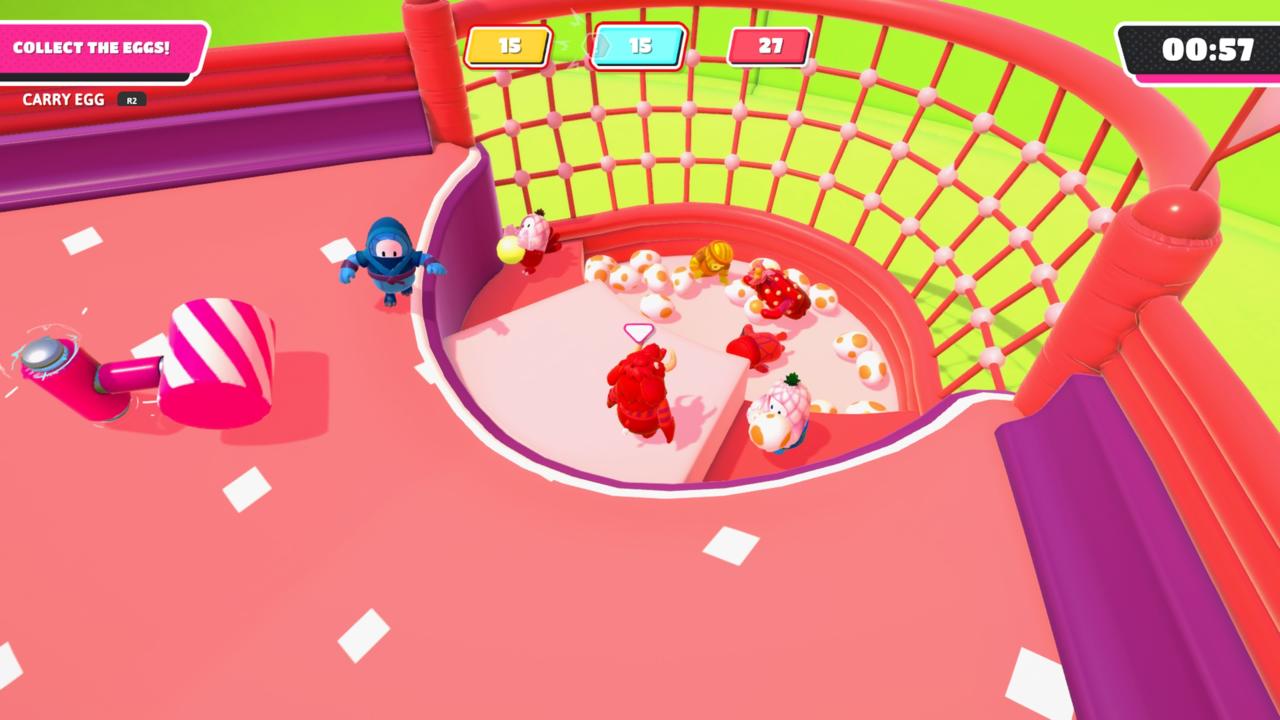
The best way to win, however, is by grabbing the special gold eggs. These are worth five points each, so you can normally qualify just by holding a few of them in your coop. If your team does have a couple of gold eggs, you can pick them and stand at the back of your coop to stop anyone else from stealing them. They're going to need to grab you to wrestle the egg free, but this just means they'll usually fall back into the coop, allowing you to grab it again. Having a few people positioned at the top of your coop is also beneficial since they can stop anyone trying to leave with a stolen egg in hand.
Stealing eggs can be difficult if there are a lot of people in the way, but it is possible to leap and then let go of the grab button to launch an egg into the air. Lobbing one out of another's team's base is a lot easier than escaping with one in your arms.
Hoopsie Daisy
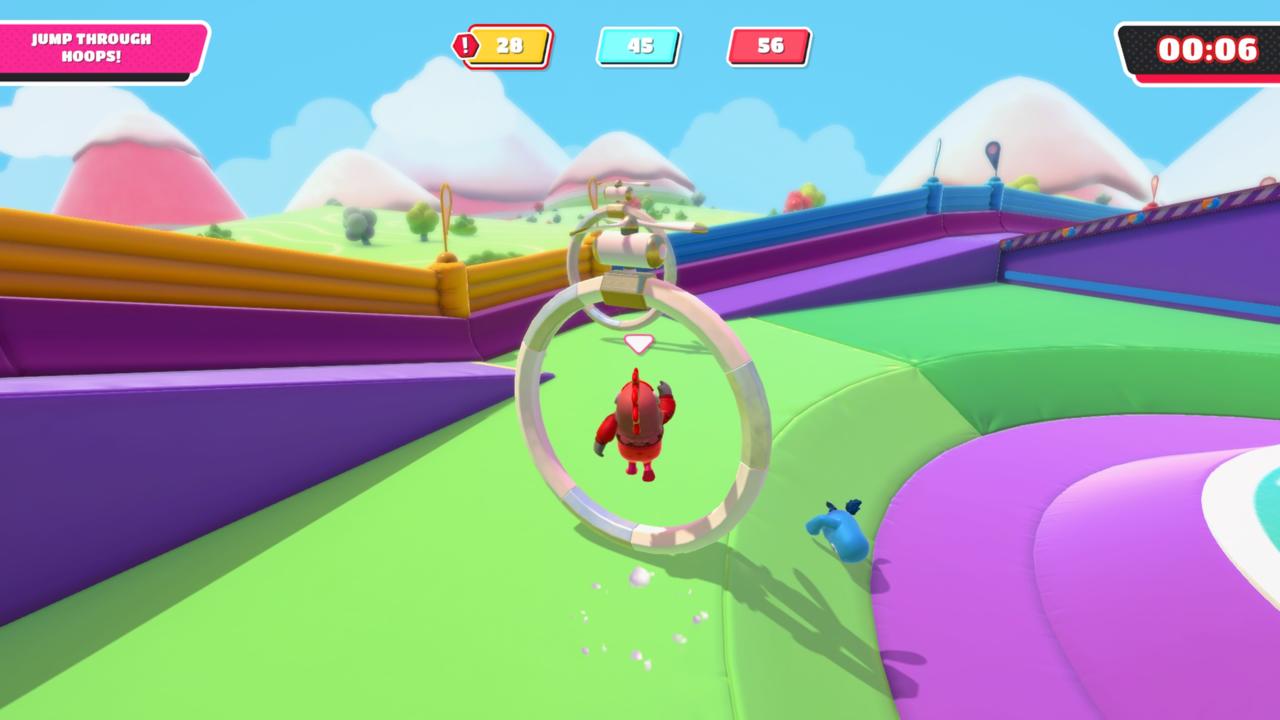
Hoopsie Daisy is all about jumping and diving through more hoops than your opposition. You'll want to avoid big crowds during this round, lest you end up chasing after hoops that you have no hope of reaching. Your best bet is to seek out areas with few players and position yourself in areas where you know a few hoops can drop. You'll also want to keep a look out for the special golden hoops since they dish out more points and can alter the course of a round.
Jinxed
Jinxed is essentially zombie tag. Avoid the infected for as long as you can and then grab members of the opposite team once you've become one. The round ends when an entire team has been infected.
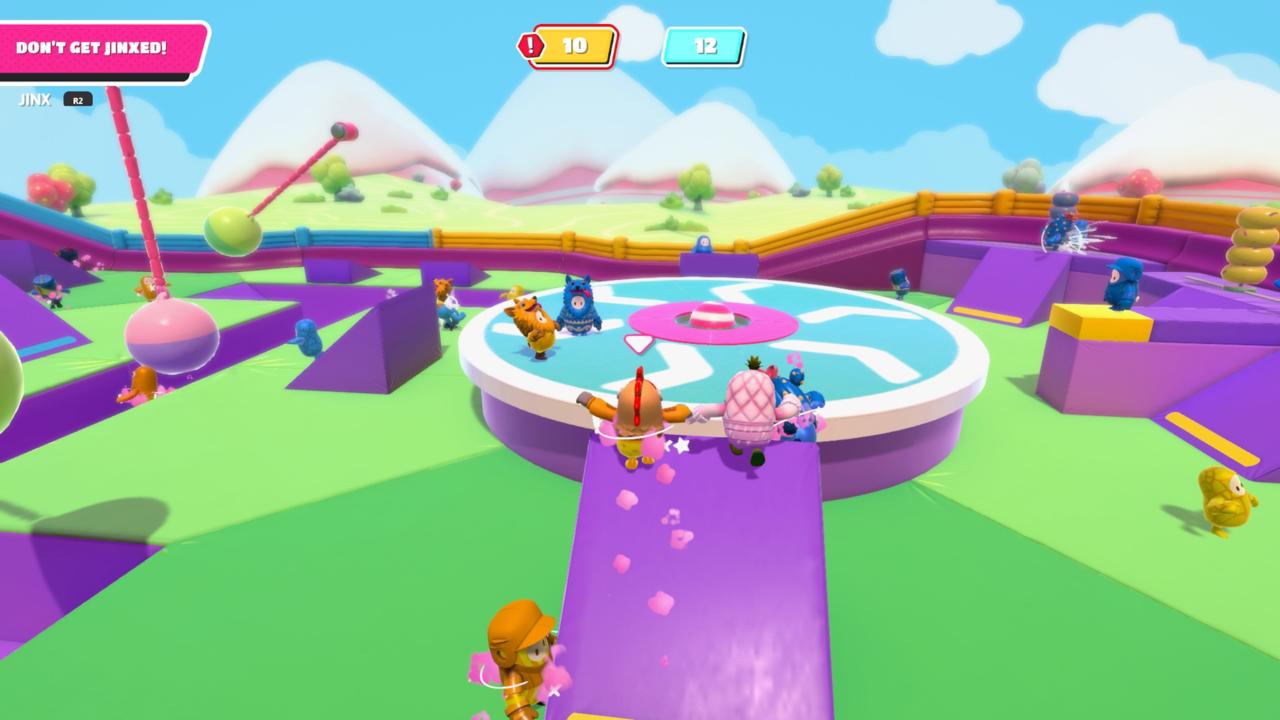
Only one person per team starts as an infected, so try to locate them and avoid their area at the start of the round. There are spinning platforms on either side of the arena that you can stand in the middle of and get a good view of any infected players heading your way. If you do get infected, remember to try and cut off players instead of following behind them. You can also try to protect teammates that haven't been infected by grabbing enemy team members to slow them down.
Final Rounds
If you're lucky enough to reach the Final of a Fall Guys' episode, you'll have to beat everyone else in one of the following rounds.
Royal Fumble
Royal Fumble is another variant of Tail Tag that takes place on a different map with a much smaller pool of players and only one tail.
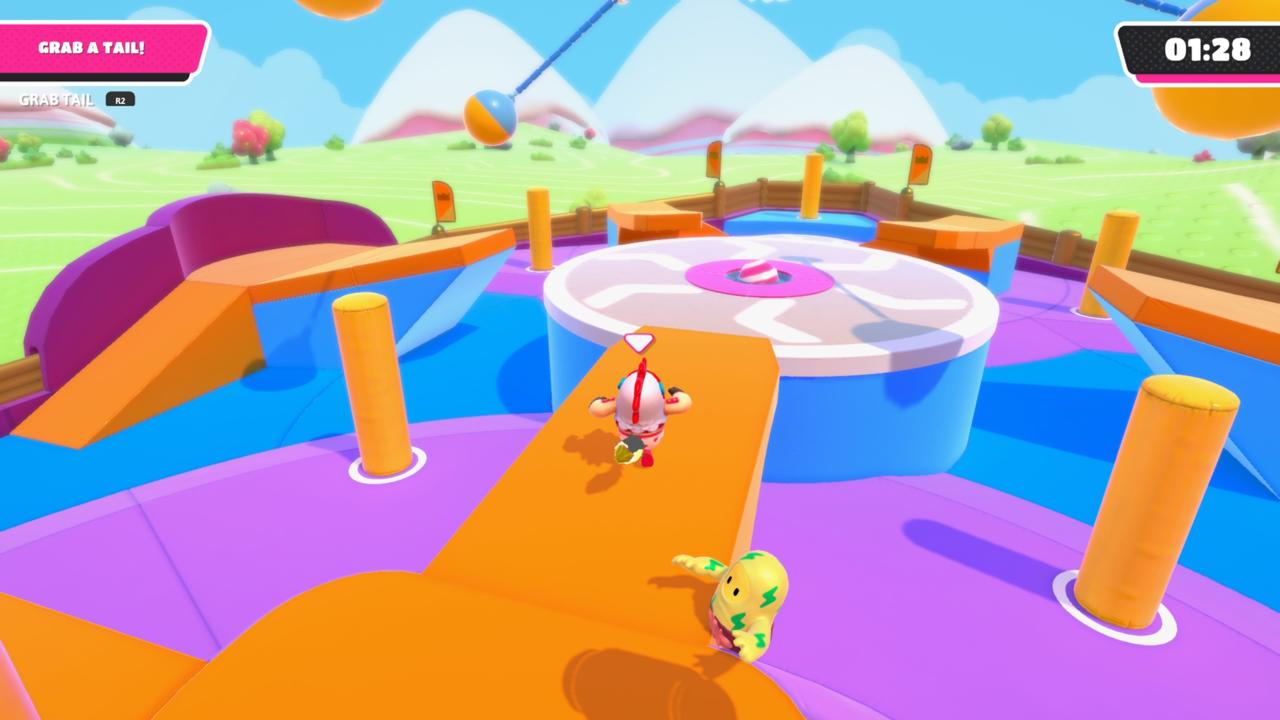
Again, it doesn't matter how long you hold the tail for, only that you have it when the timer runs out. Once you have the tail you just need to keep running and never stop. Everyone else will try to cut you off, so you'll need to make use of the higher platforms to outmanoeuvre them and hope they get knocked down by the spinning balls. You'll also want to avoid jumping from a higher platform onto the floor since this will make your character fall over and leave you wide open to having your tail snatched away.
Hex-A-Gone
Hex-A-Gone is all about outlasting your opponents on tiers of disappearing tiles. Your chances of survival depend on how many players make it to the final round. You might end up competing with five other players or have to face as many as 17.
Either way, you'll want to try and avoid other players since they'll cut in front of you to try and make you fall or collide with you outright. Keeping to the edges is a useful strategy since you can cut back into the middle if you're on a collision course with another player. One technique that has become popular revolves around slowly jumping between tiles to try and use as much time as possible and remain on the higher tiers.
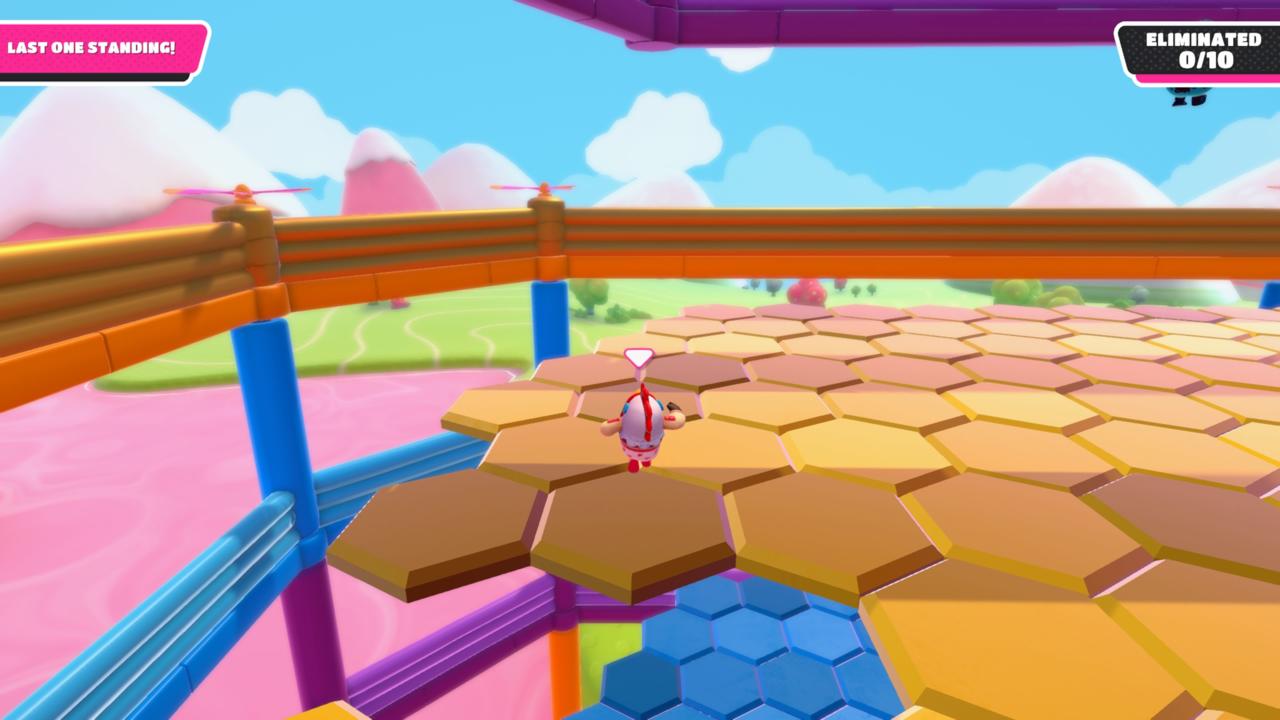
Keeping the lower tiers in your vision is paramount because you don't want to fall through multiple tiers when you could've landed on the one immediately below you. You'll also want to try and avoid jumping or diving onto the lower tiers, as this causes you to stumble when landing. If you can, try and simply fall to the next tier.
Jumping and diving to distant tiles is possible, but you'll want to start mashing the jump button as soon as you land to avoid falling once the tile disappears. If you make it to the final two, and especially if you're both on the final tier, try and take things slow by jumping at the last moment. Maximising your time is possible because even if you fall the other person might hit the slime a second before you, granting you the victory.
Fall Mountain
Fall Mountain is the ultimate race to the finish line. It's a short course, so you'll be punished for your mistakes more hardly unless the rest of the players also suffer similar fates.
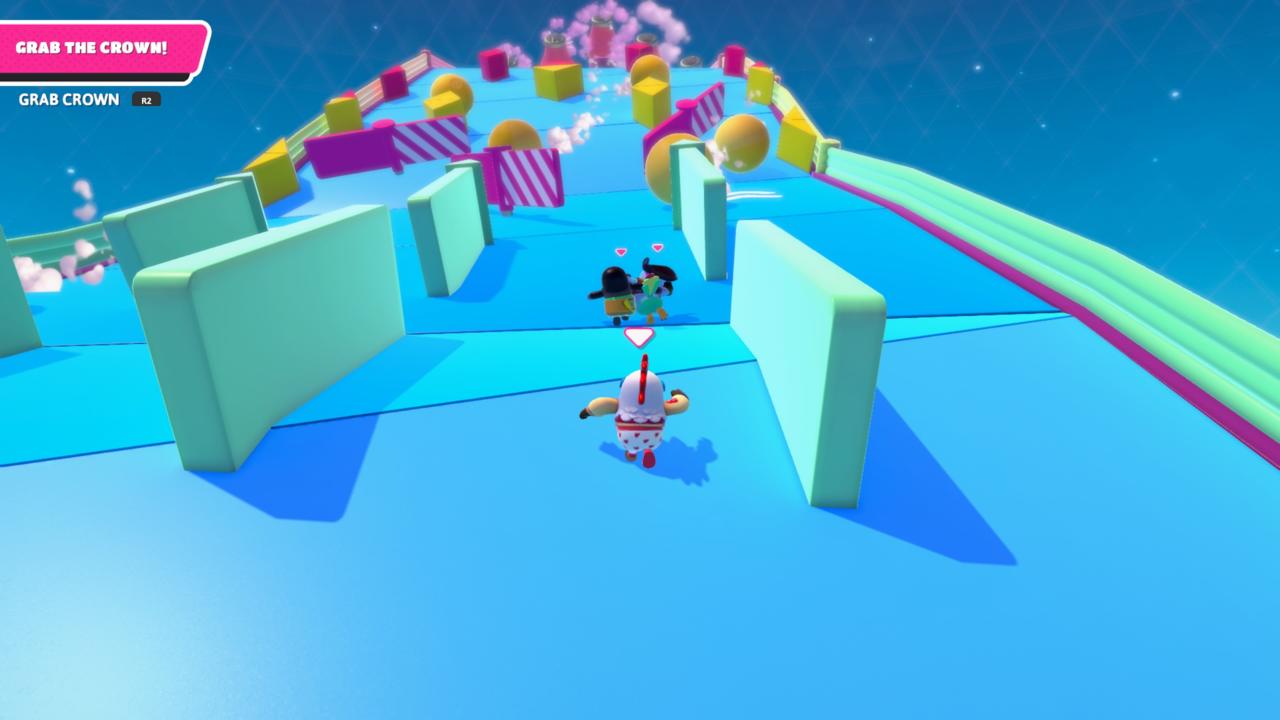
At the start of the race, you need to decide whether you're going to head up the left or right path. Whichever way you choose, you'll want to pass through the turnstile on the opposite side to the giant balls that are flying down the slope. Once past the turnstiles, keep alternating between the different paths to avoid the balls hurtling towards you. Now you just need to pass through the spinning mallets unscathed and jump up the stairs. Aim for one of the mallets that's spinning in such a way that it will hit you in the back if your timing is off. At least this way, there's a chance you'll be hit forwards instead of backwards.
At the top of the mountain, you need to jump and grab onto the giant crown to win. The crown moves up and down so don't jump too early and miss it completely. Even if you're lagging behind, it's possible the player's in front of you will do this, so don't give up even if things look bleak.

