FF7 Remake Side-Quest Walkthrough: All The Side-Quests And Their Rewards
Below you can find a roundup to all of our side-quest guides, which contains details about how to complete them and their rewards.
Final Fantasy 7 Remake is a mostly straightforward game, but every once in awhile, you get the opportunity to complete the side-quests. There are four chapters in total with side-quests, each yielding unique rewards. Below you can find a roundup of every side-quest walkthrough we've created, which include step-by-step breakdowns on how to complete them.
Chapter 3
FF7 Remake's third chapter is your first foray into the game's semi-open sections where you get to complete side-quests. None are especially difficult, so you should definitely complete them all, as doing so gets you a special story moment with Tifa at the end of the chapter.
Chadley's Report
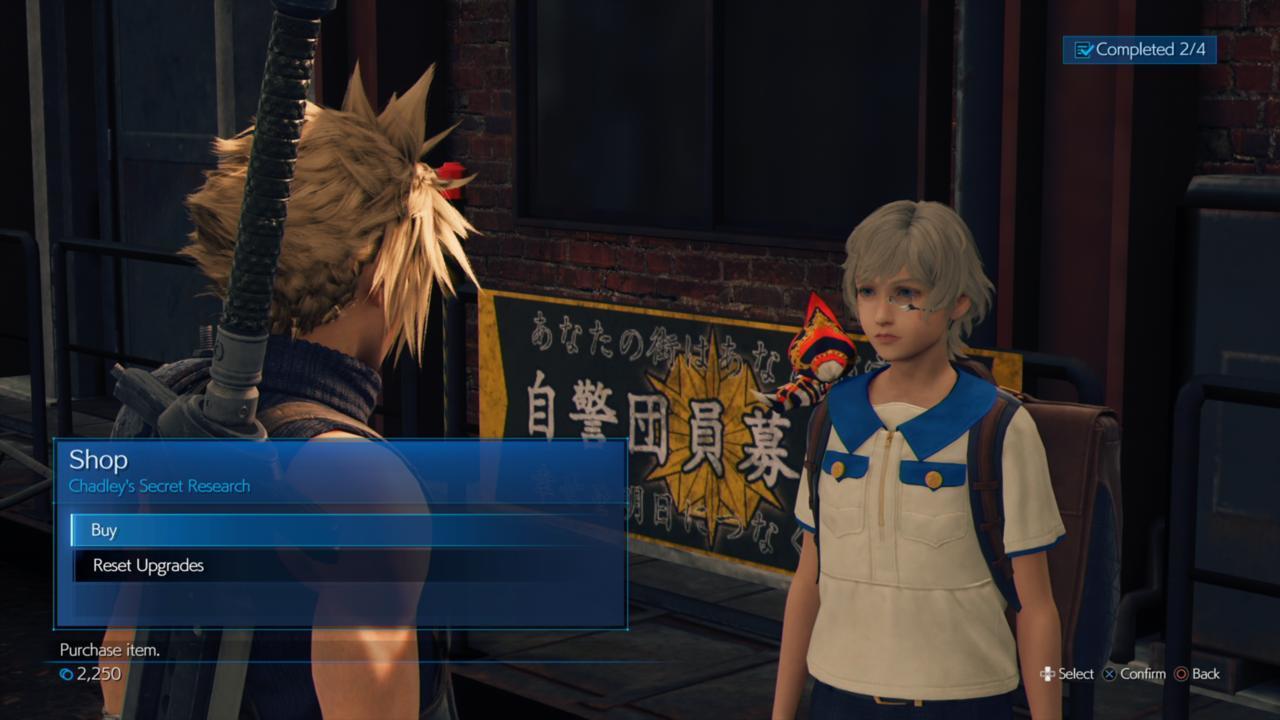
Chadley is the weird kid standing next to Wymer, who wants your help developing new materia. He'll give you the Assess Materia when you take on the quest; use it on any enemies you fight from here on out. It'll give you valuable tactical information, while completing this quest for Chadley. Later, he'll give you Battle Intel assignments with a variety of objectives to unlock additional materia. For this one, return when you've analyzed two different types of enemies to buy the Auto-Cure Materia at a discounted rate.
Lost Friends
Visit the little girl playing west of the Beginner's Hall, who will dispatch you to find three missing cats. Keep talking to her and she'll provide some hits as to where to find them, as well.
The first cat is pretty easy to find, sitting on the porch of Seventh Heaven. From there, head east to find the second cat, sitting on the north side of the road at the next intersection.

The third and final cat is hidden among the houses north of the Beginner's Hall, just before you reach the Item Shop. You'll see a woman with a green marker over her head standing in front of a pipe. Talk to her, then slip into the pipe to find the last cat and finish the quest for a Maiden's Kiss.
Rat Problem
Talk to the Item Store owner, then take the path going north that's on the west side of Seventh Heaven. Duck through the pipe to enter a vacant lot full of rats. Take them out and open the chest on the east side of the area for three grenades.
Return to the lot and fight the Doom Rats. They're pretty quick, so try using Punisher mode to get counter-attacks and their melee strikes, and use magic to hit them at a distance. If you can do some sustained damage, you'll stagger the rats, which allows you to knock them out.
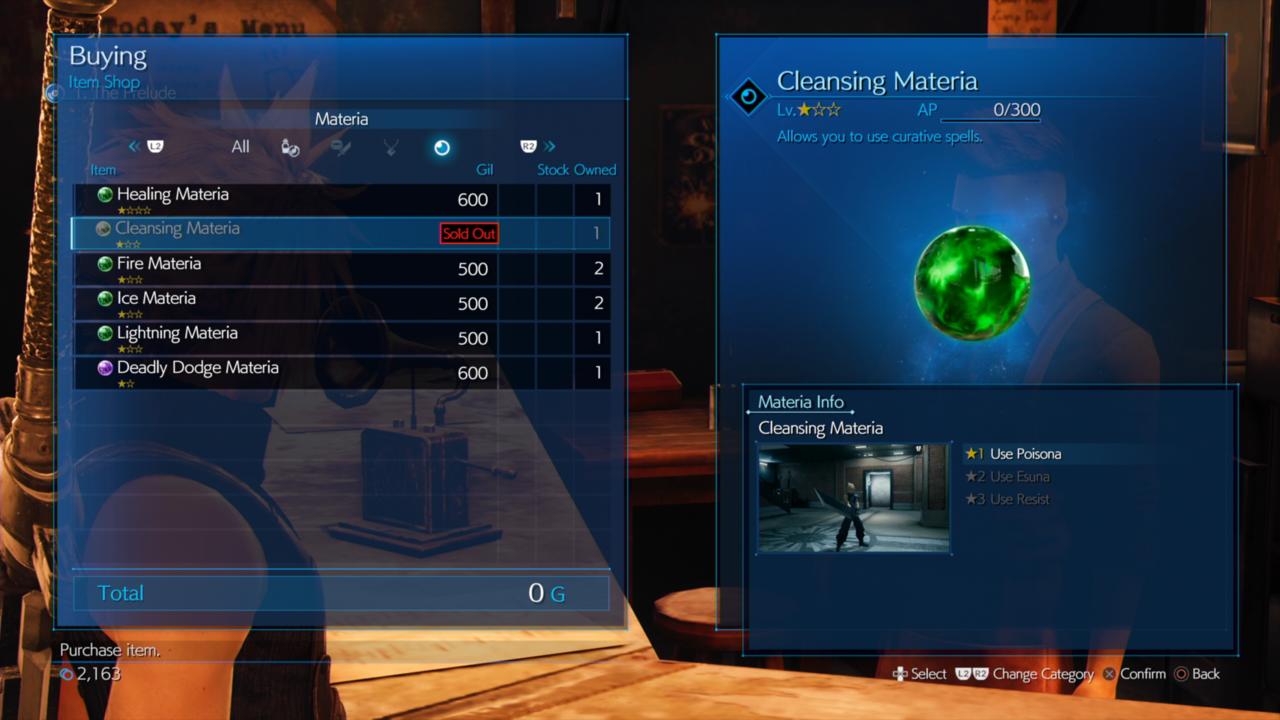
When you return to the Item Shop owner, he gives you five Hi-Potions. You can also buy a Cleanse Materia for a discounted price of 300 gil. It's a good idea to equip and use Cleanse when you can, since having the materia leveled up will help you with a minor sidequest story point later in the game.
On the Prowl
After you've cleared the first set of quests, return to Wymer, who will send you to Scrap Boulevard.
Find the Wrath Hound in the furthest west area of Rust Boulevard. Be careful of its attacks, as you can't interrupt them, and it'll hit hard and fast. Magic can build up the hound's stagger meter, so hit it with spells to try to push it over the line. Once you do enough damage, it'll flee. Head back to the entrance of Rust Boulevard to find Wymer, who opens the way to a new section of the area. You'll find the hound further in, but this time, you'll have to bring it down for good. You'll be rewarded an Elixir for your trouble.
Nuisance in the Factory
Talk to the Junk Dealer in the area behind Seventh Heaven. You can access it from the pathway going north on the west side of the bar. Then take the road toward the train station to find the way into the factory.
As you enter the factory's first warehouse, destroy the Shinra crates against the northern wall, then turn left and head to the west to find a chest near a locked gate. It has two antidotes inside. Follow the path north to find another set of crates.
Continue to the next warehouse and kill the four Gorgers. Be careful about letting them get close to you--with their Feast attack, they'll jump onto your characters and lock them up so they can't move. When that happens, switch to another character and wail on the Gorger attacking your character until it lets go. Check the northwestern corner for Shinra crates before moving on.
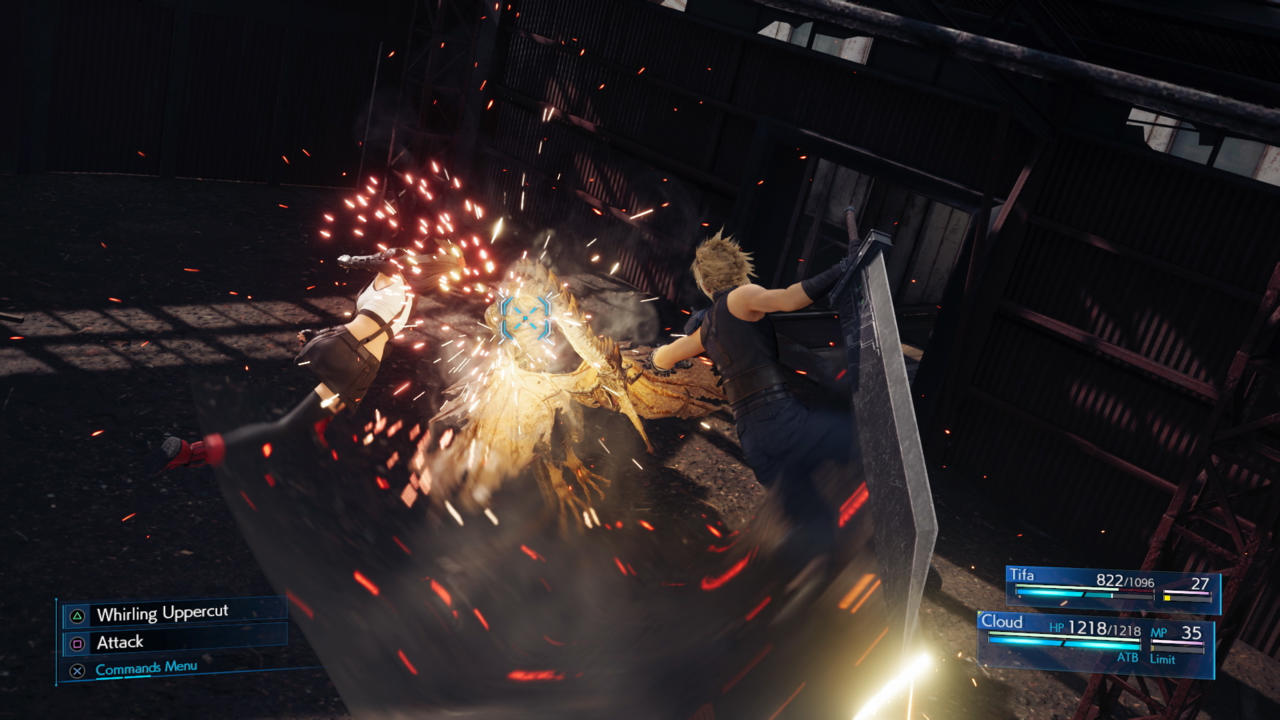
Keep heading north and turn left to find your first Lesser Drake. These creatures will hit you with powerful Wind magic attacks if you're not careful. Hit it with magic to bring it to the ground so you can wail on it; if you can hit it with Wind attacks yourself, you can quickly stagger it.
Use the switch to the right of the door on the south wall of this warehouse to open the big door. Beyond it is a chest with two sedatives inside.
Return to the south and take the path to the west. The next building has more Gorgers inside. Check the northwest corner for Shinra crates. Before you leave this warehouse, use the switch to the right of the big gray door to open it and reach a Fire materia.
Keep moving into the last warehouse to fight two more Lesser Drakes and finish the quest for a reward of 500 gil. You'll be back here later, so keep the layout in mind.
Just Flew In From The Graveyard
After completing Nuisance in the Factory, the Junk Dealer will notify you of another pesky Drake that needs some killing. Head towards the train station again to find a woman named Gwen, who's arguing with some Shinra soldiers. Hear her spiel about getting a keycard from some boxes to get to the Drake, and then head back into the factory area.

In the factory, return to where you got the Fire materia earlier during Nuisance in the Factory, and you should find a stack of boxes you can smash to the left of the gate doorway. Hit that and you'll get yourself the keycard you need to get face the Drake.
Continue through the tunnel to the last warehouse, where you'll find a locked door and a control beside it. Unlock it with the keycard to face the Cerulean Drake. This version of the enemy has ice attacks, so be sure to dodge them, as they'll hurt while also slowing down your attacks and movement. Hack away at the drake and hit it with Wind magic to stagger it if you can. Once you've killed it, return to Gwen to finish the sidequest.
Chapter 8
After Chapter 8's riveting series of events, you'll find comfort knowing that Chapter 8 is far more easygoing with a new set of side-quests to complete in the Sector 5 Undercity.
Kids On Patrol
Go to the Leaf House and speak with Ms. Folia out front of the building. She'll dispatch you to find a bunch of kids who should really be in school. Talk to her again for some tips as to where the kids hang out.
Make your first stop near the Item Shop in the Central District to find a patroller hanging out in the middle of the street. From there, turn north and head up the street toward the train station to find your second kid. Another is standing right in front of the Weapon Shop. The "concrete pipes" Ms. Folia mentions are in the southwestern corner of the map, just south of the community center, where you'll find another patroller. From there, continue to the community center to find the last patrol kid standing out front.
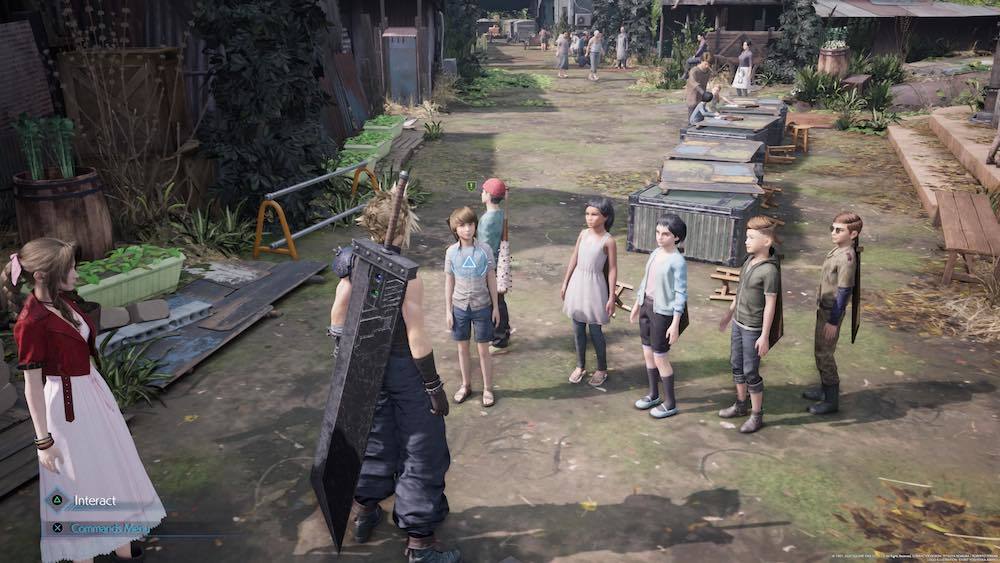
Return to the Leaf House and the kids will send you to their hideout to deal with a monster they call "the Toad King." This is actually a tough, special version of the Hedgehog Pie enemies you've been facing all through this section, and fighting it is kind of a pain. Battle your way through the area behind the kids' hideout to reach the Hedgehog Pie King, which will be backed up by two regular Hedgehog Pies.
The struggle with the Hedgehog Pie King is that it's constantly buffing the other two Hedgehog Pies, which makes it tough to kill them in order to focus on your real target. With the King's buffs, they'll fling tough magic attacks at you like Fira, while also executing an annoying attack called Bounce that can keep one of your characters from moving. Your plan here should be to run from the regular Pies to avoid their bounce attacks, while charging up ATB to hit the King with Ice spells, which it's weak against. Ice and physical attacks will pressure the King, which will knock him off his buff game, giving you time to then refocus and kill one or both of the Hedgehog Pies with Ice spells and melee attacks. The King has a lot of health, so you'll want to get rid of his minions, which are the real threats in the fight; don't overcommit to trying to bring down the king while getting blasted by his buddies.
Don't be afraid to switch to Aerith and let Cloud take care of himself. Her healing capabilities are very helpful here in keeping the team in fighting shape, and your primary focus here will be magic to keep the King off-balance. Once the two Pies are dead, mopping up the King won't be a problem.
When you're done, you'll unlock a new quest in the hideout, called "A Verified Hero." You'll also receive a new weapon for Cloud, the Nail Bat.
Weapons On A Rampage
Head north of the hideout to find a man talking about some Shinra "floating eyeballs" that are rampaging around town. You'll need to hunt down five of them in the Nuts 'n Bolts HIlls area that you came through after saving Aerith at the church. Equip some Wind materia and head out.
The first group of three enemies--Monodrive Mark IIs, they're called--are in the north end of the area, in the Scrapyard Back Alley section. Head toward the train station and take the path north just before you hit it to find a dead end area with the first group.
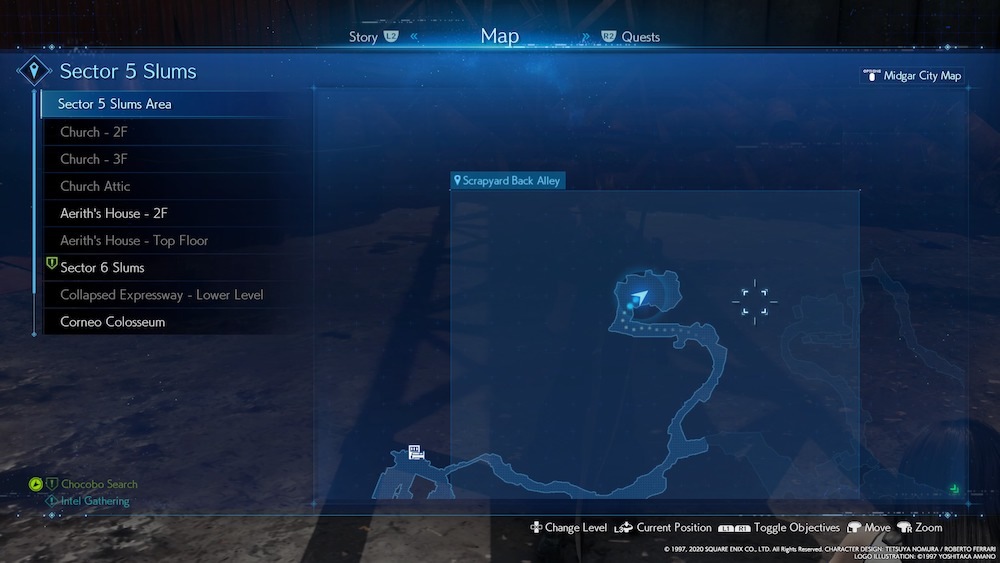
Monodrive Mark IIs are weak against Wind magic, but there's a caveat to dealing with them: they use barriers that make them immune to specific kinds of attacks, which can make them pretty formidable. If their barrier is a white shell, switch to Aerith and lay into them with her regular magic attacks, or hit them with Wind spells. If they fire up a green barrier that looks more like electrons flying around an atom, switch over to Cloud and hit them with physical melee strikes.
Watch out for the attacks that send the Moondrives burrowing under the ground or shooting through the air like flying drills; keep your guard up and focus on one enemy first to knock it out. With a few rounds of magic spells and some of Cloud's melee attacks, you should be able to stagger and kill it, then repeat the process for the other two. The best thing you can do is try not to over-commit on melee attacks, though, as the Monodrives will hit you pretty hard and can interrupt your spells if you're not paying close attention. When you're done, sneak out into the train station and use the blue bench there to heal yourself up.
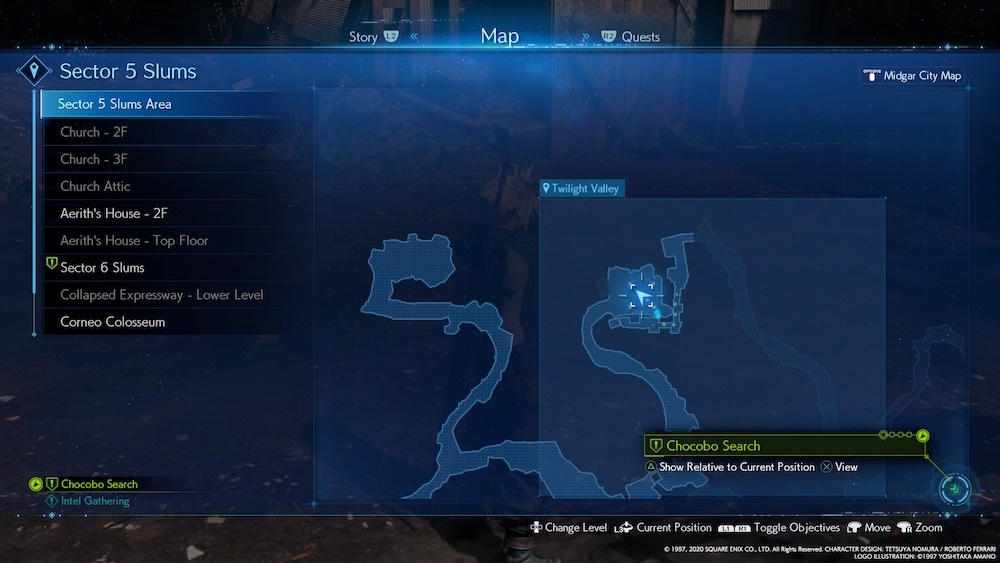
The last two Monodrive Mark IIs are back on the path you took to bypass the locked gate when you first came through here. Head north on the path from the locked gate into the Twilight Valley area; you'll find the last two enemies pretty quickly along the path.
Upon returning from the battle, you'll be rewarded with a pair of Protective Boots.
Verified Hero
Drop back by the hideout after the "Kids on Patrol" quest to try the kids' game, Whack-a-Box. Play one round of Whack-a-Box to finish the quest.
Whack-a-Box is pretty easy--you just melee through a bunch of boxes with different scores marked on each. The catch is that the boxes' durability is equivalent to the score you get for destroying them, so you'll need to think carefully about what moves you use to take the big boxes out and maximize your efficiency. You'll have access to Braver, which is okay for hitting the big 1,500-point boxes, plus the move associated with whatever weapon you're using. We found a lot of success with Triple Slash, and so recommend the Iron Blade. Use Triple Slash on the 1,500 boxes to clear them in two attacks; this move is especially good when you've got two 1,500s together, as you can destroy both at the same time.
Playing Whack-A-Box gets you some decent prizes, including a Spectral Cogwheel accessory. You also get a Moogle Medal every time you play a round, which you can easily farm to buy out everything Moggie has on offer.
The Angel of the Slums
Speak to Damon, the reporter, near the community center to kick things off, then meet Mireille inside the community center for more info.
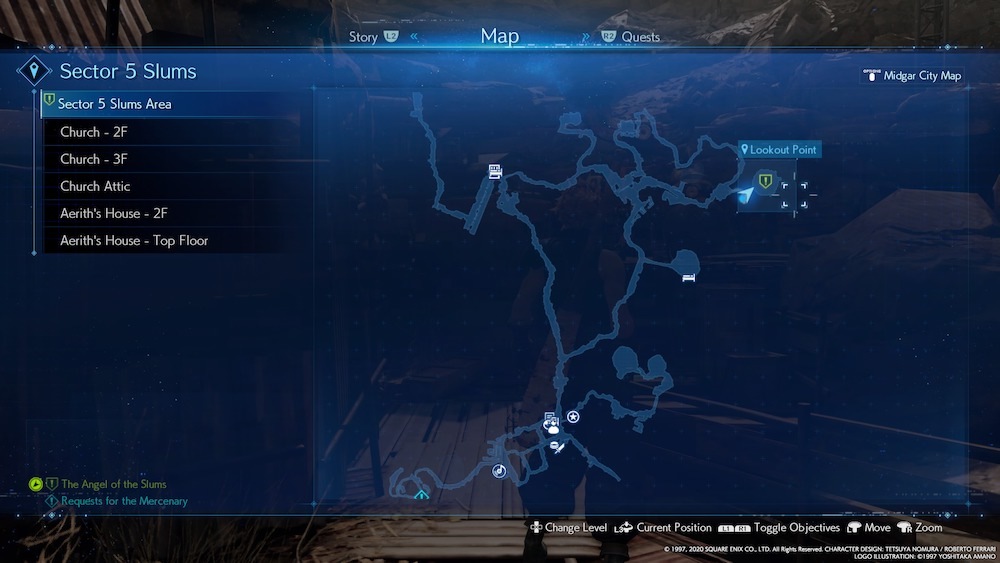
Return to Nuts 'n' Bolts Hill and head way up to the northeast corner to find Lookout Point. Bring Lightning materia; when you get there, you'll fight a giant version of the Smogger enemy called the Chromogger. This thing is dangerous if it gets in close, as it'll hit you for big damage with its giant wrecking ball arm, while also spraying you down with gasses that damage and cause status effects such as Silence. But it's easily avoided, too, especially if you keep your characters on opposite sides of the arena from one another.
Switch to Aerith and go nuts with spells; Lightning does increased damage and will drive up the pressure meter, especially when you unleash some on its wrecking ball arm, while Cloud can use his physical attacks. The AI will do a pretty good job of keeping Cloud out of too much trouble, leaving you free to run up Aerith's ATB bars for additional spells and healing abilities. It'll take a bit, but just keep playing keep-away with the Chromogger while hitting it with spells until it ultimately goes down.
Return to Damon for your reward of 2,000 gil.
Paying Respects
After completing the "Weapons on a Rampage" quest, stop by the Weapons Shop and talk to the old man out front. He'll send you to the graveyard to kill some monsters, but you'll need to purchase the Graveyard Key from the Moogle Emporium in the Kids' Hideout to get through the gate.
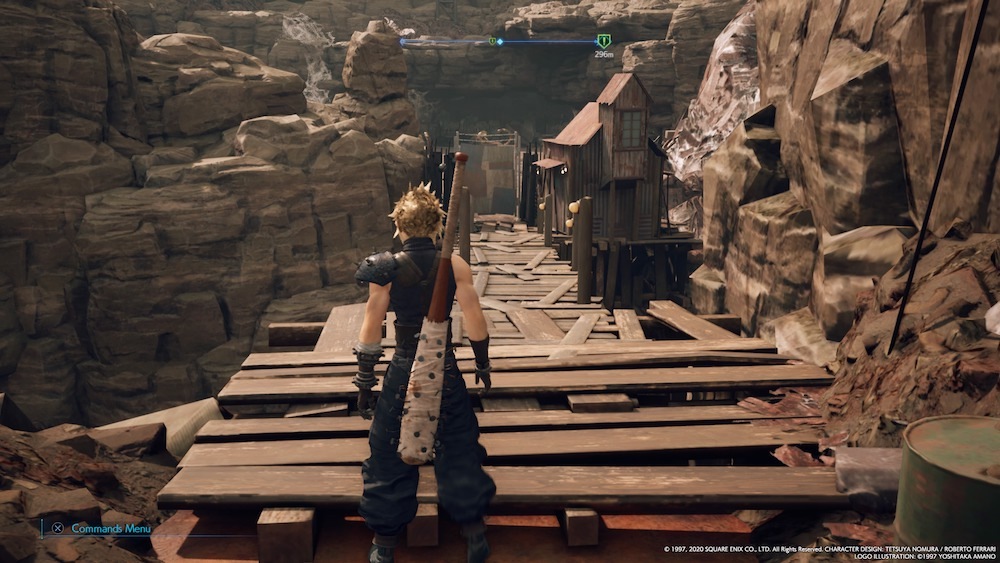
Head north out of town toward the Nuts 'n' Bolts Hills. When the path forks, head to the right to find the cemetery on a small path off to the east. Here, you'll fight three Venomantises, which might give you a run for your money if you're not diligent. Make sure you have strong Ice materia equipped for this one.
Venomantises like to use ranged strikes to put you to sleep, then big melee strikes for devastating damage. Watch out for their Torpid Strike attacks, which shoot a gas bomb at your characters that immediately put them to sleep, leaving them open to attack for a long time. You'll want to use Cloud's Punisher mode and guards for quick counter-attacks, but watch out for Leaping Strike--you really want to dodge clear of that one.
Pick a Venomantis and have Aerith use Blizzard or Blizzara as much as she can, while also healing herself and Cloud. Ice magic kicks up the Venomantises' pressure meter quickly, which can help slow them up and keep them from attacking you. While Aerith concentrates on Ice, use Cloud to get in close with Punisher attacks and counter-attacks, but be sure to keep on the move so you don't get overwhelmed. If you can stagger a Venomantis, you'll likely be able to take it out, or at least damage it significantly and finish it in a second round.
Repeat this process for the other two, but again, try to keep your situational awareness up to avoid getting put to sleep, and dodge clear when you see Torpid Strikes coming your way. If you can keep from getting overwhelmed, the Ice magic should do the trick until you can kill all three enemies.
You'll get a Studded Bracer armor for your efforts when you finish the mission.
Chapter 9
Chapter 9 is particularly notable because it includes a branching pathway between two sets of side-quests that are broadly either aligned with Chocobo Sam or with Madam M--two of Don Corneo's closest confidants.
The set of side-quests you get to complete are determined by the decisions you make during three pivotal moments. The first is your encounter with Johnny after seeing him sprint past you as you're heading towards Don Corneo's mansion, the second is the coin toss with Chocobo Sam, and the third is the massage course you choose at Madam M's.
To get the Chocobo Sam quests ("The Party Never Stops" and "Dynamite Bodies"), agree with Johnny at the Honeybee Inn, choose heads or tails at the coin toss, and choose the "poor man's" option for 100 gil at Madam M's.
To get Madam M's side-quests ("Price of Thievery" and the "Shears' Counterattack") disagree with Johnny at the Honey Bee Inn (or don't follow him there), choose not to play at the coin toss, and choose the "luxury" option for 3,000 gil at Madam M's.
If you mix and match your responses, the side-quests you receive will be based on whichever set of answers you favored most. So disagreeing with Johnny, but calling the coin toss and choosing the poor man's massage will still get you Chocobo Sam's quests.
Other items may also factor into which set of quests you get, but based on our experiences, it's still hard to say how much. Talking with Johnny's dad in the inn and outside Corneo's Colosseum seem to count toward Chocobo Sam's quests. How you describe Tifa also may influence the decision; saying Tifa is in great shape seems to count for Chocobo Sam, while saying Tifa is a great bookkeeper seems to count for Madam M, with the "great fighter" option being neutral. In general, it seems that if you want to access the Madam M set of quests, you should side against Chocobo Sam and generally pick options respectful of women.
On your first playthrough, you can only experience one of the two sets. If you're eager to experience the other pair, you'll need to replay Chapter 9 using the Chapter Select menu that becomes available once you finish the game. Regardless, both sets are required to complete the "Best in the Business" Trophy.
Burning Thighs
Burning Thighs is a side-quest you get regardless of which set of path you got locked into. Head to the gym on the south side of Wall Market, near the weapon shop, to engage in a squat minigame. It's pretty straightforward, and you only need to beat the first competitor to complete the quest for three mega-potions. If you stick around and challenge the other two, you can earn a Luck Up materia and a Champion Belt accessory (plus the "Sultan of Squat" Trophy).
The Party Never Stops (Chocobo Sam Route)
Just north of the gym on the same side of the street is the clothing shop. Talk to the owner, who will dispatch you to go find his father at the bar across from the gym. You mostly just need to follow Johnny around Wall Market, talking to people. Your performance will be based on the quality of your materia: Assess, elemental materias like Fire and Ice, and Cleanse. If you've leveled them up, you'll earn Moogle Medals at each step.
The Materia Shop owner will send you to the Inn to use a vending machine, where your Assess materia will be tested. After that, drop by the restaurant and help the owner with whatever your best elemental materia is. Finally, the Item Shop owner will send you to deliver medicine; depending on the level of your Cleanse materia, you'll deliver more medicine for more rewards. Check the bathroom at Drunkard's for your first delivery to get a sedative. The second goes to the alley behind the gym, accessible from the northwest side of the map, and gives you a celeris. The third is for the narrow alley just north and east of the Item Shop, which will earn you a pack of three Big Bombers. After you're done with the medicine, the Item Shop owner will give you the "Inspiration" to bring back to the dressmaker and complete the quest for a Turbo Ether.
A Dynamite Body (Chocobo Sam Route)
After speaking with Sam, go to the Colosseum for more fights. If you can, combine a Fire and Elemental materia on your armor to give yourself additional protection. You'll fight two Bomb enemies, which don't have any major weaknesses, but are strong against Fire attacks. How you fight these guys is the key, though--you'll want to catch them with attacks while they're in the middle of doing attacks of their own, like the Flamethrower or Fireball, to raise their stagger meters. The best way to do this is to stay out of range, flinging Blizzara spells at the Bombs when they blow fire your way.
Avoid hitting the Bombs when they do the Inflame move, because that'll cause them to grow in size, making their attacks more potent and expanding their range. Do your best to keep away from the Bombs and keep pushing their stagger meters up until you can close the gap and take one out with Punisher attacks and ATB abilities. At that point, finishing off the other should be pretty simple. You'll get an Arcane Scepter weapon for Aerith for your trouble.
The Price of Thievery (Madam M Route)
Head just outside of Wall Market and talk to Mirielle. Return to Evergreen Park and enter the Collapsed Highway again, where you'll find Beck's Badasses. This time, they've got a big Grungy Bandit backing them up, who will like to charge at you and pick you up. He's slow and weak to fire, however, so just avoid him and hit him with magic attacks or Punisher strikes until you put him down. You'll obtain a Turbo Ether and a Real Calling Card upon completion.
Shears' Counterattack (Madam M Route)
Once you finish both "The Price of Thievery" and "Burning Thighs," head to Madam M's to get a new challenge in the Colosseum. You'll face the Jury-Rigged Cutter in the battle. It's a powerful but slow opponent, and at this point, you'll have fought through a bunch of Sweepers and Cutters--deal with this one the same way, with Lightning magic and Punisher melee strikes. Keep clear of its attacks by dodging and you shouldn't have much issue. Upon completion, you'll be rewarded an Arcane Scepter weapon for Aerith.
Chapter 14
Once you get to Chapter 14, you gain access to a new set of side-quests spread across both the Sector 5 Undercity and the Wall Market; you can find five new side-quests quests in the former and four new side-quests in the latter. It's worth noting that many of the actions you've taken up until this point culminate during this chapter. It's a lot to go into, so for a full explanation of what changes, check out our Chapter 14 resolutions guide.
Missing Children
Location: Sector 5 Undercity
Talk to Ms. Folia outside of the Kids' Hideout. She'll dispatch you to find the patrolling kids again. Head north toward Nut 'n' Bolts Hills and take the right path toward Lookout Point, going northeast. As you go, you'll see some purple smoke cross the path, pointing you toward the cemetery.

You'll have a mini-boss fight facing you in the cemetery against two Phantom monsters. These guys are weak against Fire magic, but they're a big pain in general. The Phantoms like to disappear as you attack them, then appear behind you for big attacks like Frozen Claw. Try to hit them with Fire spells while they're attacking your teammates to interrupt them and push up their stagger gauges. When they use their Drain Essence attack, stay well back--anyone caught in the vortex will lose a ton of health, while also healing the Phantoms.
Focus on one Phantom and hit it as hard as you can whenever it appears, and use Punisher mode counter-attacks when the ghosts disappear and attack you. Keep up the pressure until you take them both out. Your reward for finishing the quest is a Time Materia.
Chocobo Search
Location: Sector 5 Undercity
Head north toward the train station out of the Sector 5 Center District to run into one of Chocobo Sam's Stablehands, who will send you out to look for some loose chocobos. That'll open up fast travel throughout the slums with Sam's Delivery Service, so you can get around more quickly. It'll be handy to do so, since the chocobos are pretty far away from each other.
Keep going north into the Nuts 'n' Bolts Hills and look for the chocobo at the north end of the area, at the path where you can head east toward Lookout Point. When you find the chocobo, you'll have to fight a Rust Drake. Skip out on hitting this things with spells at first, as it'll absorb the magical energy as long as it's surrounded in that weird darkness. Instead, pummel it with ranged attacks as best you can until it casts Gravity. When that happens, get in close with melee strikes and do as much damage as you can to dispel the darkness. That'll open up the creature to magic attacks, so keep hitting it until it staggers and finish it off.

Find your second chocobo outside of Sector 5, past the train station to the west. Take the Sanctuary Way path toward the church and you'll find the chocobo about halfway.
The final chocobo is located in the Collapsed Expressway. You'll need to go in pretty deep to find it, but you can't miss it if you start at the shortcut path on the road between Sector 5 and Sector 6. When you get to it, you'll need to fight three Trypapoplis monsters. These guys are highly resistant to both magic and spells. Watch out for their Screech attack, which will stun anyone caught in it; when one uses it, all three will focus on the stunned character and use Aeroga spells on them. When that happens, quickly run to each of the Trypapoplises and beat them down to interrupt them and cancel the spell--an ATB ability will usually do the trick.
When the Trypapolises use Dance, hitting them causes them to clone themselves. The clones are quite a bit weaker and you can kill them fast, and that seems to increase the damage you'll do to the originals for a bit. But a sustained beatdown with abilities like Tifa's Chi Trap will drive up their stagger gauges--they won't stay staggered for long, but you can continually pummel them without them getting away, which is almost as good. This can be a lengthy fight, but you should be able to win out once you start separating and killing off the monsters.
Finishing the quest gets you the Sam's Lifetime Pass key item, which lets you take chocobo rides for free from Sam's Delivery Service, making fast travel a lot easier.
Secret Medicine
Location: Sector 5 Undercity
Talk to the doctor across from the community center, who will send you to find herbs to make medicine. You need three items, but the first is easy: drop by the Moogle Emporium in the Kids' Hideout to purchase the Moogle Mortar.
Your second ingredient is located in the church where Cloud and Aerith first met. Head to the train station north and west of the Sector 5 Central District, then follow the path north to the church. Grab the herb growing there on the ground.

Finally, head to Evergreen Park and talk to Wymer to get the Subterranean Menace quest, which will take you to the underground lab. There, you'll have to fight the Behemoth Type 0 miniboss. Defeat it and return to the doctor to get Teluric Scriptures Vol. III as a reward.
Corneo's Secret Stash
Location: Sector 5 Undercity
Find Damon the reporter north of the Center District of Sector 5, where the path splits in Nuts 'n' Bolts Hills. Afterward, go northeast up the path toward Lookout Point. Talk to Mirielle, then pick up the Corneo's Vault Note key item on the ground behind her.
Find Kyrie in the church where Cloud met Aerith. You'll want to pick up the Tomboy Bandit quest from Johnny at the Sector 5 Train Station along the way, since these two quests dovetail a bit. After talking to Kyrie, you'll need to go to Wall Market's coliseum to deal with the Shinra goons who have been bothering her.
Once you have the key, head to the Collapsed Expressway to open your first stash--it's just inside the entrance, to the north, and will give you two Moogle Medals and the Diamond Tiara Key Item.
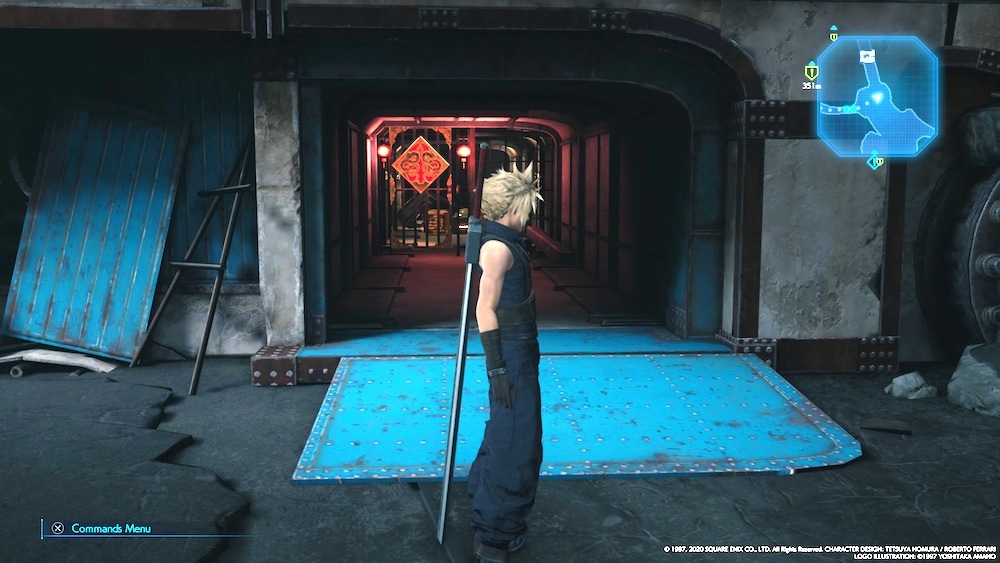
The second stash is in Steel Mountain, north of the Sector 5 Undercity. Head east from the Sector 5 Train Station to reach it easily, as you approach Lookout Point. It contains a Prayer Materia, a Circlet accessory, and a Ruby Tiara key item, among other things--including a whole bunch of Moogle Medals.
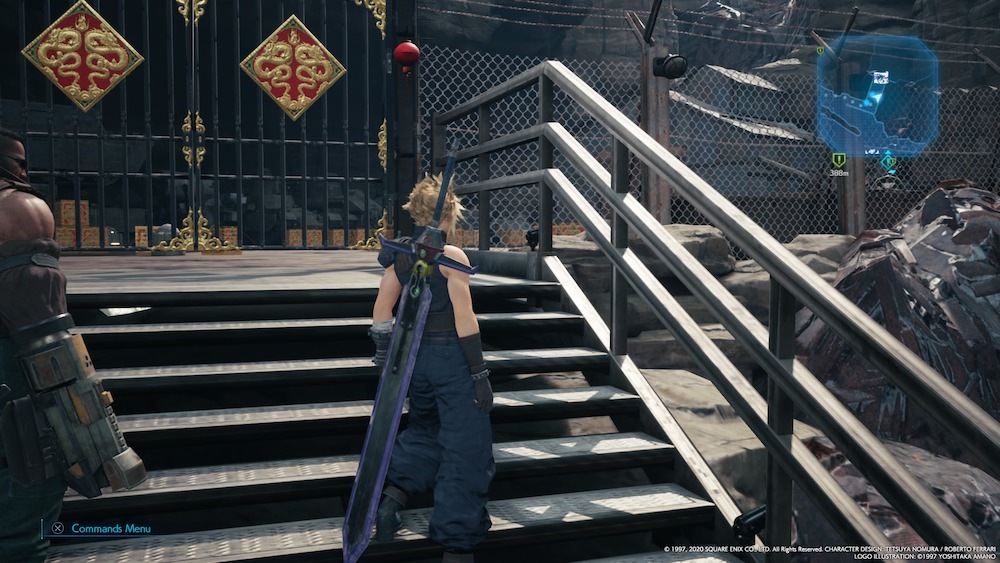
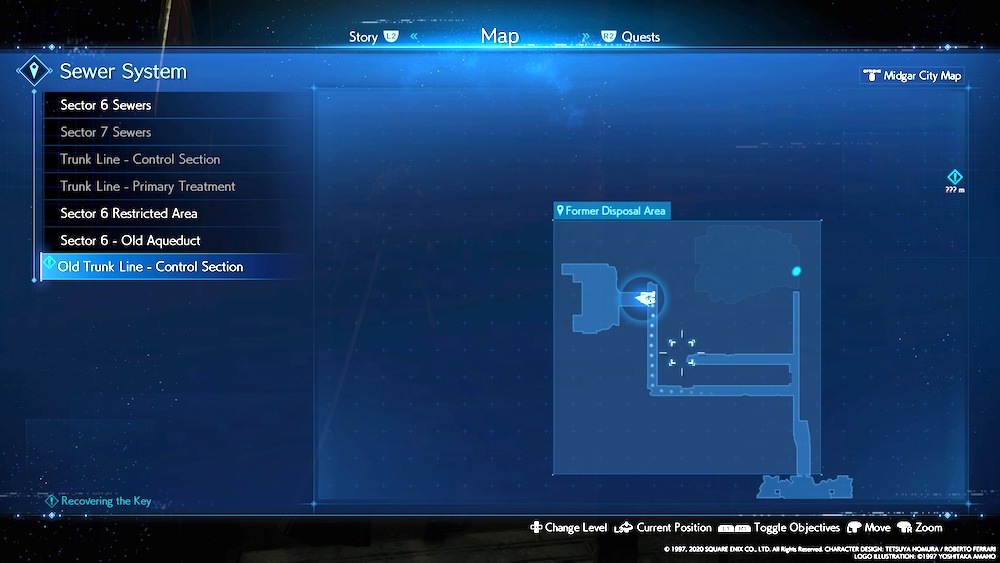
To get to the last stash, you have to re-enter the Sewers. You'll do that when you visit Don Corneo's mansion as part of the main quest. The stash itself is in the Former Disposal Area in the Old Trunk Line - Control Section. Work your way through the sewers until you defeat the Mischievous Shoat miniboss; after that, Leslie will lead you to a ladder with a switch beside it. Throw the switch, then return to the Former Disposal Area and enter the stash, which has now been drained.
Inside the final stash, you'll fight the Sahagin Prince, along with two more Sahagins. The Prince is tougher than his buddies, using counter-attacks in addition to the Jump and Harpoon attacks of his friends, but he's got the same weakness: Fire. Use your most powerful Fire spells to quickly stagger and put down the two Sahagins backing up the Prince, then focus up on it. Watch for him to go into his counterattack mode, then hit him with Fire to drive up his stagger gauge. The biggest threat in this fight is the Sahagins' ability to turn your team into frogs, but use maiden's kiss items if things get bad to bring them back. The key is to use Fire often and quickly to try to take out the Sahagins before they can zap you with too many status effects.
When you're done, finish the Sewers main quest with Leslie. Before you head topside, talk to Marle in Evergreen Park. You'll get the Art of Swordplay Vol. III manuscript for Cloud when you're done. You should also find a letter on the ground in the Urban Development District near Don Corneo's mansion on your way to leave for the plate above, which will unlock the "Divine Gratitude" Trophy.
Tomboy Bandit
Location: Sector 5 Undercity
Head to the Sector 5 Train Station and you'll run into Johnny again, who will tell you he was mugged. His description sounds like Kyrie, the woman Mirielle also told you to look for in the Corneo's Secret Stash quest.
Continue west and north up to the church where Cloud met Aerith. Talk to Kyrie at the church and she'll send you to Wall Market's Coliseum.

In the Coliseum, you'll face the Beastmaster again, but with a new enemy working with him: the Hellhound. The Beastmaster is easy enough to deal with--hit him with melee strikes and Fire spells to knock him out in no time. The Hellhound is a tougher customer, but if you have the right spells handy, you can make quicker work of it.
The Hellhound is a two-headed monster, and each side of its personality has a flame that helps it generate powerful fire-based attacks. Extinguishing one or both of those flames with magic spells drives up its stagger meter in a hurry. You can use Ice spells to extinguish the Hellhound's red flame, or Cure spells to extinguish its purple flame. Either set of spells will knock the Hellhound down so you can close the gap to do more melee damage. Keep up a barrage of magic and melee and you should take the beast out with little difficulty.
Return to Kyrie to get the key to Don Corneo's Stash Key and Johnny's Wallet. Return to the Sector 5 Train Station to return the wallet to Johnny.
The Power of Music

Location: Wall Market
Stop by the jukebox, accessible in the park on the east side of the inn. Betty, the girl there, will ask you to find music discs to cheer up the locals.
First, head to the Inn at the entrance to Wall Market, on the south side of the main square, and talk to the man in the lobby to pick up the Good Night, Until Tomorrow Music Disc. You'll find the second one in the Coliseum; talk to the souvenir seller there to snag the Fight On Music Disc. Finally, go through the passageway left of the entrance to the Honeybee Inn to find the Stand Up Music Disc.
Return to the jukebox and play each of the songs to complete the quest. You'll get the Sharpshooters Companion Vol. III as a reward.
Wavering Heart
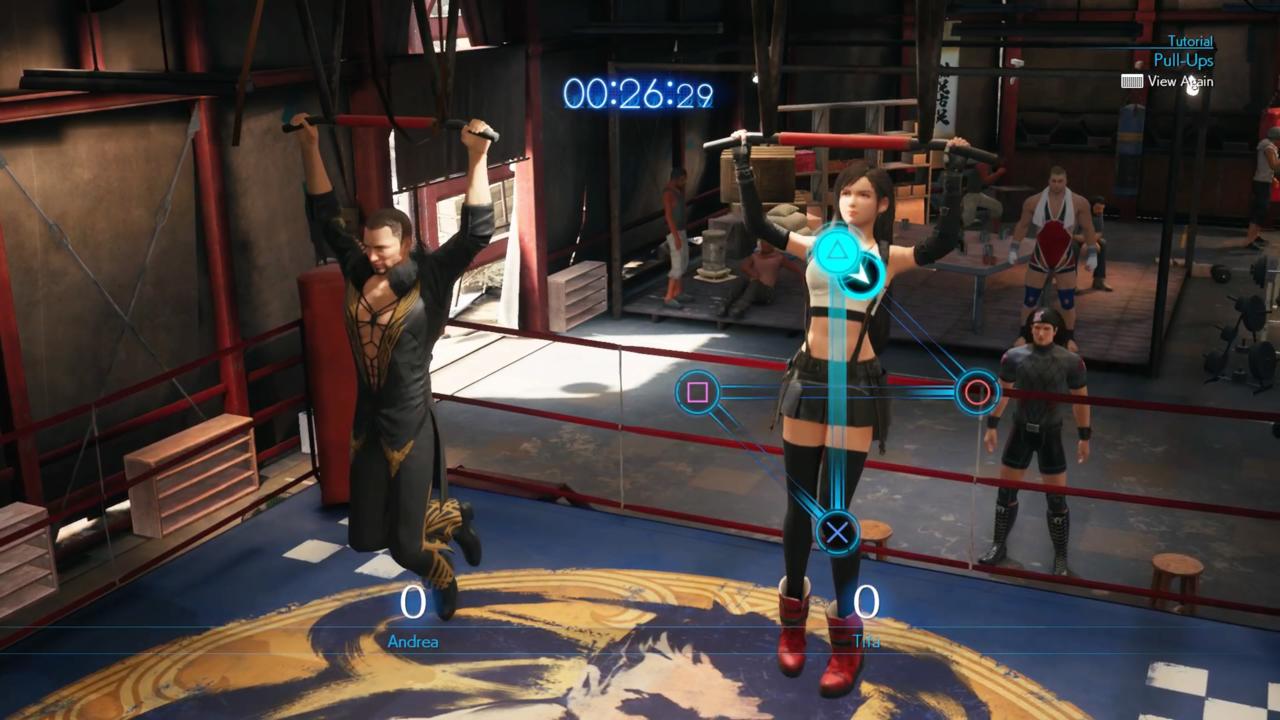
Location: Wall Market
Drop by the gym to find Andrea there and a new Pullups minigame you can take part in. This time, Tifa can take part in the challenge. Similar to the squat minigame, it's pretty straightforward: beat Andrea to complete the quest. You can then keep at the minigame by challenging the other folks in the gym to earn yourself some additional rewards.
Malicious Goons
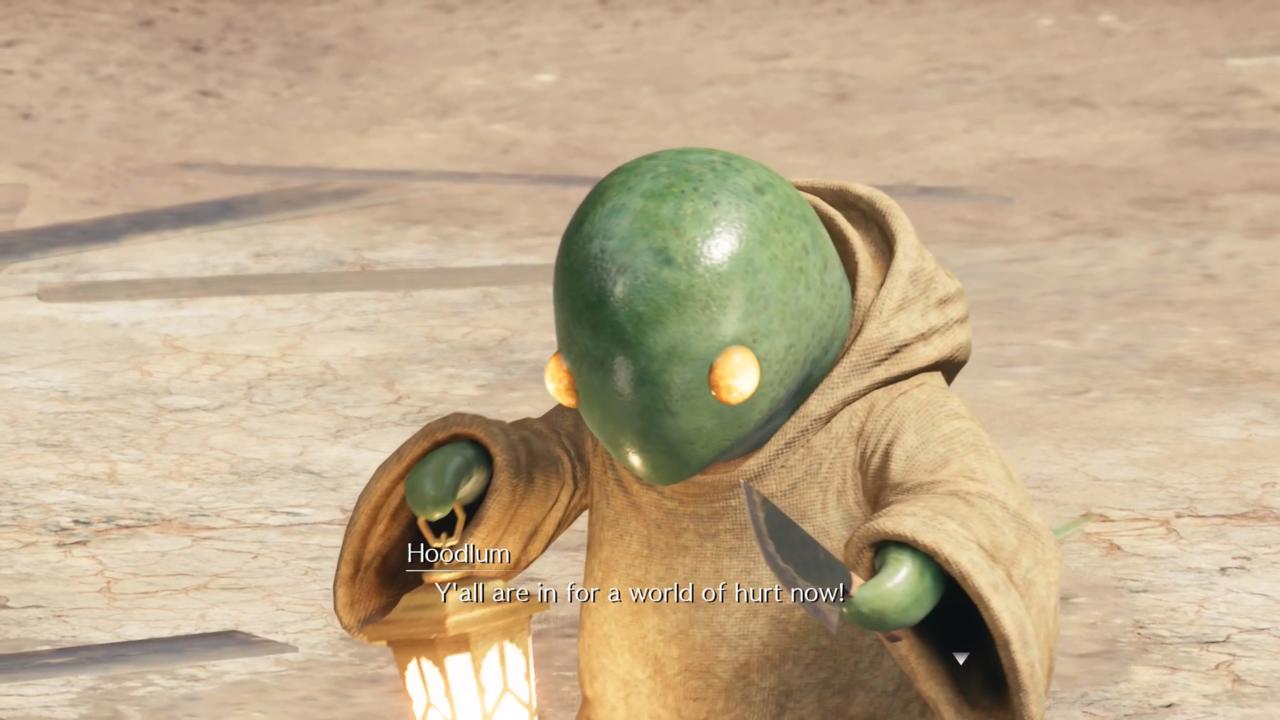
Location: Wall Market
Drop by Madam M's parlour at the north end of Wall Market and she'll suggest Corneo is sending men to Aerith's house. Return to the Sector 5 Undercity and head to Aerith's. You'll find the guys in the vacant lot just short of her house, past the Leaf House.
You won't fight the goons themselves, but rather, a Tonberry. This thing's attacks are deadly, knocking out your characters in one hit, but it's slow and deliberate. The trick is to attack it from behind, and keep your distance when it's coming for you. Its Chef's Knife melee attack will take you out in one hit, but if you can dodge the Tonberry's attacks, you can lay down a lot of punishment and drive up its stagger meter. If you cast spells or use Barret's ranged attacks, make them the ones that don't have long animations--stand still too long and the Tonberry will hit you with another one-hit kill attack, this one long-range, so try to dodge it.
As the Tonberry's health drops, it'll start using an attack that freezes all your characters with Stop, which will open them up to killing blows. Keep your distance as much as you can to avoid it, and use Phoenix Downs to keep your team on their feet until the Tonberry eventually goes down.
Subterranean Menace
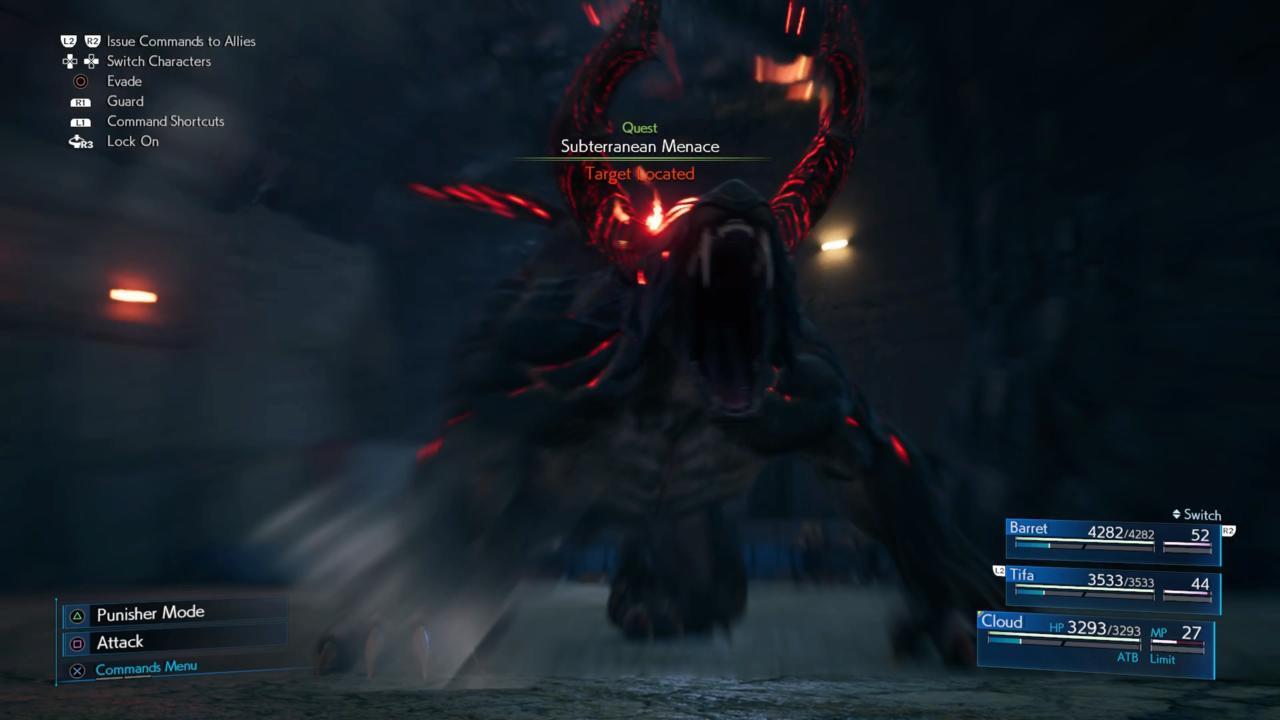
Location: Wall Market
Go to Evergreen Park and talk to Wymer, who will ask you to clear the monsters out of the underground lab you previously visited. You'll also need to enter the lab to retrieve the last item you need for the Secret Medicine quest, which is the Behemoth's Horn.
Crawl down through the underground passage in Evergreen Park to reach the lab. You'll need to fight your way through it to get to the Behemoth Type 0 boss at the far end. There are some tough fights in here, including a Wrath Hound like the one you dealt with in a sidequest back in Episode 3, but nothing you haven't faced before.
The Behemoth is a different question. This giant monster is powerful, dangerous, and quick. Make sure you're fully healed before you slip through the door marked with the Shinra caution tape to fight it. First and foremost, try to stay away from the beast's head; it'll swipe at you with its claws, slam the ground to stagger your characters, and thrash them with its horns for big damage. You also generally want to try to keep away from it after you get in close for melee hits, as the Behemoth will occasionally spin in circles to slam everybody who's nearby.
Your goal in bringing down the Behemoth is to cripple first one half of its body, then the other. A good way to do this is to take over control of Barret, so you can focus fire on either its Upper Body or Lower Body with a variety of attacks, while staying out of harm's way. Anything you throw at the Behemoth will work, although unless you put a lot of punishment on the Behemoth's horns, avoid spells--magic will trigger counterattacks until the horns are destroyed.
It's going to take a lot of damage to cripple one of its body parts, but when you do manage it, quickly focus up on the other body part and lay down as much damage as you can, as quick as you can. Be careful, because the Behemoth will still be capable of attacking you, even if it can't get away from you. If you can cripple both sides, you can stagger it for some massive damage.
Repeat the process until the job is done; it'll take a while, but if you keep on top of healing spells, you should be okay. Use your best attacks but execute either with range or hit-and-run tactics to minimize the damage you take.
When you finish, return to Wymer in Evergreen Park to get your reward, the Sharpshooter's Companion Vol. III.
Final Fantasy 7 Remake News
- Final Fantasy 7 Remake Intergrade Review - Materia Improvements
- Final Fantasy 7 Remake Dress Guide: How To Get Every Dress In Wall Market
- What Would Suit Tifa Choices: Final Fantasy 7 Remake Dress Guide
- + Show More Final Fantasy 7 Remake News Links (2)
- Final Fantasy 7 Remake Guide: Corneo's Secret Stash Locations
- Final Fantasy 7 Remake Materia Guide: Essential Materia You Might've Missed
Got a news tip or want to contact us directly? Email news@gamespot.com


Join the conversation