Final Fantasy 7 Remake Walkthrough Chapter 8: Budding Bodyguard (Spoiler-Free)
Here's everything you need to know to complete every side-quest and find every secret in Chapter 8.
Like Chapter 3 of your journey through Midgar in Final Fantasy 7 Remake , Chapter 8 slows down the pace and lets you spend some time in another set of slums, completing side-quests. There's a lot of ground to cover in Chapter 8 as you're introduced to Sector 5, as well as a bunch of new characters. And with so many quests flying at you, it's easy to miss stuff.
Below, we've got everything you need to know to find everything in Sector 5. Check out the rest of our Final Fantasy 7 Remake guides so you don't miss a single secret or collectible. You can also read our FF7 Remake review.
- Chapter 1
- Chapter 2
- Chapter 3
- Chapter 4
- Chapter 5
- Chapter 6
- Chapter 7
- Chapter 9
- Chapter 10
- Chapter 11
- Chapter 12
- Chapter 13
- Chapter 14
- Chapter 15
- Chapter 16
- Chapter 17
- Chapter 18
Chapter 8: Budding Bodyguard Walkthrough
Boss Fight: Reno
As soon as the fight starts, take care of the two waves of Security Officers; the Triple Slash ability should come in handy here. Once they're all dealt with, focus your attention on Reno. You want to maintain a steady balance between speed and measured defense. Similar to Roche, this is a duel, and you'll need to block Reno's attacks to open him up to your own blows. He likes to zip at you with a dash to get behind you, then attack you from the back, so you'll want to be ready to guard when he closes the gap.
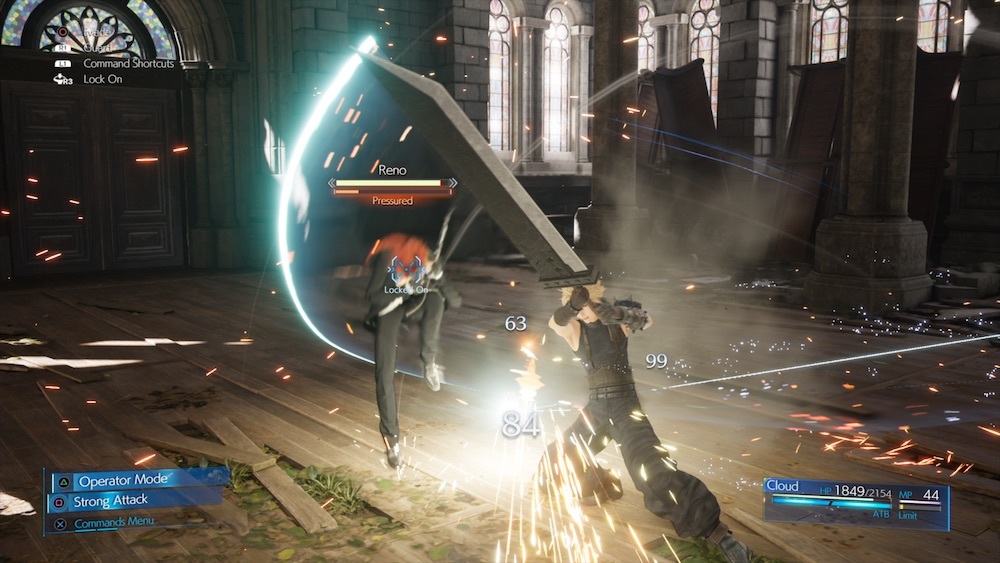
Reno can be easily hurt with some well-timed Punisher Mode counter-attacks, but any block of his electro baton will open him up for you to strike back. You want to be sure to block him, because the baton won't just hurt you, it'll stun you, too. If you've got enough ATB stocked, follow up your Punish Mode attacks with a Focus Thrust to drive up Reno's stagger even more. Just be mindful of Reno's named-attacks where he charges at you, as they cannot be countered.
Eventually, Reno will start to throw EM Mines at you, which will float around, arcing electricity between them to stun you and open you up to attack. Run away from the mines and either nail them with magic spells or cut in close and slice them out of the air, but be sure you don't attack them when they're charged with electricity or you'll get zapped. The EM Mines are particularly dangerous toward the end of the fight, when Reno will come after you for close-range attacks while you're dealing with the mines, so keep your distance and even up the odds as quickly as you can. Keep the pressure on, and you'll eventually come out of this encounter victorious.
Escaping The Church
After fighting Reno, follow Aerith through the church. Go up the stairs and cross to the other side of the second floor, then take the stairs down to get to a chest containing a Talisman accessory.
Once you're into the attic, check the alcove up at the north end of the area to grab smelling salts out of the treasure chest. Head out onto the rooftops and walk until you see a green metal plate ahead, where the path turns south; turn around and you can slip around the corner of the roof behind to find a chest with a Moogle Medal.
Eventually, the path will take you onto an old set of train tracks. Turn right to find a chest with an ether inside.
When you hit the train station, head to the far end and use the vending machine to buy the Cait Sith's Theme Music Disc.
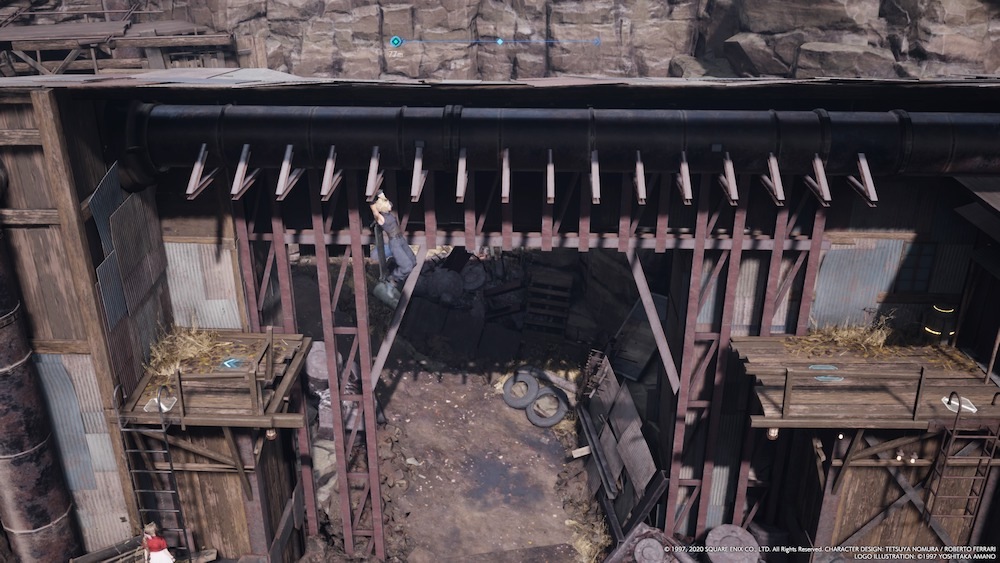
Up ahead, you'll follow Aerith onto the backstreets, then eventually come to a gate you can't open. Cloud can push a nearby cargo container out of the way, allowing you to take another path. When you clear the way and climb up a ladder, take the path to the right and cross over the walkway below with monkeybars. On the far side is a treasure chest with a Caliginous Bracelet armor inside.
After gathering flowers with Aerith and leaving her at the Leaf House, head to the Materia Vendor in the Sector 5 Center District to buy the Costa del Sol Music Disc. You'll also find Oates here; talking to him will move the story along so you can return to the Leaf House when you're ready to move on.
Near the Materia vendor, you can find Chadley to get some new Battle Intel assignments, new materia, and unlock Chadley's Combat Simulator to earn the Shiva summon materia--more on how to fight this optional boss below.
While you're waiting, you can visit the shops. When you're done, head for the southwestern corner of the map, south of the Leaf House. You'll find a chest there with echo mist. Keep following the road to find the Sector 5 Community Center, which contains a jukebox. Open the chest near the sweeping man for a celeris, then use the jukebox to get the Tango of Tears Music Disc. When you return to the Leaf House, go inside to find a chest with an ether in it.
In the Kids' Hideout, open the chest behind the crowd to get a Moogle Medal. Venturing behind the out into the Toad Marsh, follow the path and keep fighting through enemies toward the kids.
In the last area, you'll fight three waves of enemies, including Wererats and Hedgehog Pies. You've been dealing with these enemies for a bit now, but they're dangerous here because of their numbers. Be careful not to get overwhelmed, especially by the Hedgehog Pies' magic attacks, which can easily interrupt your strikes. Get in close with Cloud and pummel them to thin out their numbers, and use Triple Strike to knock out several at once.
You'll finally face two Smogger robots. Keep your distance and hit them with ranged attacks as best you can--use Lightning in particular for big damage. If they use their Haywire attack, hit them with magic to interrupt it and stagger them. Be careful when you've killed them, though, because their final Self-Destruct can cause you serious pain.
You'll fight one more Smogger and a handful of other enemies on your way out of the area, so be careful. Check up the path to the left of the ladder as you leave to find a chest with a mega potion inside.
Back in the Kids' Hideout, talk to Oates to activate a series of side-quests. You can do the first before you leave the hideout by talking to Moggie, the kid dressed as a Moogle, before you leave. You'll now have somewhere to spend all those Moogle Medals you've been finding throughout the game. You can also purchase the Gold Saucer Music Disc from Moggie.
This is also a good opportunity to make the run all the way back to the church, where you can find a Chakra materia in the small room in the back, on the north side.
And southeast of the train station on Station Way, talk to the merchant in the west corner of the small gathering area to get the Descendant of Shinobi Music Disc.
Final Fantasy 7 Remake News
- Final Fantasy 7 Remake Intergrade Review - Materia Improvements
- Final Fantasy 7 Remake Dress Guide: How To Get Every Dress In Wall Market
- What Would Suit Tifa Choices: Final Fantasy 7 Remake Dress Guide
- + Show More Final Fantasy 7 Remake News Links (2)
- Final Fantasy 7 Remake Guide: Corneo's Secret Stash Locations
- Final Fantasy 7 Remake Materia Guide: Essential Materia You Might've Missed
Chadley - Shiva Boss Fight

If you talk to Chadley, he should provide you with a new Battle Intel scenario that has you fighting the summon creature Shiva in order to earn a new materia. You'll have whoever's in your party when you take on this fight, so if you try it with just Cloud, it'll be tougher than if you go after it when Aerith is back on your squad. It's definitely recommended that you bring Aerith along.
Shiva is an Ice summon, and thus weak to Fire. Give Aerith your best Fire materia and make sure you have the Ifrit summon equipped, then head into the battle. Cloud can pretty much take care of himself, so you're better off controlling Aerith to run up her ATB bars as quickly as possible; the more Fire or Fira spells you can cast on Shiva, the more quickly you'll manage to stagger her. Make use of Aerith's Arcane Ward ability, which automatically makes you cast two spells for every ATB bar you spend, to maximize your damage. A good Fire spell will knock Shiva to the ground, offering cloud a chance to lay down some melee attacks. Make sure you're not too close when Shiva gets back up, though, because she'll use the Icicle Impact area attack spell around her when she's back on her feet.
You'll want to keep laying down spells on Shiva while working to keep Aerith alive. You'll need to be on top of dodging to keep her clear of incoming danger, including Blizzara spells that Shiva will shoot your way. She'll also summon a bunch of ice crystals to shoot at you. Dodging that attack is a losing battle, so guard against it and power through.
Once you do enough damage, Shiva will get more aggressive, with spells that come faster and new Frost Familiars that protect her and increase the number of spells she sends. Keep firing away with spells to knock out the minions, but beware of the White Out attack, which will send ice crystals through the ground at you. If they hit you, you'll fall asleep, opening you up to a huge but slow magic attack from Shiva called Heavenly Strike. You'll see a massive ice crystal form overtop the sleeping character; quickly switch to your other character and use Smelling Salts to wake up the sleeper, then dodge away to avoid the big crystal.
As soon as you can get Ifrit in the battle, summon him and start using his abilities to do big damage and keep Shiva off-balance. The Fire attacks should end up staggering her quickly, allowing you to do a bunch more damage.
At about one-quarter health, Shiva will do her big summon attack, damaging your entire party. Makes sure you're healed up before that happens, or she can take you out in one blow. After that, keep hitting her with Fire spells until she's done.
Side-Quest: Kids On Patrol
Go to the Leaf House and speak with Ms. Folia out front of the building. She'll dispatch you to find a bunch of kids who should really be in school. Talk to her again for some tips as to where the kids hang out.
Make your first stop near the Item Shop in the Central District to find a patroller hanging out in the middle of the street. From there, turn north and head up the street toward the train station to find your second kid. Another is standing right in front of the Weapon Shop. The "concrete pipes" Ms. Folia mentions are in the southwestern corner of the map, just south of the community center, where you'll find another patroller. From there, continue to the community center to find the last patrol kid standing out front.
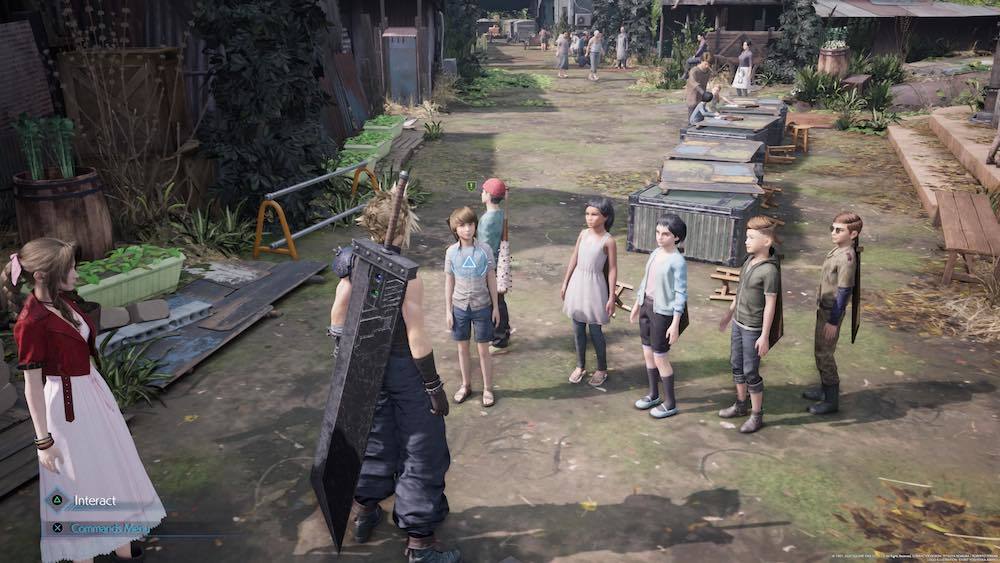
Return to the Leaf House and the kids will send you to their hideout to deal with a monster they call "the Toad King." This is actually a tough, special version of the Hedgehog Pie enemies you've been facing all through this section, and fighting it is kind of a pain. Battle your way through the area behind the kids' hideout to reach the Hedgehog Pie King, which will be backed up by two regular Hedgehog Pies.
The struggle with the Hedgehog Pie King is that it's constantly buffing the other two Hedgehog Pies, which makes it tough to kill them in order to focus on your real target. With the King's buffs, they'll fling tough magic attacks at you like Fira, while also executing an annoying attack called Bounce that can keep one of your characters from moving. Your plan here should be to run from the regular Pies to avoid their bounce attacks, while charging up ATB to hit the King with Ice spells, which it's weak against. Ice and physical attacks will pressure the King, which will knock him off his buff game, giving you time to then refocus and kill one or both of the Hedgehog Pies with Ice spells and melee attacks. The King has a lot of health, so you'll want to get rid of his minions, which are the real threats in the fight; don't overcommit to trying to bring down the king while getting blasted by his buddies.
Don't be afraid to switch to Aerith and let Cloud take care of himself. Her healing capabilities are very helpful here in keeping the team in fighting shape, and your primary focus here will be magic to keep the King off-balance. Once the two Pies are dead, mopping up the King won't be a problem.
When you're done, you'll unlock a new quest in the hideout, called "A Verified Hero." You'll also receive a new weapon for Cloud, the Nail Bat.
Side-Quest: Weapons On A Rampage
Head north of the hideout to find a man talking about some Shinra "floating eyeballs" that are rampaging around town. You'll need to hunt down five of them in the Nuts 'n Bolts HIlls area that you came through after saving Aerith at the church. Equip some Wind materia and head out.
The first group of three enemies--Monodrive Mark IIs, they're called--are in the north end of the area, in the Scrapyard Back Alley section. Head toward the train station and take the path north just before you hit it to find a deadend area with the first group.
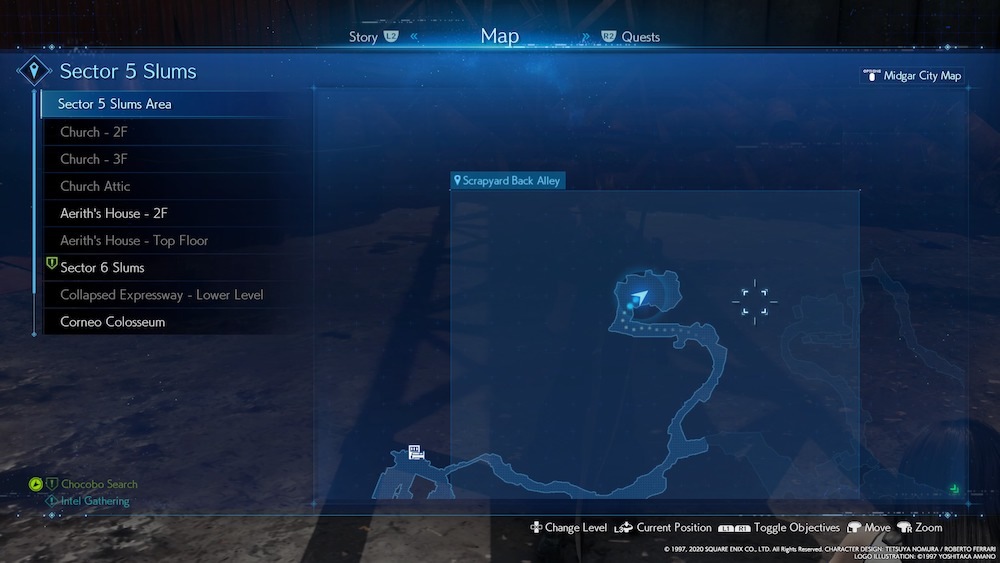
Monodrive Mark IIs are weak against Wind magic, but there's a caveat to dealing with them: they use barriers that make them immune to specific kinds of attacks, which can make them pretty formidable. If their barrier is a white shell, switch to Aerith and lay into them with her regular magic attacks, or hit them with Wind spells. If they fire up a green barrier that looks more like electrons flying around an atom, switch over to Cloud and hit them with physical melee strikes.
Watch out for the attacks that send the Moondrives burrowing under the ground or shooting through the air like flying drills; keep your guard up and focus on one enemy first to knock it out. With a few rounds of magic spells and some of Cloud's melee attacks, you should be able to stagger and kill it, then repeat the process for the other two. The best thing you can do is try not to over-commit on melee attacks, though, as the Monodrives will hit you pretty hard and can interrupt your spells if you're not paying close attention. When you're done, sneak out into the train station and use the blue bench there to heal yourself up.
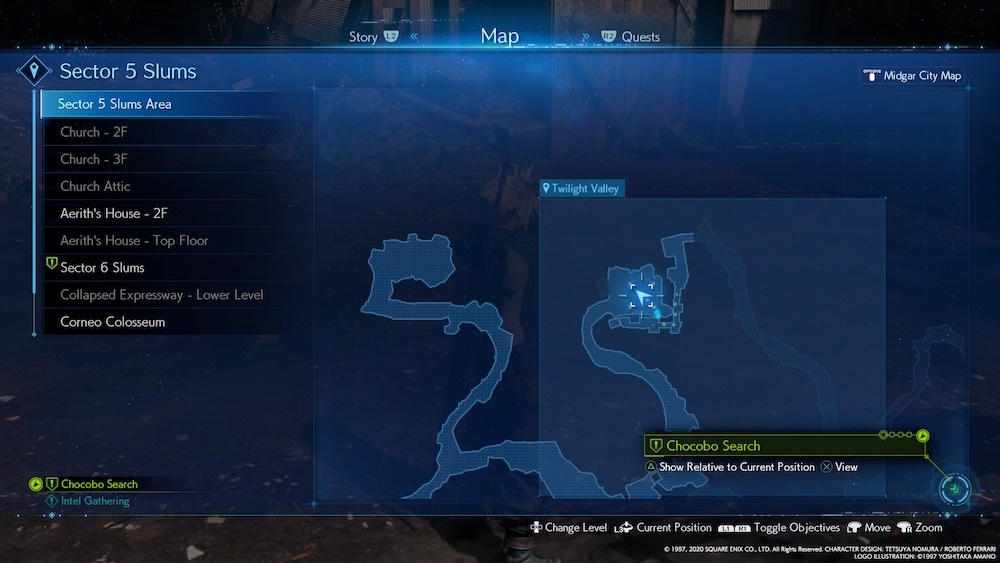
The last two Monodrive Mark IIs are back on the path you took to bypass the locked gate when you first came through here. Head north on the path from the locked gate into the Twilight Valley area; you'll find the last two enemies pretty quickly along the path.
Side-Quest: Verified Hero
Drop back by the hideout after the "Kids on Patrol" quest to try the kids' game, Whack-a-Box. Play one round of Whack-a-Box to finish the quest.
Whack-a-Box is pretty easy--you just melee through a bunch of boxes with different scores marked on each. The catch is that the boxes' durability is equivalent to the score you get for destroying them, so you'll need to think carefully about what moves you use to take the big boxes out and maximize your efficiency. You'll have access to Braver, which is okay for hitting the big 1,500-point boxes, plus the move associated with whatever weapon you're using. We found a lot of success with Triple Slash, and so recommend the Iron Blade. Use Triple Slash on the 1,500 boxes to clear them in two attacks; this move is especially good when you've got two 1,500s together, as you can destroy both at the same time.
Playing Whack-A-Box gets you some decent prizes, including a Spectral Cogwheel accessory. You also get a Moogle Medal every time you play a round, which you can easily farm to buy out everything Moggie has on offer.
Side-Quest: The Angel of the Slums
Speak to Damon, the reporter, near the community center to kick things off, then meet Mireille inside the community center for more info.
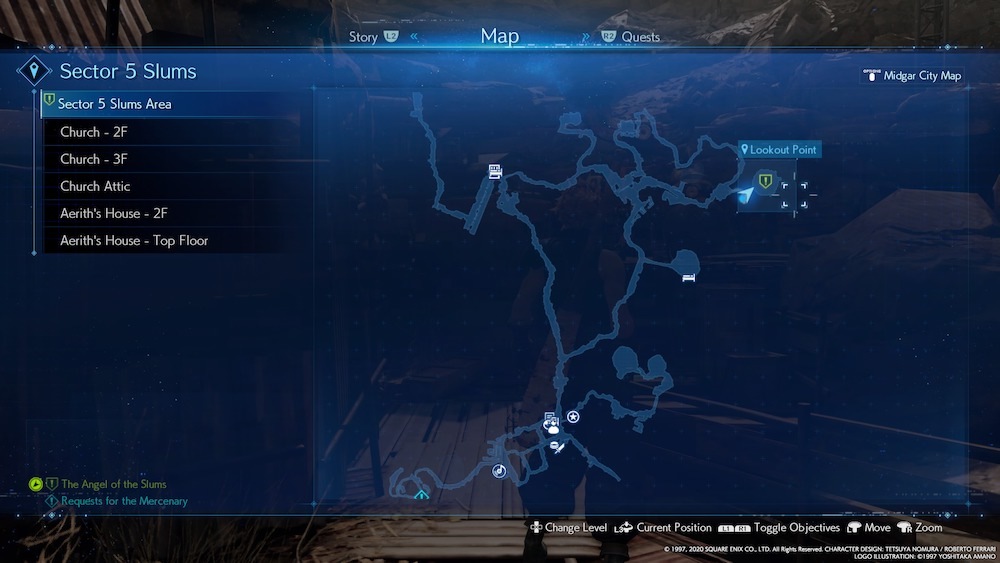
Return to Nuts 'n' Bolts Hill and head way up to the northeast corner to find Lookout Point. Bring Lightning materia; when you get there, you'll fight a giant version of the Smogger enemy called the Chromogger. This thing is dangerous if it gets in close, as it'll hit you for big damage with its giant wrecking ball arm, while also spraying you down with gasses that damage and cause status effects such as Silence. But it's easily avoided, too, especially if you keep your characters on opposite sides of the arena from one another.
Switch to Aerith and go nuts with spells; Lightning does increased damage and will drive up the pressure meter, especially when you unleash some on its wrecking ball arm, while Cloud can use his physical attacks. The AI will do a pretty good job of keeping Cloud out of too much trouble, leaving you free to run up Aerith's ATB bars for additional spells and healing abilities. It'll take a bit, but just keep playing keep-away with the Chromogger while hitting it with spells until it ultimately goes down.
Return to Damon for your reward of 2,000 gil.
Side-Quest: Paying Respects
After completing the "Weapons on a Rampage" quest, stop by the Weapons Shop and talk to the old man out front. He'll send you to the graveyard to kill some monsters, but you'll need to purchase the Graveyard Key from the Moogle Emporium in the Kids' Hideout to get through the gate.
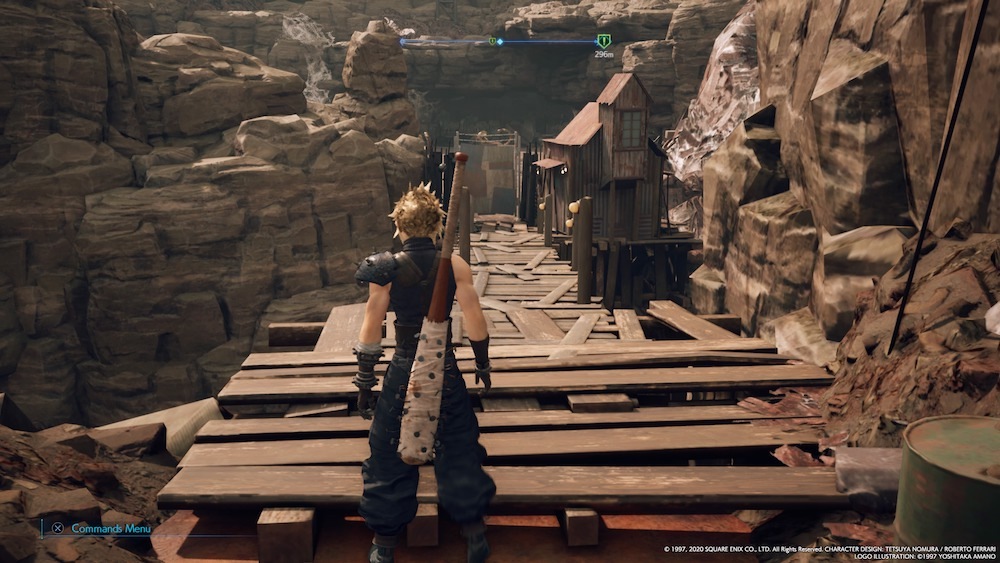
Head north out of town toward the Nuts 'n' Bolts Hills. When the path forks, head to the right to find the cemetery on a small path off to the east. Here, you'll fight three Venomantises, which might give you a run for your money if you're not diligent. Make sure you have strong Ice materia equipped for this one.
Venomantises like to use ranged strikes to put you to sleep, then big melee strikes for devastating damage. Watch out for their Torpid Strike attacks, which shoot a gas bomb at your characters that immediately put them to sleep, leaving them open to attack for a long time. You'll want to use Cloud's Punisher mode and guards for quick counter-attacks, but watch out for Leaping Strike--you really want to dodge clear of that one.
Pick a Venomantis and have Aerith use Blizzard or Blizzara as much as she can, while also healing herself and Cloud. Ice magic kicks up the Venomantises' pressure meter quickly, which can help slow them up and keep them from attacking you. While Aerith concentrates on Ice, use Cloud to get in close with Punisher attacks and counter-attacks, but be sure to keep on the move so you don't get overwhelmed. If you can stagger a Venomantis, you'll likely be able to take it out, or at least damage it significantly and finish it in a second round.
Repeat this process for the other two, but again, try to keep your situational awareness up to avoid getting put to sleep, and dodge clear when you see Torpid Strikes coming your way. If you can keep from getting overwhelmed, the Ice magic should do the trick until you can kill all three enemies.
You'll get a Studded Bracer armor for your efforts when you finish the mission.
With everything else done, head back to Aerith's house.
Boss Fight: Rude

Rude is basically the opposite of Reno, in that his attacks are big, powerful, and tough to block--instead, you want to be ready with a dodge to avoid taking the brunt of it. Focus also on trying to dodge sideways rather than backward, as Rude will travel forward with a lot of his attacks to keep hitting you even if you back off. Keep away from his Haymaker attack, which does a whole lot of damage, and do what you can when he comes at you with the Running Tackle, which will leave Cloud bound and exposed to the suplex that follows.
Before the fight begins, equip Wind materia on Aerith. She'll be almost completely ignored by Rude, giving you a chance to use her to dump spells on the boss. Wind magic will hugely push up Rude's stagger meter. So try to keep Cloud safe in the melee fight while focusing on Wind magic to do the real damage.
After you get Rude's health down some, you'll trigger a second phase, where he starts using attacks called Shockwave and Spirit Geyser. Shockwave travels through the ground and will track you some, while Spirit Geyser will cause explosions underneath you--in both cases, keep moving to avoid the damage. Keep firing away with Wind spells and you'll make pretty quick work of Rude.
Head back to Aerith's house, and be sure to snag the MP Up materia from the flower garden after the cutscene. Be sure you're done with everything else in town before you enter the house, as you won't be able to return.
Continue with our spoiler-free walkthrough in Chapter 9: The Town That Never Sleeps.
Got a news tip or want to contact us directly? Email news@gamespot.com
Join the conversation