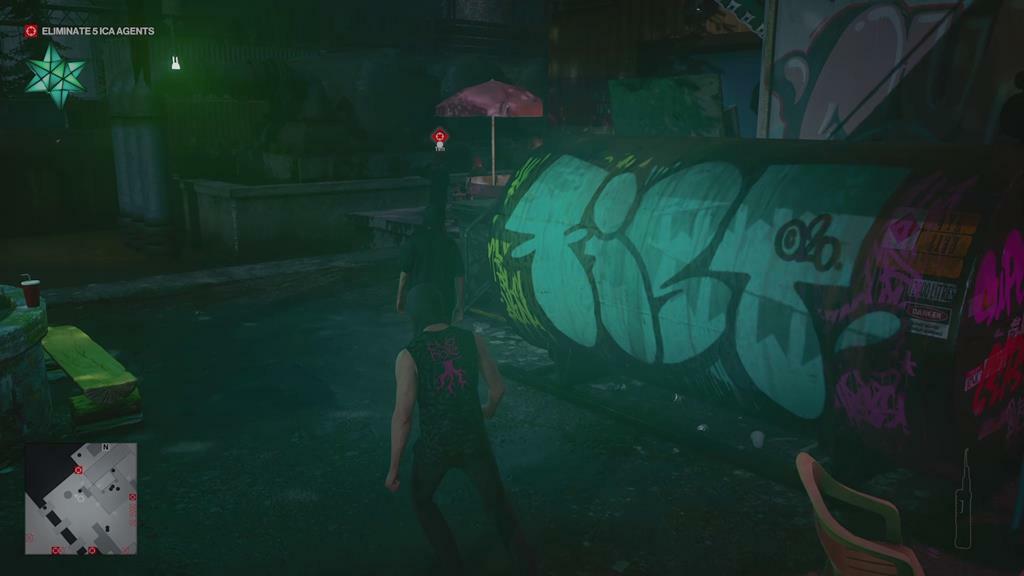
Hitman 3's Berlin level lives up to its title Apex Predator, as players are given a sandbox that is crawling with 11 possible targets. To finish the Apex Predator level, you'll need to take out five ICA agents. The majority of them are roaming the environment on their own, with some agents occasionally crossing paths. If you play your cards right, you can even eliminate multiple agents in one fell swoop, earning one of the trickier challenge achievements in the process. Below we detail what it takes to take care of this deadly business.
The Swansong

Agent Swan can be found patrolling the Chill Out area on the map, around the water tankers. There are two prime spots to get rid of the agent: The first is a dangerous ledge where stops to take a break, and if the area is clear he can easily be kicked off of it to his doom. Agent Swan also happens to enjoy smoke breaks, and if you have a wrench on hand then you can loosen the valve on a gas cylinder in the location where he frequently lights up a fresh cigarette.
The Wall

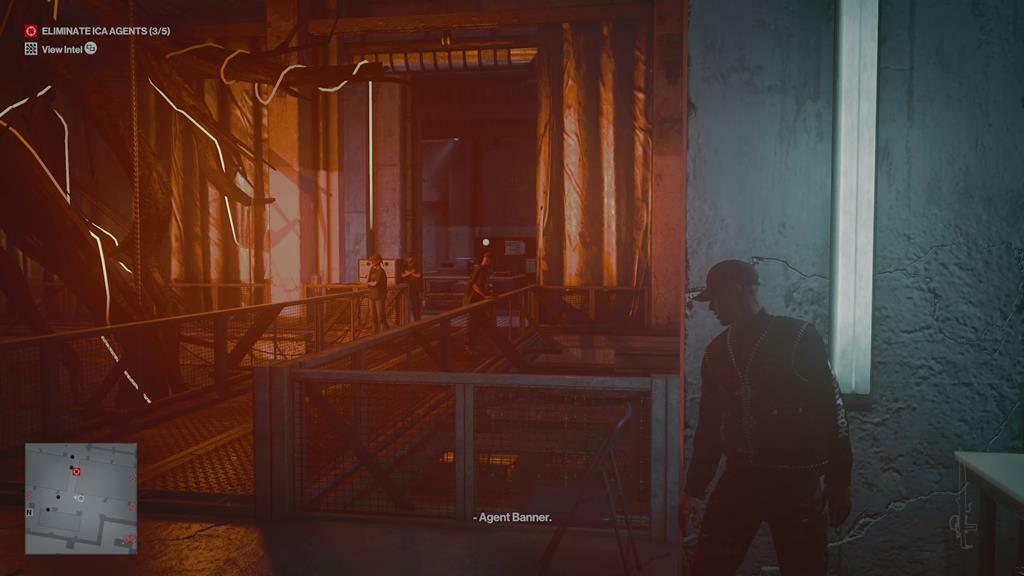
The ever-alert Agent Banner has chosen a position on Level –1, watching the crowds below for any sign of Agent 47. With his mind focused squarely on the task at hand, Banner is an easy mark. Simply distract the nearby technicians by fiddling with the nearby fusebox, and he'll be ready for an unfortunate fall from his perch into the crowd below.
The Leader
"It Was A Firefight" Challenge

Agent Montgomery has assumed the role of the new chief of security, and can be found on patrol around Level –1, occasionally crossing paths with Agent Banner for a situation update. One of the more interesting methods for taking care of Montgomery is to infiltrate deeper into the nightclub and disguise yourself as club owner Rolf Hirschmuller, who can be found in his office in Level –2.
Once you've cleared the office and ensured that no one will interrupt you, you can schedule a meeting with Montgomery. The catch here is that Montgomery knows that you've taken on Hirschmuller's identity, but he's confident enough to believe that he can walk out of your trap unscathed. While you talk to Montgomery, he'll bring in several other ICA agents to surround you.
At this point, subtlety is no longer an option and it's time to kick Hirschmuller's desk over, revealing a sawn-off shotgun underneath it. Taking care of all agents this way will also complete the "It Was A Firefight" challenge.
How The Turntables Challenge

There's a stylish way to eliminate both agent Banner and Montgomery, and it involves infiltrating the DJ booth. You'll first need to do some work before you can spin a few discs, as the laser equipment above the dancefloor is susceptible to lethal tinkering.

On the same floor that Banner has positioned himself, grab the screwdriver on the far side that is sitting on top of a rubbish bin. Head back to where Banner and the two technicians are, and switch off the high voltage regulator. Switch the fuse box off to distract one of the technicians, wait for the second one to turn her back, and then use your screwdriver to tamper with the light tree installation.

Head back down to the backstage area that is opposite Hirschmuller's office and tamper with the sound rack outside the DJ Booth. One of the DJs will come to investigate, and you can subdue them easily. Assume the DJ disguise and head into the booth. Relieve the DJ on duty, and when Montgomery and Banner are together, hype up the laser installation and then overload it for murder above the dancefloor. This will complete the How the Turntables challenge.
The Sniper
The 47th Trick In The Book / Rule Of Threes / Drive It Home Challenges

Agent Tremaine has set up a sniper nest on level 2 and has also recruited several Ragnarok bikers to watch his back. Getting to Tremaine is surprisingly easy though, as his security is spaced out and can easily be taken care of before you assassinate him.
There's a challenge award for killing Tremaine with his sniper rifle, however, which can be stolen from the tripod he has it attached to. Once you have it, sneak out of the club and back towards the gas station where you started the Berlin level. On the way you'll find a radio tower which can be broken into. Do not take the stairs, as the ICA has set up an alarm system that you'll trip. Rather use the ladder to climb up, position yourself in the direction of Tremaine, and squeeze the trigger.

His sniper rifle is unsilenced though, and once you've dealt with him security will make its way towards you. If you're quick enough to use the rifle to also take out agents Green and Swan, you'll earn some extra points in the process by completing The 47th Trick in the Book challenge.
Killing at least three targets from the radio tower completes the Rule of Threes challenge. If that's enough to make the other agents evacuate, you can one agent more for the Drive It Home challenge.
The Scout

The eagle-eyed Agent Green can be found on the roof of the club overlooking the Chill Out location. Green's habits aren't too complicated, as he'll spend time walking along the roof and stopping to inspect sections that he could easily be kicked over the lethal edge of. If you've set up a sniping nest in the radio tower on the far side of the map, you can also take care of Green easily and from a long distance.
The Professional

Agent Thames can be found in the back entrance area of the club. Easily distracted, Thames is also patrolling an area that has very little foot traffic and plenty of shrubberies to hide in. After he's done berating the nearby Ragnarok bikers, Thames will wander off to a secluded spot and is ready to be eliminated. Once you've taken him out, you'll also find that he has dropped an ICA distraction mine.
Crane Trauma Challenge

Thames can also be taken out with an arranged accident. On his patrol path, you’ll find a crane that has a huge piece of concrete suspended over the air. To power it on, you can grab a fuse from the skip where two Ragnarok bikers are having a conversation.

Insert it into the fuse box beneath the crane and climb up. Once Thames walks into the crane spotlight, drop the concrete on him and you’ll have taken out yet another agent in the process--thus completing the Crane Trauma challenge.
The Joker

Agent Chamberlin has disguised himself as event security and can be found wandering the dancefloor and occasionally checking in on the security desk near Hirschmuller's office. There are two prime opportunities to dispose of him here.
A nearby bathroom can be used to distract him inside when you overflow the sink, or you can set up an electrifying hazard. Grab a screwdriver, tamper with the sockets and take care of the nearby security. With those bodies hidden, soak the floor with hazardous water using a well-aimed shot from your silenced pistol.

Chamberlain will walk right into this deathtrap, but if you time it right, you can also snare agent Montgomery in and grab two quick kills in the same section of the level.
The Englishman
The Wurst Disguise / The Wurst Delivery Challenges

Agent Lowenthal can be found disguised as a Ragnarok biker, where he's patrolling the drug packaging garage on level 0. Hunting Agent 47 is hungry work, and Lowenthal is starving for a meal that has yet to appear. Disguising yourself as the delivery driver is an easy way to get close to Lowenthal and complete The Wurst Disguise challenge, or for a quicker approach, you can distract him in the garage and take care of him permanently. Successfully delivering Lowenthal's food will also complete The Wurst Delivery challenge.

The food delivery driver can be found near the containers at the garage. Assume his identity, and don't forget to grab the emetic poison nearby. Pick up the key to the driver's scooter, unlock the boot and add the extra ingredient. A biker will fetch Lowenthal's meal and tell you to scram, but he makes the mistake of leaving the door open.

You can sneak in, wait for the rat poison to take effect and wait for him to go to the toilet. Once Lowenthal assumes the position, introduce him to the evacuated contents of his stomach for another clean kill. If you'd prefer to kill him quicker, you can also find a vial of lethal poison in the security section of the Grow Room on Level 1.
The Rookie

Disguised as a club attendee and patrolling the corridor outside the Chill Out section, Agent Davenport's sole distraction is a quick drink between reconnaissance rounds. Emetic poison can be found nearby, and it's a simple matter to poison Davenport's drink once you've found the right staff disguise. Once Davenport has had a sip, he'll make his way to the nearby toilets. With his back turned, it's a simple matter to drown him in his own vomit.
The Veteran
Paging Dr. Greenthumb Challenge

Agent Rhodes has infiltrated the Grow Room on Level 1 as a security agent, and spends his time wandering between Marijuana plants and the security room. Rhodes isn't too difficult to take care of, provided that you can remove a few Ragnarok bikers from intefering with your mission.

There are two spots in the grow room where you can electrocute Rhodes with a combination of faulty wiring and leaky hoses, or you can wait for him to enter the security room and perch over the window frame while he ponders his next move. The challenge here is that you don't have too much time between kills to clear the way, but taking care of Rhodes will earn you his assault rifle which is equipped with a silencer.
You can also put poison in the grow house ventilation while Rhodes is in there, which will complete the Paging Dr. Greenthumb challenge.
Waaagh! Challenge (Where To Find The Scrapper)

Completing the Waaagh! Challenge in Hitman 3 revolves around chopping any of the agents down to size with a sword made from scrap metal. The blade isn't too difficult to find, as it's hidden between a few derelict water tankers near the Chill Out spot:

Log in to comment