How To Install An M.2 SSD In PS5
The PS5 now supports select M.2 SSDs for additional storage space, and we have the step-by-step process for installing the drive with a heatsink.
Now that the PS5 supports M.2 SSDs for expanded storage space, you may be wondering how to go about adding an extra terabyte or two to your console. After all, the PS5's 1TB drive can fill up pretty quickly, especially with the monthly PlayStation Plus games and massive updates that regularly get released for popular online multiplayer games. Thankfully, the process for installing an M.2 SSD in your PS5 isn't very challenging. That said, it is more in depth than the Xbox Series X's plug-and-play proprietary storage solution. We've outlined the steps for installing an M.2 SSD in the PS5 below.
M.2 SSDs for PS5: What you need to know
Before we get started, we should detail a few important details. For starters, the PS5 is fairly demanding, so many NVMe SSDs will not work (at least not optimally) with the PS5. Here are the general requirements:
- Interface: PCIe Gen4 x4 M.2 NVMe SSD
- Sequential Read Speed: At least 5,500MB/s
- Form Factor: M.2 type 2230, 2242, 2260, 2280, or 22110
- Socket Type: Socket 3 (Key M)
- Capacity: 250GB – 4TB
- Cooling Structure: Single-sided format or double-sided heatsink
- Total size including heatsink: less than 110mm (L) x 25mm (W) x 11.25mm (H)
You'll also need a small Philips head screwdriver to complete the installation.
For our test, we installed the Samsung 980 Pro 1TB NVMe. The model we tested didn't come with a heatsink, but Samsung is releasing a new PS5-focused version of the drive with a heatsink already attached. We'd highly recommend the Samsung 980 Pro and haven't encountered any issues with it thus far. For more drive recommendations, check out our roundup of the best M.2 SSDs for PS5.
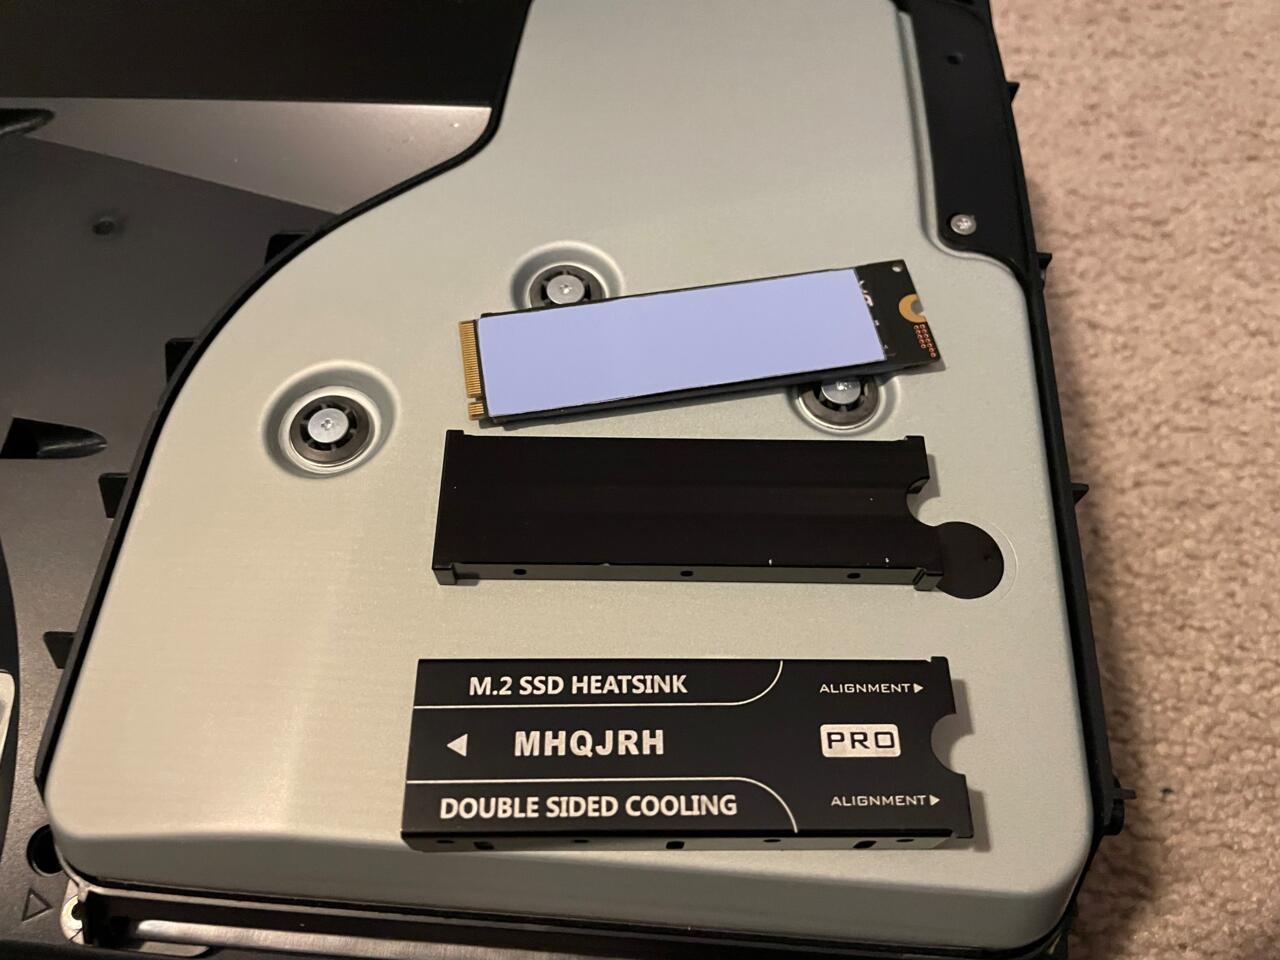
How to connect M.2 SSD to heatsink

Skip this step if your drive has a heatsink attached out of the box. If you purchase a drive without a heatsink, you'll need to buy a compatible heatsink to attach the drive to before installing the drive.
- The exact process varies based on which heatsink you buy, but the general rules apply to all of them.
- If you buy a double-sided heatsink, you'll have to attach a piece of thermal tape (included) to each side of the drive before slotting it into the heatsink. From there, you simply position the drive between the two sides of the heatsink and fasten it with either screws or brackets (whichever is included).
- Single-sided heatsinks simply attach to the drive, and you're good to go. Double-sided heatsinks are more common though.
How to install M.2 SSD In PS5
1. Make sure your console is turned off. Disconnect all cords, then place the PS5 on a flat surface where you have room to work.
2. To ensure that you don't have any static electricity built up before touching the internal components, place your hand on a piece of metal in your home.

2. Flip the PS5 over so that the logo is facing down and the disc drive is on your right-hand side.
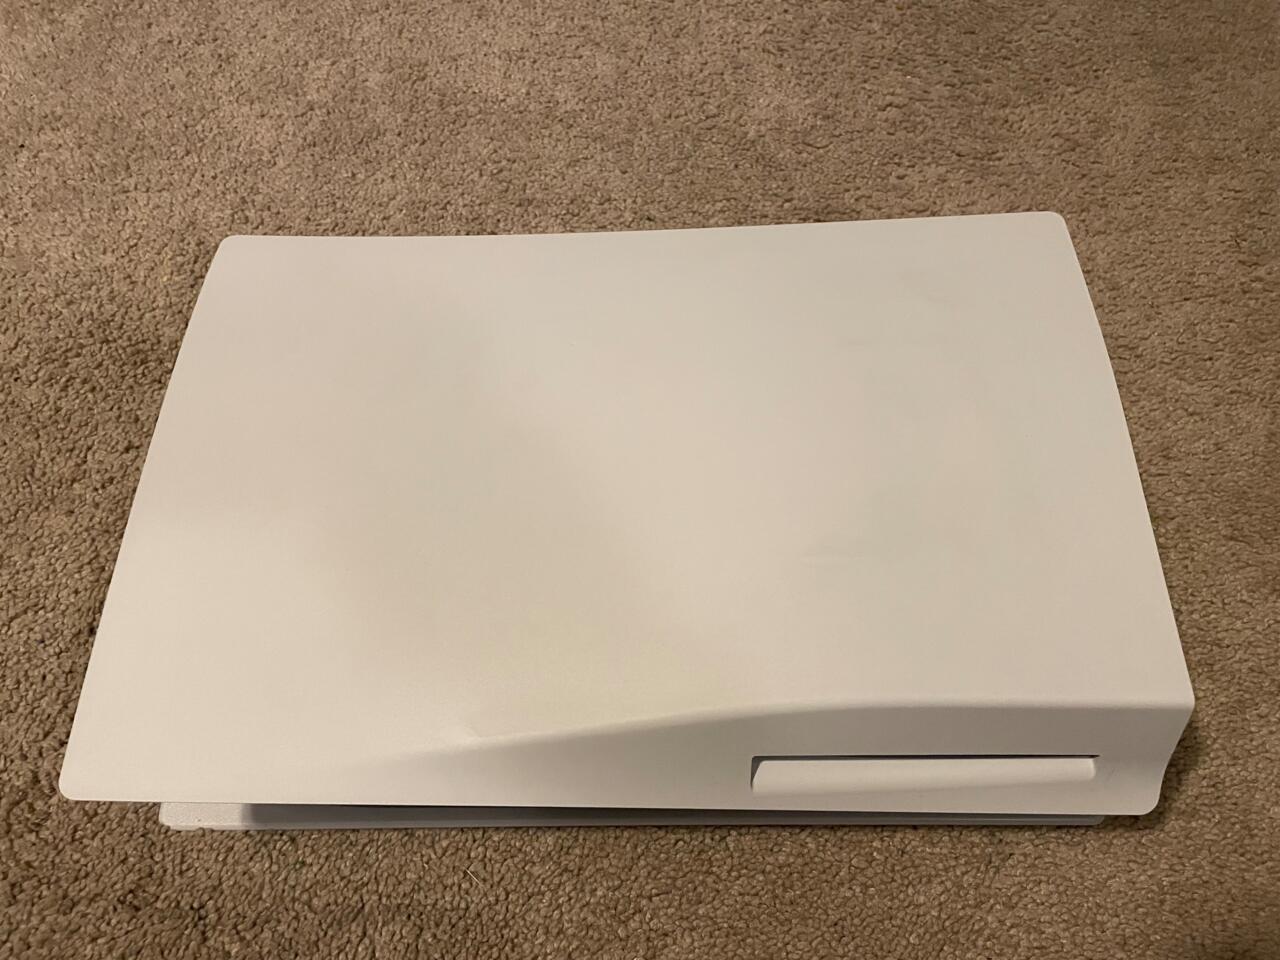
3. This step can be a bit tricky. You need to remove the white panel from the bottom of the console. Grab the upper left-hand corner of the console while firmly holding the bottom right side with your other hand. You need to pop the panel off, but it doesn't disconnect very easily the first time. As long as you hold the right side of the console down while pulling up on the left side, the panel should release from its brackets.

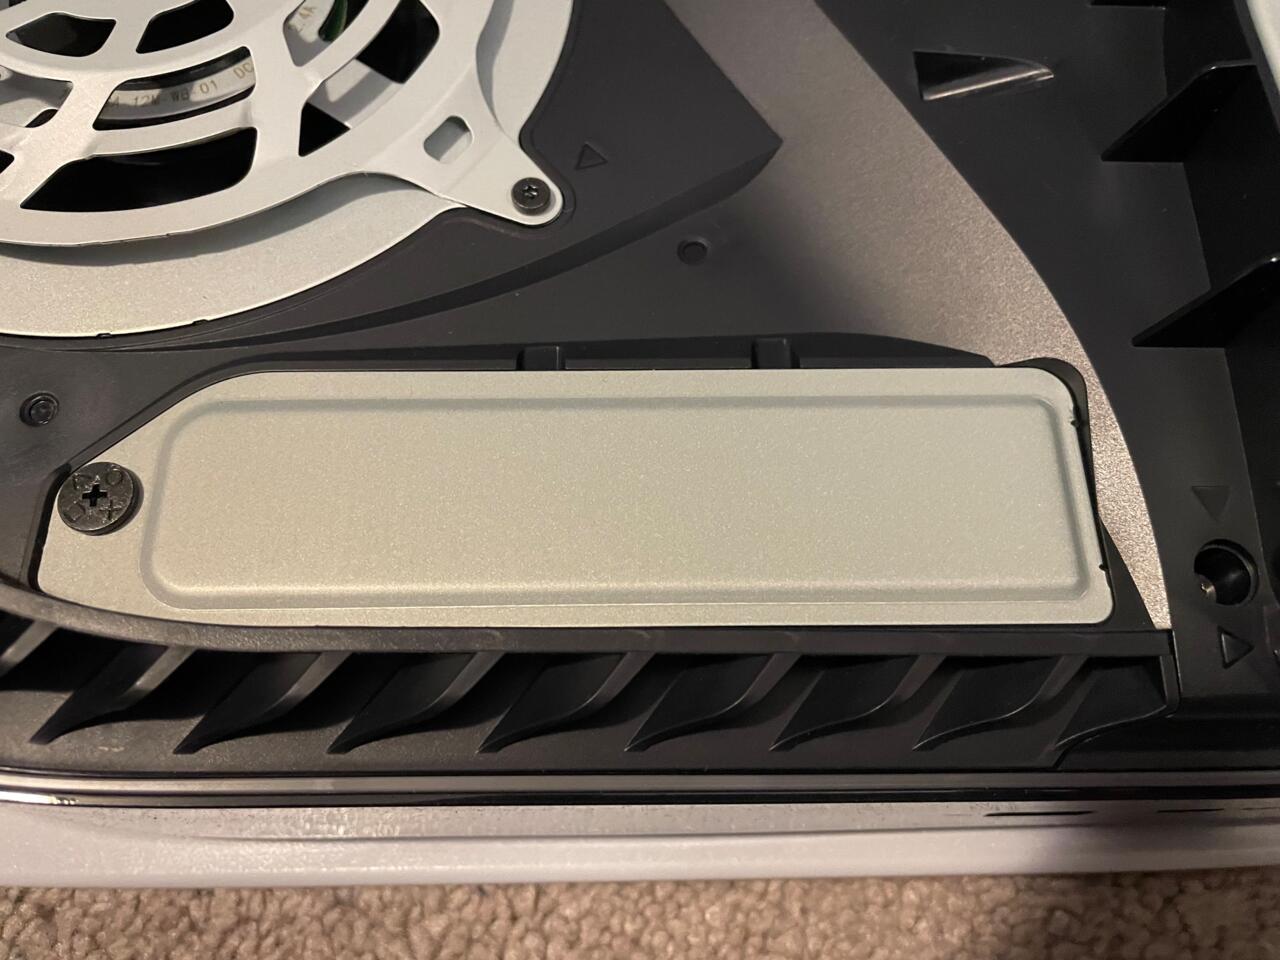
4. With the cover off, you'll now see a lidded slot next to the disc drive and below the fan. This is the M.2. SSD drive slot. Use a Phillips head screwdriver to remove the screw.

5. The compartment has five grooves, each of which is designed to stabilize a specific size drive. By default, the screw and spacer are in the 110 size slot. It's likely you'll have to move this. For instance, I had to move the screw and spacer to the 80 size groove to properly secure the Samsung 980 Pro.

6. Remove the screw and spacer and keep them on hand, as it's easier to put them back in after the drive is in place.
7. Here's the fun part. Pick up your M.2 SSD and angle it down toward the connectors on the right side of the slot--the bottom of the heatsink should be visible to you. You need to push the drive inward and downward at an angle in order to get it to sit flush with the connectors.
8. Once the drive is in place, lay it down flat and apply pressure with one hand while fastening it in place. The spacer goes in the groove first before screwing it in.

9. You're all set. Screw the slot cover back on, pop the back panel on the console, and hook the console up as normal.
10. If installed properly, you'll get a message to reformat the M.2 SSD the next time you turn on your PS5. Enjoy the extra storage space!
More Tech Picks From GameSpot
- Best Computer Speakers For Gaming
- Best 4K TVs For Gaming
- Best Monitor For PS5, Xbox Series X
- + Show More More Tech Picks From GameSpot Links (6)
- The Best Gaming Chairs
- Best Cheap Gaming Monitors In 2022
- Best PC Headsets In 2023
- The Best Nintendo Switch Controllers You Can Buy
- The Best VR Headsets In 2020
- The Best Webcam For 2021: Top Picks For Streaming On Twitch And YouTube
Got a news tip or want to contact us directly? Email news@gamespot.com
Join the conversation