Paying tribute to From Software's Dark Souls series, the Souls-like Mortal Shell forces you to learn its stoic and precise combat mechanics to survive an incredibly hostile world. While exploring the land of Fallgrim, you'll come to know its history and the residents that inhabit the chaotic setting. But as you dive deeper into the game, it becomes apparent that Mortal Shell takes a decidedly different approach to the Souls-like experience that you would expect. While it's much more inviting and accessible than many of From Software's games, it still possesses an edge that can easily cut down players who aren't prepared and focused.
In this guide, we're breaking down some critical tips for players diving into Mortal Shell for the first time. Even veteran Souls players are in for some surprises with this game that pays tribute to From Software's Souls series. Forgoing a familiar RPG system with leveling and stat-management, Mortal Shell puts precise and tactical combat mechanics front and center. In addition to learning the flow of combat, you'll also have to come to grips with the bizarre world to explore, even if it means devouring poisonous mushrooms to survive. So with that, here's a quick breakdown of how to survive in the world of Mortal Shell.
Be sure to check out more of our coverage of Mortal Shell, including info on how to activate the game's hard mode, along with our full Mortal Shell review.
Get To Know Fallgrim
Exploring Fallgrim and its surrounding areas can be a challenge, especially when starting out in the game. The swampy forest of Fallgrim serves as your hub, which connects to the three core dungeons in Mortal Shell, and it can be surprisingly easy to get lost in its labyrinthine structure. Early on in the game, you'll arrive at the Fallgrim Tower. This place is essentially your main base of operations. In addition to being the place to swap shells and weapons, it also houses many of Mortal Shell's NPCs, including a merchant, Sester Genessa--who can upgrade your shells--and a workbench to improve your weapons.
Similar to The Legend of Zelda, Fallgrim is the main map of the game and exploring it will lead to different areas to progress the main story. Surrounding the tower are different paths leading down to the further reaches of the region. These dungeons are distinct from the swamps of Fallgrim, such as an obsidian mountain range, a cemetery leading to a deep set of catacombs, and a settlement filled with bandits in front of a hellish ruin. In addition to these major paths, you'll also find small tunnels that let you bypass different areas. These shortcuts can be immensely helpful in your travels, so be sure to remember and take notes on where you're heading to next. Also, keep an eye out for large stone tablets, which you can read for lore and which hold clues about hidden spots.
Meet The NPCs

While you'll face many monsters throughout the game, there are still several friendly faces to find in Fallgrim who have your back. As mentioned before, Fallgrim Tower is your safe haven, and several characters are there to help you along the way. The most important ally you have in your adventure is Sester Genessa. Not only will she upgrade your shells, but she will also fill you in on some crucial details about the game's world to help offer context and perspective, even giving you clues on where to go next. If you max out a particular shell's upgrades, she'll instead sell you useful consumables. There's also an easily missed vendor at the top of the tower near its bell, who will sell weapon upgrades and a special kit that gets you one of the only ranged weapons in the game.
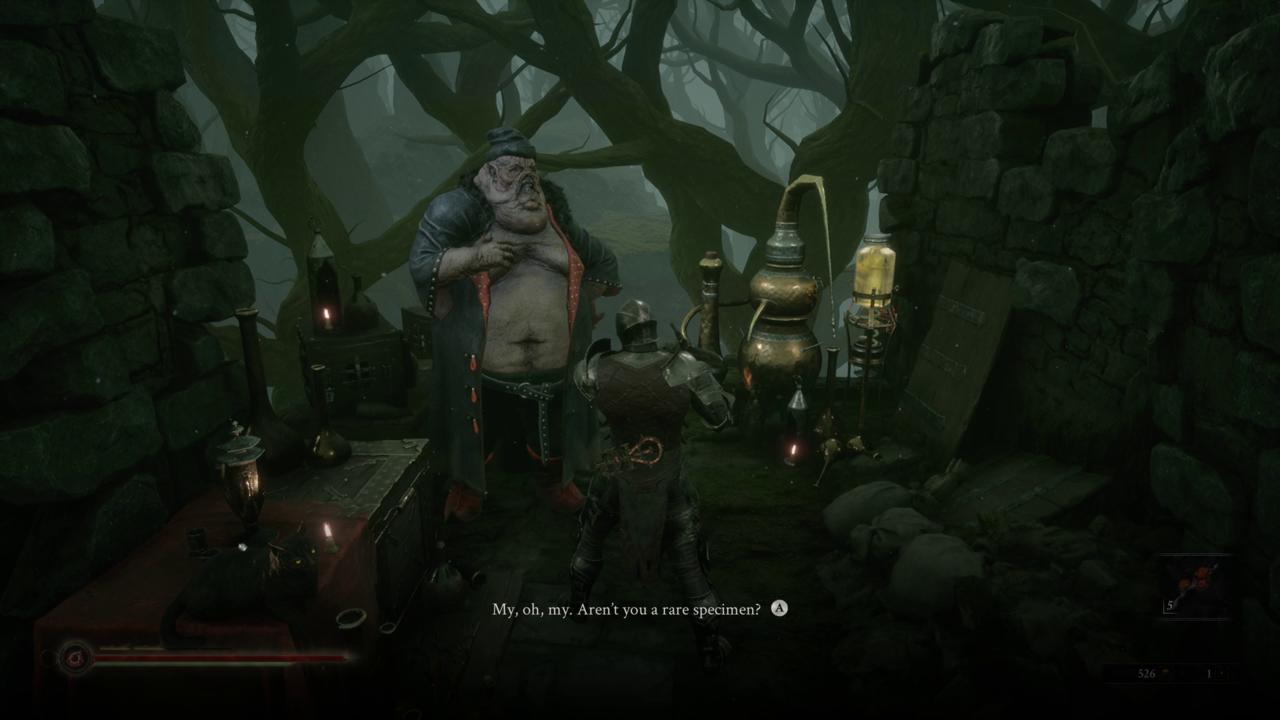
There are even some friendly characters outside of the safety of the tower. In the swamps of Fallgrim, you can find another friendly face named Baghead, who requests some items to help pass the time. If you manage to satisfy his needs, you'll be treated to some of the few humorous moments in Mortal Shell, which can offer a much-needed respite from the harsh world. So be sure to identify and make contact with friendly individuals early on. Also, be sure to show off your lute-playing skills in front of them, they may even be amused by your talent.
Know Your Shell

At the beginning of Mortal Shell, you'll familiarize yourself with the protagonist known as the Foundling. As something of an otherworldly spirit who can wield weapons, the Foundling also possesses a unique set of abilities that will make surviving the hostile world a bit easier. However, the Foundling isn't too resilient in a fight, which means they'll die in only one hit. To overcome this handicap, the Foundling can possess the bodies of long-deceased warriors who have met their end in the land of Fallgrim, allowing them to adopt their combat skills and resilience. With four different shells to find, these characters, which you'll come to know throughout the game, are your saving grace, and they each have their own set of unique abilities and advantages in combat.
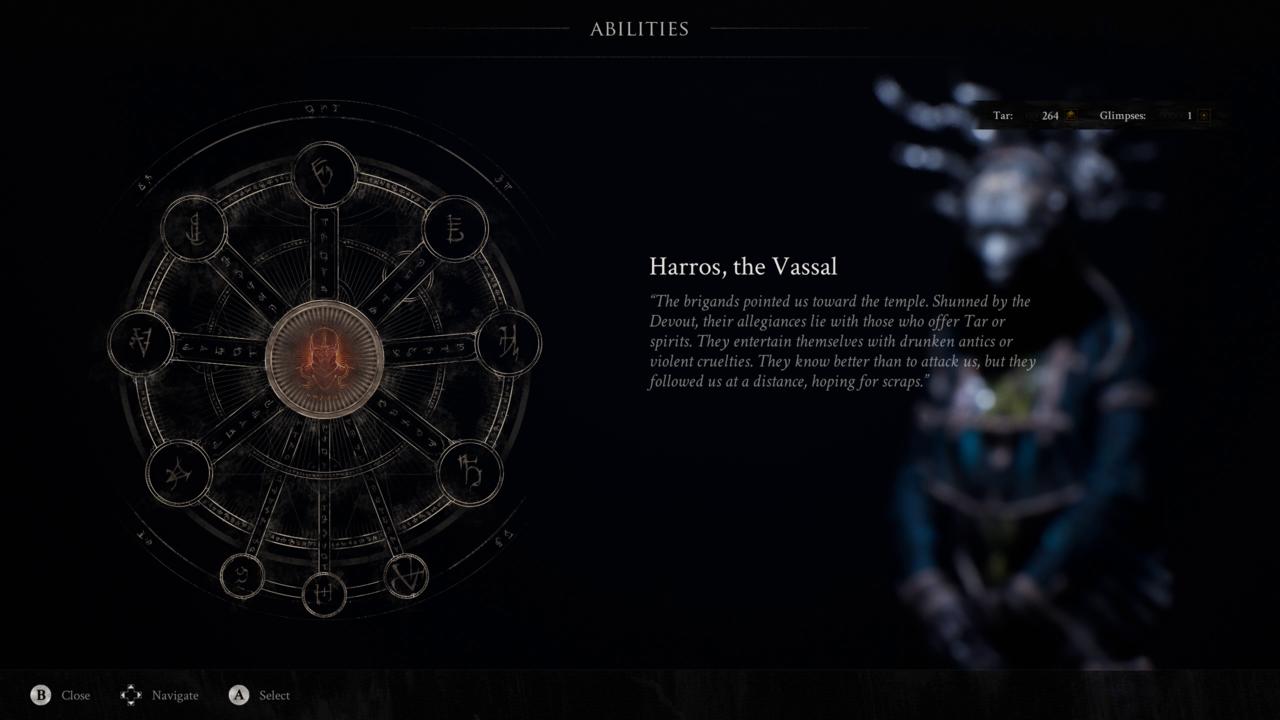
The first shell you'll find in the game is Harros, a well-rounded warrior who has fairly even health and stamina bars. Eventually, you'll find three other shells that possess the familiar RPG archetypes that focus on speed, resolve, and defensive attributes. Even before venturing into the first dungeon, you can find all four characters, giving you options on how to proceed with the rest of the game. One way to know which shell is right for you is to check with Sester Genessa in Fallgrim Tower, who can upgrade your character. When examining the set of upgrades, which cost both currencies you earn from killing enemies, tar and glimpses, to unlock, you can see what sort of benefits they have and what to prioritize. One important note is that each shell has its own pool of glimpses to spend, so switching over to a different one will mean losing the amount of glimpses you had for the previous one. The only way to transfer glimpses from one shell to the next is to max out one shell and invest in glimpse consumables from Sester Genessa, which can be passed over to other shells.
Some of these shells have advantages over others, but the game never quite pushes you towards one. So if you have a favorite, you're free to stick with them throughout the game. Still, it's essential to learn what their limits are and prioritize which skills you should unlock first in their skill menu. If you feel you want to switch over to a different shell fast, then be sure to keep an eye out for items known as effigies, which can be used to switch over to different characters while out in the field.
Watch Your Resolve

As you take on more foes and survive in combat, you'll begin to build up charges of "resolve." Your pool of resolve, which is located just above your health meter, can be spent to engage special skills and abilities in combat. In addition to a useful kick attack, which can be unlocked in your shells' skill menu, you can also activate buffs for your weapons. You can also unlock specialized weapon skills when upgrading your gear, letting you take down stronger prey or a small group of enemies with ease. While you may feel inclined to use your resolve when you've got it, it's much better to save them for when you need them most. For instance, the useful riposte mechanic comes in clutch when you need to restore health, but it costs a single bar of resolve to use. So be sure to keep track of your resolve while out in the field.
Go Hard
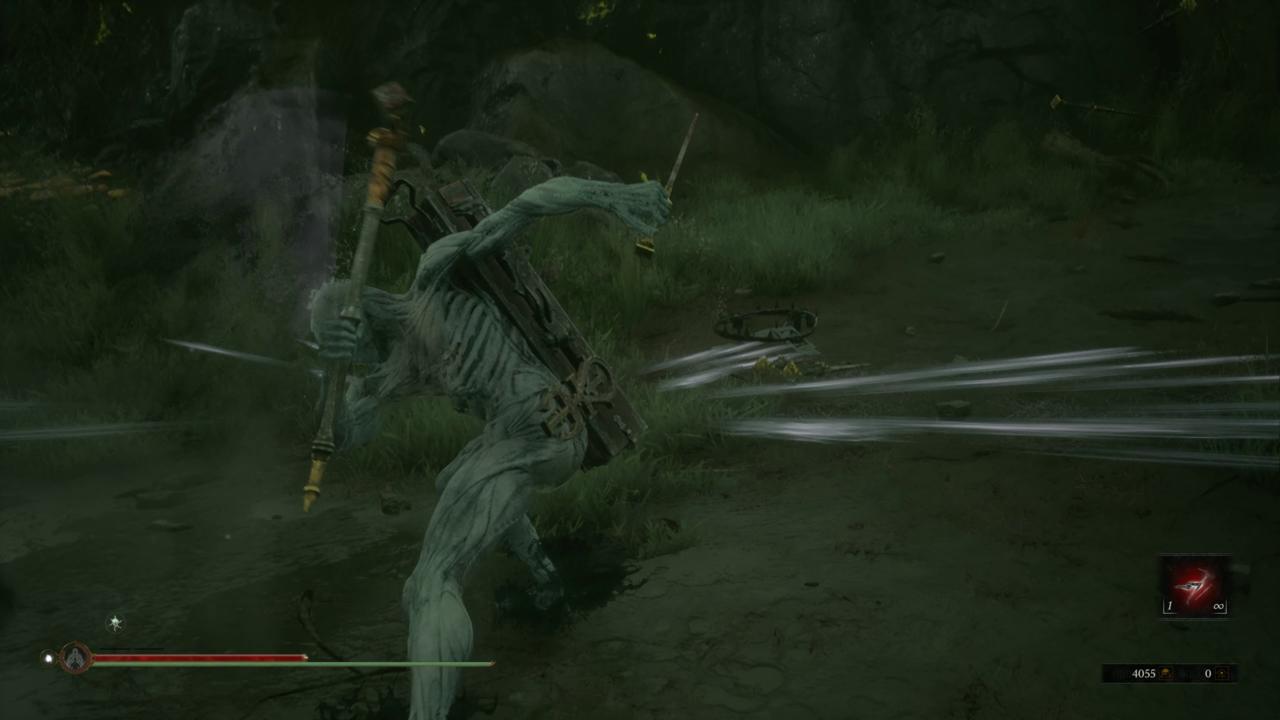
You'll come to know the ins and outs of your basic attacks and dodges from early battles in Mortal Shell, but the most invaluable skill that you'll need to master is the ability to harden. This skill allows the Foundling to instantly turn to stone, making them and their shell invulnerable to nearly every attack in the game--aside from certain grabs from the more elite monsters. Even most unblockable attacks can be protected against while harden is active, giving you a chance to withstand fierce strikes and follow up with an attack of your own.
What makes harden such a great skill is its flexibility. You can activate harden at any time, even mid-attack. This ability can be especially useful when fighting some of the aggressive and quick enemies. Just when an enemy is about ready to attack, you prime up your own attack, and in mid-animation, you can harden up to knock the enemy off-balance. Once they're stunned, you can proceed with your attack that was already in waiting. It's an incredibly useful skill, and when you learn the enemy's attack patterns, you can actively use this knowledge against them to set up some deadly strikes to win the fight.
Learn To Love The Parry

Another incredibly useful defensive skill is the parry. After making it to the Fallgrim tower at the beginning of the game, you'll find a large character called the Old Prisoner shackled on the second floor. Examining the item on the staircase next to it will grant you the Tarnished Seal. Once acquired, you'll be able to use parries in combat, which can knock enemies off-balance. While similar to the harden ability, the parry is much riskier to use, but it can open up some big combat advantages.
The Tarnished Seal opens up two different forms of parrying--the perfect parry and the riposte. If you don't have any resolve, you can only use the perfect parry. This version requires some more precise timing to nail, but it will not only knock foes off-balance after their standard attack, but it will also restore a single resolve charge. But if you have a resolve charge, then you can use the riposte. This version of the parry will not only stagger enemies, but also opens them up for a special attack that restores some of your health. Given that there are few healing items in the game, this can be immensely useful when you need to restore some health in a pinch. Later, you can upgrade the riposte with other powerful offensive effects as well. Another use for the Tarnished Seal key item is that it gives off a visual cue to let you know when enemies are about to use unblockable attacks, which is invaluable during a fight.
Familiarize Yourself With The Items

Throughout your exploration of Fallgrim, you'll acquire a variety of items from the ground and from hidden chests. But as you examine these items, you'll see that you'll need to use them to learn of their effects. This approach is one of Mortal Shell's more interesting twists on the Souls-like experience. Each item has a familiarity level, and when you keep using that item, your character will gain knowledge about it. When you manage to max out familiarity with one item after repeated uses, you'll unlock its true potential. One of the early trinkets you can get is the Lute, an instrument that has the Foundling sit down to play a tune. While the initial attempts will lead to some awful notes, repeated uses will eventually yield some solid songs.
You'll also find that certain items, like healing mushrooms, will respawn after a certain time. So you'll rarely be out of some items for long. Maxing out familiarity can be great for healing items and other objects that offer buffs to your character. However, some items present an initial risk. For instance, the Tarspore mushroom deals poison damage to you when you first use it. While common sense will tell you not to eat a poisonous mushroom found on the trail, especially after the first time, there's a good reason to continue munching on it. Once you max out familiarity with the Tarspore, you'll unlock its true potential, which grants you temporary immunity to poison damage. So be sure to use items regularly. If you feel you've got a dangerous item on your hands, it's a good idea to use it in the safety of the Fallgrim tower. That way, you can discover an item's true use with minimized risk.

