Tales Of Arise: Tips And Tricks For Surviving The Endgame
Things ramp up significantly as you reach the end of Tales of Arise--here's everything you need to prepare yourself to conquer the final dungeon.
You've beaten the Lords. You've conquered the Wedge. You've learned the truth of the Crown Contest and the Sovereign. And now, as you come to the end of Tales of Arise, it's time to set foot on Rena, the world that once seemed impossibly far away, to quell the Great Spirit that wants to consume all.
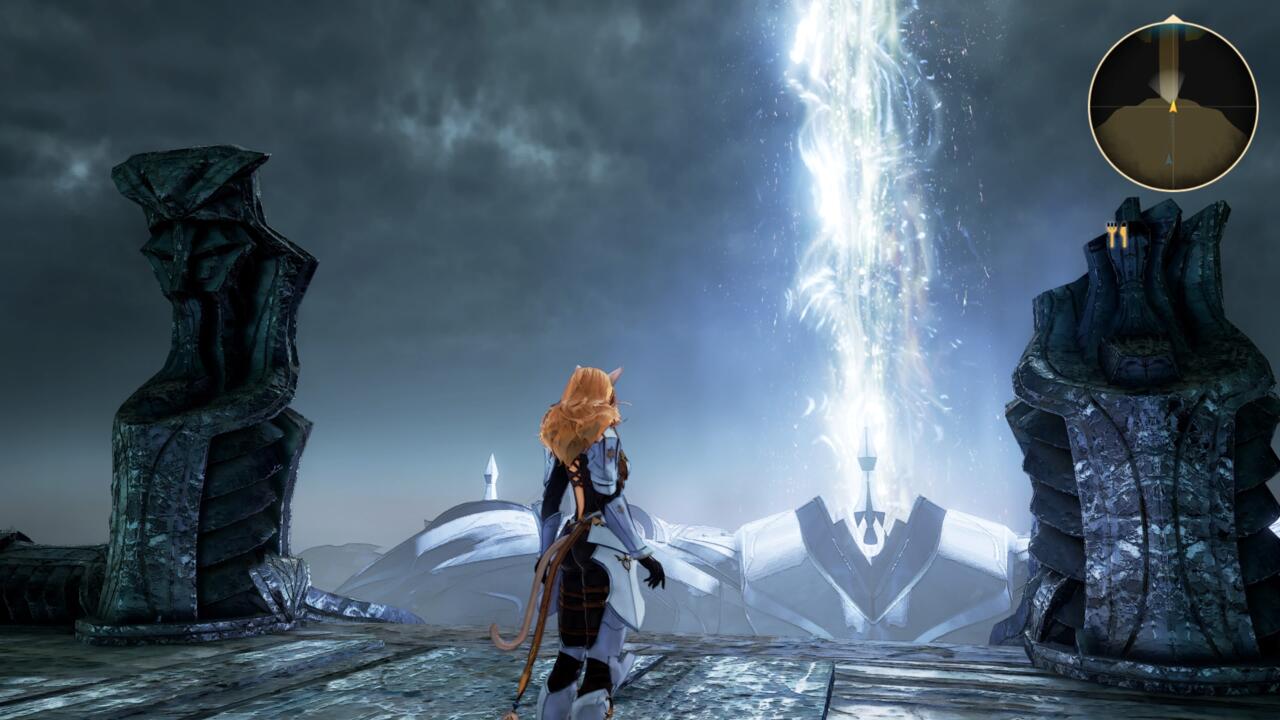
It's not going to be easy, and you'll likely see that the moment you drop ship on Rena. You'll find yourself facing enemies many levels higher than your party members, swarming you with Artes and rapid attacks, wearing you down before throwing huge guardian monsters at you to finish you off. It's a significant difficulty spike that can catch some players off-guard. Fear not, however--our guide will help you survive and conquer the final challenges Tales of Arise presents you.
If you need a more rudimentary look at Tales of Arise, be sure to check out our beginner's guide. You might also want to read our Tales of Arise review.
Take It Slowly
Even though you've landed on Rena, you don't need to explore the entirety of the final dungeon immediately. Because of its sheer size and difficulty, it's better to explore it bit by bit. Fortunately, there are a couple of teleporter warps you can activate throughout to give you a shortcut to and from the Renan surface. If your party is exhausted and you're low on supplies, it's best to return to the surface via fast travel and delve back in later. While many enemies will respawn, several key fights (such as large enemies blocking corridors) will not. This will also allow you to make new weapons and accessories with the materials found inside the Renan dungeons.
Now's The Time To Tie Up Loose Sidequest Ends
Rena might be sucking out all of the astral energy from Dahna, but since this game operates on JRPG Standard Time it's not going to kill the planet anytime soon. You've got plenty of time to spend on strengthening yourself... and the best way to do this is by tackling all of those sidequests you've left dangling, recipes you've left uncooked, training quests you haven't cleared, and fish you haven't caught. Not only will they yield lots of EXP, CP, and Gald, but they'll also reward you with very valuable artifacts and skill-granting character Titles.
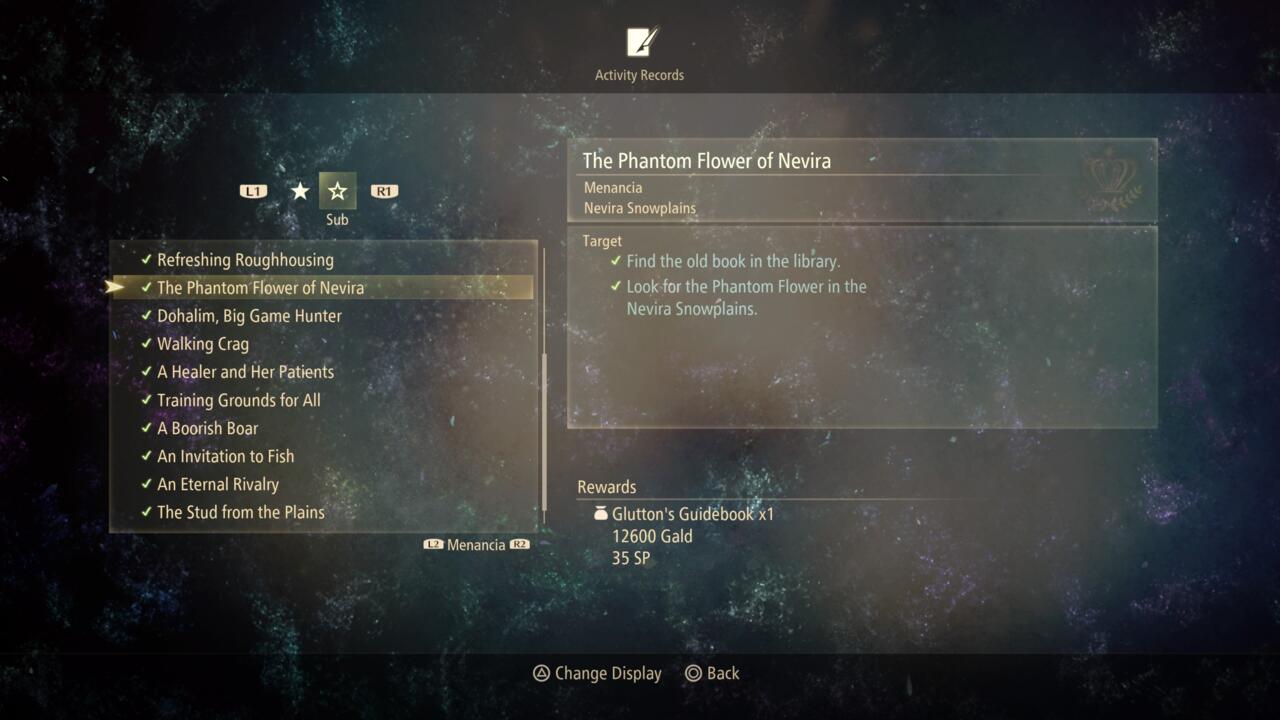
Several new sidequests will open up all over the world after travel to and from Rena becomes available. Check your map list to see where new quests are lurking (signified by the envelope icon) and find out who needs your help. Some of the requests will be pretty simple, while others--particularly the large monster hunts requested at Daeq Faezol and the "Mixed Feelings" quest--will not. Keep on your toes, too, because some quests like "Phantom Flower of Nevira" (found in the Autelina Palace library) and Beyond the Grave (found on the Tuah Seashore) that seem like simple investigation/gathering missions at first are actually fierce monster fights in disguise!
Fight The Four (Well, Three) Elemental Spirits
Proving yourself in battle against the elemental spirits is a common theme amongst the Tales games, and Tales of Arise puts its own spin on the tradition. When the Wedge first drops on Dahna, lights will appear in various places across the planet. These are special dungeons where a giant elemental spirit resides. You'll fight one, Efreet Malum, during the course of the story, while the other three are optional.
To open these quests, you'll need to progress through the game and complete several sidequests in Elde Menancia, Mahag Saar, and Ganath Haros. (You can actually unlock some elemental quests much earlier in the game, but you'll likely nope out of them very quickly after seeing the high-level enemy opposition you're up against.)
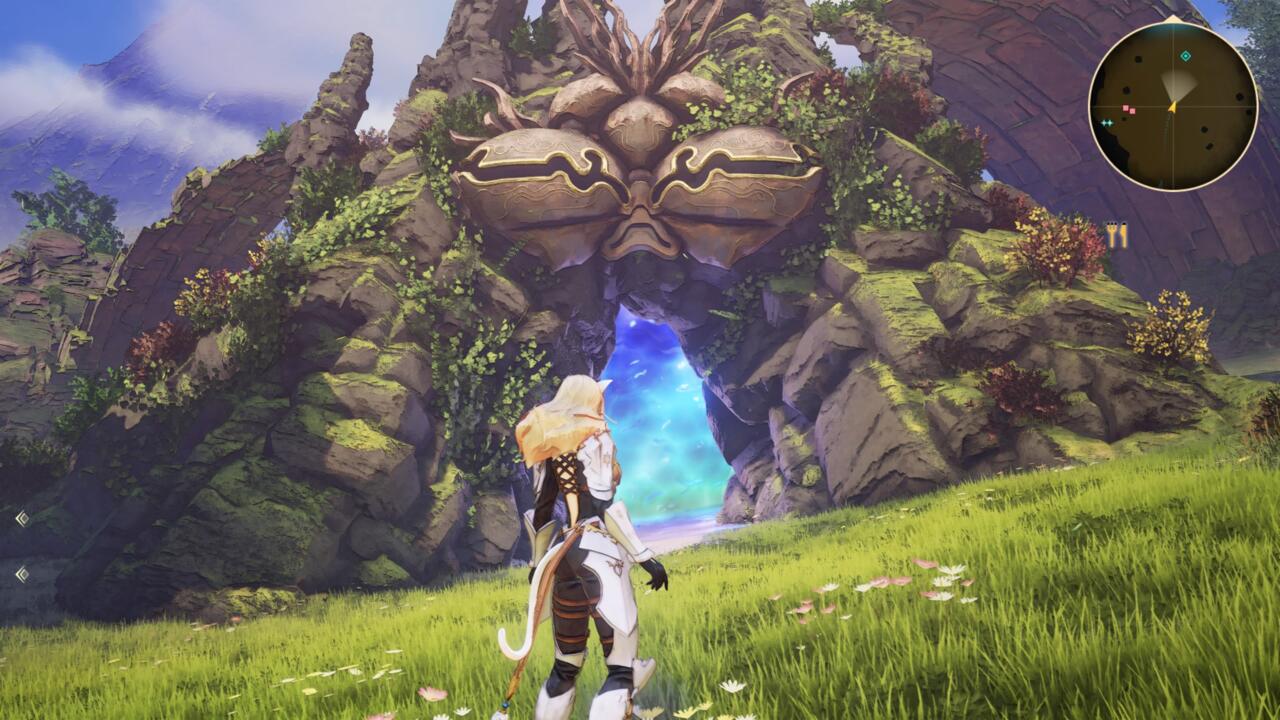
"Spirit Temple" is the quest to fight Grand Gnome in the Earth Spirit Temple. You'll get this quest from an NPC on Traslidia Highway. You'll then discover a huge structure that's emerged in the Tietal Plains. Going inside takes you to a new area.
To reach the boss, you'll have to traverse a massive maze... that also happens to be one giant battlefield! You won't get any post-battle rewards or healing until you've made your way through to Grand Gnome's boss room. You also can't run from enemy encounters, either, so it's best to fight as few foes as possible... which isn't easy when the dungeon's a mess of samey-looking hallways and teleporters, and the battles have you running around and disorienting yourself.
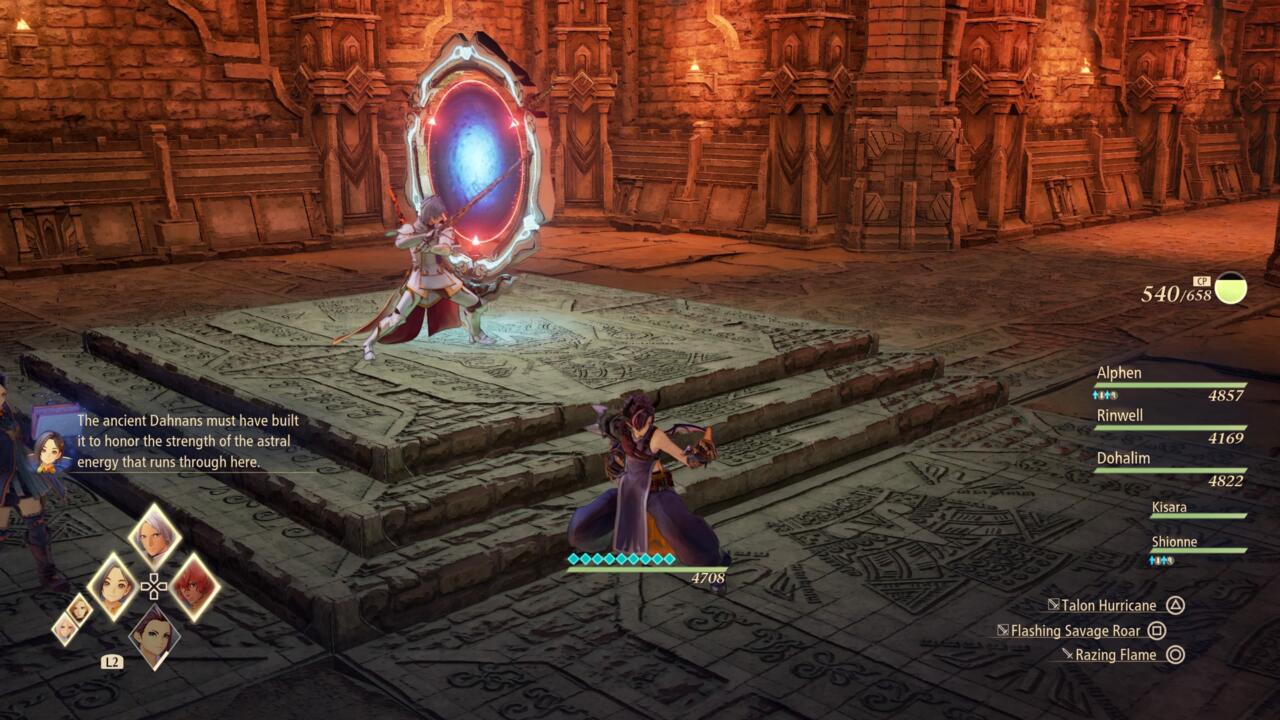
There's not much here in terms of treasures, so focus your attention on making it through the maze. Look down hallways before barging in to avoid encounters and scout for exits and dead ends. Try to make mental notes of room formations--where walls and exits are, how far away teleporters are placed--to keep from getting lost and backtracking accidentally. There's no minimap, so if you want a record of where you've been, you're going to have to pull out pen and paper.
Fortunately, you'll get a chance to heal up and save in the room before you battle Grand Gnome. Be sure to have your best wind-element Artes ready for a very tough fight!
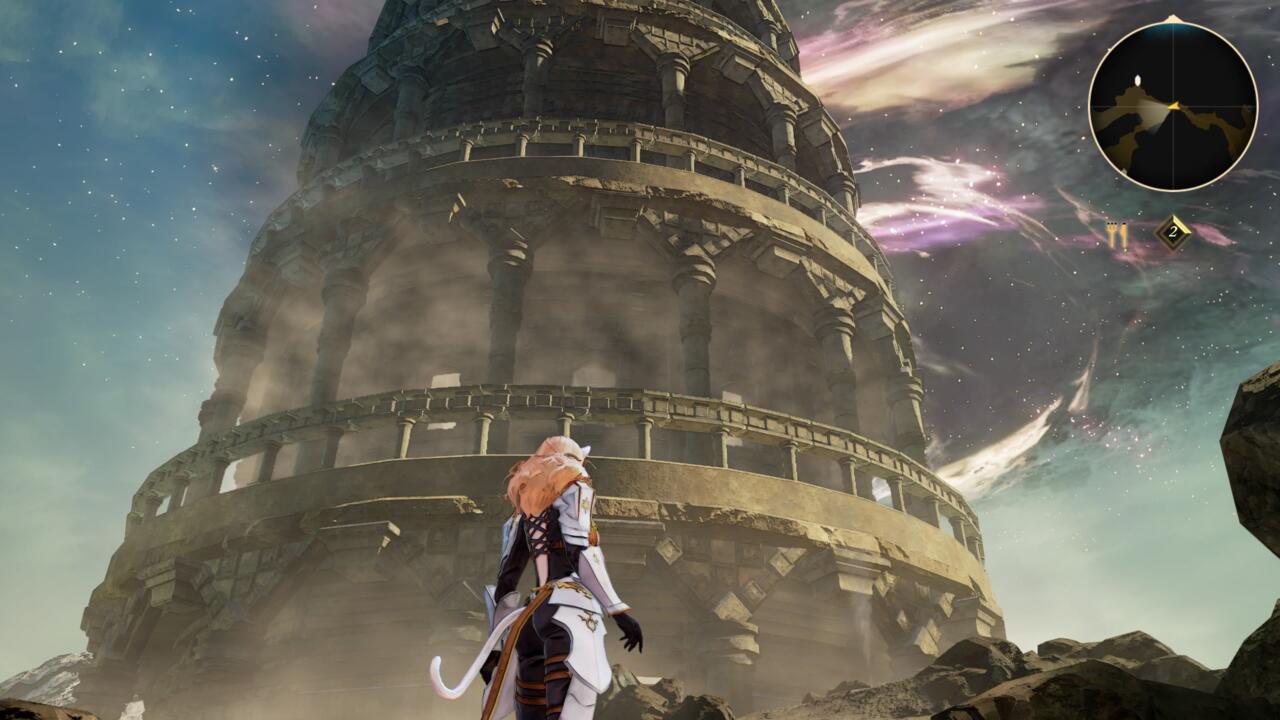
Procella Sylph's dungeon is much shorter and more straightforward. You'll need to accept the quest "Farewell, Mage" in Niez, then travel back to Mount Dhiara. Enter the Tower of the Wind Spirit from here.
You'll find yourself in a huge structure with a spiral staircase going up and down. While the boss lies above, you should head downstairs as well--a chest with a rare and valuable Omega Elixir awaits. Then, go upstairs and get Shionne's guns ready to fight Procella Sylph and a bevy of winged foes.
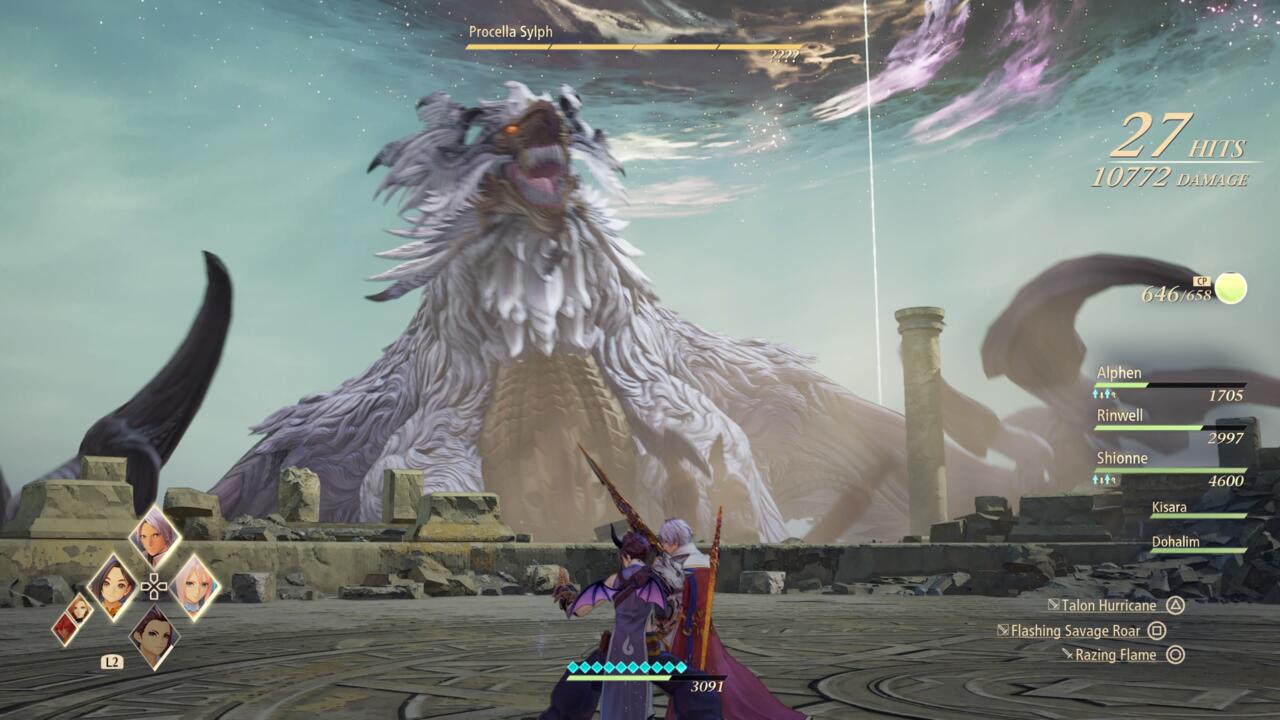
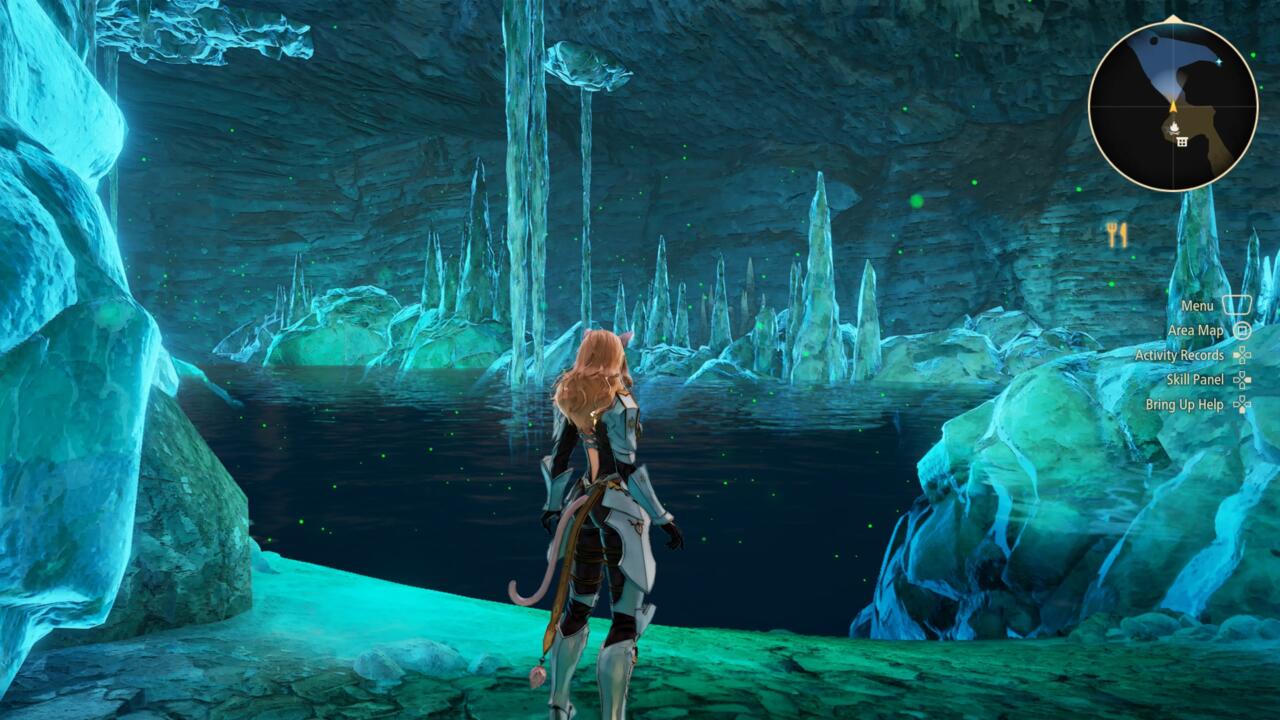
Finally, there's Luo Undine, who lives in a hidden cavern near Shinefall Woods. You'll need to start the quest "Untamable Rage" to get access to this area. This is a more traditional dungeon than the previous two, but it's still packed with lots of very tough and annoying enemies that love spamming Artes. Luo Undine itself is an extremely tough fight, with multiple phases and a near-unlimited supply of supporting enemies to make you miserable, but once it's gone you'll have access to a new fishing spot, which will help you in unlocking some of Kisara's fishing-related Titles.
Defeating all four of the elementals gives Alphen one of his final Titles, Vanquisher of the Four Lights, which grants some excellent skills. Plus, fighting all those enemies on the easy most certainly boosted your levels quite a bit. Maybe now you're more confident about taking on the last dungeon.
Camp With Your Party As Much As Possible
It's time to forge everlasting friendships with the whole gang! You've likely already seen plenty of dialogue from choosing to let Alphen hang out with certain characters at the campfire. Now, you're going to deepen those relationships as much as possible--and earn the rewards that come with them.
Whenever you move to a new area, be sure to camp. Low on HP? Camping time. See a campground just sitting there? Time to sleep in the woods. Every time you camp, pick a character to hang out with. Eventually, you'll trigger dialogue scenes between them and Alphen. After you see a certain number of dialogue exchanges for a character, you'll reach maximum relationship levels with them.

The first relationship you raise to max level will give Alphen the Enlightening Bond title. That character will also get access to a new, higher-level Mystic Arte to use during training, as well as reward you with an achievement/trophy. Get everyone's relationship level to max (as indicated by a smiley-face icon shown next to their name during camping) and you'll activate all of their Mystic Artes along with a new achievement to add to your collection.
Stock Up On The Best Stuff
Many of the stores in Tales of Arise have similar product offerings, but you'll still find regional differences throughout. Many of the stores don't even have the top-tier healing supplies (aside from Elixirs, which can't be bought) on offer. But there's one store with everything you need: The retailer on Lenegis.
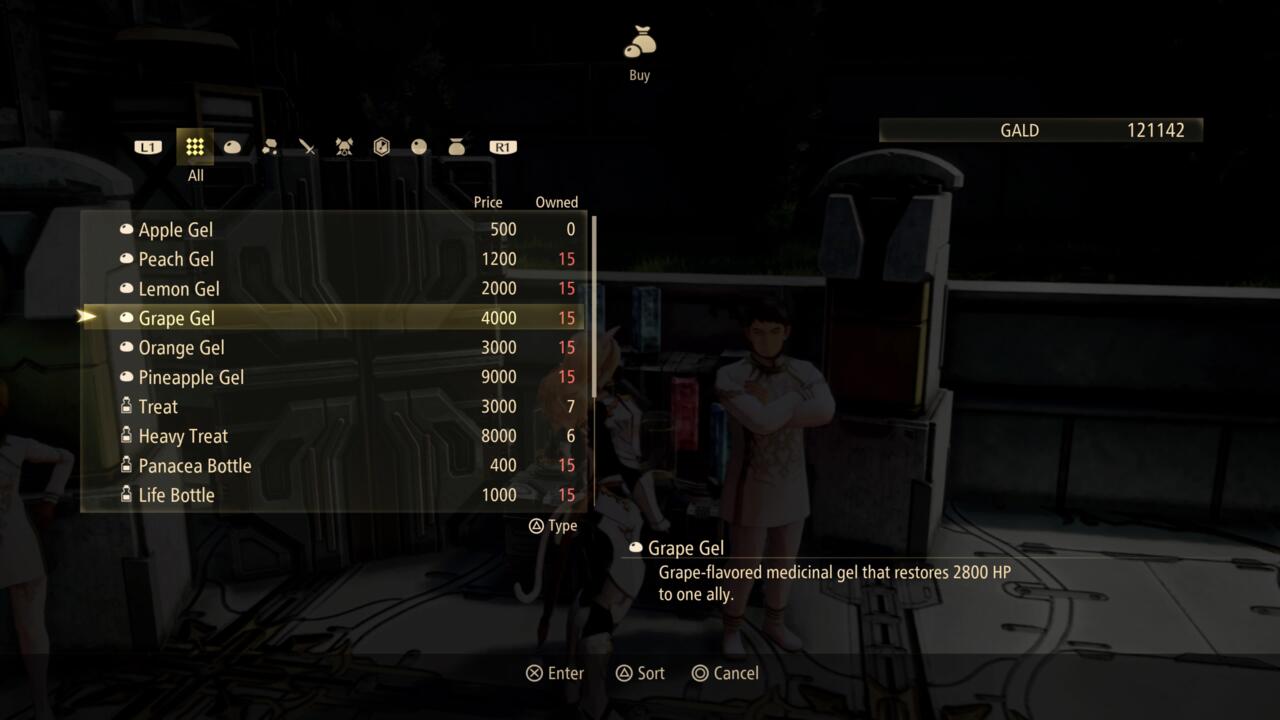
Here you can buy Grape Gels and Heavy Treats, two pricey but extremely useful healing items that will come in extremely handy during challenge sidequests and the final dungeon. If you need to restock on your healing supplies, Lenergis is the place to go!
Progressing Through The Final Dungeon
All stocked up? Got your Titles in order? Taken care of your business back on Dahna? Then it's time to wreck stuff on Rena.
The final dungeon of Tales of Arise contains many long, maze-like corridors containing numerous rooms and passageways. The enemies here are extremely dangerous, as a lot of them are XL-sized variants of sub-boss monsters you've fought previously. Since the majority of the enemies on Rena are dark-aligned, you'll do best with dark protection gear and light-focused Artes. While some fights can be avoided, many others cannot, and you'll find plenty of key passageways blocked by these big creatures. You can't lure these "guardians" away and you can't run from them, so you'd better be prepared for some long battles. Fortunately, once they're gone, you won't have to fight them again.
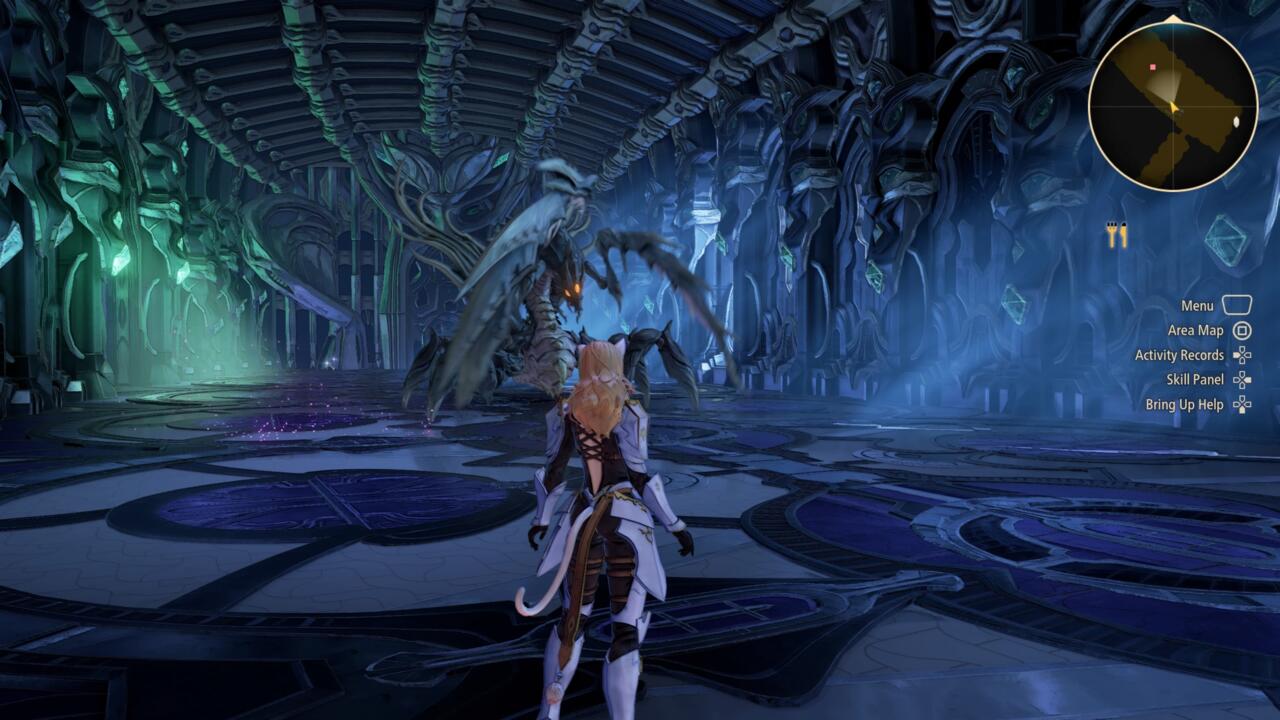
As you might expect, there are a lot of optional side rooms here that contain useful materials and items--many of which have enemies stationed nearby, making them difficult to get without a fight. Fortunately, unlike the progress-blocking monsters, you can actually make these enemies go away temporarily by choosing to run from the fight. (A Swift Ring equipped makes running much quicker and easier.) You won't get any rewards from battle, but if you don't want another long battle that will drain your health and CP, it's a wise decision. (Don't run from everything, though, or you're going to find your party struggling from lack of levels later on.)
There are three legs to the final dungeon. The first leg, Gegham Helgarahi, runs up until the battle with boss Valcynimus and the Regulator Area. You'll find a door here to an area called the Inversion Room. Touch the teleporter to be taken to Tarfal Helgarahi, the second leg of the dungeon. After exiting, you'll be able to activate a different teleporter that will take you back to the Renan surface. Once you've got this teleporter set up, you can easily go back to restock and recover.
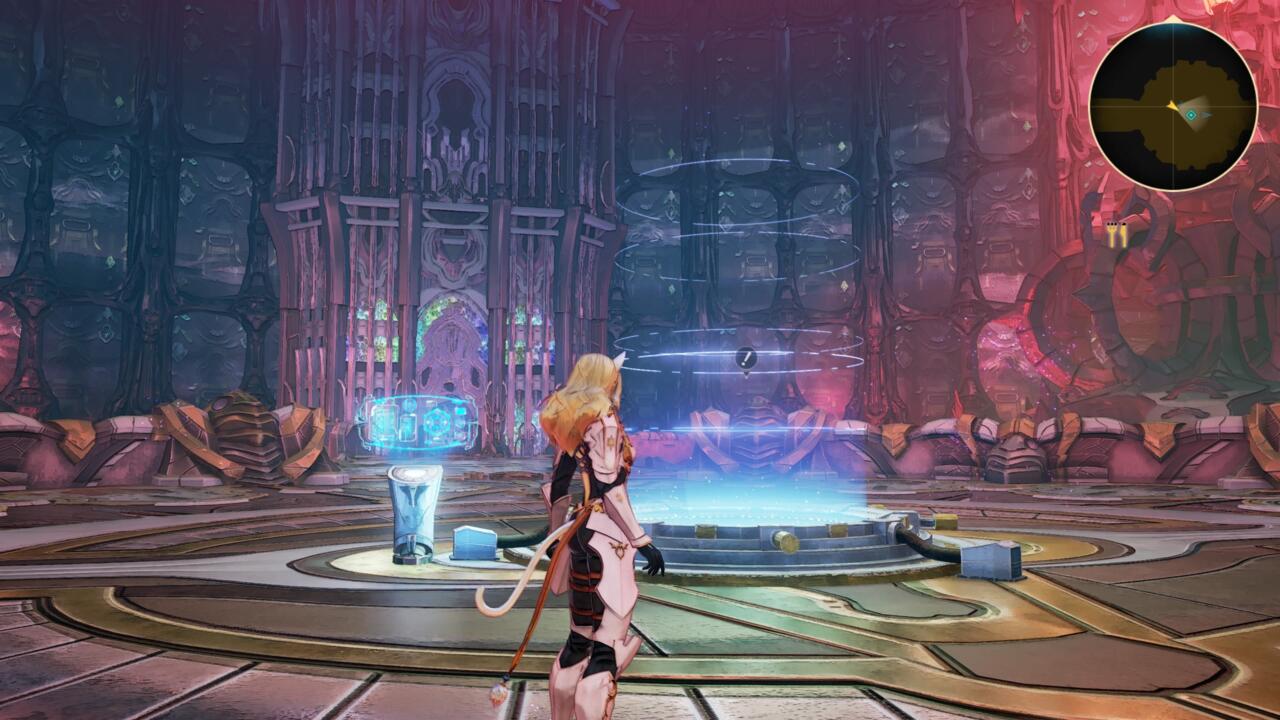
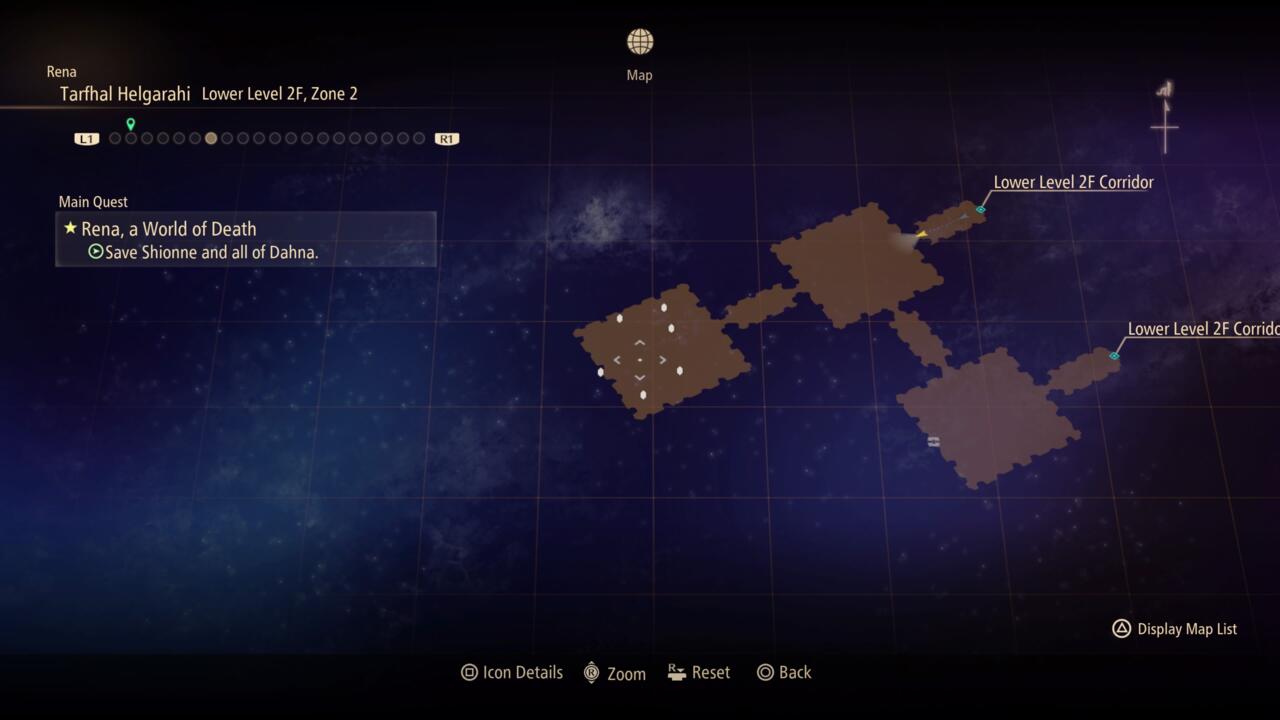
While the structure of Tarfal Helgarahi is similar to the first leg, the enemies have become even more vicious, and will require a great deal of patience, skill, and effort to overcome. There are a few notable gimmicks in this section, however. The first is the presence of a room on Lower Level 2F Zone 2 filled with numerous extremely rare and high-quality ores. Even better, the ores can be farmed by leaving the map area and returning. These ores allow you to craft some of the game's best accessories (like the Faerie Ring and the Mystic Crest), and also make for high-grade enhancement fodder. If you want to make some amazing enhanced accessories, spending some time mining over and over in this room is a great idea.
The second area of note is the Astral Energy Convergence Zone. When you enter this room, you'll notice six teleporters and a passage that's blocked off. Each teleporter takes you to a different room. Most of these rooms contain an encounter with multiple large-sized enemies you've been fighting up until now. However, the Water room will have a multi-part boss encounter with the Sword Dancer Gigant in it, so make sure you're healed up and flush with CP before stepping inside, as there's no healing light or rest area beforehand. (If that doesn't sound appealing, pick any room besides water). You should be able to see the enemy group you're facing beforehand, so if they look like a problem, you can retreat and check in on a different room instead.
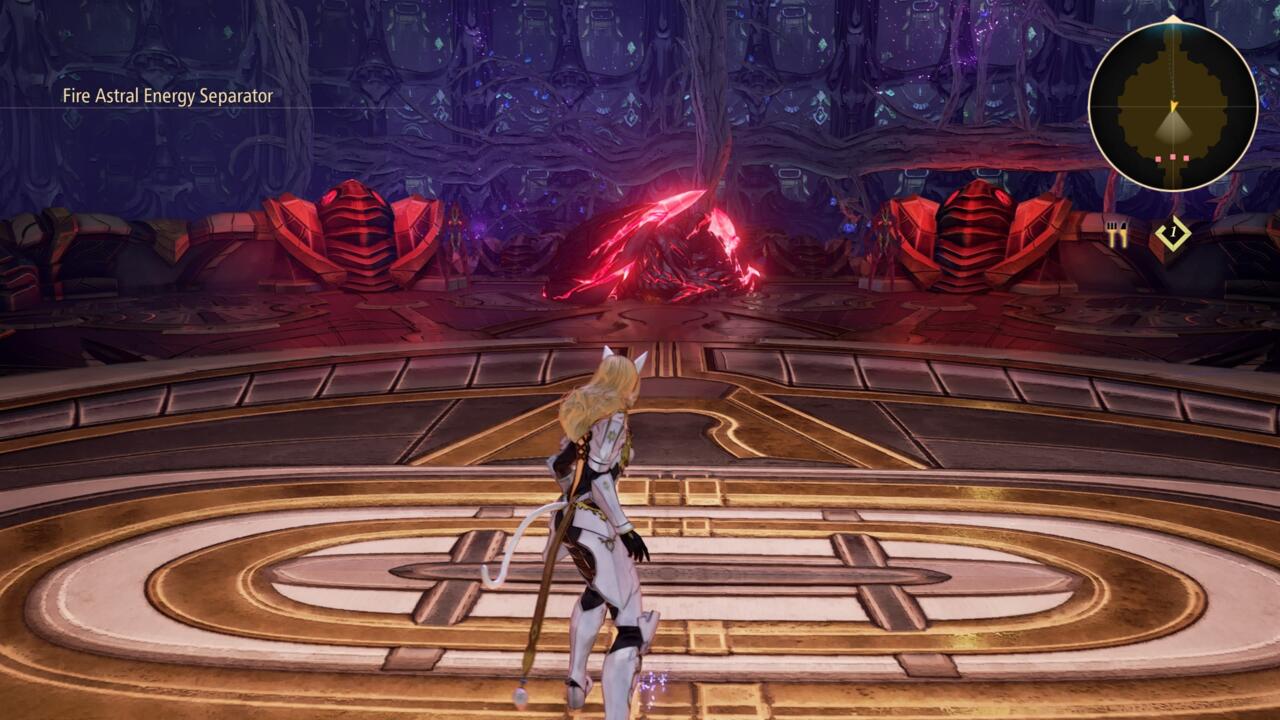
After clearing a room, the door to the final leg of the dungeon where the Great Spirit of Rena resides will open. There is another teleporter to take you back and forth to the Renan surface here. However, the teleporter will give you an error message when you first interact with it. You'll need to go back to the Astral Energy Convergence Zone. Take a teleporter back to a different room than the one you fought the boss in. You'll find a group of large enemies guarding a treasure chest that contains some very good armor for a party member. Fight and finish off the enemies, collect the treasure, and then return to the Convergence Zone. You'll need to clear two of the elemental rooms in this fashion before the teleporter in the next room is operational, but you should consider clearing all of the rooms to obtain some excellent armor for your entire team.
Once your teleporter's all set up, you've got a portal to and from the final boss encounter ready to go. Make sure you're ready with ample curative supplies before you step into the Great Spirit's domain--and be prepared for plenty of surprises in the epic finale!
Got a news tip or want to contact us directly? Email news@gamespot.com
Join the conversation