Last Of Us 2 Walkthrough Part 4: Seattle Day 2 (All Collectibles, Spoiler-Free)
Continue through a flashback to three years ago and Seattle Day 2 with our complete walkthrough of The Last of Us Part 2--but don't worry, there are no story spoilers here.
Warning: We've ensured that our walkthrough contains minimal spoilers so you can still enjoy the game even if you need help finding collectibles. However, if you want to know nothing about the game before playing, you should stop reading now. You can always consult this walkthrough when you play the game a second time and want to find everything.
Our spoiler-free walkthrough for The Last of Us Part 2 continues below. We'll help you find every collectible, story item, weapon, and upgrade--without spoiling the story or any encounters. Find everything you need to know below for all of Seattle Day 2.
We've got a lot more guide coverage of The Last of Us Part 2 for your reference now that the game is out. For more parts of the walkthrough, be sure to check the list below. We'll be publishing the other parts throughout the next day, so we recommend bookmarking our The Last of Us Part II guide roundup, which we'll keep updated with the latest walkthroughs and guides as they get posted. Be mindful of the spoiler block text in the list below, as the names for Parts 6 through 9 can be considered spoilers for early players.
- Part 1: Jackson
- Part 2: Part 2: Seattle Day 1 - Downtown
- Part 3: Seattle Day 1 - Capitol Hill
- Part 5: Seattle Day 3
- Part 6: The Park, Seattle Day 1
- Part 7: Seattle Day 2
- Part 8: Seattle Day 3
- Part 9: Santa Barbara
Seattle Day 2 - Hillcrest
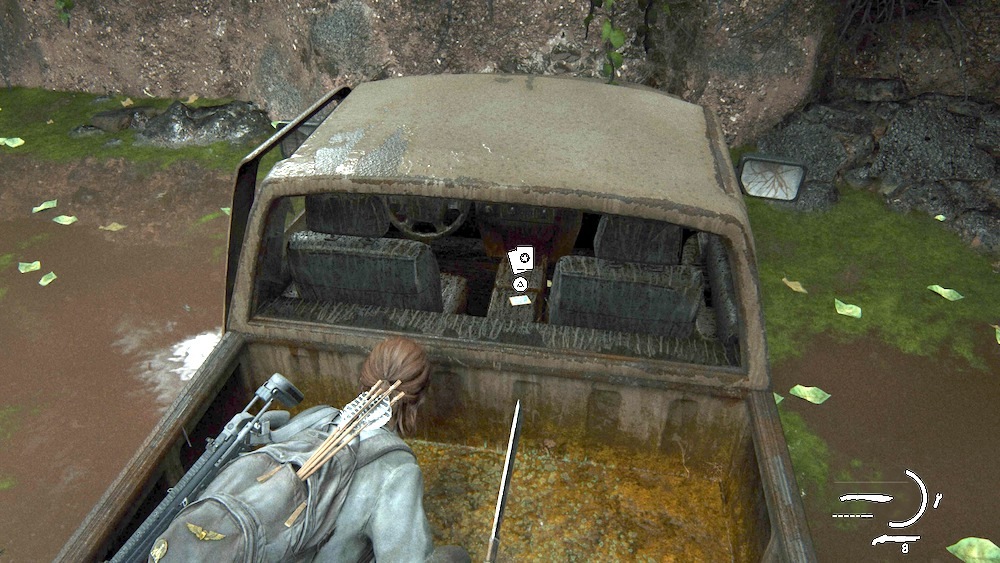
As soon as enter the area, do a 180 and walk back toward the way Ellie came. You'll be able to drop down onto the bed of a truck. Break the back window to find the Wachumero Trading Card.
Natural Remedies
You can go into the building immediately to your left when you start. Find some supplements on the shelf, then go out the back and to the left to find a hole in the wall to get into the bathroom, where more supplements are waiting.
Rosemont
The Rosemont clothing store is across from Natural Remedies on the other side of the street. Go inside and to the back to find a hole in the wall leading to the basement. You'll find the Boris' Daughter's Drawing artifact on a table and a Workbench, along with supplements and other supplies.
Laundromat
Check the back room for the Join WLF Note artifact on a desk.
Caroline Paper Co.
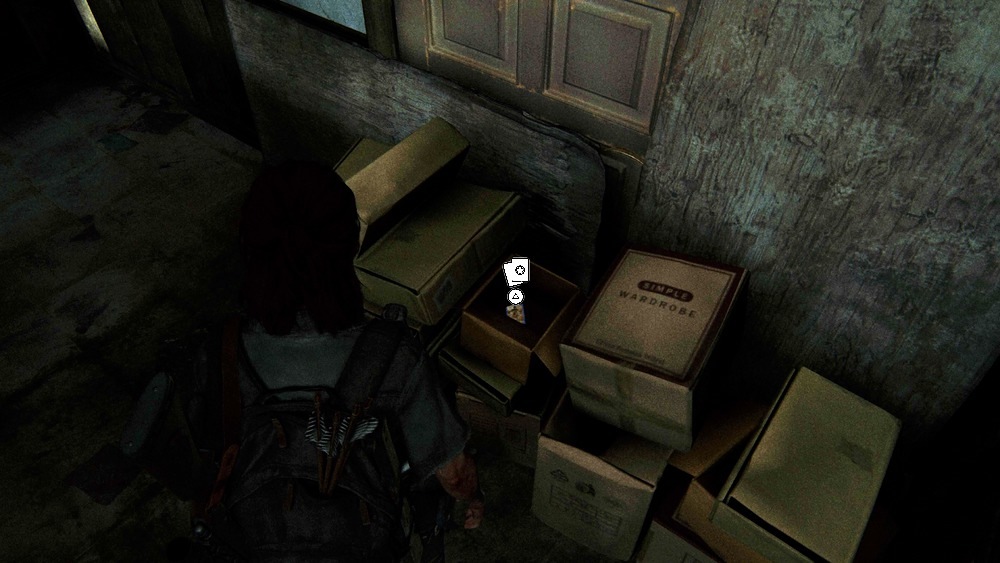
Once you go over the truck at the end of the area, you'll see a number of additional storefronts. First, turn left and go through the bushes to find a spot where the street has collapsed. Head through and climb up the other side to get into the stationary shop. The Need a Plan Note artifact is on the table in the middle of the room. Go to the back of the store and look in the pile of boxes to grab the Sahir the Sorcerer Trading Card.
Used and Rare Books
Back at the truck where you climbed into this area, head into the book store just ahead. On the counter, look for the Yolanda's Note artifact.
Roston Coffee
Check in front of the coffee shop for a Journal Entry. Continue through the coffee shop to find a ladder that'll lead you to a rooftop.
Bike Shop
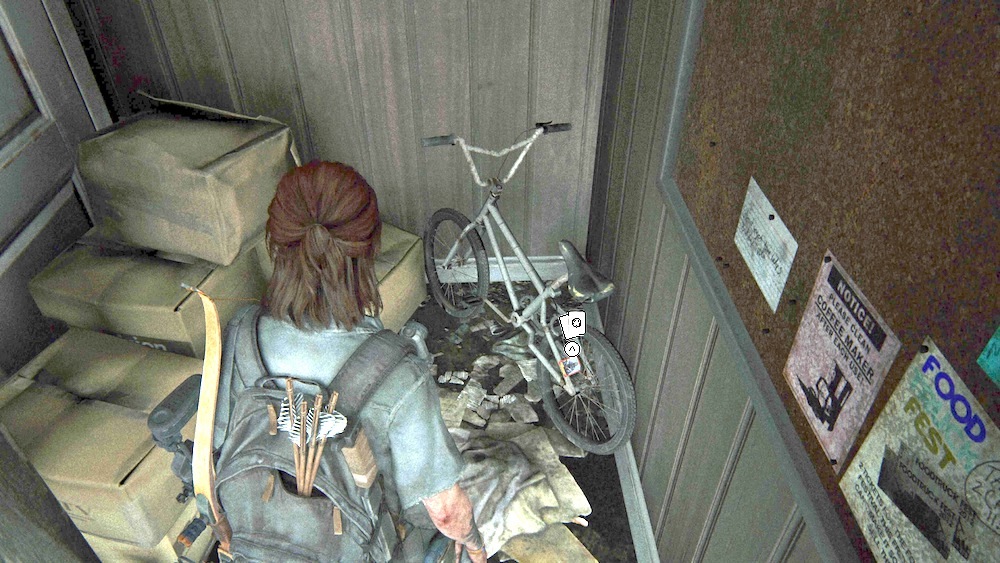
Once you make it through the next area, you'll enter the garage of a bike shop. You can't miss the Workbench just ahead. To the right, look for a bike with the Naledi the Youthful Trading Card tucked into the spokes of the back wheel.
You'll also find another small room with some computers and the Condolence Note artifact on the desk.
Velveteen Tattoo
Look near the tattoo stations for some supplements. In the backroom is the Note in the Hillcrest Tattoo Parlor artifact.
Pet Boutique and Grooming
This building and the one connected to it have infected, so be careful. Break the window to get into the back area of the grooming shop to find the Turn in Boris Note artifact; the kitchen of the bar connected to it has the Dale's Combo artifact.
Auto Shop
Head across the street through the tattoo parlor or salon to find a building with a dumpster propped against the door. If you open it, you'll get mobbed by runners, so get ready to fight or run. Inside is a safe. The code is 30-82-65. It holds a Short Gun Holster for faster swapping between weapons.
Liquor Store
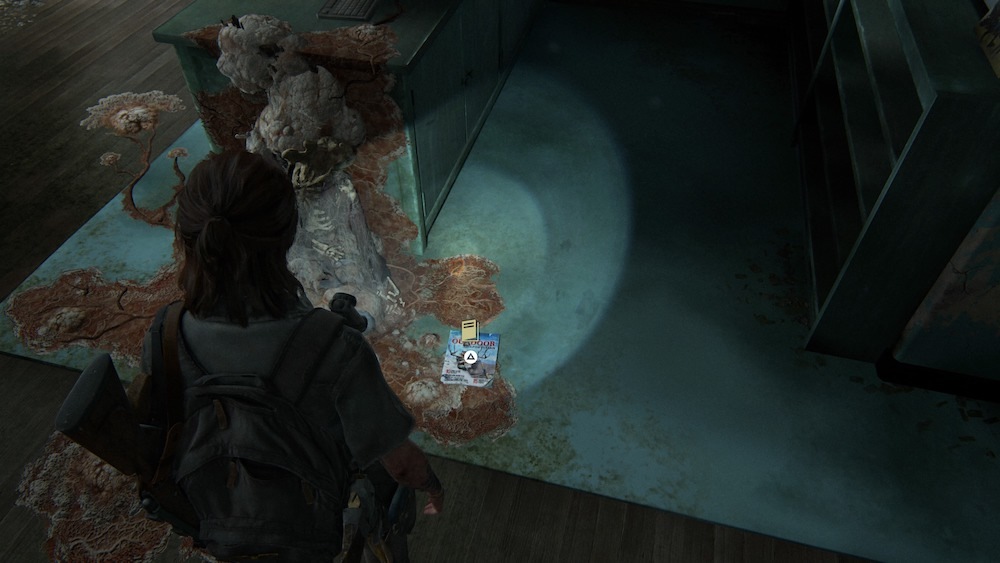
Head to the back and drop down into the basement. There are two shamblers here, so watch your step. When you hit the exit, a destroyed staircase, you'll enter a daycare center. Look for a body of an infected with a Precision Training Manual beside it.
Return to the pet grooming shop and go through the bar to find the path forward.
Boris's House
Past another batch of infected, you'll hop a fence and come to an open house. There's a kid's playhouse in the yard; head around the back of it to grab the Brainstorm Trading Card off the windowsill.

Inside the regular-size house, look on the coffee table to your right for some supplements and the Boris' Confession artifact. The table with the phone on it near the kitchen has the Rosemont's Flyer artifact on it. Don't go into the garage until you're ready to move on. Once you're through it, you'll find the Bow weapon.
The Neighborhood
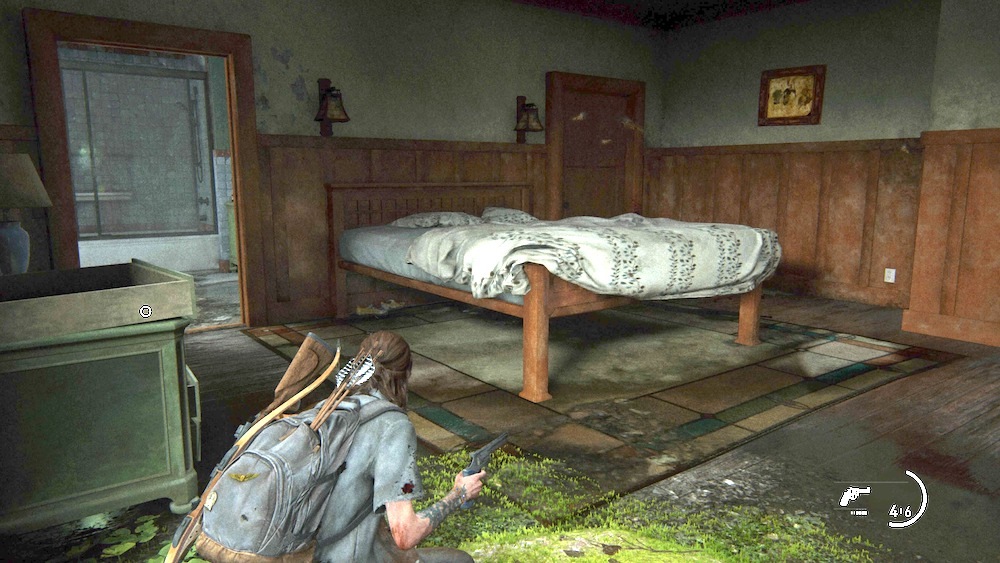
The next area is crawling with Wolf patrols. In the two-story house at the end of the street, where a rifleman is set up, you'll find the Reverb Trading Card under the bed in the bedroom.
Three Years Ago - Finding Strings
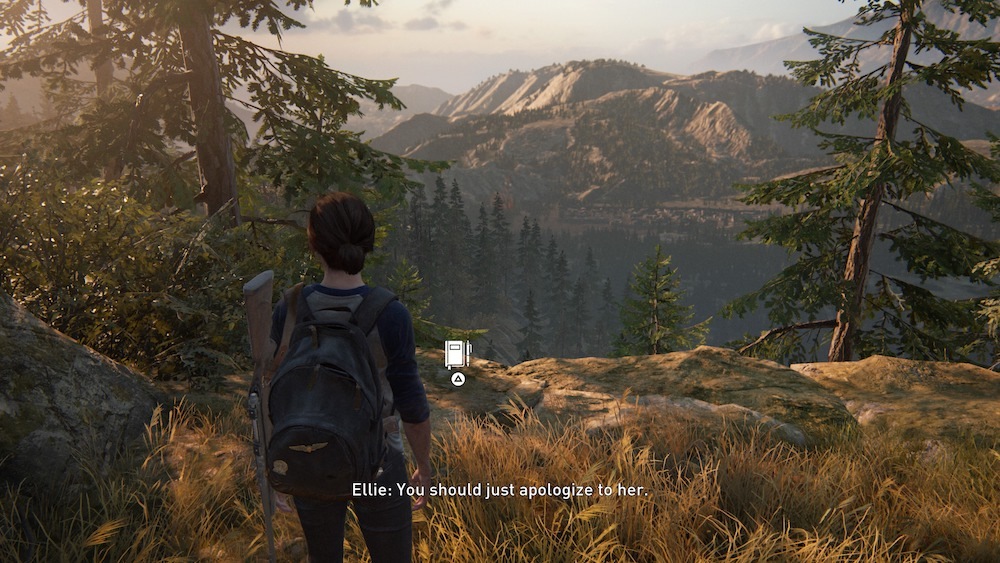
Before you go anywhere, look to your right. There's a cliff right here with a great view that you can capture as a Journal Entry.
The Hotel
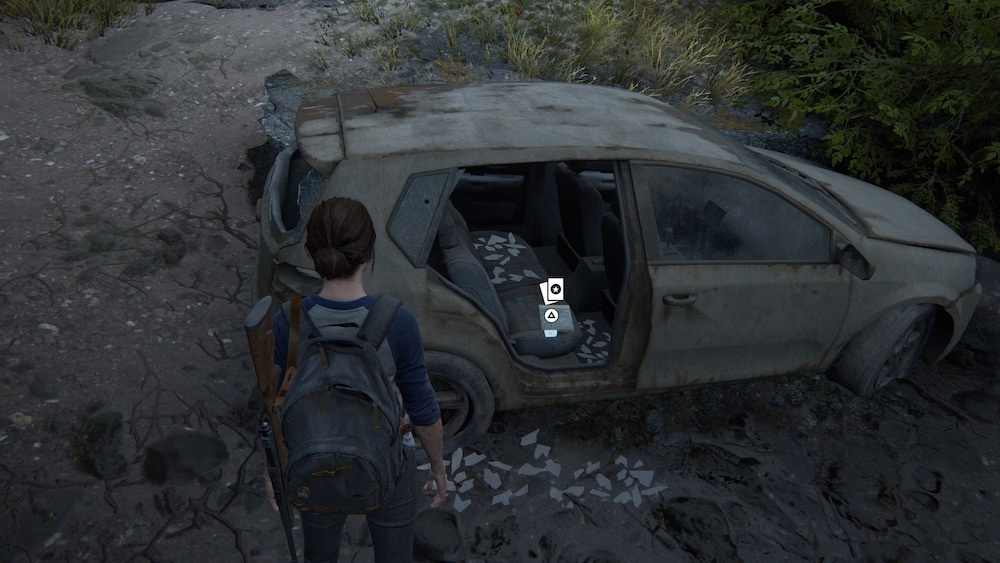
After getting off the horses, you'll hop on top of a van and its trailer--only to find the road has caved in ahead and you can't proceed. Head down into the hole and to the back of the car that's fallen in. You can get the Austringer Trading Card off the back seat.
As you work through the hotel, check Room 107 to find the Tara's Invitation artifact on a dresser.
Seattle Day 2 - The Seraphites
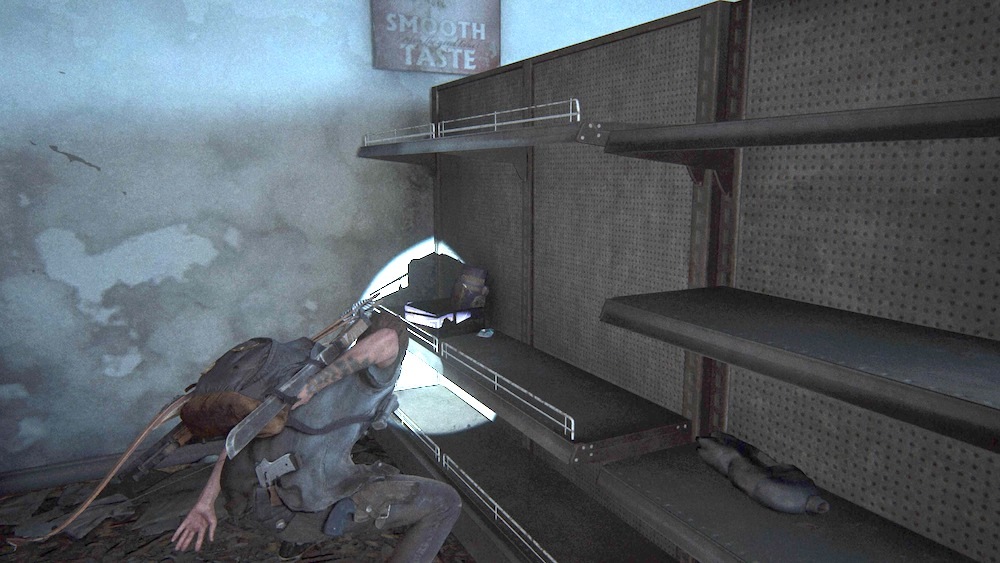
Enter the convenience store once you're through the checkpoint. On the right wall toward the back of the store, you should find the Randy Styles Trading Card.
Bar
Across the street from the convenience store is a bar with red awnings. Inside are infected--use a brick or bottle to break one of the windows from a distance to avoid giving the creatures a target. Inside, you'll find the WLF Target List artifact on one of the infected. You can also find supplements in the kitchen in the back.
Convention Hall
Across from the bar and next to the convenience store is another building you can enter. Check out the "Feel Her Love" sign to get a Journal Entry. Use the ladder in the elevator shaft to reach the second floor, then use the rope tied there to make yourself a path around the locked door outside. Break a window and part of the glass awning so you can throw the rope where you need it, then go outside, climb up, and swing to the window or nearby ledge. Head to the couch inside to find a Shift Trading Card. The next couch over contains the Last Letter to Husband artifact.
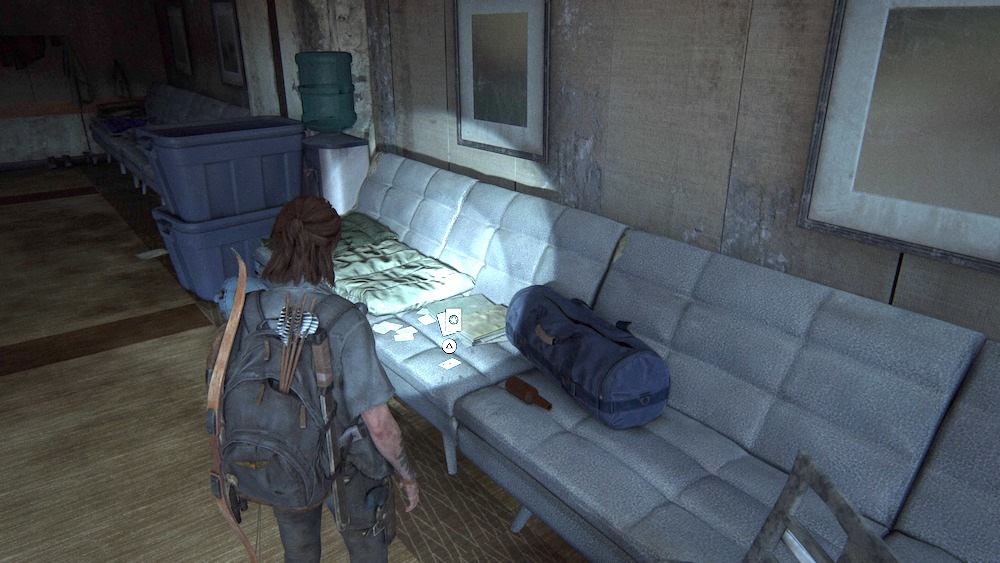
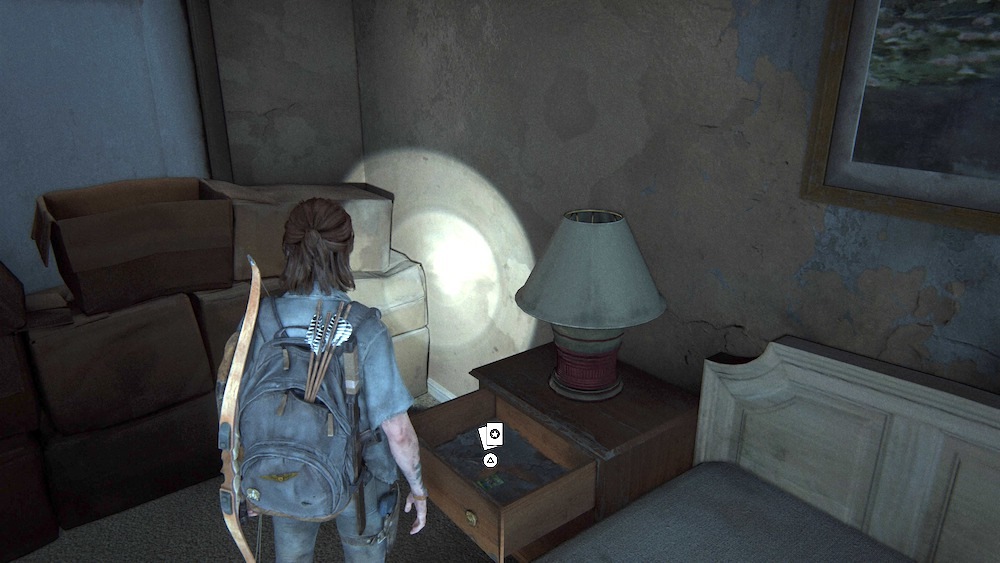
Continue down Route 5 until you hit a gate you can't open. Across the street is a panel truck; climb up on top and use it to reach the second floor of that building. Break the window to get inside and find the Evacuation Letter artifact. Go through the brown door to find the bedroom, which contains a safe--its code is 10-08-83 and it contains supplements and some ammo. Open the drawer in the night stand to find the Star Sign Trading Card.
Go out the other door and continue to the white door to find another apartment, which contains a Workbench in the back, near the kitchen. Look in the bedroom of this apartment for the Explosives Training Manual and some supplements. Grab the WLF Deserter Letter artifact from the dresser with the TV on it. Leave by the front door (you can also go downstairs for more supplies in the laundry room), then hop the gate across the street using the red dumpster.
Contention Center
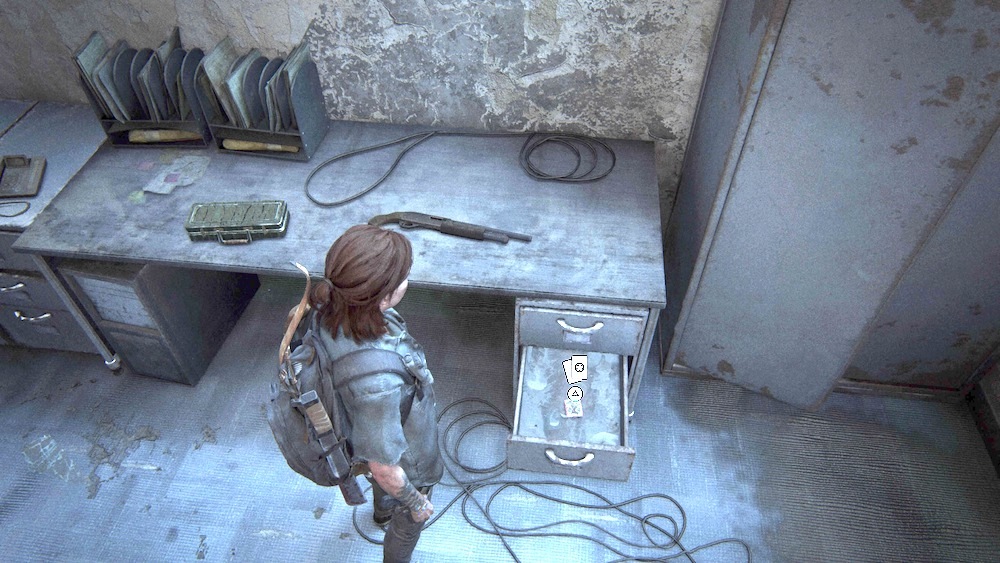
Once you're past the gate, you'll break back into the convention center, this time in the lobby. Drop down to the floor below using the scaffoldings, then look for a locked green-gray door near the front of the building, right near the other scaffolds. To get in, look for some high windows around the back of the room, to the left of the door. Break them and climb inside; check the file cabinet drawer to grab the Arch-Enemy Trading Card.
The Park
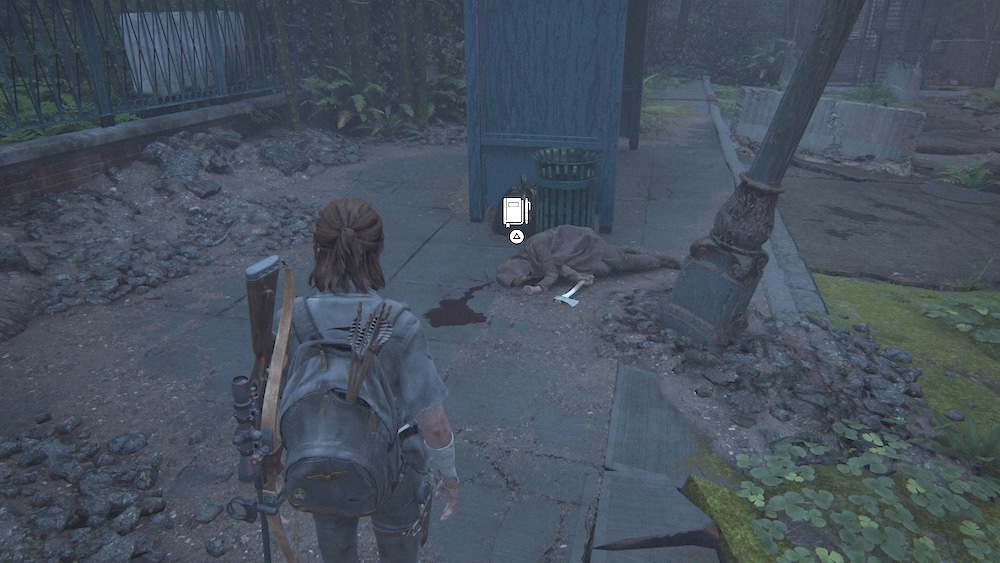
Take out all the Scars and you can find a Journal Entry near the bus stop at the far end of the park--just approach the body lying there to access it.
Garden Suites
After passing through the park, you'll enter another apartment building. At the top of the stairs, loop around to the back corner of the area and check under a table to find the Doppelganger Trading Card.
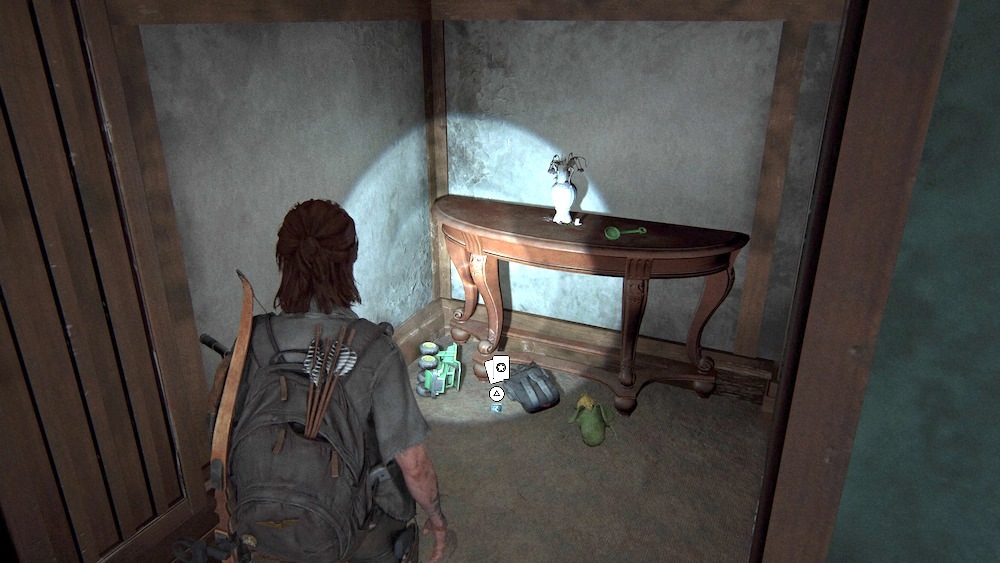
Apartment 302
Push through Apartment 201 to find the fire escape. Climb to the top and break the window to get into 302. Grab the Dying Husband's Plea artifact from the nearby body, along with some supplements.
Weston's Pharmacy
Once you've passed through the Merci building, you'll drop into a pool and climb out on the other side of the road. Look for Weston's on the left side of the path forward. There's a Bhat M'Andarr Trading Card right inside the door on the shelf to the left.
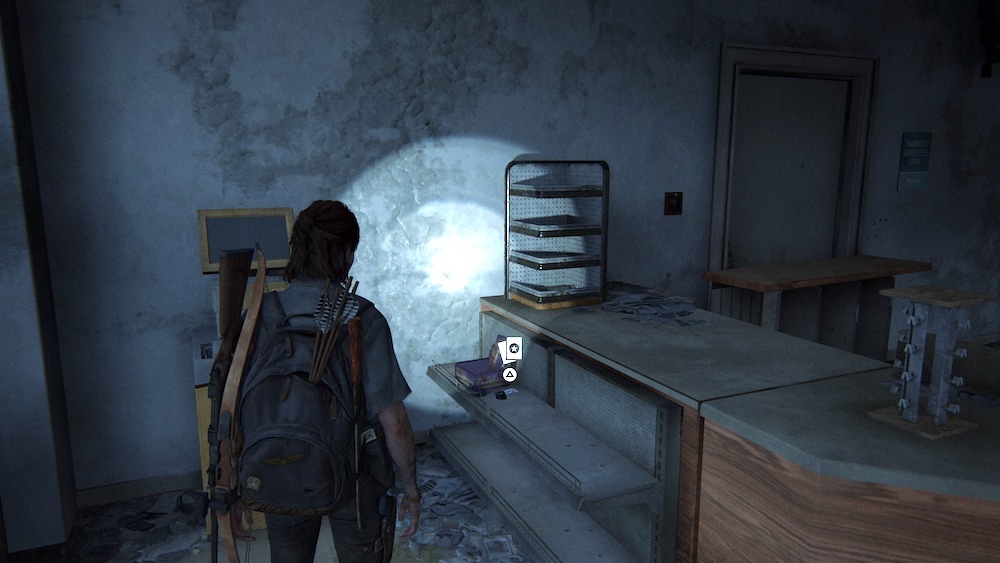
Grab the Pharmacy Note artifact behind the counter. Look for a hole in the wall to crawl through, where you'll find a safe--its code is 38-55-23--with supplements and other supplies inside. The back of this room also holds a Workbench.
Hospital Second Floor
When you hit the top of the stairs, check the first room you come to and grab the Hospital Supply List artifact from the table.
Continue to Part 5.
The Last of Us 2 News
Got a news tip or want to contact us directly? Email news@gamespot.com
Join the conversation