Uncharted: The Lost Legacy - How To Unlock The Queen's Ruby Bracelet
You'll need to collect 11 Hoysala Tokens to earn the "Yas Queen" trophy.
In every Uncharted game since Drake's Fortune, treasures have been hidden away in hard-to-reach corners of every level. Though you could always recognize them by their telltale glint of light, Uncharted: The Lost Legacy makes it easier than ever for completionists to track down every ill-gotten knick knack. To do so, you'll need to unlock the Queen's Ruby Bracelet.
This time around there's an unlockable item, the Queen's Ruby Bracelet, which will cause your DualSense to buzz whenever you get close to a treasure (though non-completionists will be glad to know they can turn this off in the menu). Unlocking this item is a fairly involved process which involves doing a lot of optional content in the game's fourth level: the open-ended The Western Ghats. Below, we'll walk you through where you can find each of the 11 Hoysala tokens, how to acquire them, and how to trade them all in for the Queen's Ruby Bracelet.
Finding the Starting Location and the First Hoysala Token
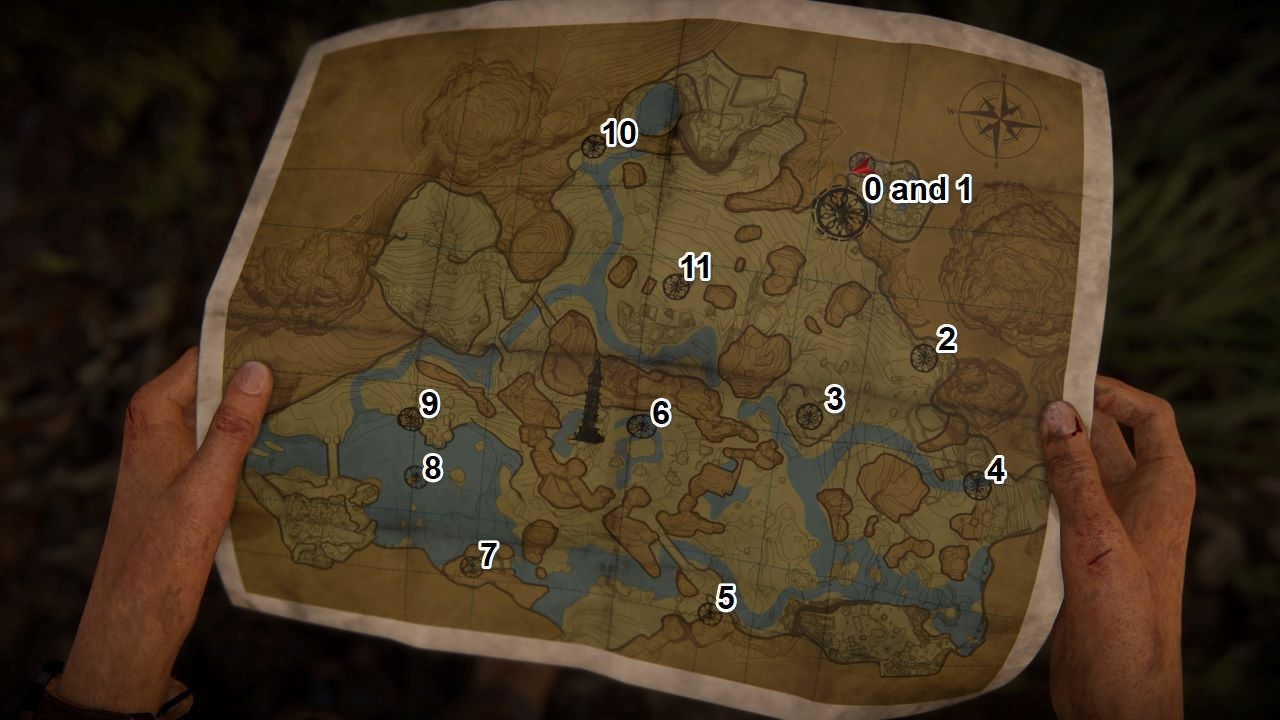
Our first stop is in the northwestern corner of this area, marked on the map below as "0 and 1," and accompanied by the largest of the circular symbols.
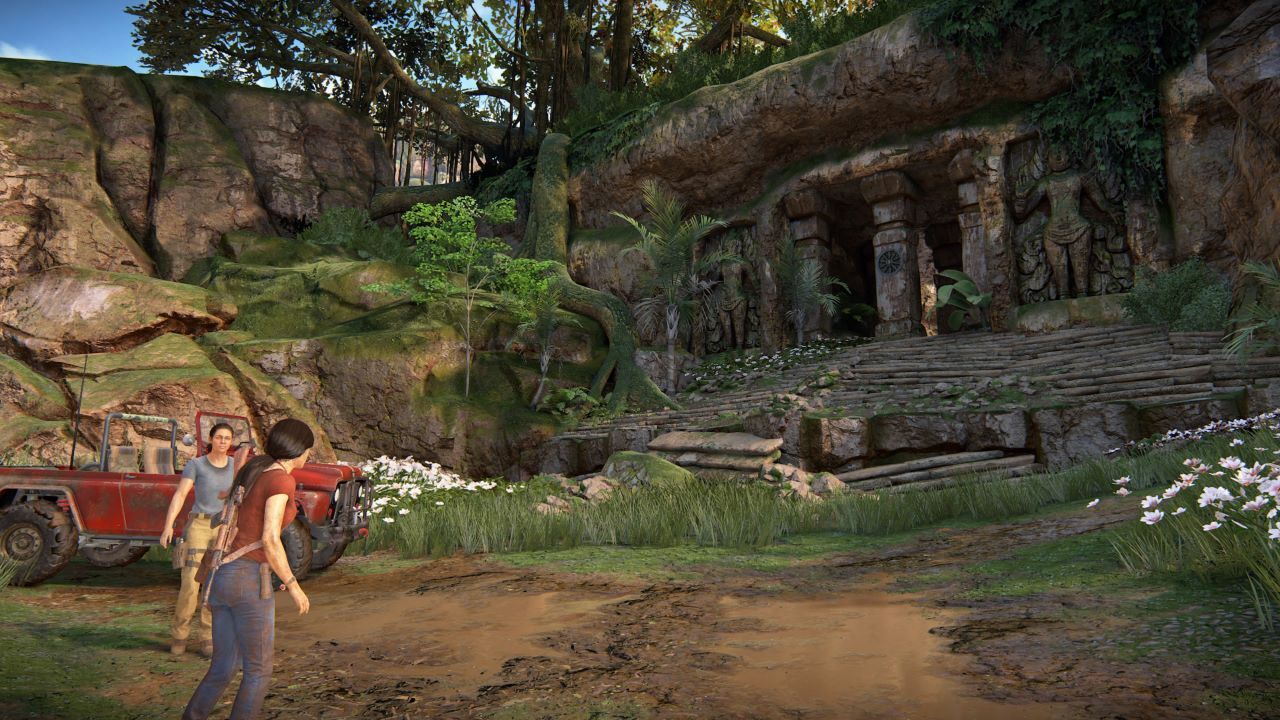
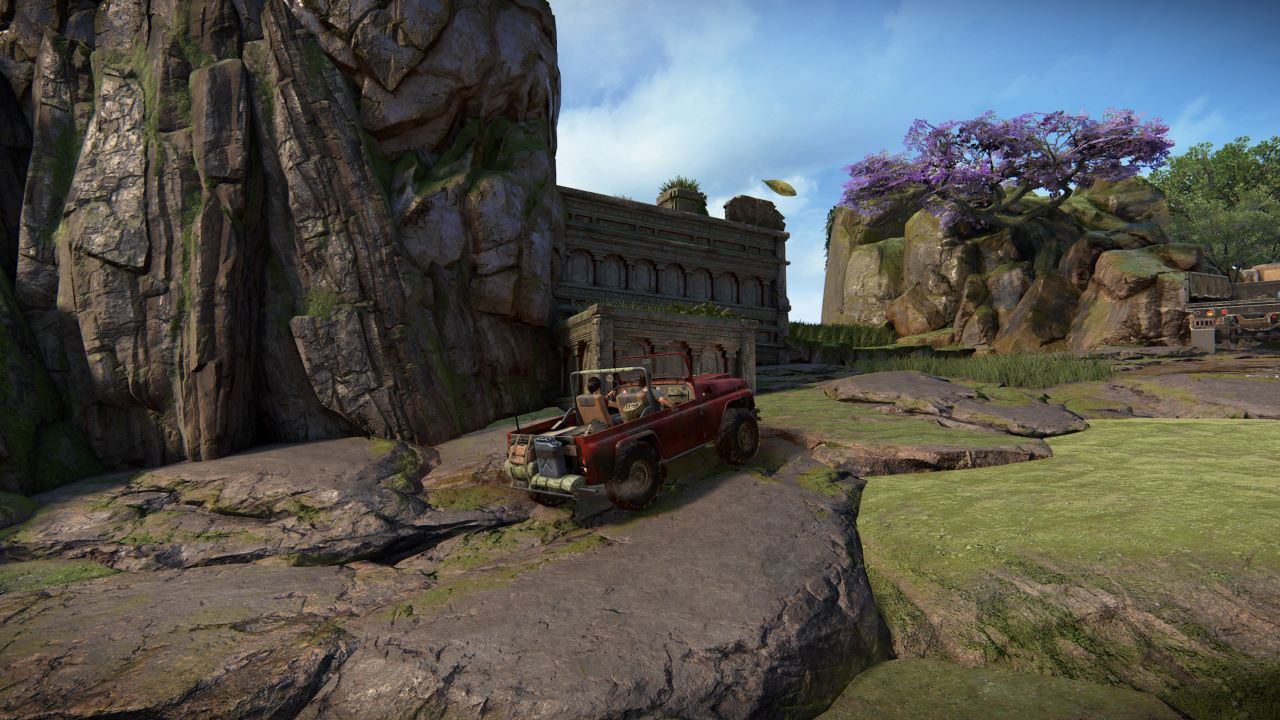
Once you arrive, park the Jeep and head up through the entrance flanked by columns.
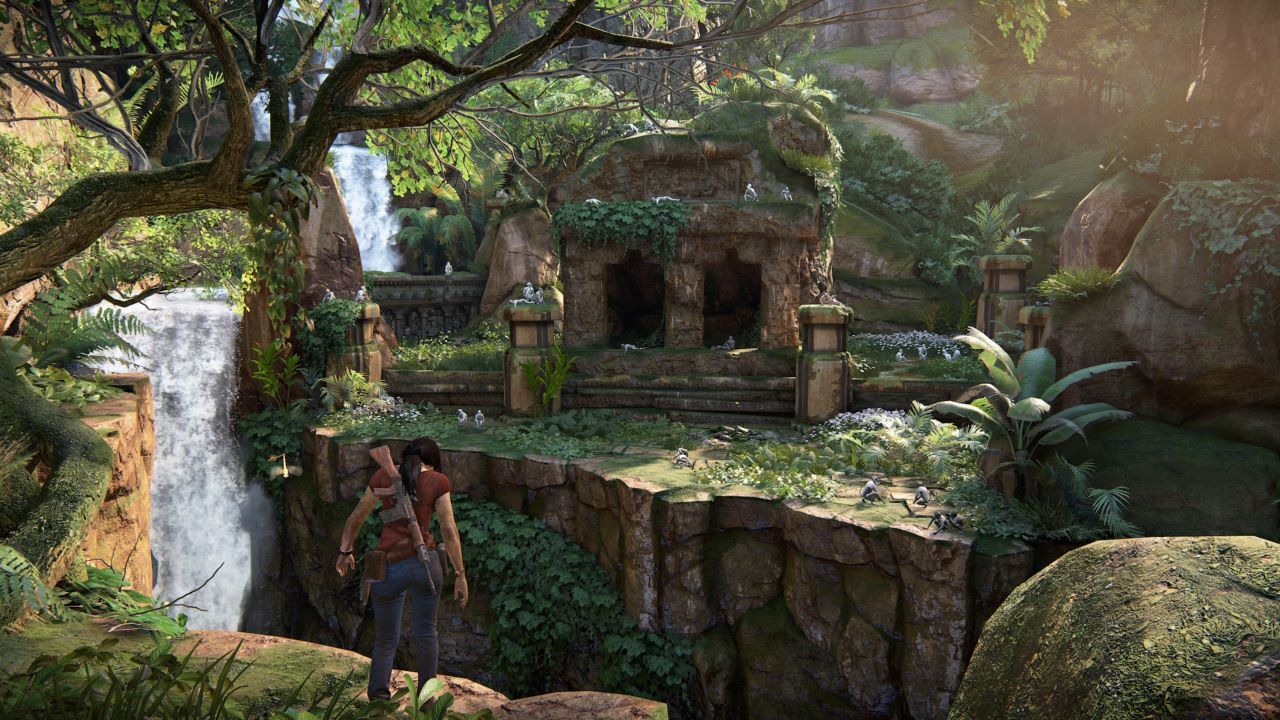
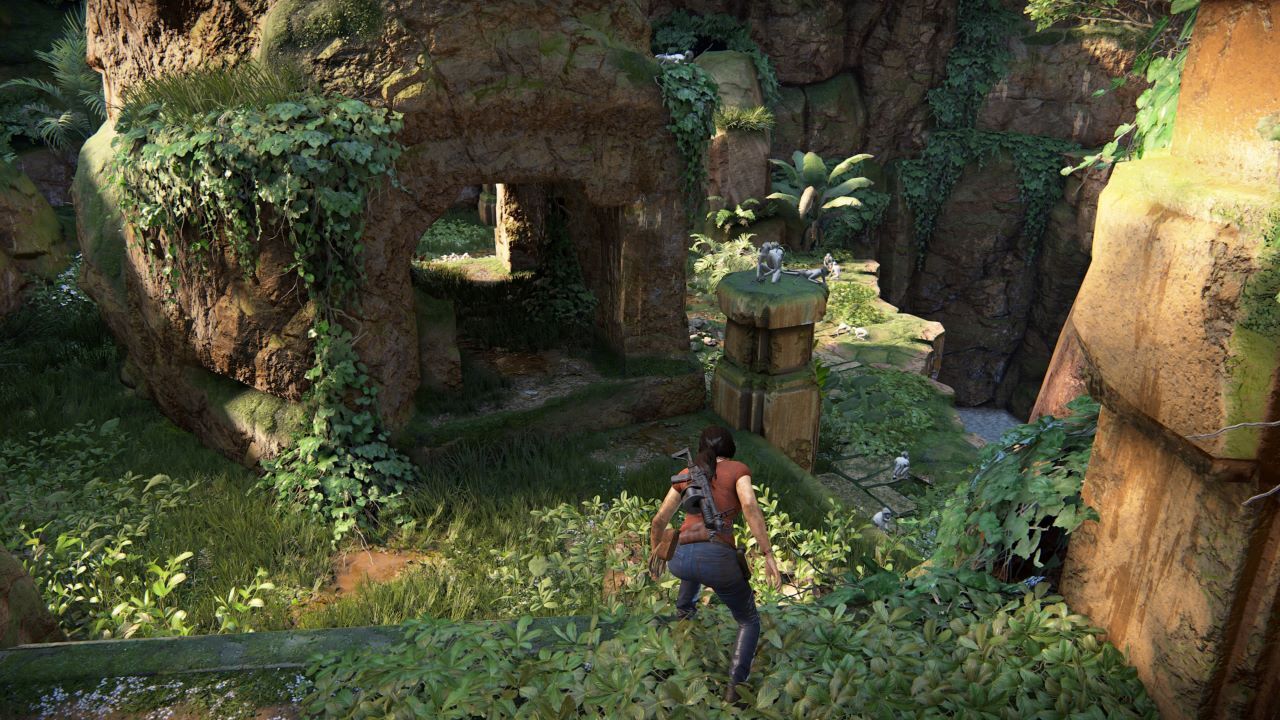
When you get inside, you will see a structure to the right, separated from Chloe and Nadine by a gap that's too wide to jump with a river at the bottom. Nadine will remark on the monkeys playing in this area. You can't access it now, so keep heading straight…
...past another entrance. Inside, you will find a large stone map carved into the wall with an interactive pedestal in front of it. Interact with this and Chloe will mark down the locations of the Hoysala tokens on the map (see above).
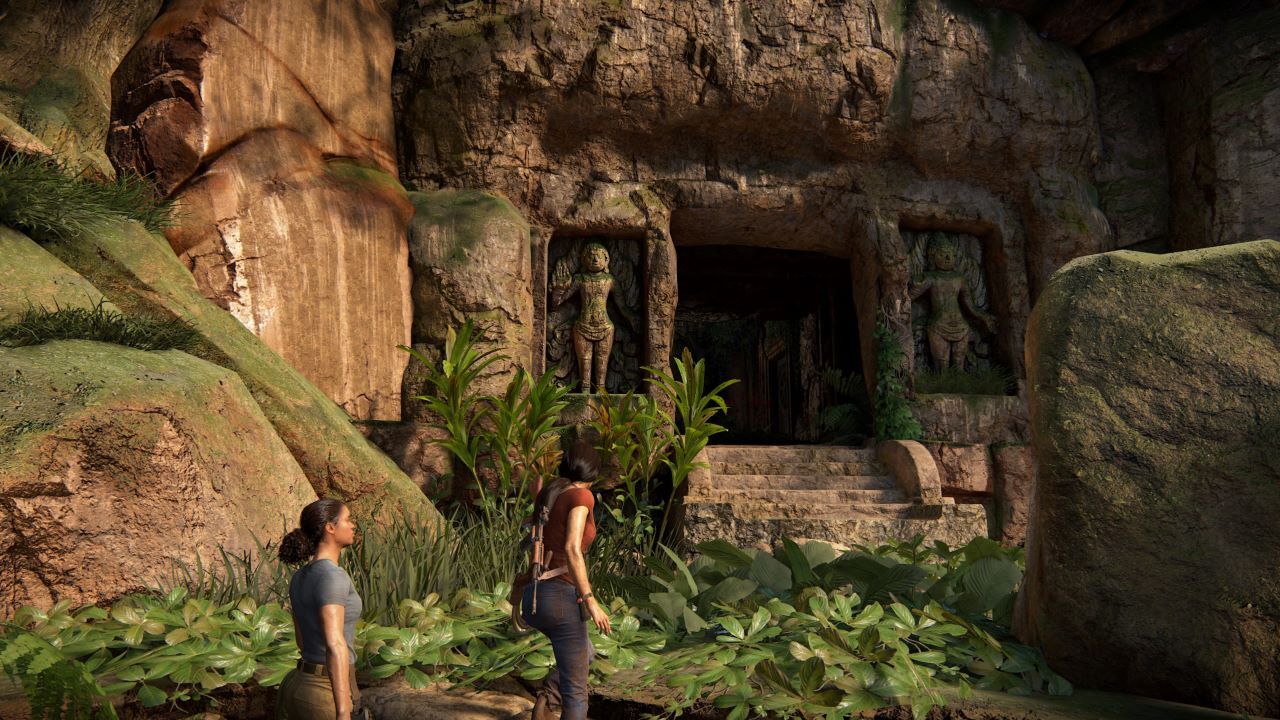
Before you leave to find the tokens, head into the room on your left, where you can find the first.
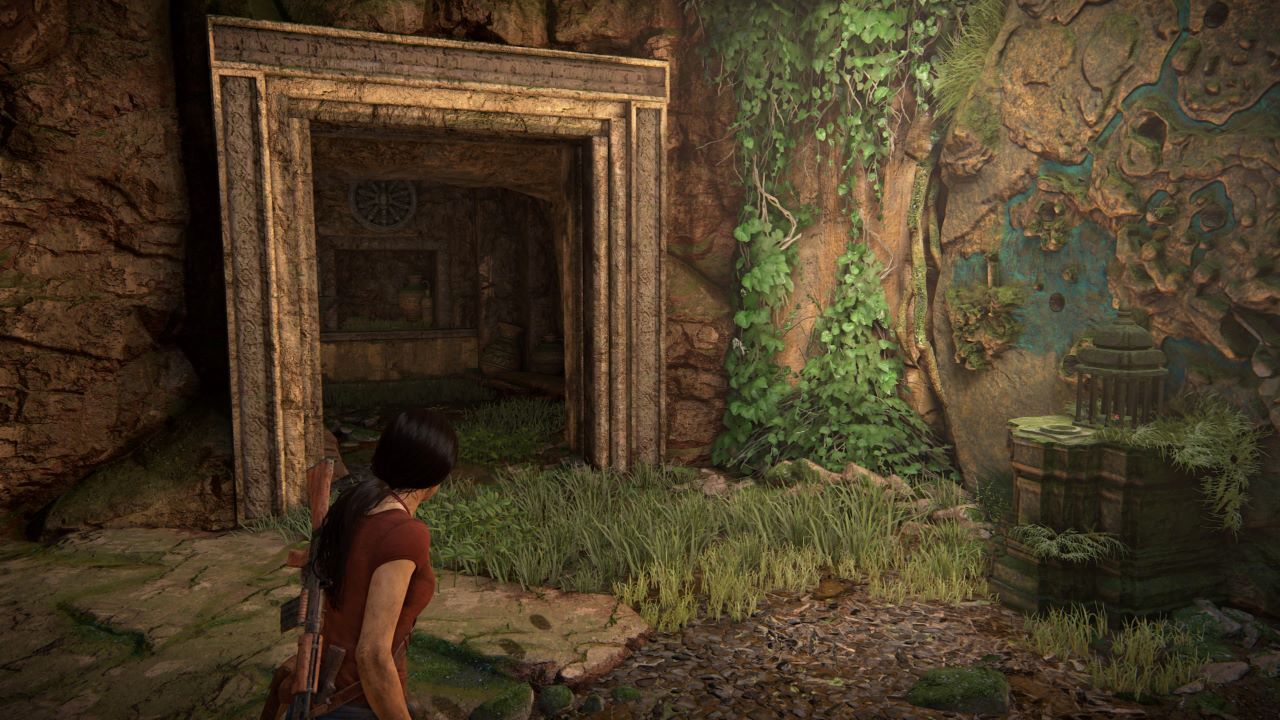
Second Hoysala Token
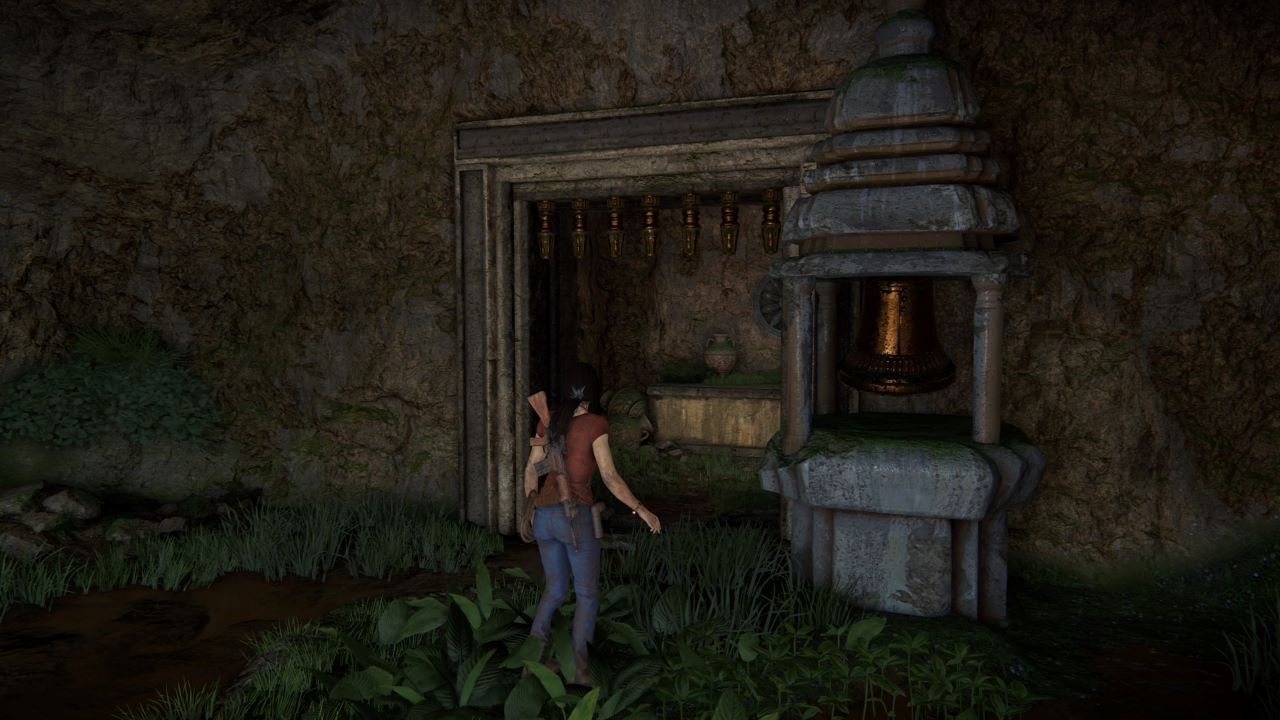
The second token can be found on the eastern side of the map. Look for ruins built into the rock wall with six bells on pedestals in front.
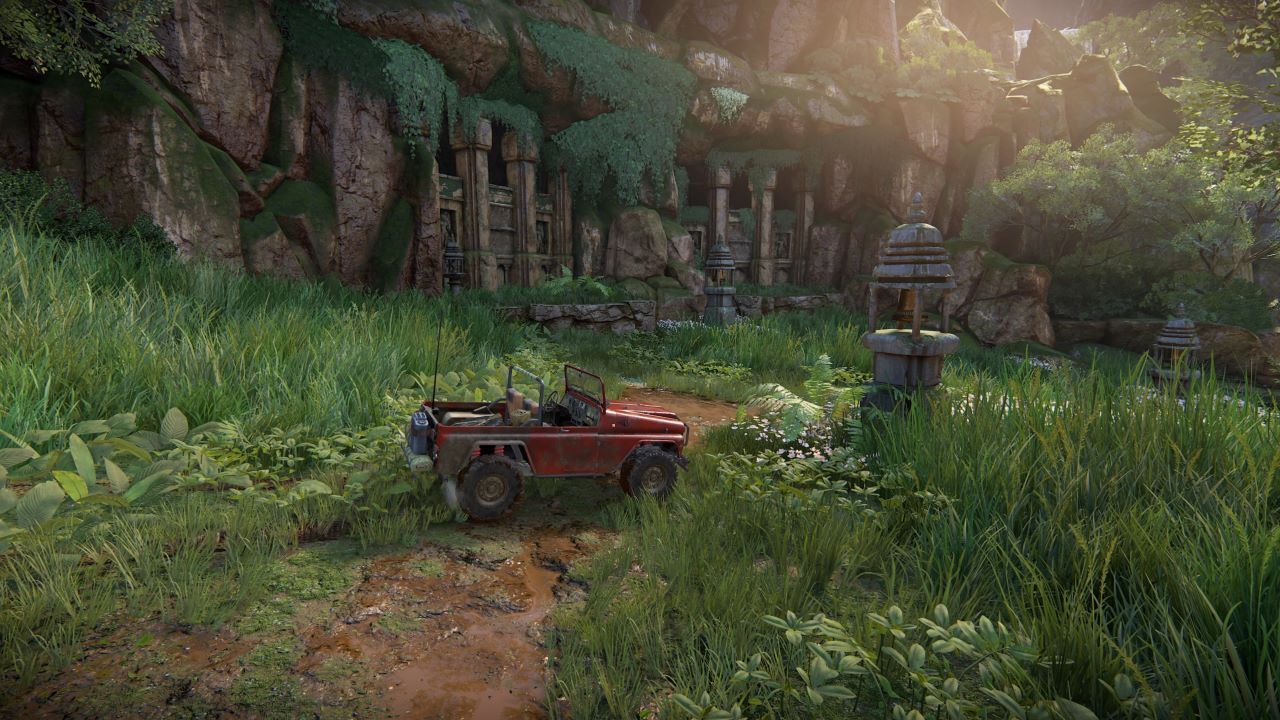
Climb up into the ruins and, on the right side, you will find a door with seven bars across it next to a seventh bell.
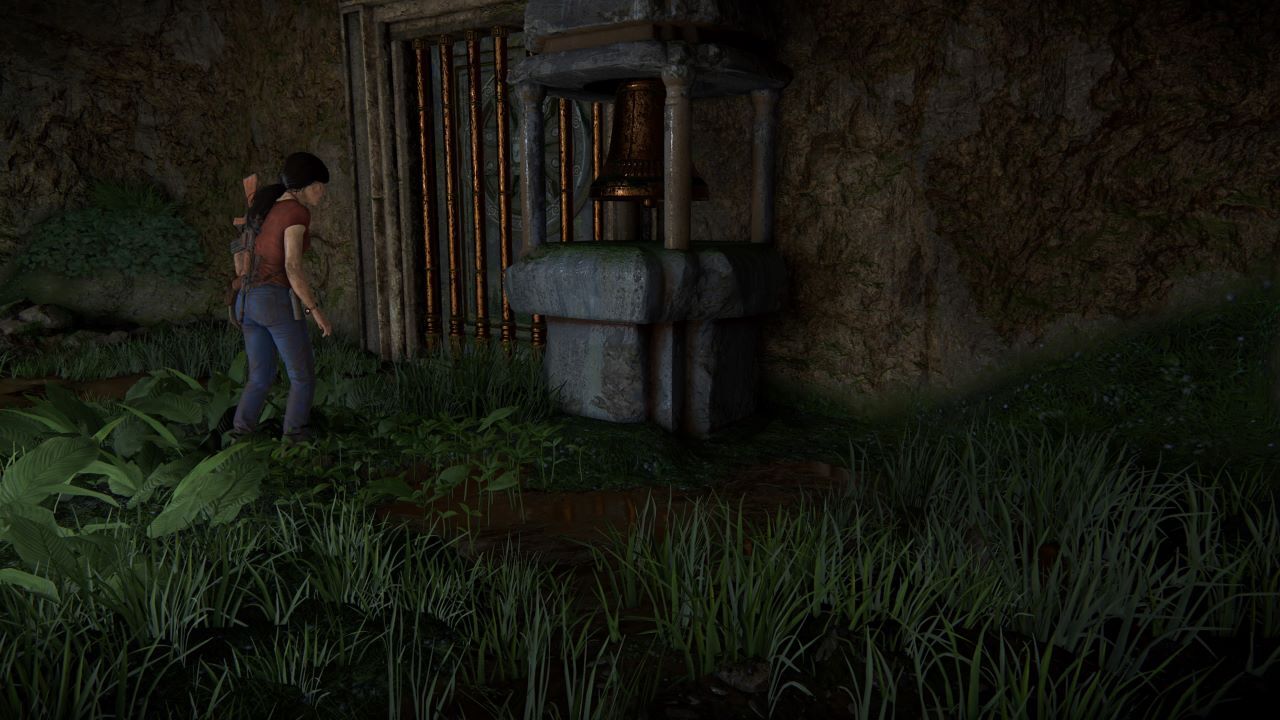
Chloe will note that she might need to ring the bell and she's right–if you shoot the bell it will ring out and one of the bars will begin to move. In order to open the door, you'll need to ring all seven bells.

For this task, it's helpful to have a scoped weapon, but if you have good aim (or lock-on enabled) you can do it with any weapon, provided you have at least seven bullets. Just make sure you hit the bells in quick succession or the bars will begin to move back into place. Shoot all seven bells and the door will open, granting you access to your next Hoysala token.
Third Hoysala Token
The third Hoysala token is quite close to the second, in the eastern part of the map, but slightly further inland. You'll know you're there when you reach crumbling ruins with a covered well out front.
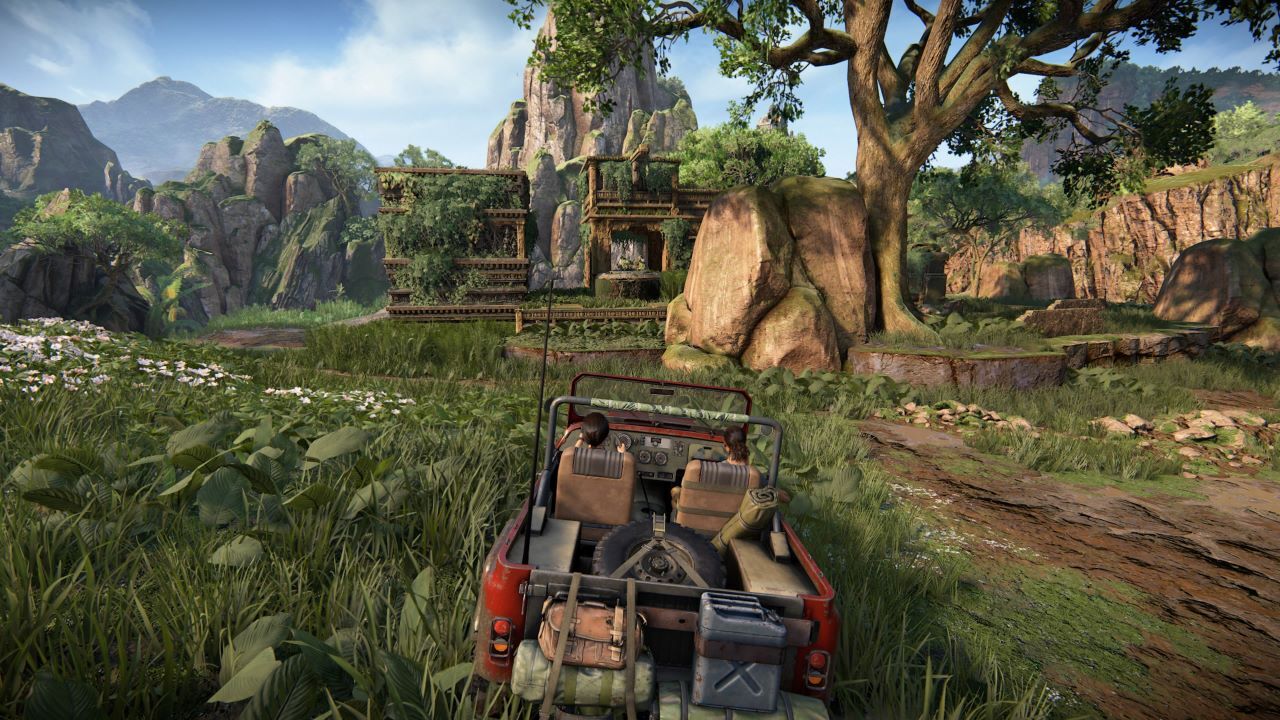
You need to open that well, so scale the building adjacent to it and walk out on the wooden plank above it.
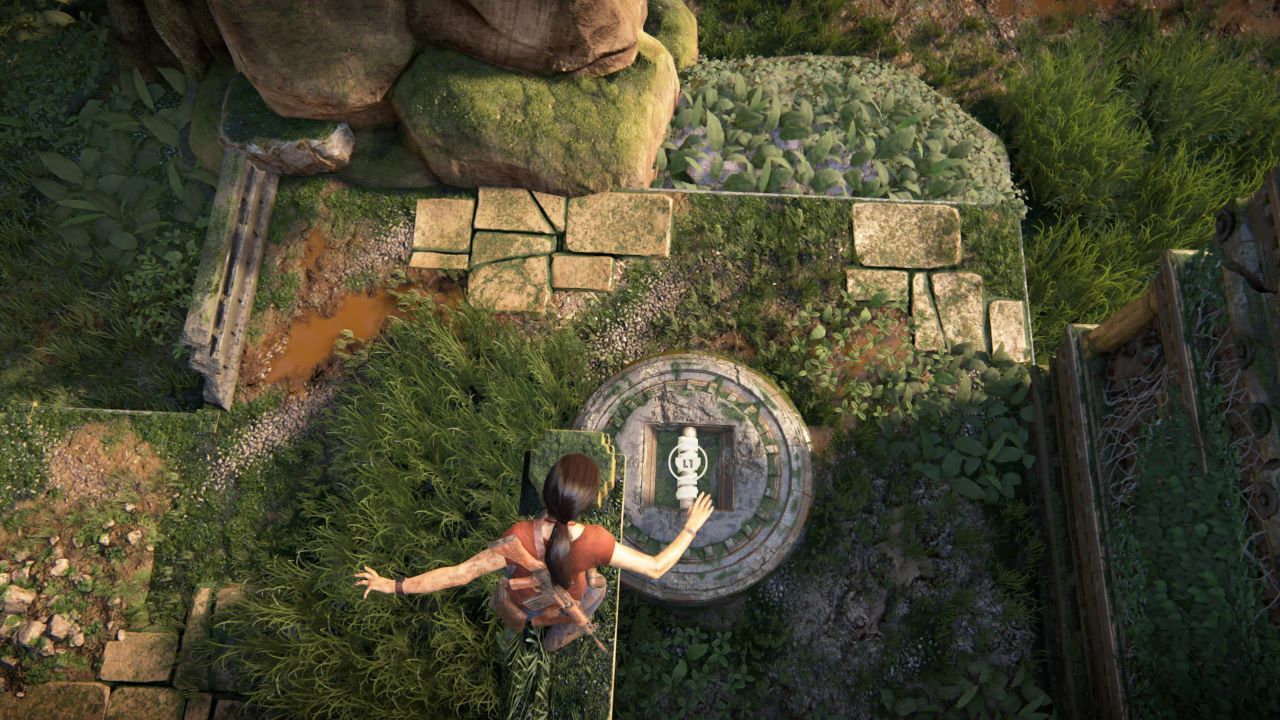
From here, throw your rope at the well, then jump off the left side of the plank. This will yank the cover off, allowing you to enter and recover another Hoysala token. But, be prepared before you head down: insurgents will be waiting for you when you return topside.
Fourth Hoysala Token
Head to the location marked as 4 on the map above to find the next Hoysala token. When you arrive, you should see a muddy hill with a pair of broken pillars peeking out of the muck.
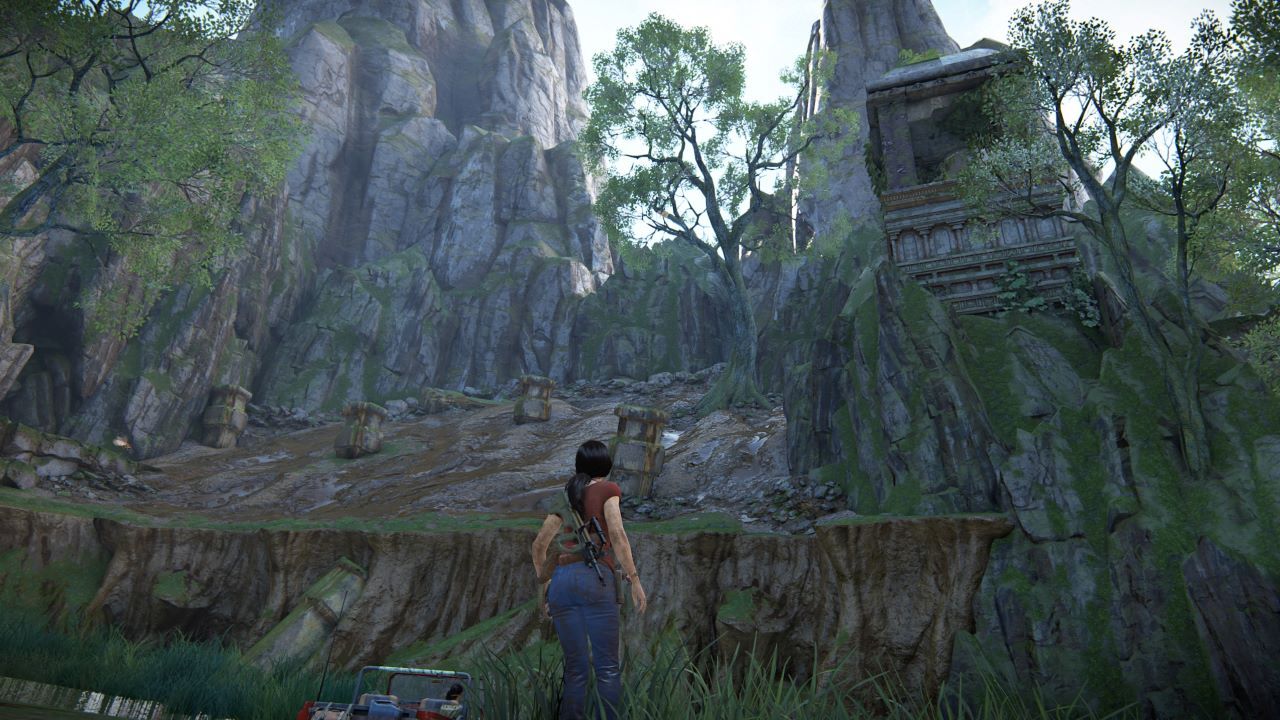
You can't boost up here, so drive the Jeep down around the corner, where the wall is climbable.
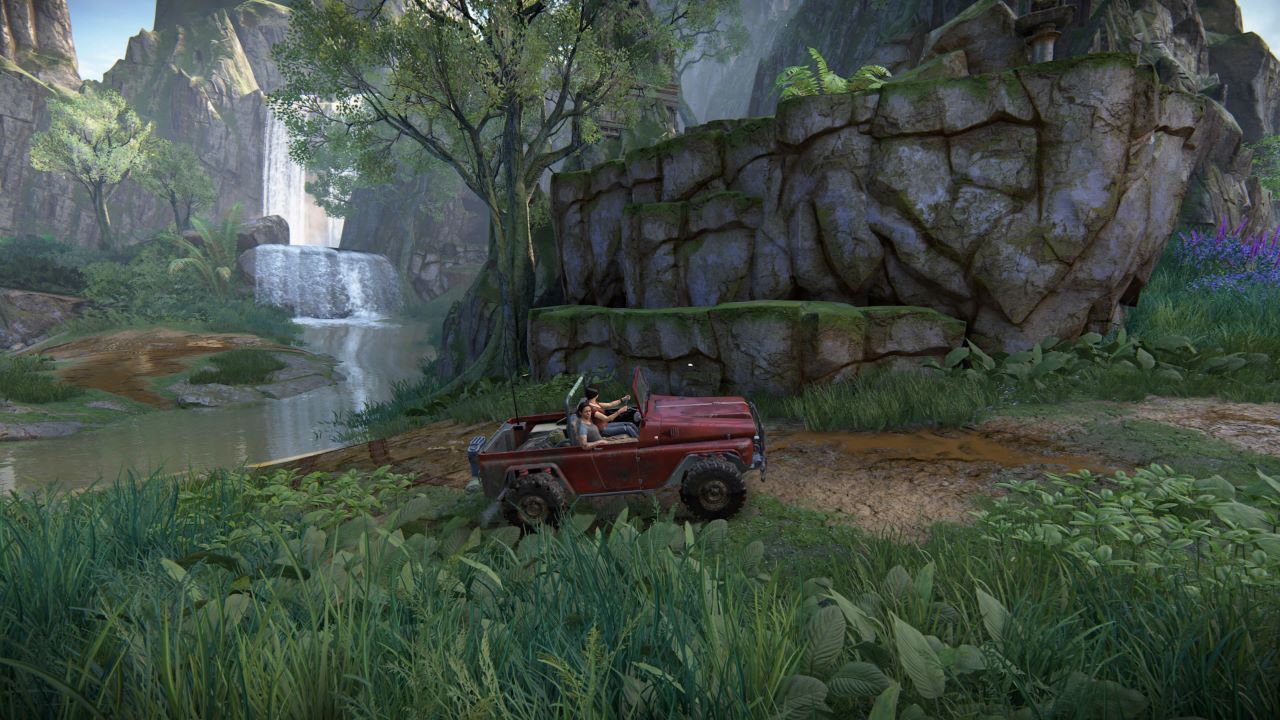
Ascend the wall and you will see an ancient tower.
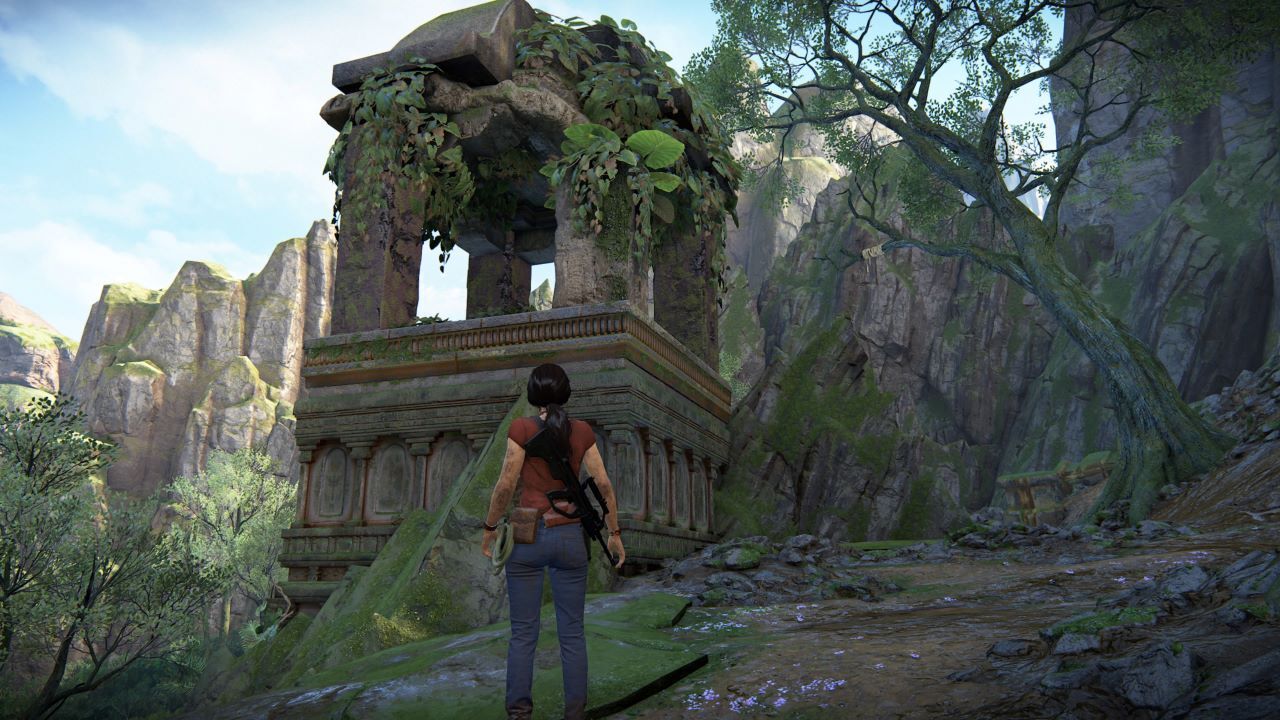
Climb that, too. Once inside, Chloe will remark that she can see a little cave. To reach it, throw your rope over a branch and swing to the first pillar. Then slide to the next and jump to the ledge with the cave.
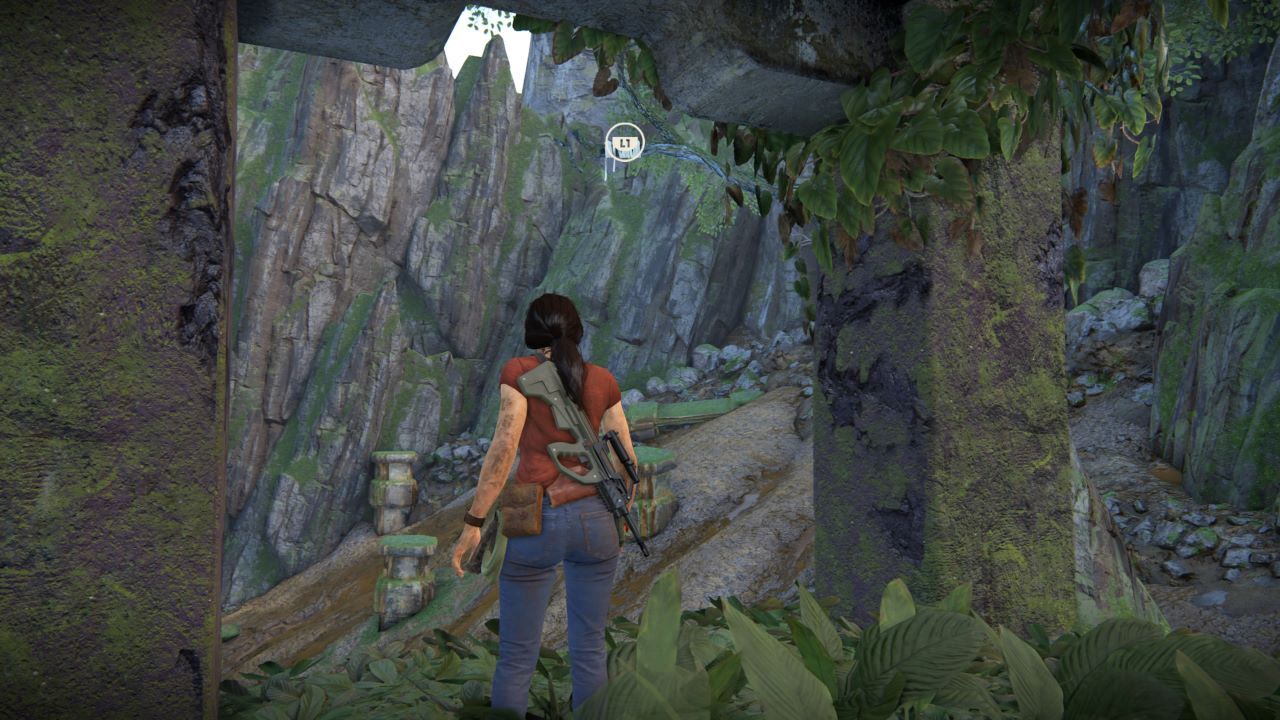
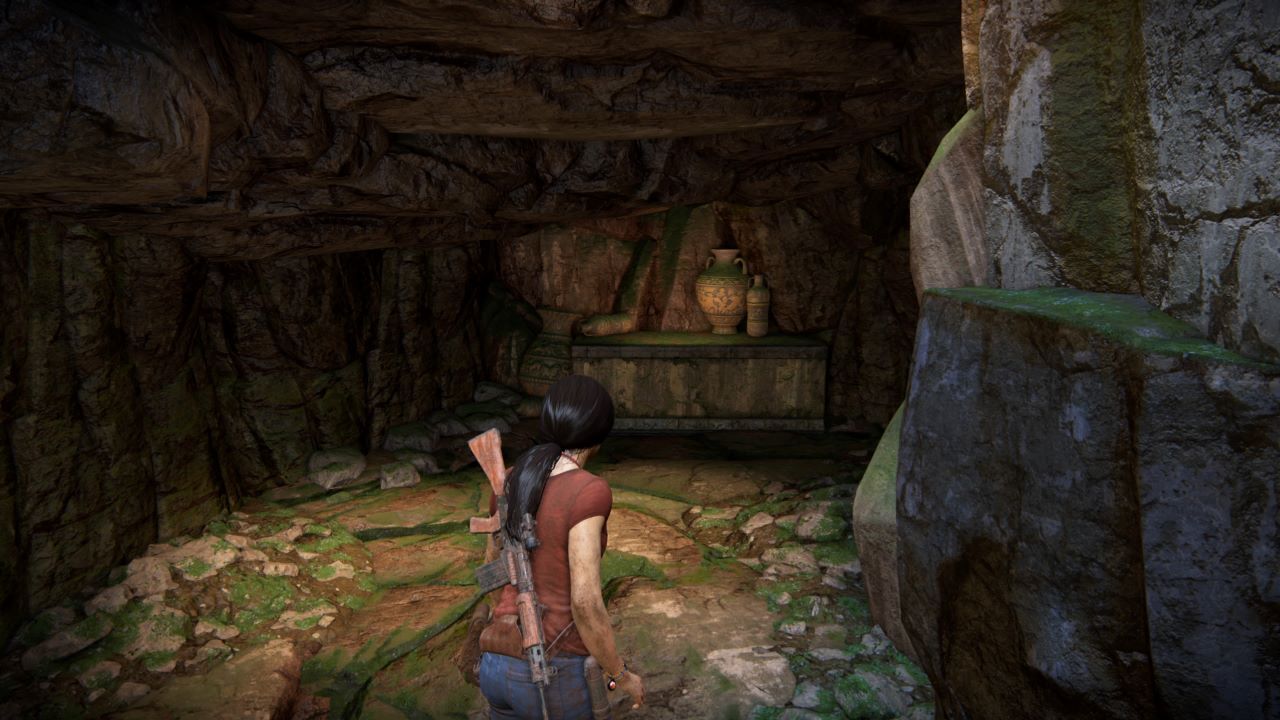
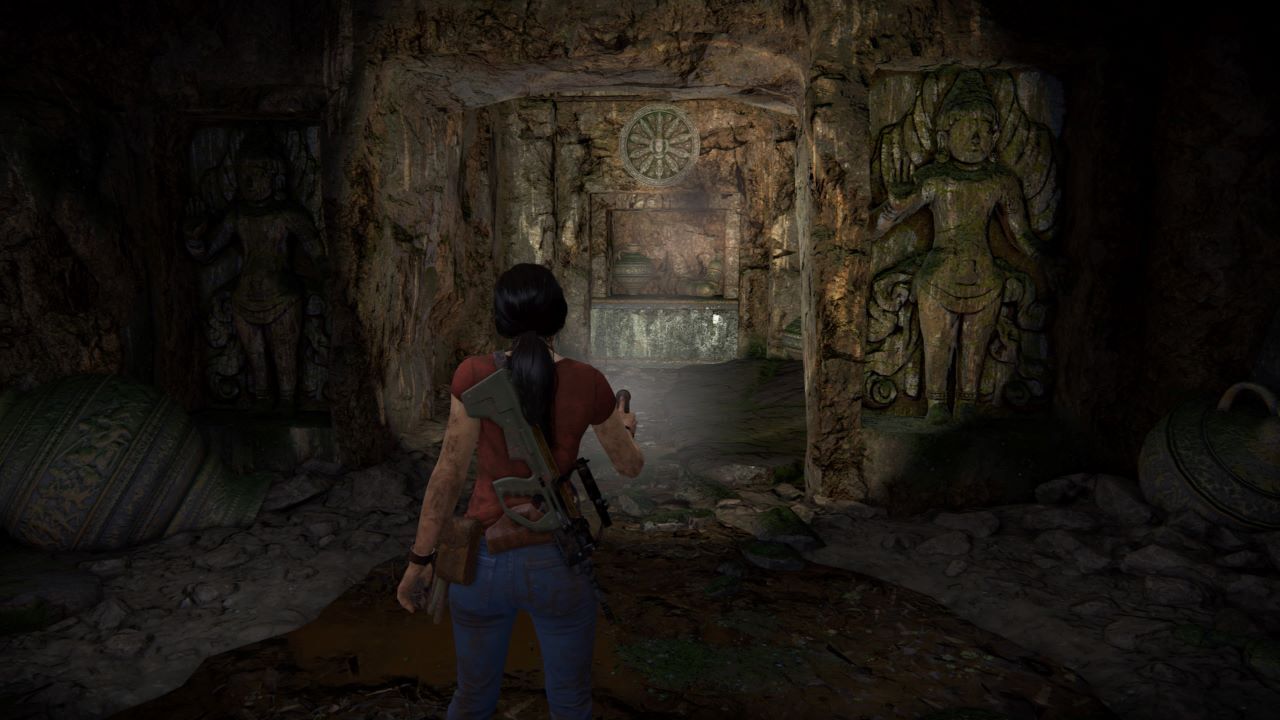
Crawl through the cave to find a hidden chamber and claim the fourth Hoysala token.
Fifth Hoysala Token
To access the next Hoysala token, you will need to be ready for some combat. Head to the southernmost symbol on the east side of the map, and you should find some ruins built into a cave. There are several insurgents patrolling.
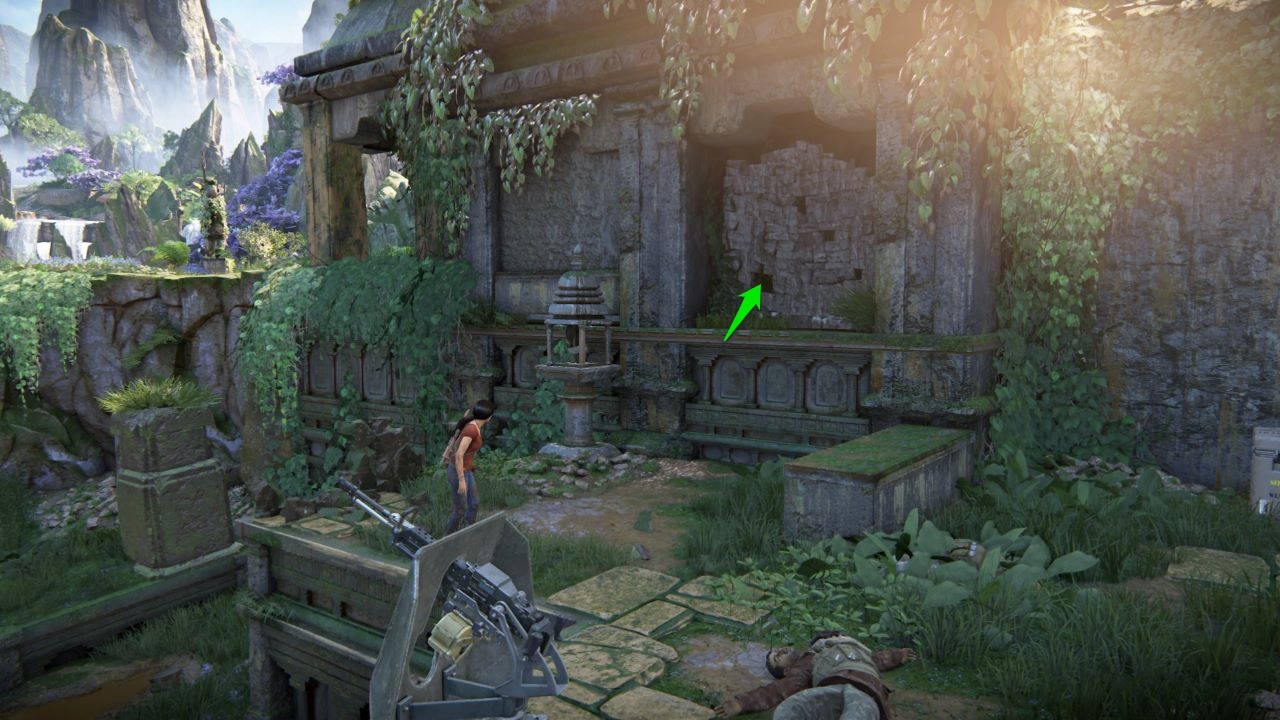
Defeat them, then climb up onto the cliff where the turret gunner was stationed. Here, you should see a breakable wall.

Throw a grenade at it and, when it explodes, climb through to retrieve the fifth Hoysala token.
Sixth Hoysala Token
Near the large tower toward the center of the map, you will find a grouping of ancient buildings. Most of them have a brass ring set into the roof. On a building toward the center, there is a stand that you can interact with.

Do so, and water will begin spraying from the brass rings and a ticking noise will begin. Using your rope, swing between the buildings and step on the rings. When you do the water will stop. Step on all of them within the time limit, and then return to the interactive pedestal where you started to find the sixth Hoysala token.
Seventh Hoysala Token
To reach the spot marking the seventh Hoysala token on the southwest side of the map, head down a narrow canyon.
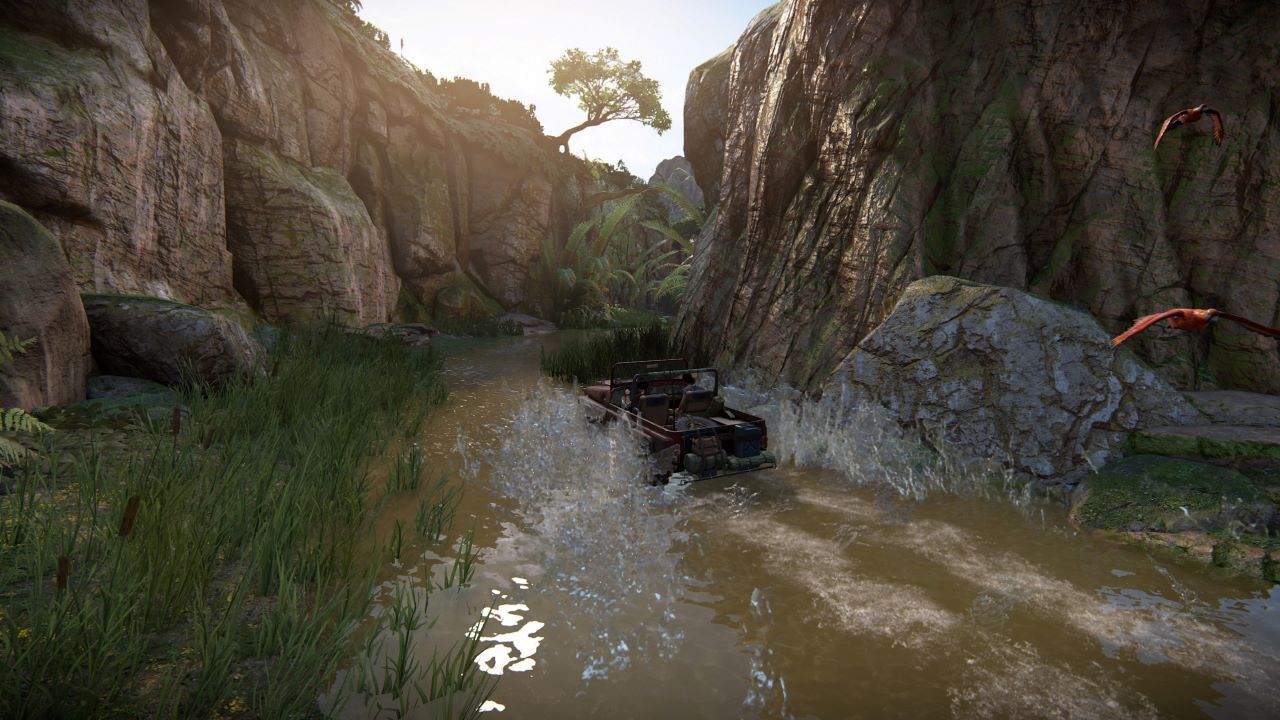
When you reach a large rocky outcropping, stop the Jeep and climb up to reach a wooden plank.
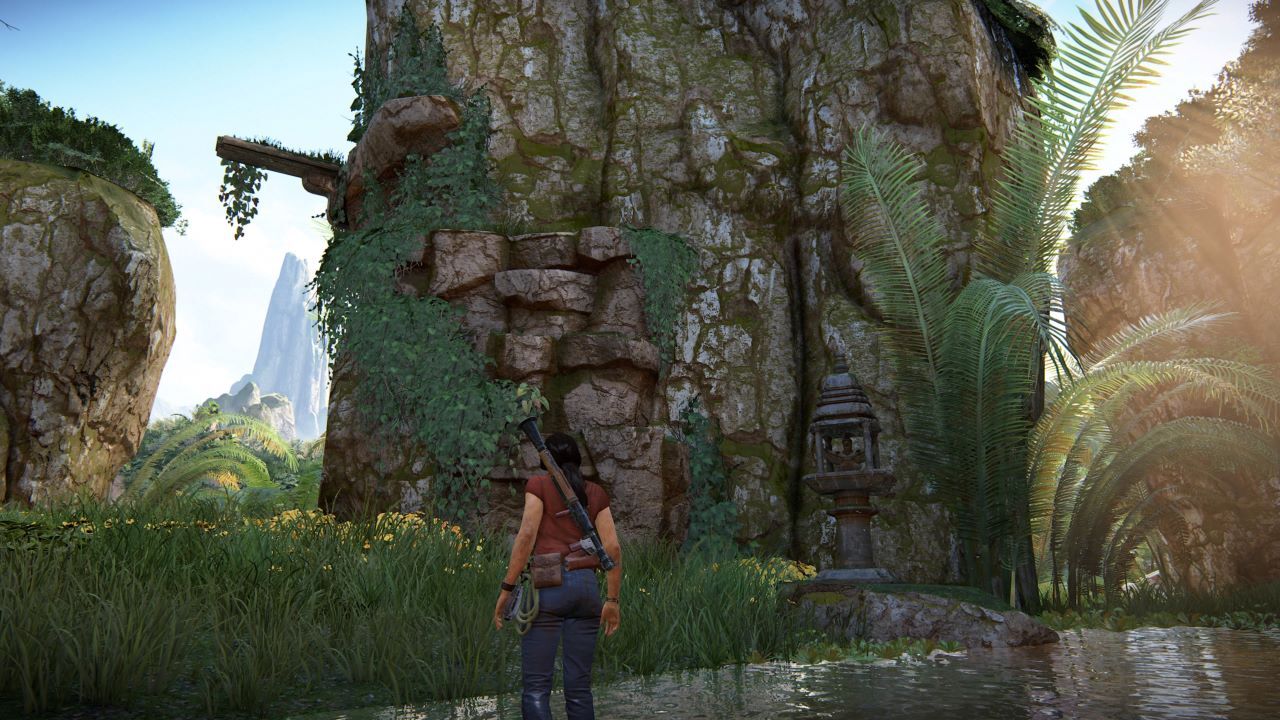
Swing from the branches to reach an elevated area.
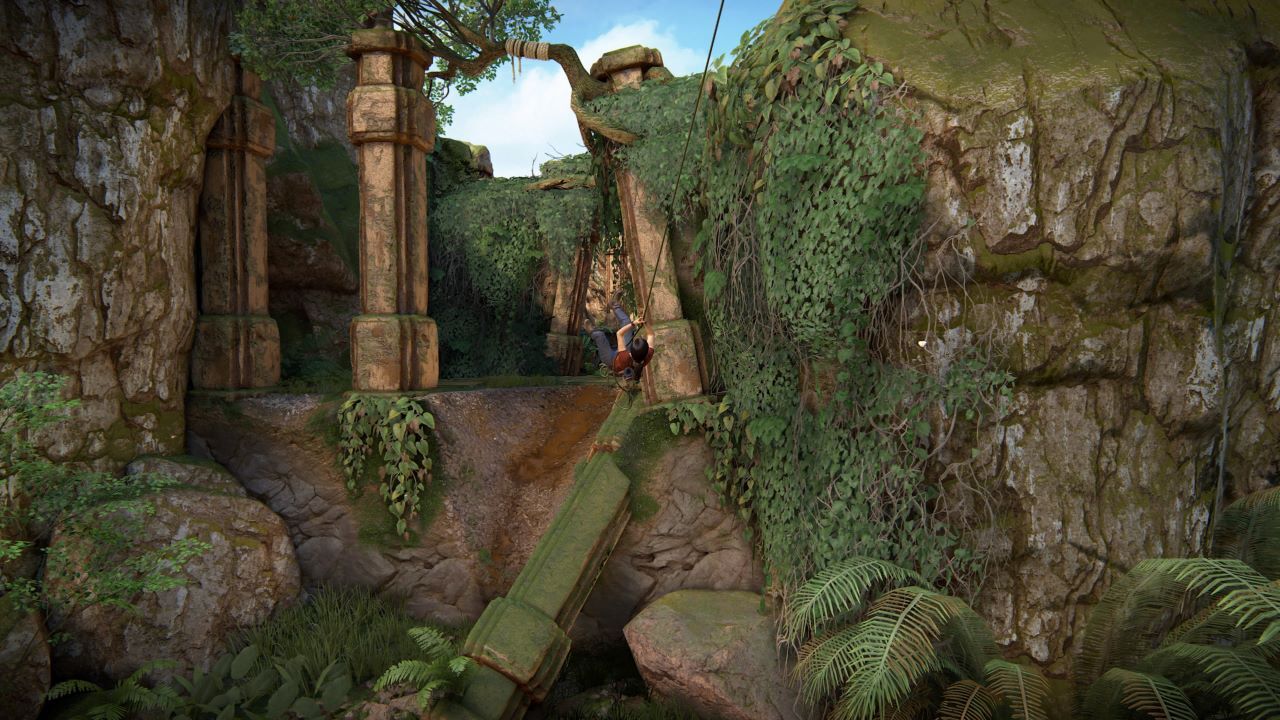
Use your lockpicking skills to open the crate and acquire a grenade, then keep swinging along the branches with your rope.
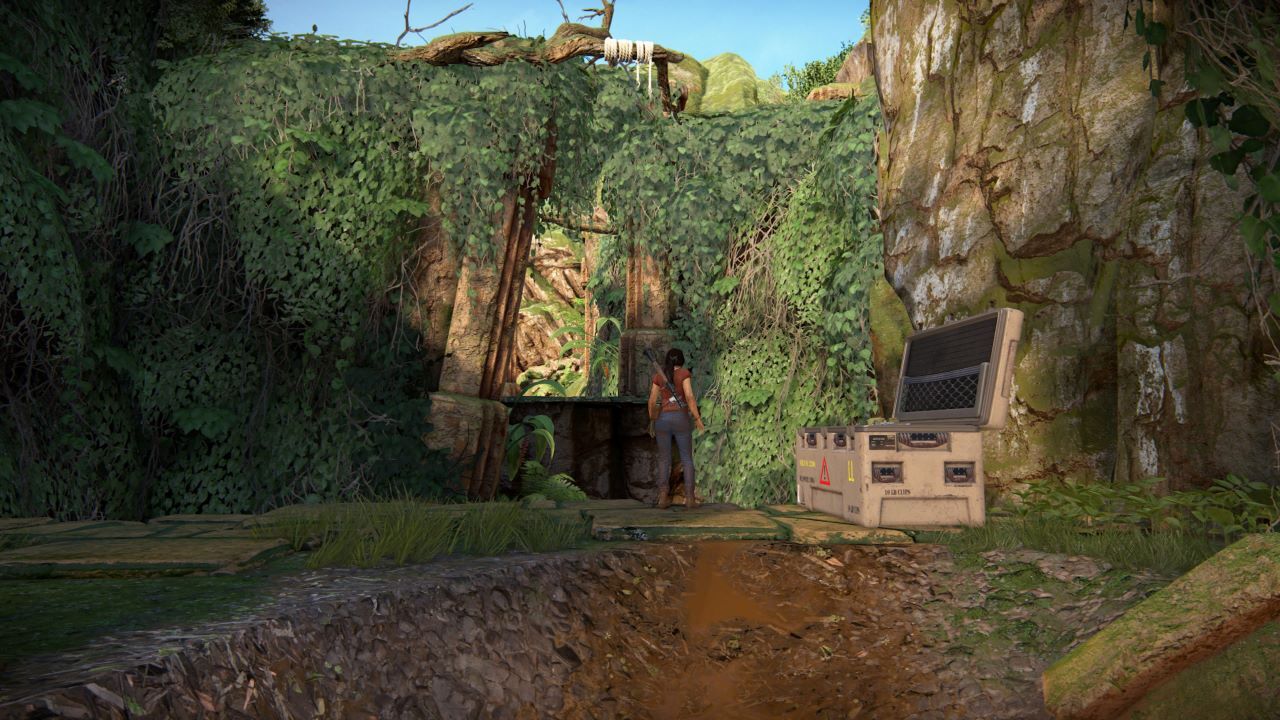
Once you reach a dead end, throw a grenade at the breakable wall and retrieve the Hoysala token.
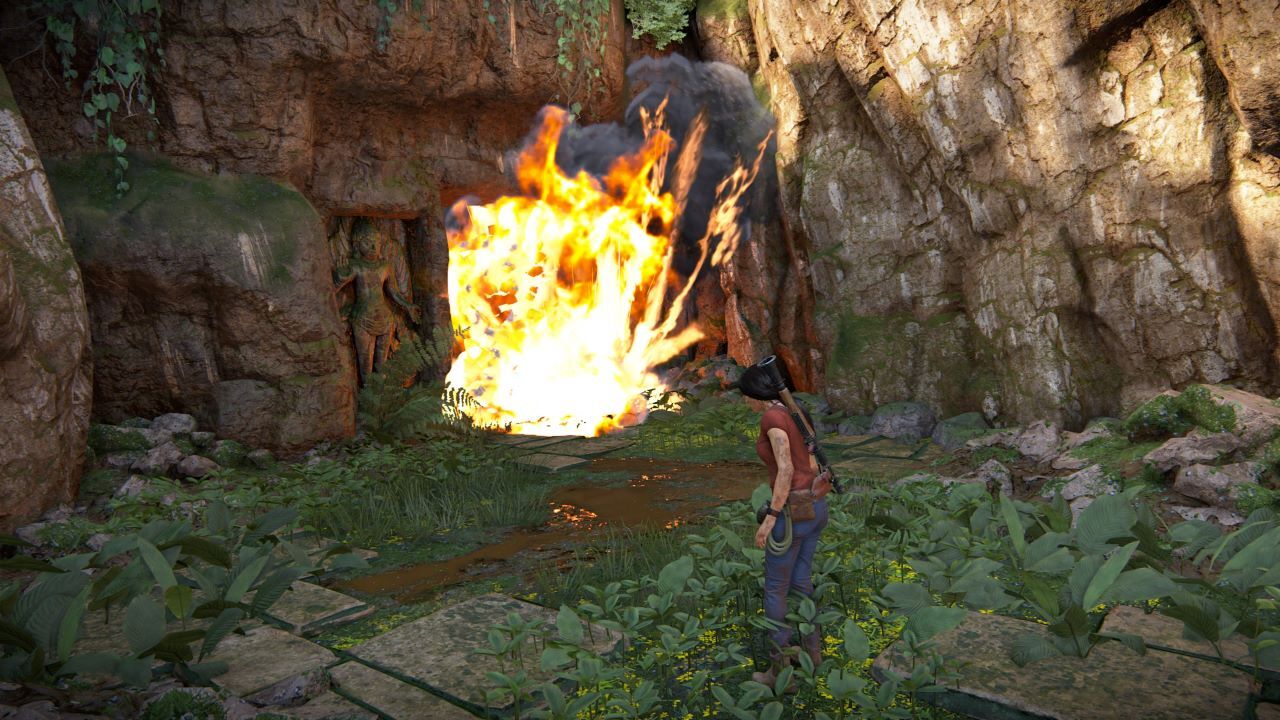
Eighth Hoysala Token
To the southwest of the central tower, find a large rock carved into the shape of an elephant emerging out of the water.
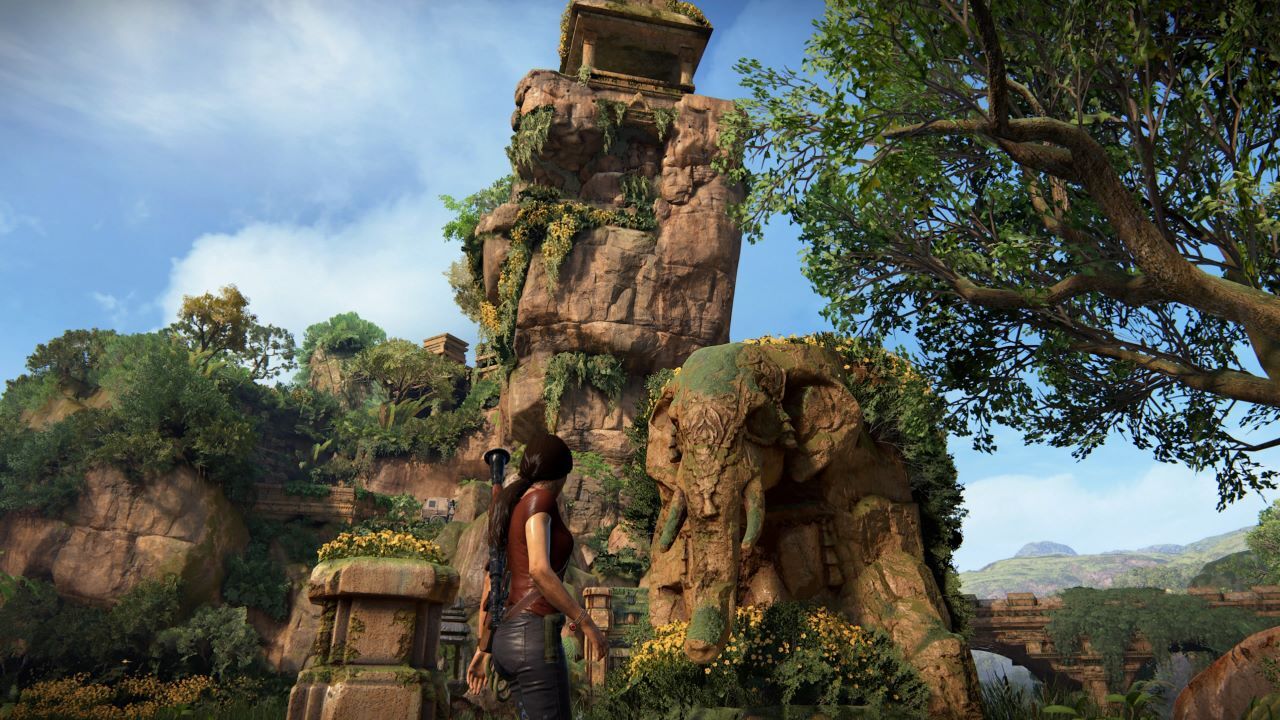
Walk around until you find the spot where Chloe goes from standing to swimming.
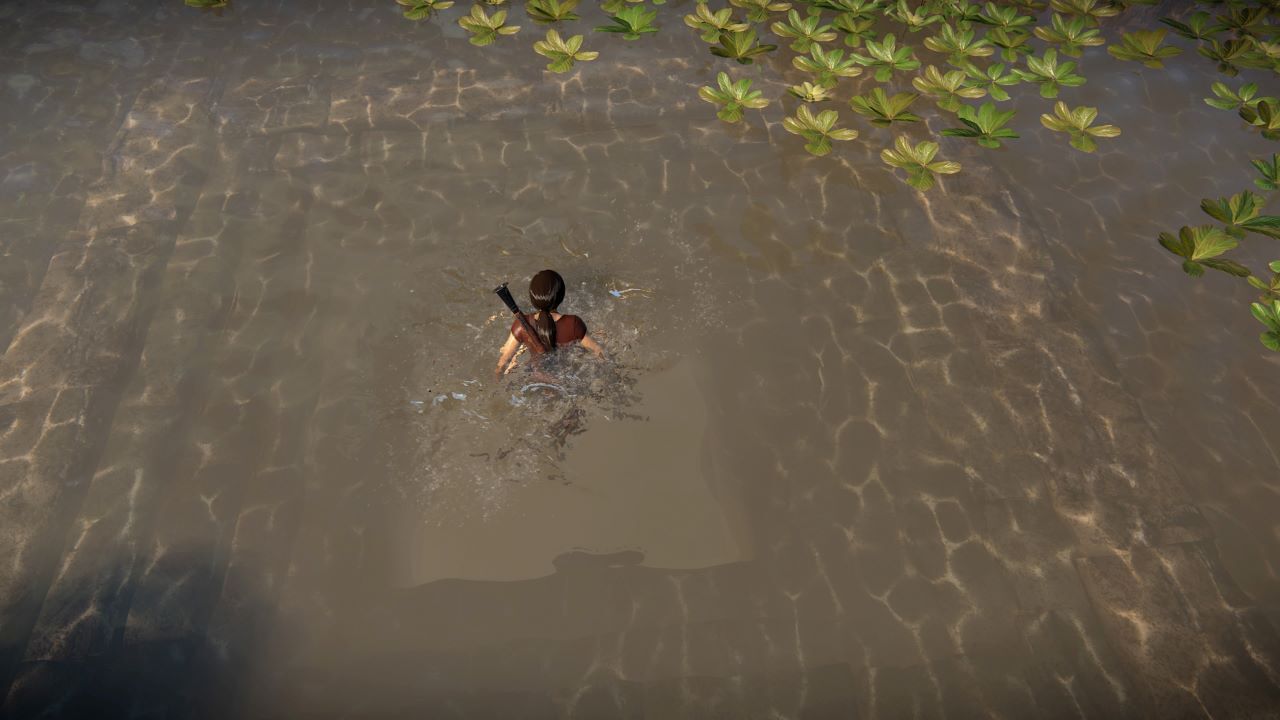
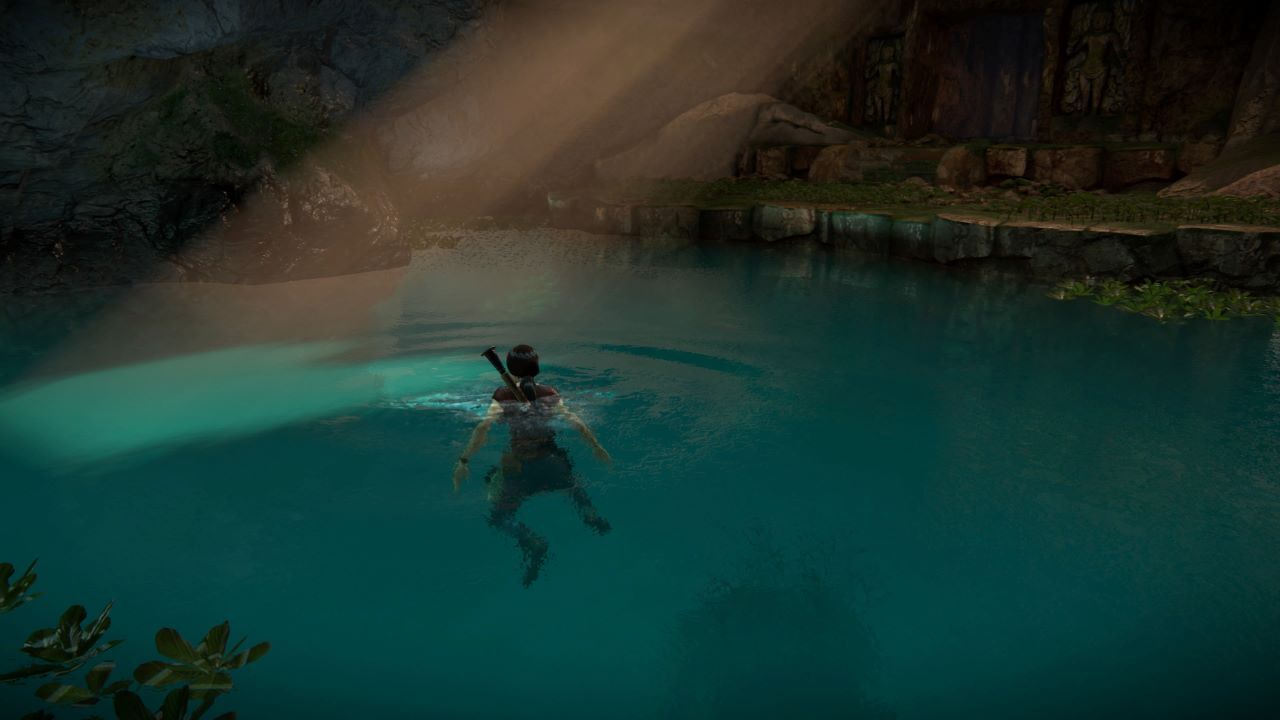
Swim down and through a doorway to reach a hidden cavern. Climb out of the water and go through another doorway to find the eighth Hoysala token.
Ninth Hoysala Token
In the southeast side of the map, look for a field of yellow flowers and some insurgent trucks.
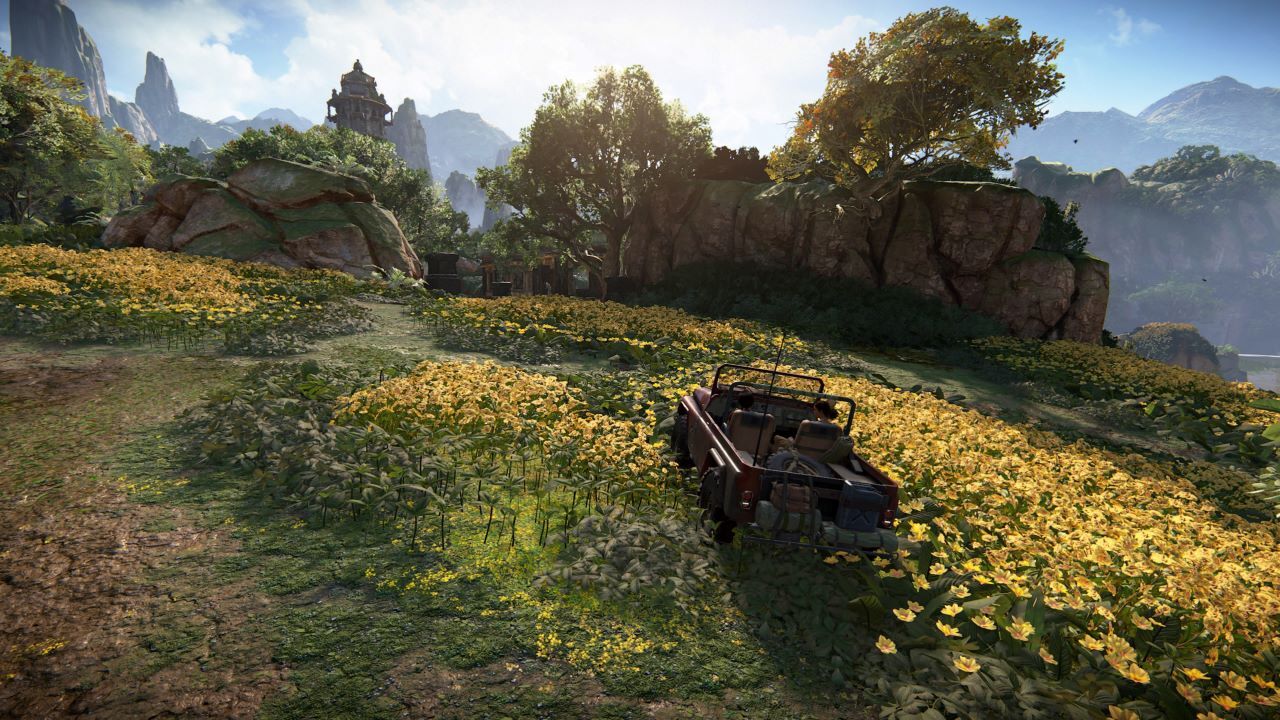
Defeat the enemies patrolling the ruins.
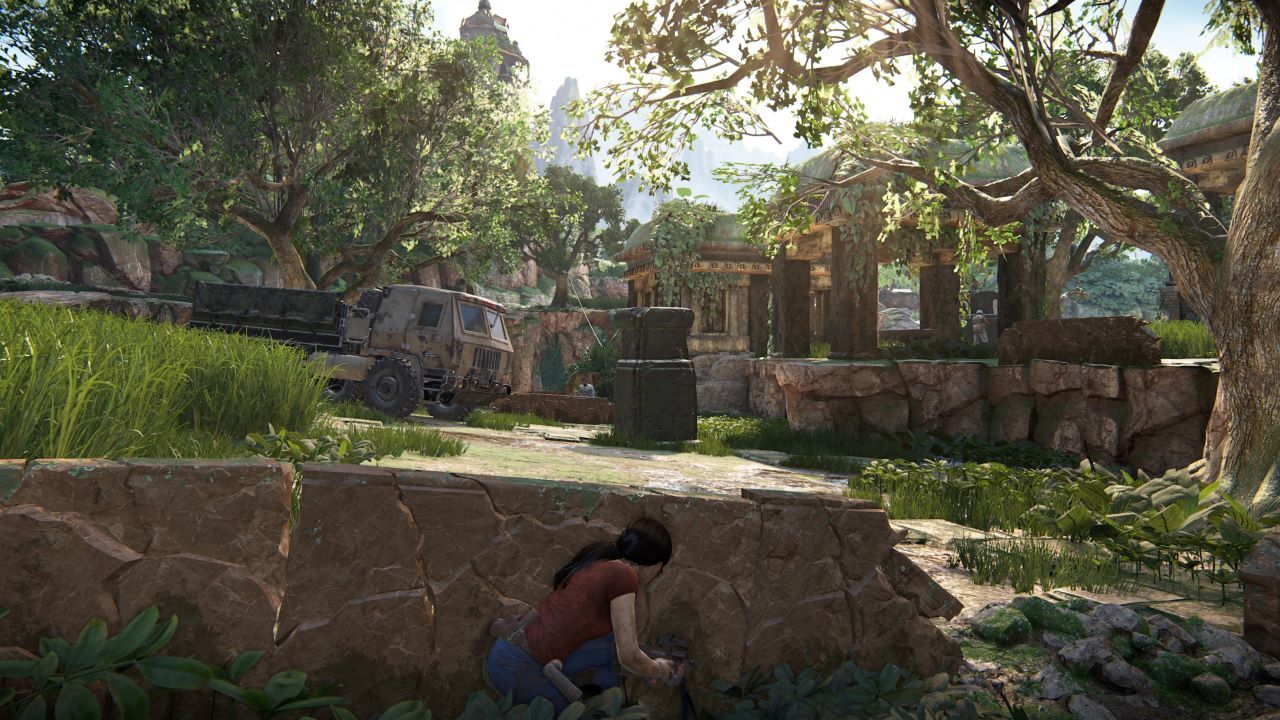
After you've defeated the insurgents, look for a breakable wall on the same platform as the large, open, columned building. Use a grenade (or if you don't have one, grab an explosive canister or RPG) to blow the wall up, revealing the ninth Hoysala token.
Tenth Hoysala Token
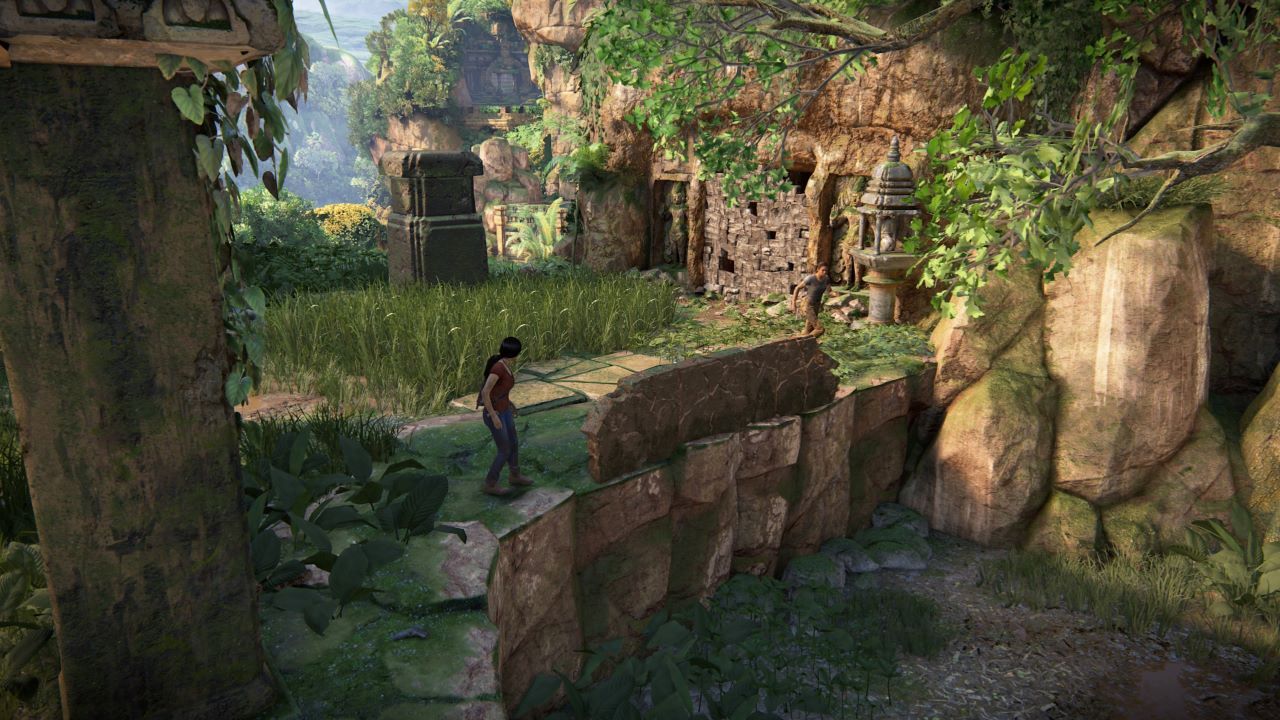
The tenth Hoysala token, which is the furthest north on the map, is one of the most difficult to acquire, because access is blocked by a fairly tough puzzle. But, before you can solve it, you need to get there, so head to the spot marked on the map, and look for a temple covered in ivy. There are two entrances, but you want the one on the left.
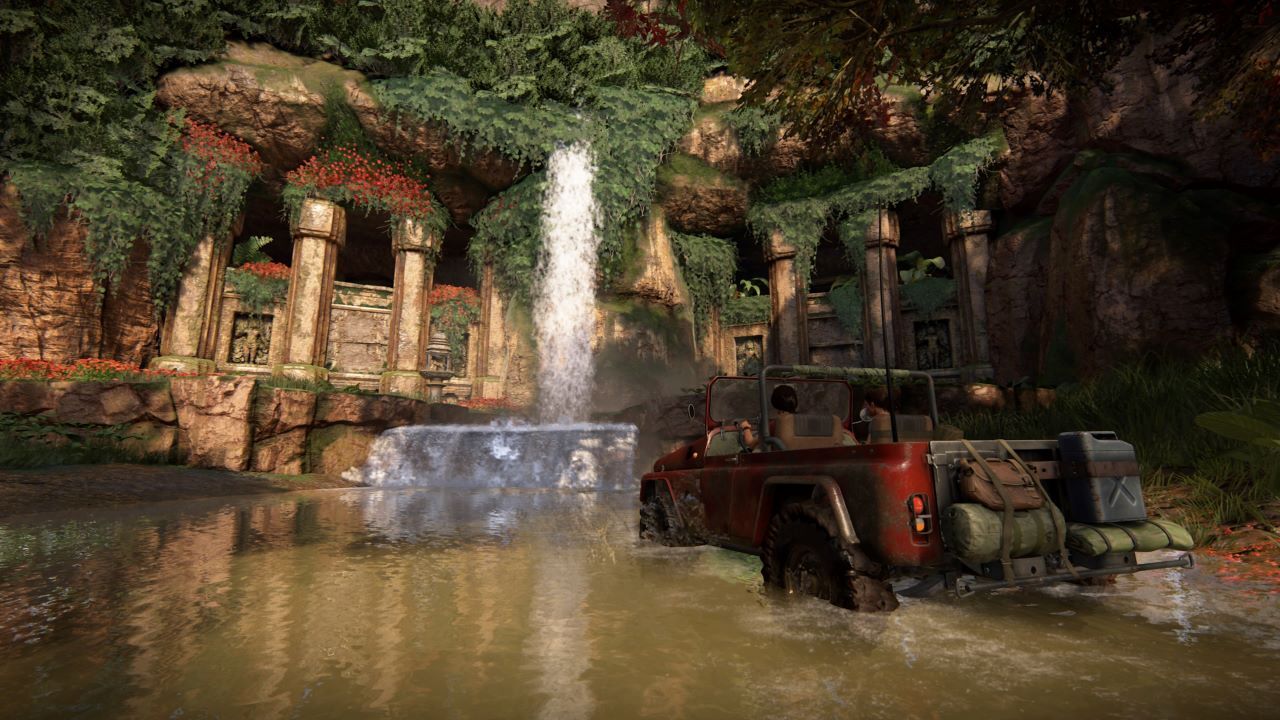
Enter and find a puzzle formed from multiple concentric rings.
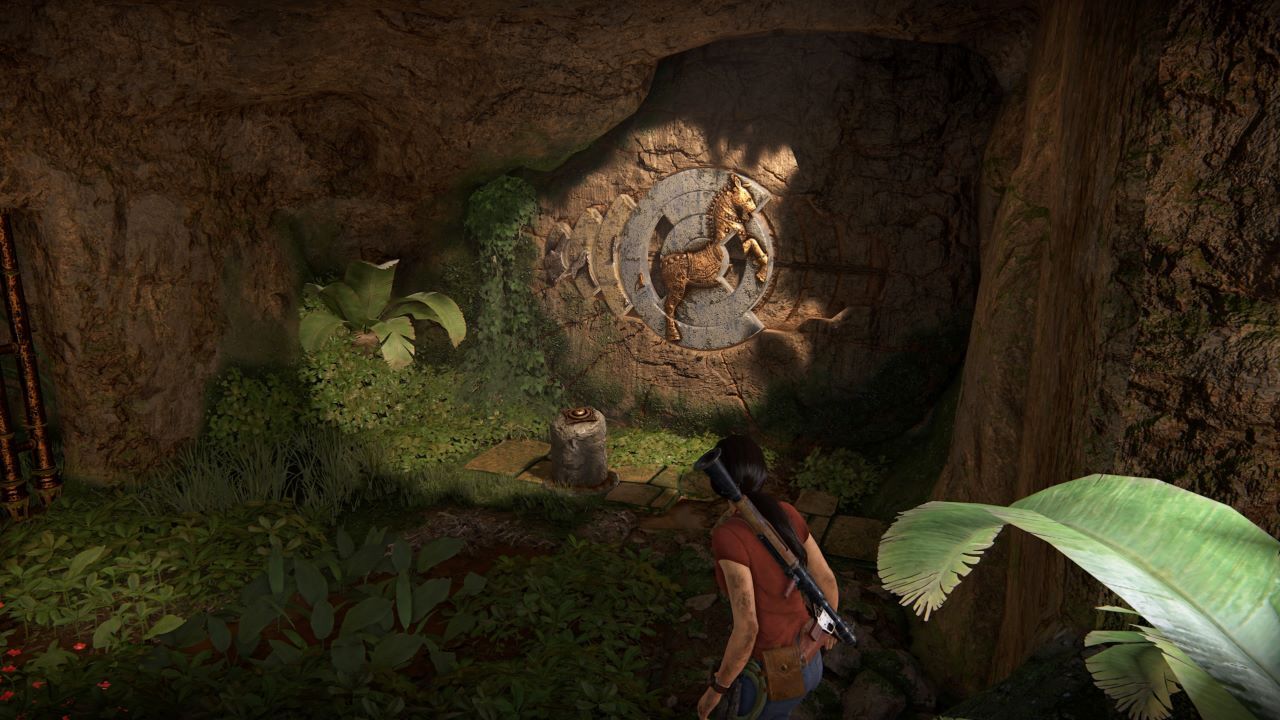
It may take a little while to wrap your head around this puzzle, but to put it simply: each ring is missing a piece. These pieces are stored on the left and can be slotted into their respective spots by pressing triangle when you have the rings lined up. The pieces can also be stored on the right.
First, slot the big piece into the big ring and move it to the right side for storage. With all the rings empty, slot the medium-sized piece into the medium ring. Now, shift the rings to the right and slot the big piece into the big ring. Move it back to the left for storage. Then, move the medium-sized piece to the right and store it there.
With the big piece stored on the left and the medium piece stored on the right, slot the big piece into the big ring and move it to the right for storage. Now, all three rings should be empty. Slot the smallest piece into the smallest ring. Then, put the big piece into the big ring and move it to the right for storage. With the big piece empty, slot the medium piece into the medium ring. Finally, slot the big piece back into the big ring. You should have three complete rings.
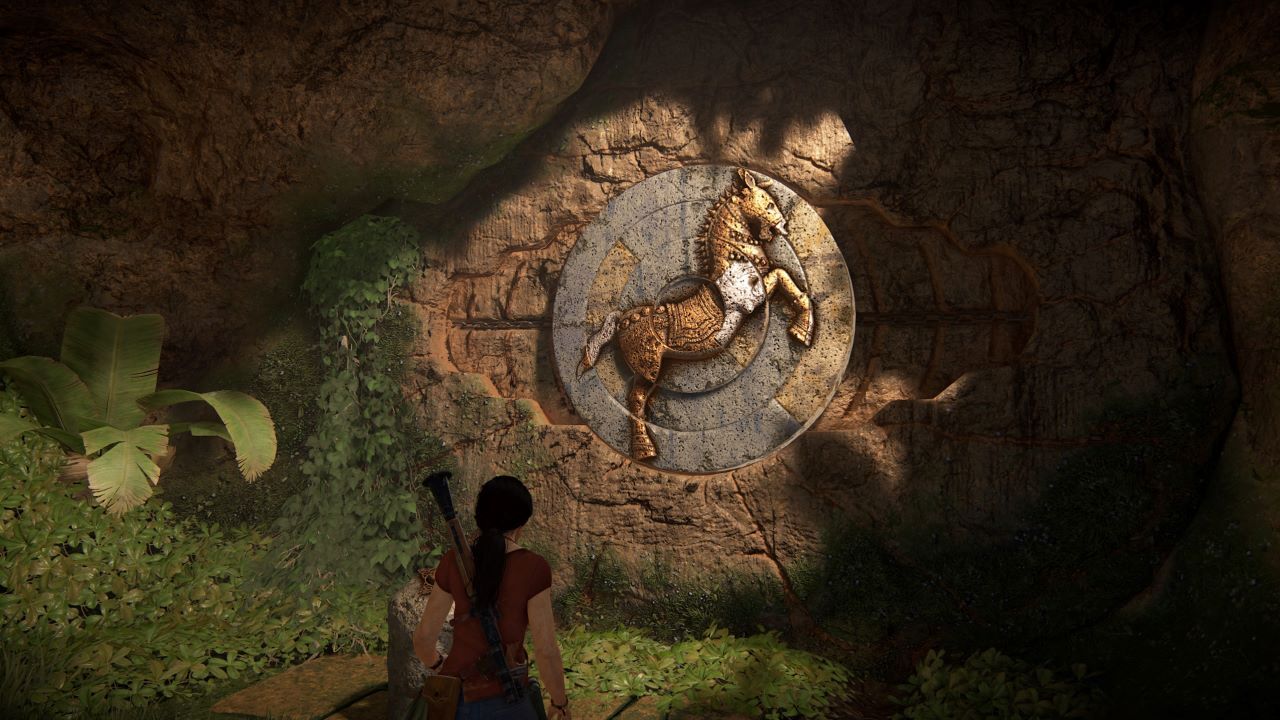
The rest is fairly straightforward. Rotate the rings until they form the picture of a horse seen below. When you've finished the puzzle, the door to your left will open revealing the 10th Hoysala token.
Eleventh Hoysala Token
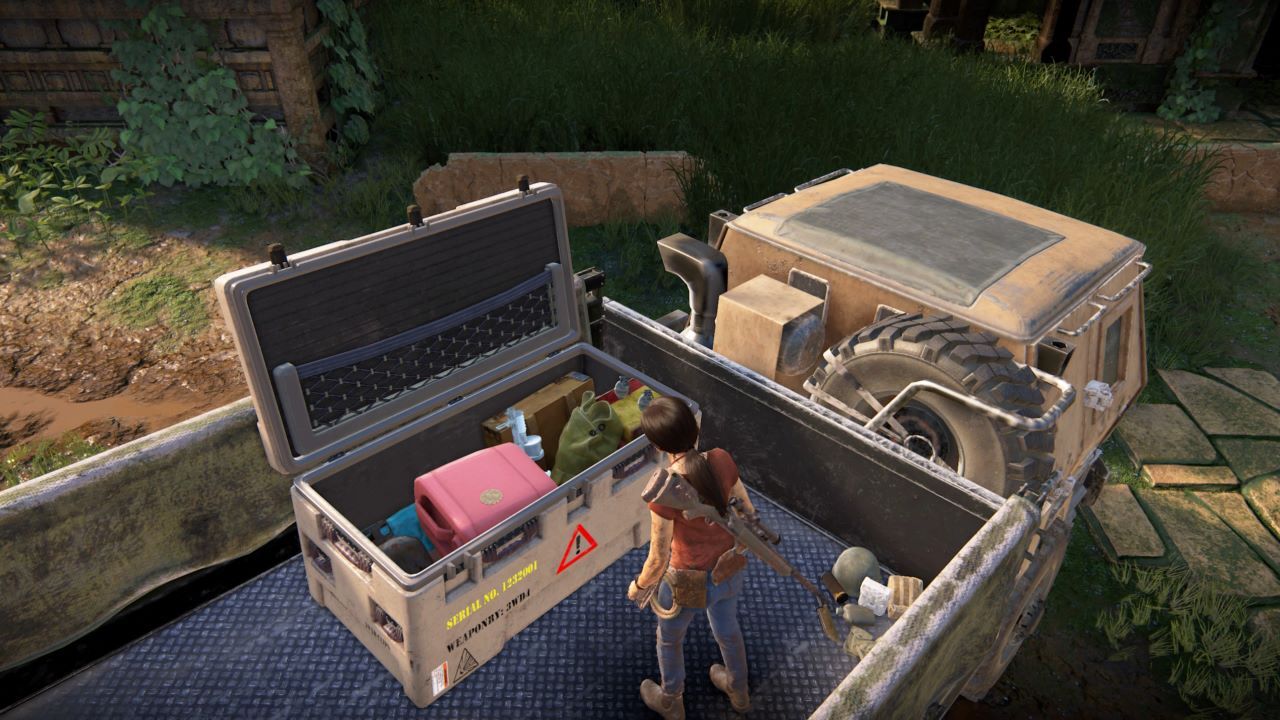
Northeast of the tower and close to the starting point, find a group of insurgent soldiers. Defeat them, then find the crate on their truck.

Pick the lock to find the 11th Hoysala token. You're now ready for the final step.
Claim Your Reward
With all 11 Hoysala tokens in hand, return to the temple where your quest began. Interact with the pedestal beneath the map to open the door to the right.
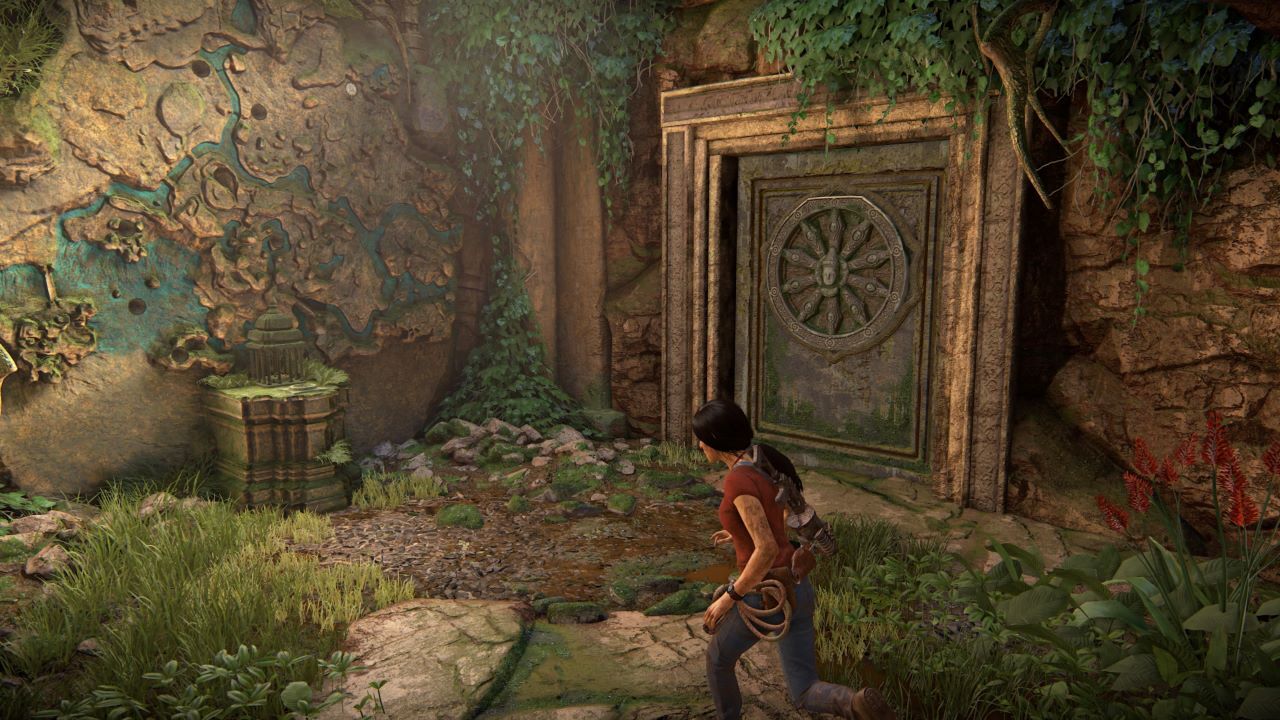
Head down the hallway that is revealed to find the ruins where you spotted the monkeys earlier. The Queen's Ruby Bracelet is waiting inside. Nab it to earn the "Yas Queen" trophy, and make all future treasure hunting substantially easier.
Got a news tip or want to contact us directly? Email news@gamespot.com


Join the conversation