Zelda: Tears Of The Kingdom - All Abilities Guide
You'll be able to get these abilities in The Legend of Zelda: Tears of the Kingdom.
The Legend of Zelda: Tears of the Kingdom abilities include a bit of do-it-yourself (DIY) crafting and elemental powers. You're bound to discover and unlock these as you progress further in the campaign. Here's our guide to help you with all the abilities in Zelda: Tears of the Kingdom.
DIY crafting via the Ultrahand
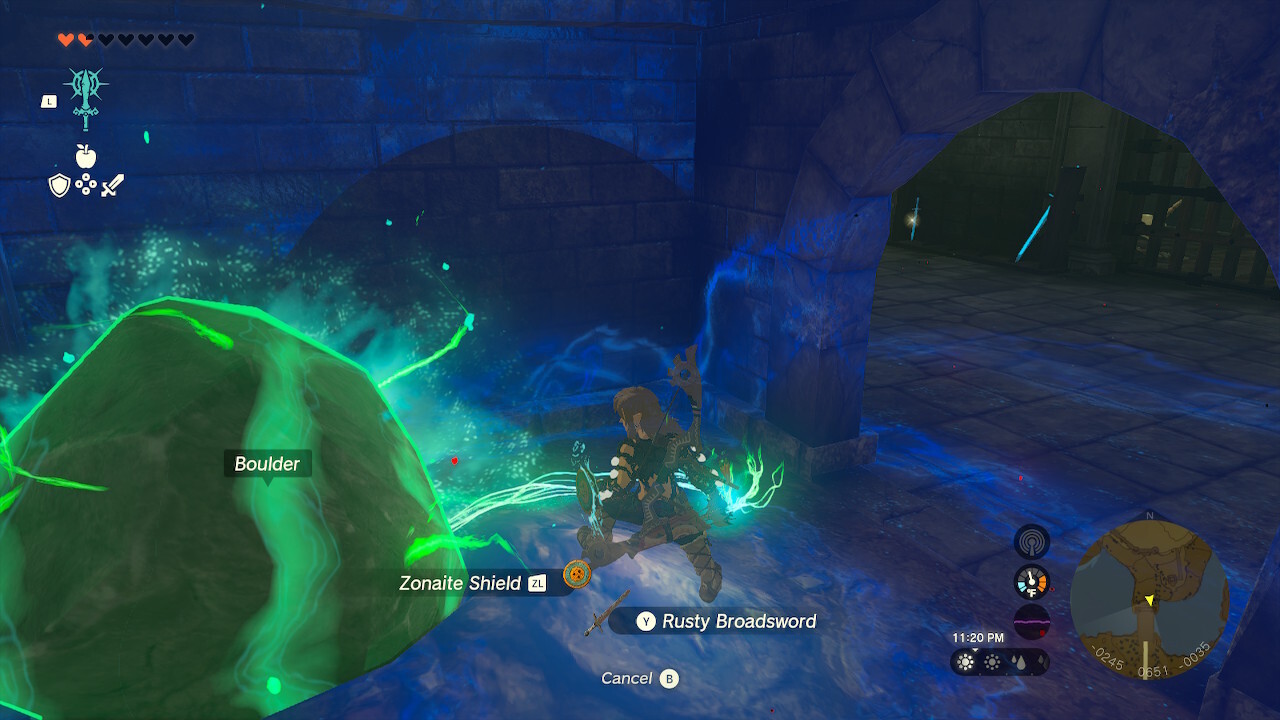
The Ultrahand is a tool that you'll receive early in the campaign. Basically, it has the main function where you'll be able to create various objects and vehicles, whether for combat, exploration, or puzzle-solving purposes. Most are unlocked as you're clearing the Shrines in the Great Sky Island starting area. These can be accessed by pressing and holding the L button.
Ultrahand Grab and Attach
This is the basic function of the Ultrahand. You can grab, rotate, lift, align, and attach objects, essentially creating something nifty, useful, or downright mind-boggling. You can learn more in our Ultrahand tips guide.
Fuse
The Fuse mechanic allows you to select a melee weapon or shield. You may then combine that with a particular material, or even another weapon/shield. For instance, let's say you have a wooden stick. That's just sad, right? But, you can fuse a stronger material or another weapon, say, a sword, to increase its damage. You may also experiment with more ridiculous combos, like shields that emit energy beams or polearms attached to polearms. You can learn more in our best early-game Fuses guide.
Autobuild
Think of Autobuild as a faster way of using Ultrahand. The ability itself is different from other DIY options in that it's learned by going through the Depths/Chasms quest chain. From there, you'll have to battle a particular boss several times. Each fight rewards you with a Schema, or a new Autobuild design.
Likewise, you can try the "history" and "favorites" systems, where the objects and vehicles you create are saved for later use. You can also learn more in our Autobuild tips guide.

Utility effects
These utility effects are primarily used for traversal and puzzle-solving. They're also obtained via Shrines on the Great Sky Island. Similar to other Zelda: Tears of the Kingdom abilities, you'll want to press and hold the L button to access these.
Ascend
Ascend allows Link to, uh, ascend to reach higher areas. Basically, you need to be standing upright, and there should be a solid section several feet above you, such as a low ceiling, hanging ledge, square block, or the bottom tip of a pillar.
Once you select the Ascend ability, you should see a green marker if the target location is valid. Link will then phase through solid objects, as though he's swimming through matter, until he ends up at the very top of that section.
Recall
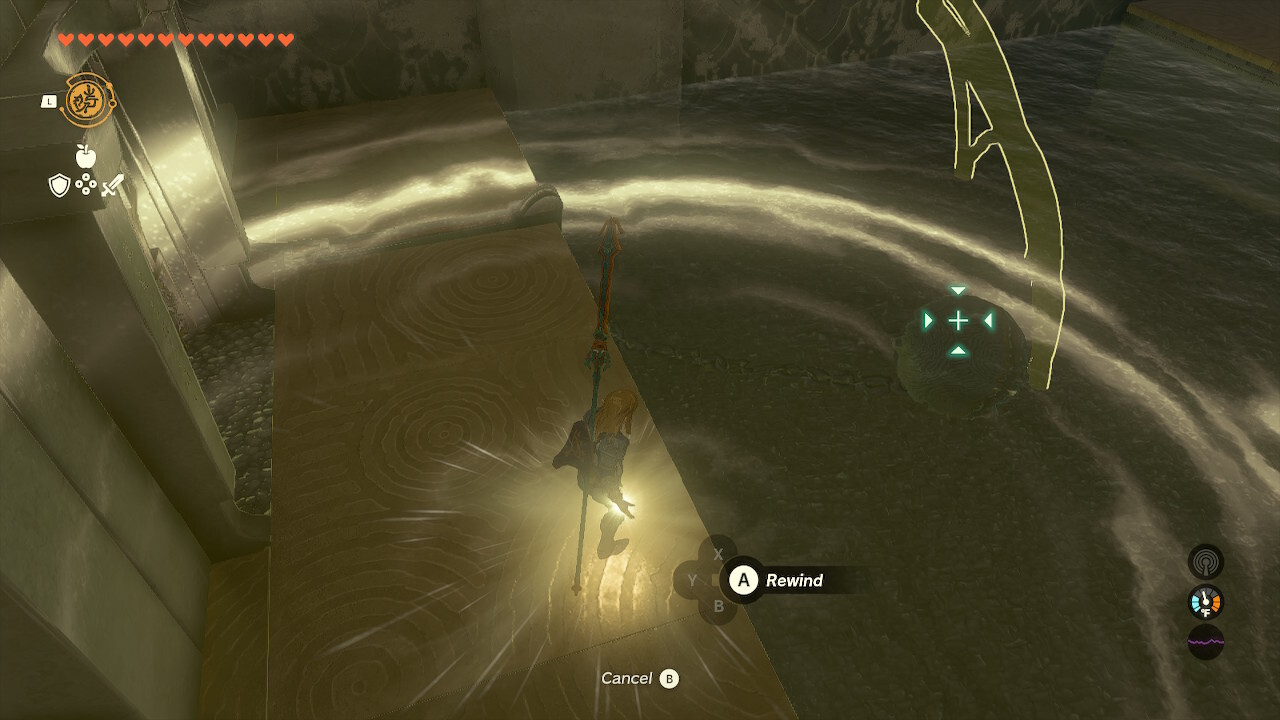
Recall or Rewind is yet another nifty trick that you can use. Basically, it lets you target an object (not a creature/enemy), to reset their position or orientation. For instance, let's say there's a block that's falling from a high ledge. Link can wait for it to drop, climb on top of it, then use Rewind. This will cause the block to rise up, as though it's resetting its position, so that Link can reach the ledge where it came from.

Sage summons and elemental powers
These Zelda: Tears of the Kingdom abilities come from Sage companions. Basically, each main region in the game has an important character that aids you in that particular segment. Once you finish the main quest in that region, the companion gains a Secret Stone, and they'll be able to lend their powers as you continue your journey.
Multiple companion abilities can be active at any given time as well. Moreover, unlike Ultrahand DIY and utility effects, these Zelda: Tears of the Kingdom abilities or companion powers are activated on the ground by moving next to a character and pressing the A button.
In any case, the activation system for Zelda: Tears of the Kingdom abilities from companions can feel a bit wonky. That's because Link's pals love to run around aimlessly. Outside of a few exceptions, it can be quite a hassle just to chase them down just to activate a power. If you want to know which ones to prioritize in the campaign, you can head over to our best Sage companions and abilities guide.
Sage of Wind
This allows the companion to blow a gust of wind. In combat, it can knock back smaller enemies. It's great for exploration and traversal, though, as it allows you to gain a burst of speed while gliding.
Sage of Lightning
This creates a glowing field around you, eventually encompassing a wider area. You can then shoot an arrow to unleash a powerful lightning strike.
Sage of Water
This creates a water bubble that encases Link, negating one instance of damage from any source. Likewise, you'll be able to clean gunk that slows you down. And, of course, it's a way to cool off in areas with a hotter climate.
Sage of Fire
This causes the companion to roll into a ball before getting launched off. If targeting an enemy, they'll get knocked back and incur a bit of fire damage. This can also be used on breakable stone and ores. Lastly, this is always active when riding a vehicle.
Sage of Spirit
The fifth and final Sage companion is quite a surprise, so we don't want to spoil it here. We surmise that it'll probably elicit a "wow!" from players once they obtain it. You can learn more in our Fifth Sage guide.

There are numerous mechanics and facets to learn in The Legend of Zelda: Tears of the Kingdom. For more information, you can visit our guides hub.
Got a news tip or want to contact us directly? Email news@gamespot.com
Join the conversation