Death Stranding Combat Guide: Tips For Fighting BTs, MULEs, And Terrorists

GameSpot may receive revenue from affiliate and advertising partnerships for sharing this content and from purchases through links.
Fighting Death Stranding's Earliest Threats
As you explore Death Stranding's world, you'll encounter two major threats: MULEs, Terrorists, and BTs. MULEs are a bandit-like crew of unofficially sanctioned deliverymen who live for the high of making deliveries, so much so that they're willing to attack innocent porters and steal their cargo to get it. On the other hand, Terrorists are just like MULEs, but with guns!
When you're not facing human enemies, you'll be contending against BTs. These ghostly apparitions will try to cling tightly to any living thing that approaches them. They typically accompany Timefall, but you'll specifically know they're around when the game shifts into slow-motion briefly to focus on your Odradek shrieking at their presence.
But how do you deal with MULEs, Terrorists, and BTs when you encounter them? They can be rather troublesome, so below we detail essential tips about each that should help you overcome them with ease. If you're looking for specific tips, use the table of contents below to jump to the right section, or scroll down to see everything. Just remember to take your time and be observant--knowing where MULEs and BTs are will help ensure you're in the best position possible to deal with or avoid them.
Table of Contents:
- MULEs
- BTs
- Terrorists
For more Death Stranding features, be sure to check out our beginner's guide, and another that explains how long it takes to beat the game. You can also check out features about inventory management and how multiplayer works.
Death Stranding Guides
- How To Get Death Stranding's Half-Life Crossover Items
- Death Stranding PC Hands-On: The Once PS4 Exclusive Runs Like A Dream
- Death Stranding Walkthrough, Guides, And Tips
- + Show More Death Stranding Guides Links (2)
- How Long Is Death Stranding?
- Can Your PC Run Death Stranding? Minimum And Recommended Specs
You can also check out our full review, where reviews editor Kallie Plagge gave the game a 9/10 and said, "Death Stranding is a hard game to absorb. There are many intertwining threads to its plot, and silly names, corny moments, and heavy exposition belie an otherwise very simple message. That comes through much more clearly in the game's more mundane moments, when you find a desperately-needed ladder left behind by another player or receive a letter from an NPC thanking you for your efforts. It's positive without ignoring pain; in fact, it argues in both its story and its gameplay that adversity itself is what makes things worth doing and life worth living. It's a game that requires patience, compassion, and love, and it's also one we really need right now."
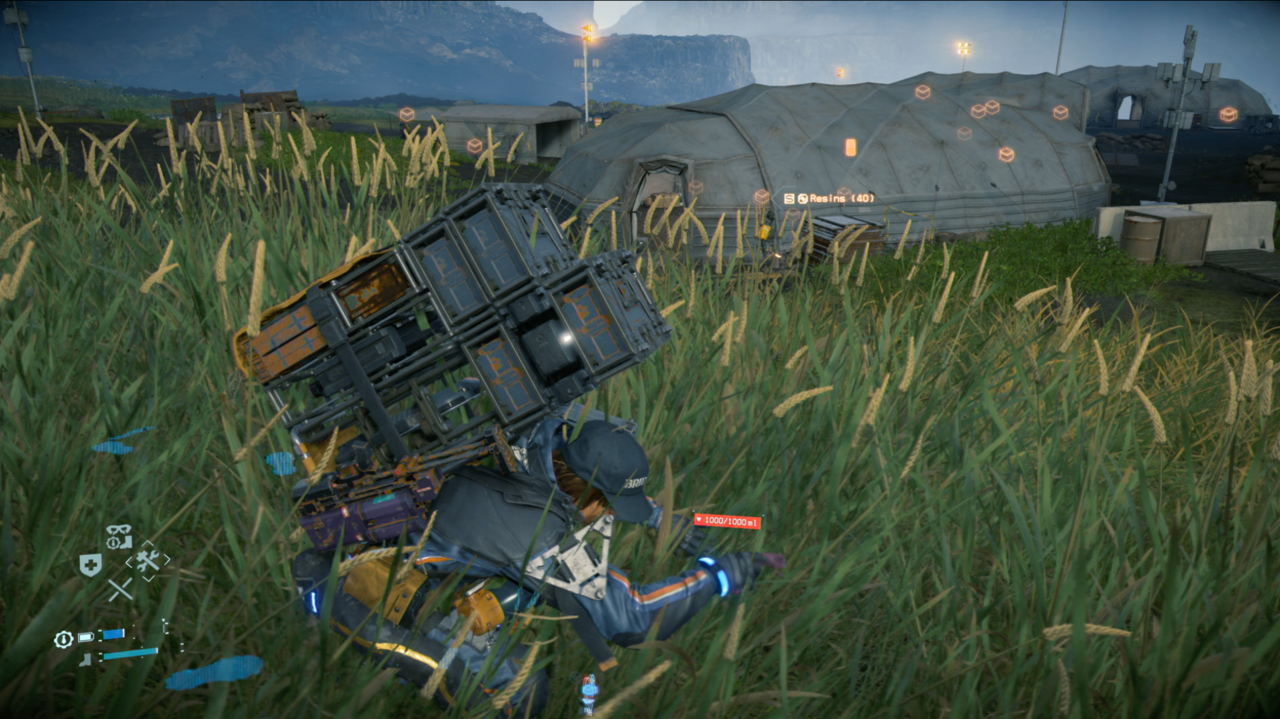
Find Openings And Tall Grass To Sneak Past MULEs
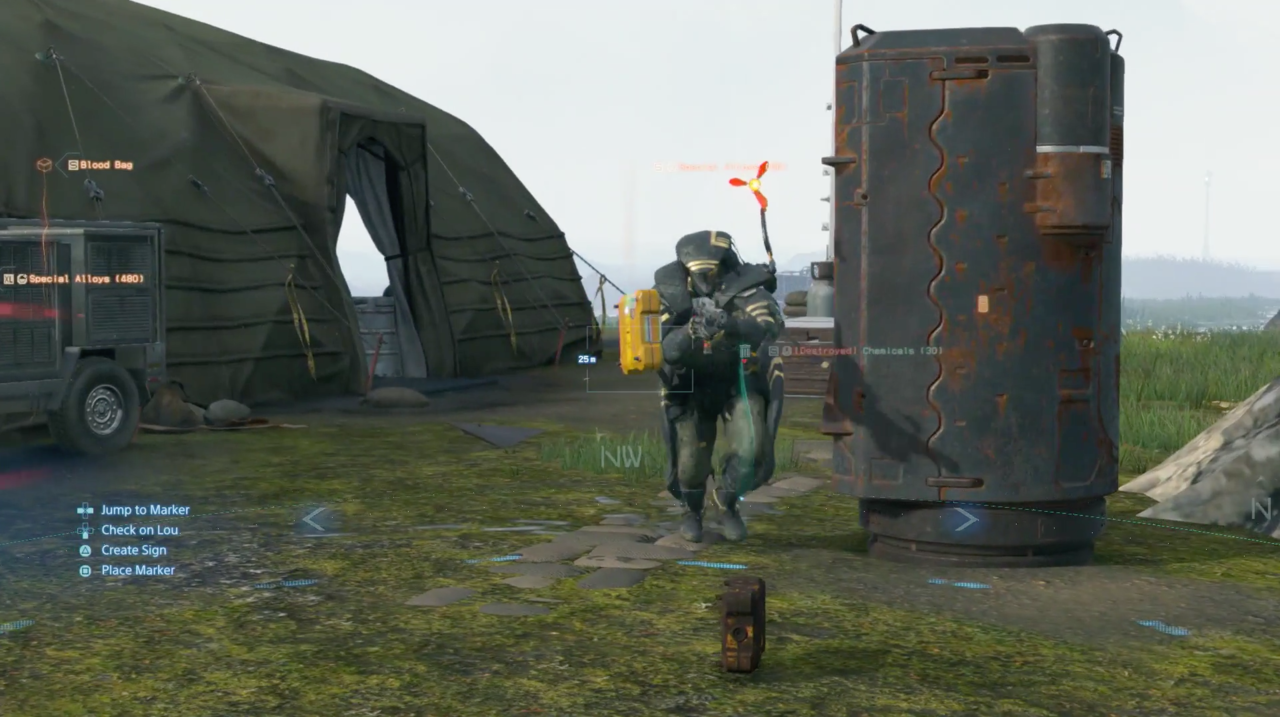
You typically run into MULEs at their camps spread across the world. They're often situated on the way towards significant delivery stations, so you'll usually have no choice but to cross their territory. MULEs attack on sight, so it's essential to stay hidden--at least if you want to pass without causing any trouble.
It's pretty easy to sneak past MULEs, as there aren't a lot of them in a camp. You'll find a few patrolling the outskirts either on foot or in a truck, but as long as you cut through the small pockets of open space between them, you can typically emerge unscathed. If you see tall grass, make it a point to take advantage of it as cover. Keep in mind that tall grass will be useless as cover if you're carrying too much cargo.
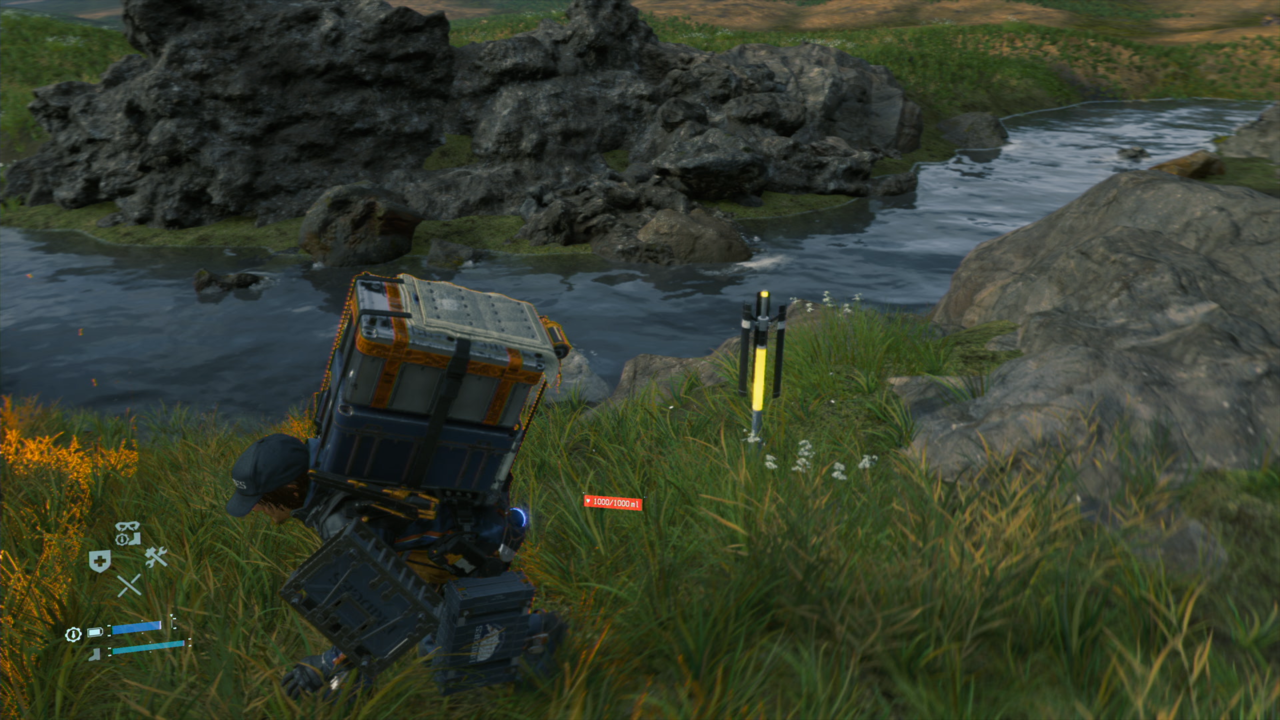
Watch Out For MULE Scanning Pylons
Despite your best efforts to be sneaky, you're likely to encounter trouble from the MULEs' scanning pylons, which periodically trigger as you travel through their territory. When a scan initiates, any marked cargo on Sam will get pinged, alerting MULEs to the location it was last picked up. If this happens, immediately try to find cover as far away from where you were pinged as possible. With some luck and persistence, you'll avoid their incoming patrols. It's worth noting that in Episode 3, you'll get an ability that allows your Odradek's scanning ability to negate MULE scans. It's unlocked after you arrive at the Timefall Farm for the first time.
MULEs Only Care About Cargo
If you're not carrying any cargo (tools or deliverables), know that MULEs will largely ignore you as long as you stay away from their main camp area. Get too close and they'll become aggressive, so maintain your distance and you should be able to walk through their territory with no trouble. This behavior can be a nice way to spare yourself any trouble from MULEs. For example, you might want to build yourself a postbox to offload all your equipment prior to entering MULE territory.

Fighting MULEs
When push comes to shove, you can defend yourself against MULEs by punching them when their guard is down--which temporarily knocks them unconscious. That, or if you've got a piece of cargo in your hand that you don't care about, you can smash it onto a MULE's face for a swift knockout. You can also throw it back by releasing L2 or R2 in the middle of your melee swing for a quick long-distance knockout. If you're feeling particularly brave (and are without valuable cargo), you can tackle them by sprinting and pressing the attack button with both triggers held down. This maneuver can stun MULEs, leaving them open for attack; it's also particularly useful against armored MULEs.
It's also possible to use more defensive maneuvers against an attacking MULE. While it's perfectly viable to dodge an incoming MULE's lunging attack with a well-timed sidestep, you can counter it with your Strand as long as you hold it up just before contact. If performed successfully, Sam will use his Strand to throw them off balance, leaving you an opening to deliver a swift grapple attack that instantly knocks them out. The Strand is also capable of stealthily dispatching MULEs for a brief time. Approach a MULE from behind, hold up your Strand, and use it to incapacitate and tie them up in one fell swoop.
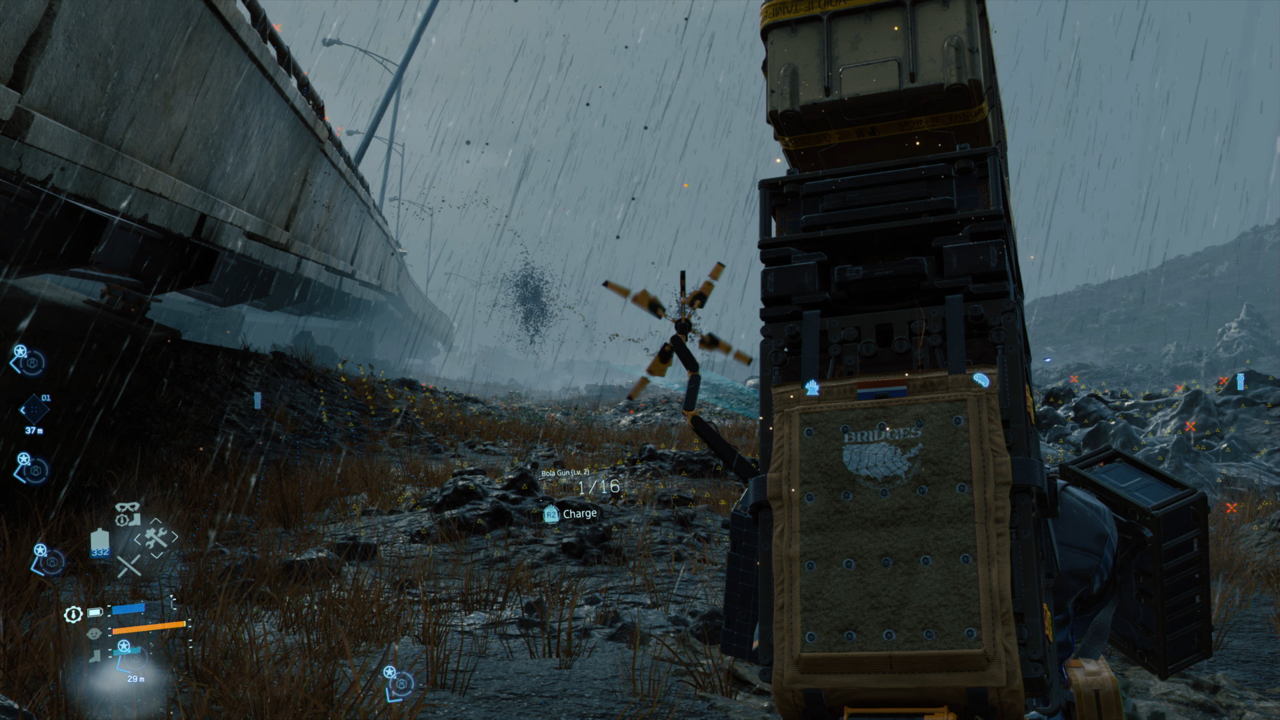
Speaking of tying up MULEs, you'll eventually unlock the ability to fabricate a Bola Gun, which can instantly tie up an unsuspecting MULE from a distance. However, keep in mind that doing so will quickly alert their comrades around the area. Regardless, if you've managed to take down a MULE with a bola shot, be sure to pass by and kick them while they're down to knock them out, as they'll get up much quicker if you don't.
Other useful tools against MULEs are Smoke Grenades and Shock Bombs, which are both incredibly effective at stopping a pack in their tracks. Once you've unlocked these grenades for fabrication, it's recommended to have them on hand whenever you're crossing through MULE territory. You never know when you'll need them.
There is decoy cargo, like the Smoke-Emitting and Vog-Emittingcases, which can draw MULE attention while also potentially incapacitating them. Both are handy when you get pinged while sneaking and want to turn back the odds in your favor.

Your Last Resort Against MULEs
Nobody is perfect, so there will inevitably come a time when MULEs will corner you into a fight. Early on, the best strategy is to run for dear life. When you do, try not to sprint in a straight line, as they're quick to throw their shock spears ahead of you, which upon contact can knock cargo from your backpack and temporarily halt your movement for a short time. This effect gets to be more strenuous later on when you get vehicles, as MULE shock spears can render your ride immobile for a much longer time. A swift escape is always within reach in any MULE encounter, so always keep that in mind. It's generally not worth engaging for too long if it means all your cargo getting damaged beyond repair.
Observe The Sky For BT Presence
As you travel across the world, a key piece of wisdom you can lean on is to observe the sky above when plotting your course. There are various, multicolored stands jutting downward, and they all signify different objects and areas of note. Black strands, in particular, clue you in on the presence of BTs.

What Happens When A BT Sees You
If a BT sees you, things start to get crazy. Tar will cover the ground's surface, and a group of BTs will try to pull you under. To avoid getting caught in their clutches, mash the square button to resist and hold the shoulder buttons to stabilize your balance when prompted. If the BTs successfully pull you under, you'll be dragged across the ground and left to fight a much larger and more dangerous BT. All the while, a sea of tar will flood the vicinity while buildings and debris emerge from the ground.
The best option upon being detected is to escape the tar-covered area as soon as possible. Should you fail either by getting pulled under or your health is depleted, you'll lose all your cargo and will have to respawn. And in the process, you might trigger a Voidout, which leaves behind a massive crater.
Try Spotting The BTs Before Moving Past Them
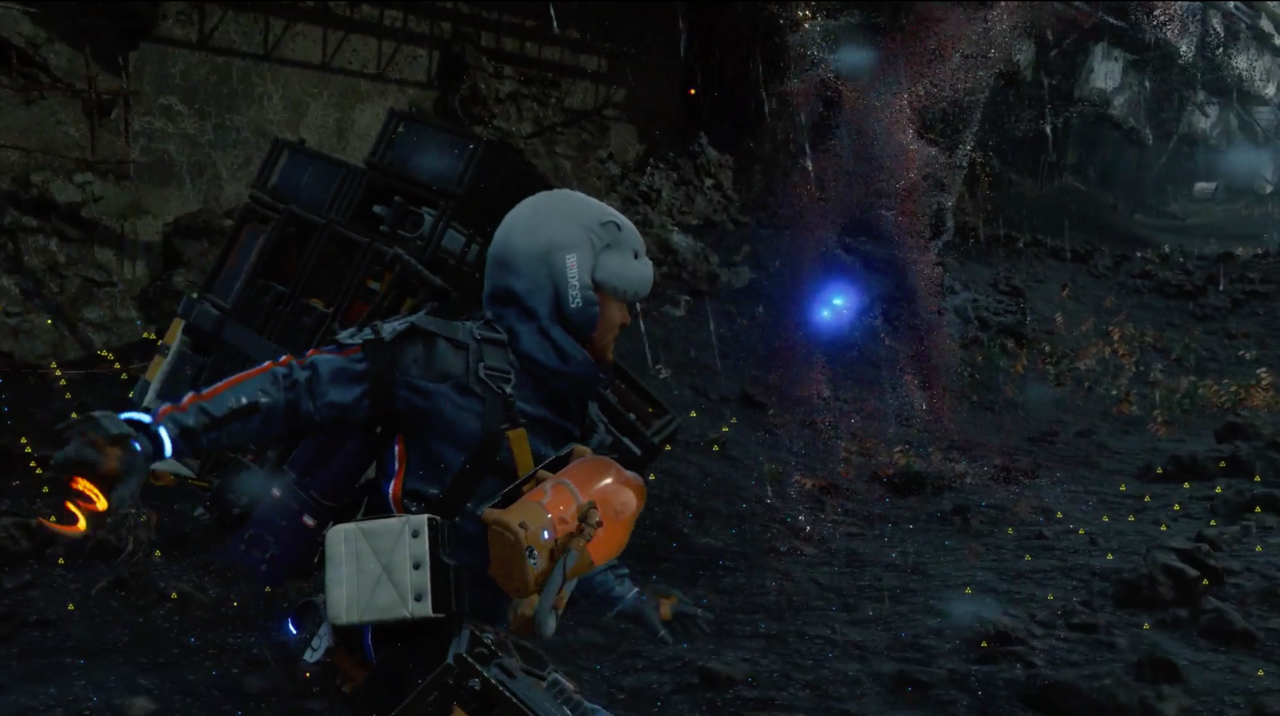
By crouching and holding your breath with R1, you should be able to avoid BTs stealthily but get too close, and they'll quickly pick up your trail. But before you press onward through BT territory, use your BB's senses to approximate their location. To keep an eye on nearby BTs, pay attention to which direction your Odradek is pointing when it starts to flap and flash. When you stand still and use the Odradek scanner, you'll be able to use echolocation to ping nearby BTs for a short time. You can also stand still to see where they're floating.
EX Grenades Can Distract And Ward Off BTs
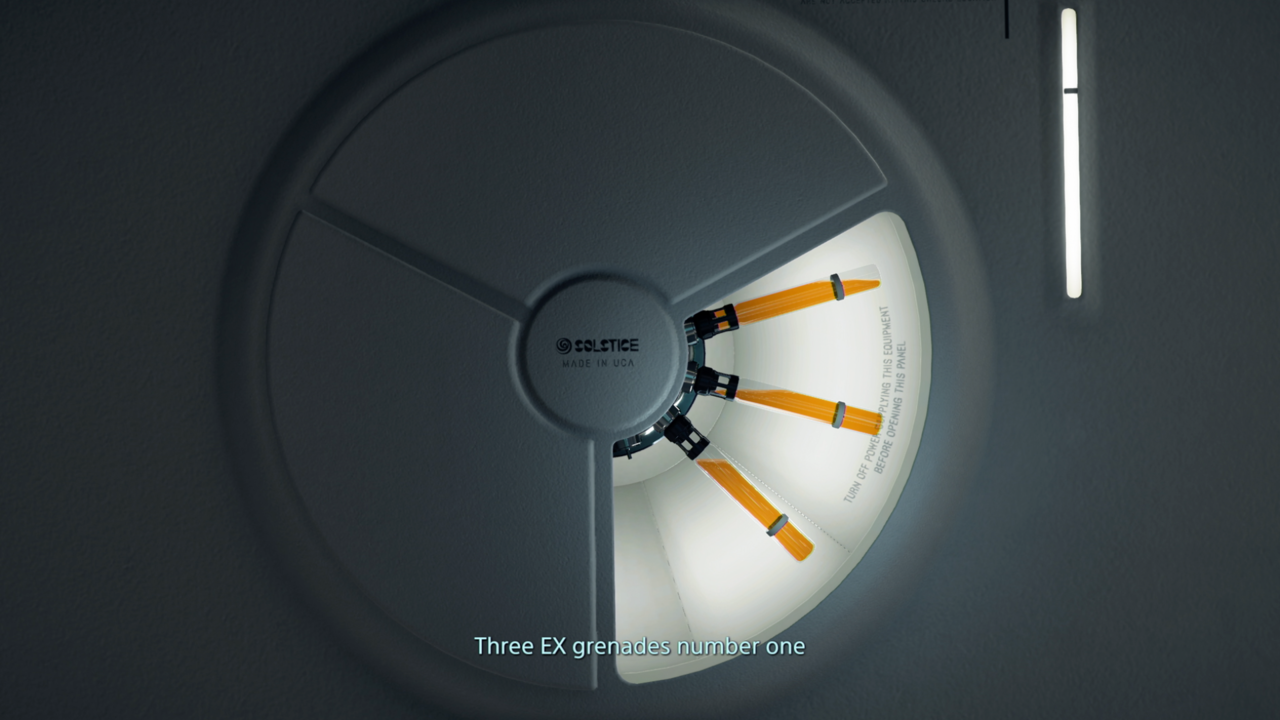
Early on, EX Grenades are a handy tool to distract BTs, as each has unusual effects on them. By using the bathroom in Sam's private room--whether it's taking a shower to wash off chiral fragments, urinating, or defecating--the lavatory will churn out three different grenade types made from different substances from his body. These various EX Grenades work as irritants on the BTs, which can be used to force them away without them noticing you. It can come in handy when Sam encounters a cluster of BTs blockings his path. With the EX Grenade No. 2, for instance, a sizeable brownish cloud will send the apparitions running.
Take your time when navigating past BTs. Assess their placement in the area, find openings to sneak through, hold your breath when you get too close, and use EX Grenades to distract them when there's no way forward.
It's worth noting that if you see a baby BT, it's best to avoid them. Their presence often attracts more BTs, which is the last thing you want to be around. Regardless, take your time when navigating past BTs. Assess their placement in the area, find openings to sneak through, hold your breath when you get too close, and use EX Grenades to distract them when there's no way forward.
How To Do A Stealth Takedown On A BT
In Episode 5, you’ll get a new cufflink from Mama, which allows you to cut the umbilical cord of BTs if you’re able to sneak towards them. To do this right, pinpoint the presence of the BT you're looking to eliminate, then sneak up while holding your breath and wait for the prompt to cut their cord. With this tool, BTs become even more manageable to sneak past and kill without being detected.
How To Kill BTs
During the opening hours, there's not much you can do to defend yourself against these otherworldly foes aside from EX Grenades, which temporarily ward them off. Though you'll often have to sneak past them, you'll eventually acquire some weapons, like Hematic Grenades and the Anti-BT Handgun, that'll help you fight BTs.
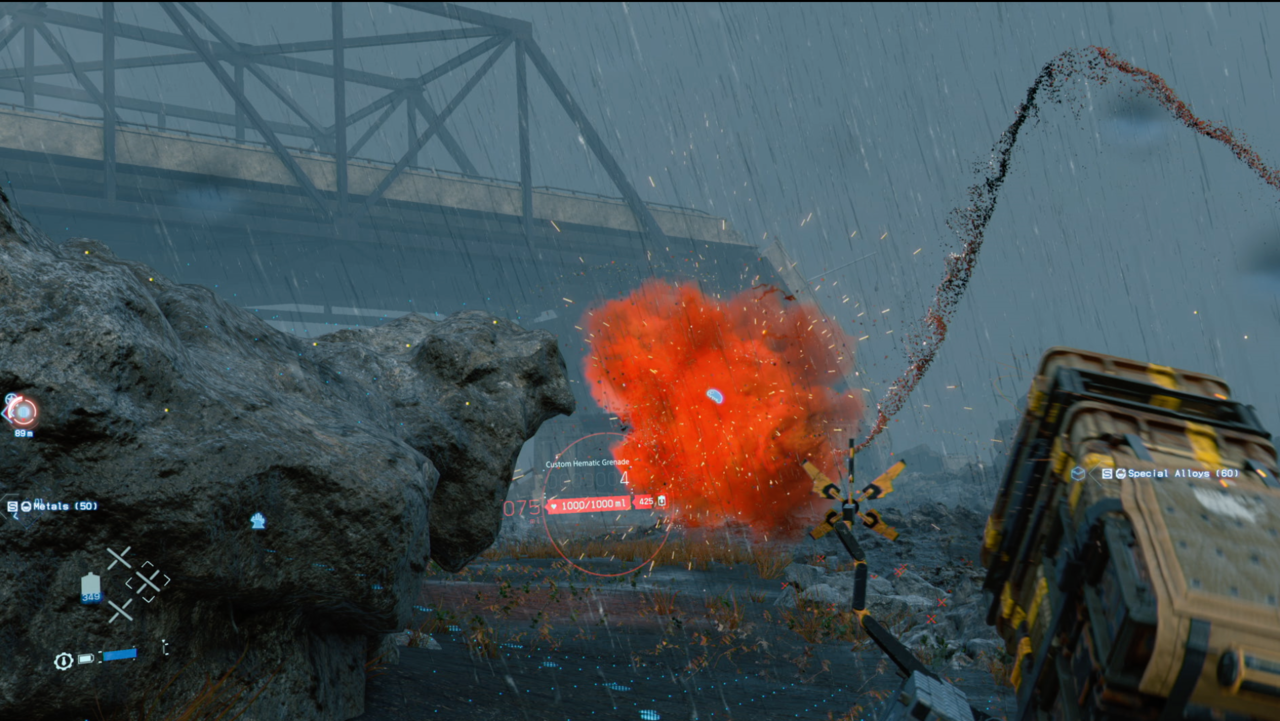
Hematic Grenades are explosives that spurt clouds of Sam's blood and are lethal to BTs. When several BTs are bunched together, a well-aimed toss of this blood grenade can potentially take out an entire group. On the other hand, the Anti-BT Handgun can dispatch BTs through slightly less volatile means. Keep in mind that it takes several shots to defeat a standard BT, so be sure you've got a steady aim and an itchy trigger finger. Given its damage output, the Anti-BT Handgun is recommended for use alongside Hematic Grenades. To unlock the Anti-BT Handgun for fabrication, complete the delivery to the Chiral Artist's Mother in Chapter 3.
Aside from the Hematic Grenades and the Anti-BT Handgun, the most useful weapon you can use against BTs is the Bola Gun (LV. 2), which unlocks for fabrication after ranking up more with the Craftsman. It takes a while to increase your rank, but as long as you keep making deliveries, he'll eventually hand it over. Regardless, the Bola Gun (LV. 2) can temporarily tie up BTs, which can be a lifesaver in a pinch. But it's worth noting that if you see a baby BT, it's best to avoid them. Their presence often attracts more BTs when hurt by Hematic-styled weapons, which is the last thing you want.
Directly fighting BTs should be a last resort during the opening three chapters. If you want to truly be prepared for the moment you inevitably ignite a BT's rage, we recommend going into BT territory with no essential cargo and getting caught to get a feel for how fights with them play out. But seriously, don't allow yourself to be consumed--unless you really want to see how a Voidout looks like.
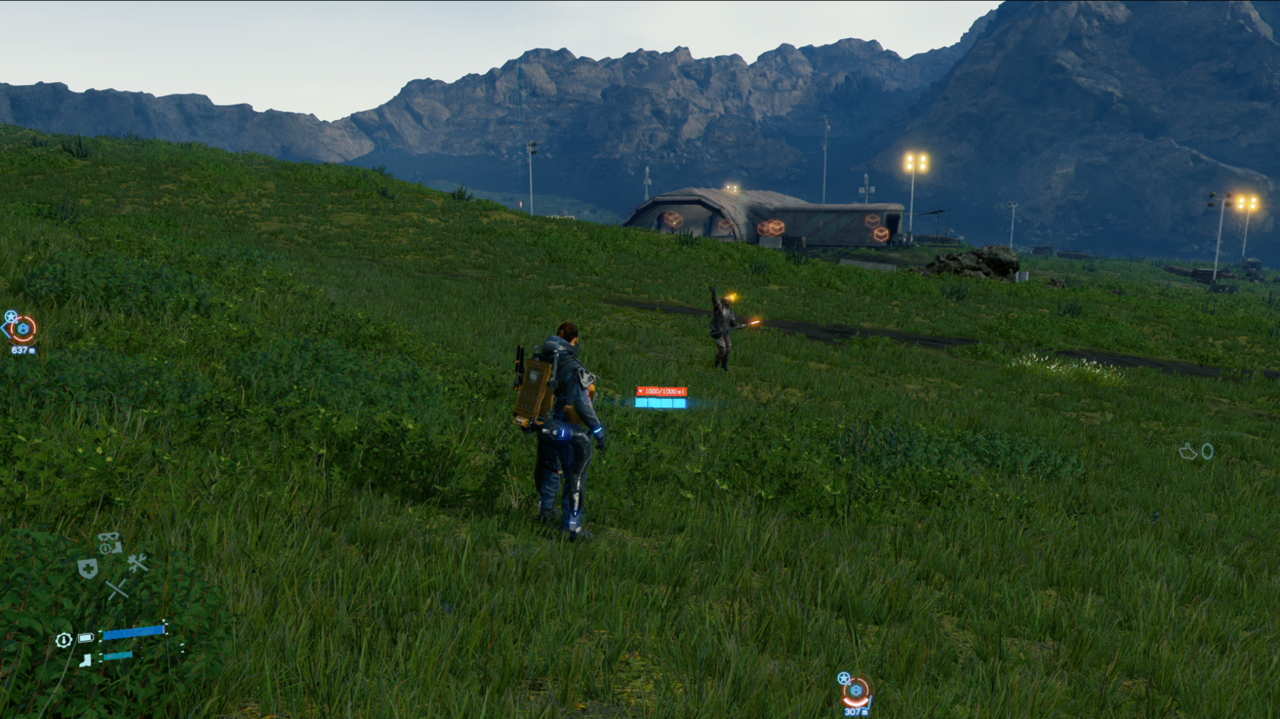
Terrorists May Use Guns, But You're Above That!
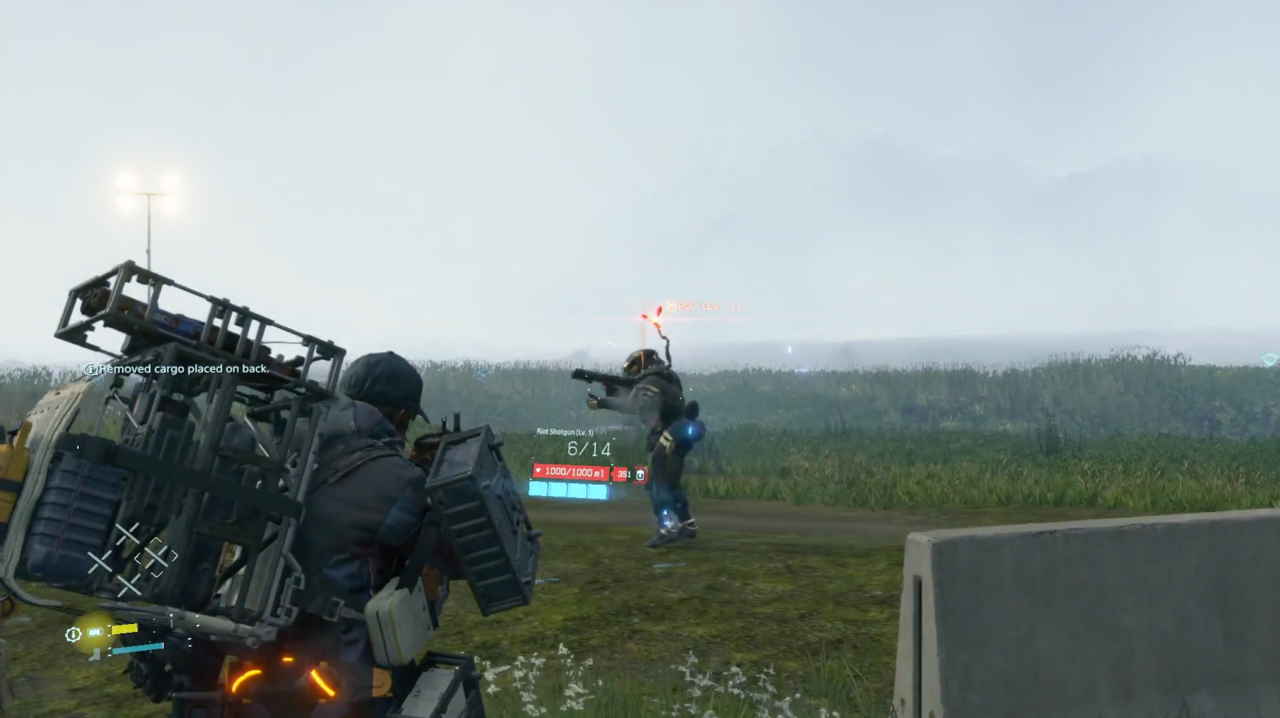
Starting from Episode 4, you’ll start to run into a new faction known only as Terrorists. These dangerous foes are far more bloodthirsty and strategic than MULEs, and more importantly, they carry real guns. But don't worry, the strategy for dealing with Terrorists is similar to MULEs.
Previous tactics using knockout equipment still come into play, but by this point, you’ll also have access to assault rifles and shotguns as well. Make sure to get non-lethal rubber versions of these weapons; if you use the lethal versions, you’ll have to deal with burning the dead bodies you leave in your wake at the local cremation facility.
How To Fight Terrorists
If you're looking to enter Terrorist territory to fight, consider equipping armor pads and blood packs. It's also good to have a solid supply of cryptobiotes on hand. When you arrive, make sure to sneak up on as many Terrorists as you can before turning on the fire. Use the non-Lethal Assault rifle at long range, and the Riot Shotgun at short range. If you can afford to without overexposing yourself, use the Riot Shotgun’s small stun to close the gap and knock them out to save some ammo. Headshots are also a must. Regardless, take cover, keep scanning, and take the high ground to come out on top.
Non-lethal explosives like Shock Bombs are handy when dealing with Terrorist mobs, especially the remote version that allows you to stick some onto unsuspecting enemies and detonate them at your leisure. In addition, any smoke weaponry is good for obscuring their sight to buy time when needing to recuperate your health or create distractions.