Death Stranding Walkthrough: Episode 11 - Clifford Unger

GameSpot may receive revenue from affiliate and advertising partnerships for sharing this content and from purchases through links.
Congratulations on hoofing it all the way across the country in Episode 10! When we left the last episode, we had a little bit of trouble getting to our final destination. Now, we're taking another dive into Mads' mad, mad world (which, at this point in the game, shouldn't be much of a spoiler to you and if it is, what on earth are you doing here?) You probably know what to expect from this short rollercoaster of a chapter, but there's at least one new strategy you can use to your advantage.
In the wrong place? You might be looking for one of our other episode walkthroughs here:
- Death Stranding Walkthrough: Prologue
- Death Stranding Walkthrough: Episode 1 - Bridget
- Death Stranding Walkthrough: Episode 2 - Amelie
- Death Stranding Walkthrough: Episode 3 - Fragile
- Death Stranding Walkthrough: Episode 4 - Unger
- Death Stranding Walkthrough: Episode 5 - Mama
- Death Stranding Walkthrough: Episode 6 - Deadman
- Death Stranding Walkthrough: Episode 7 - Clifford
- Death Stranding Walkthrough: Episode 8 - Heartman
- Death Stranding Walkthrough: Episode 9 - Higgs
- Death Stranding Walkthrough: Episode 10 - Die-Hardman
SPOILER WARNING! We're trying to make sure these walkthroughs are as spoiler-free as possible when it comes to the main story beats. However, if you're looking at this guide and you're not actually up to Episode 11 yet, then it goes without saying that you're going to be at least a little bit spoiled scrolling through here. TURN AWAY NOW!
Death Stranding Guides
- How To Get Death Stranding's Half-Life Crossover Items
- Death Stranding PC Hands-On: The Once PS4 Exclusive Runs Like A Dream
- Death Stranding Walkthrough, Guides, And Tips
- + Show More Death Stranding Guides Links (2)
- How Long Is Death Stranding?
- Can Your PC Run Death Stranding? Minimum And Recommended Specs
Before you start, definitely check out the broader tips in our Death Stranding guide hub to get your head around some must-have tips to always keep in mind. Things will definitely get a little less tough over time with the right preparation!
Have a question or a great alternative route we didn't think of? Leave a comment and we'll do our best to address it!

Episode 11 - Welcome To The Jungle
It's not all fun and games in this chapter--this helicopter done got blown up! It's a warzone! People are shooting at things!
This episode starts off much like the other chapters focussed on Mads Mikkelsen. It'll be more or less a straightforward dash down a linear path as you admire the environment design and pick up the odd piece of cargo to help you prepare for a later fight.
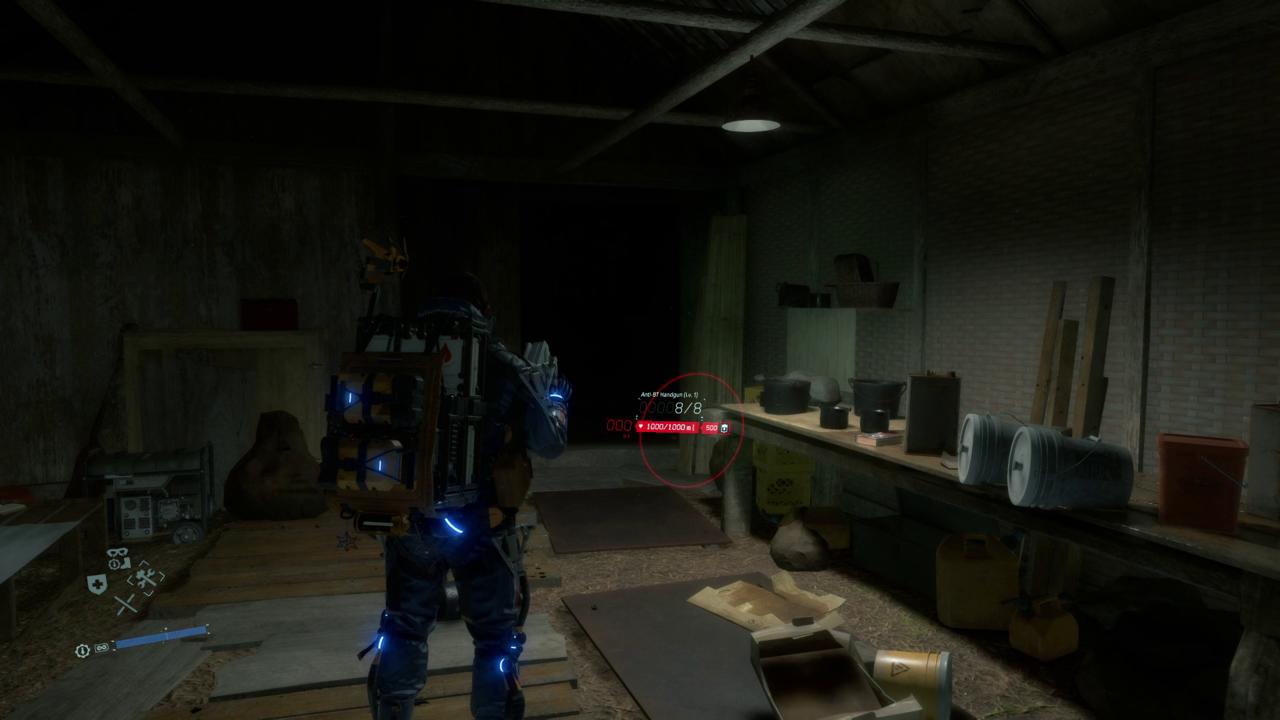
So, go ahead and do that! There'll be a few blood bags and anti-BT handguns to pick up, and while you'll definitely grab the blood bags, you can probably leave the anti-BT handguns because you'll get access to better stuff later.
Episode 11 - Taking A Breather
You'll eventually hit a little shack which is a good place to take refuge from the action outside and take a moment to soothe your BB, in case you happened to get knocked down by an explosion.
Continue through the other door once you're ready.

Episode 11 - Lock And Load
Eventually, you'll climb a short set of stairs, enter a clearing in the jungle, and hit a cutscene. Now, it's time to take down Mads once and for all!
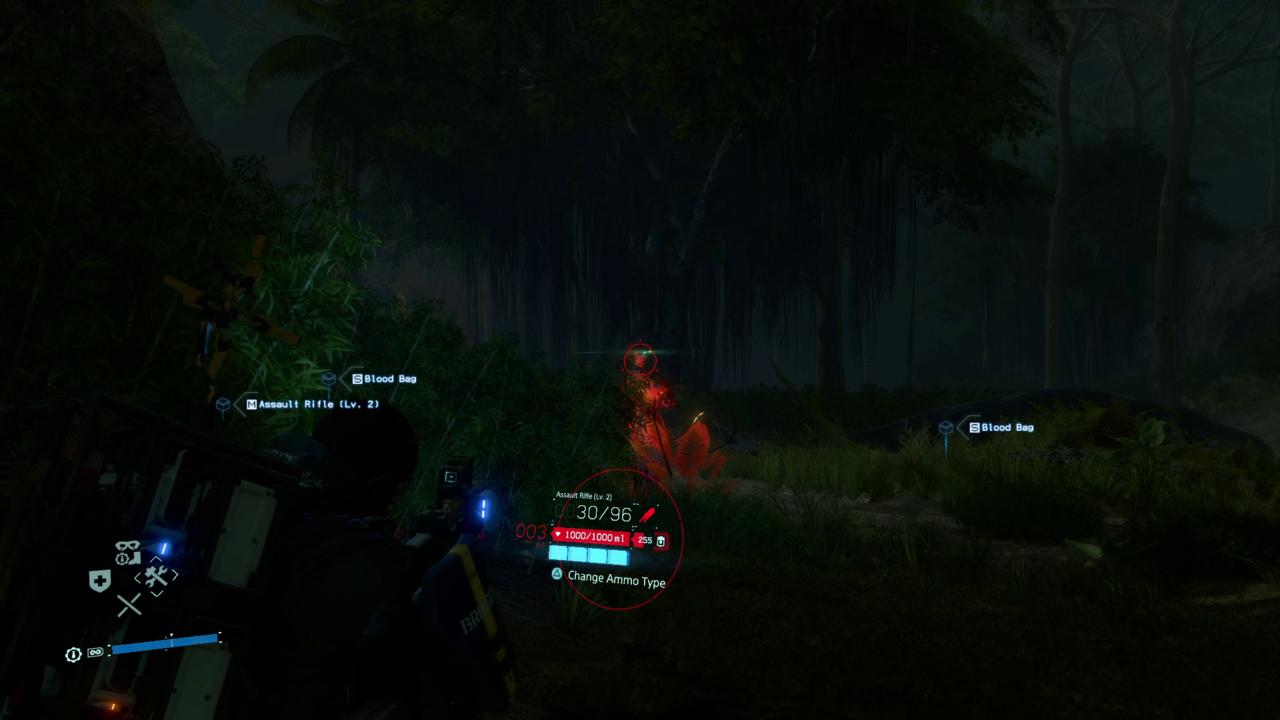
If you pop an odradek scan, you'll notice that there is plenty of great cargo for you to equip yourself with. In fact, there's even a Level 2 Assault Rifle nearby! It's a good thing you didn't pick up any of those dumb Anti-BT Handguns.
Now, you'll also notice that there is a lot of green on the scan (pictured above). While you can take on this fight in the manner of the first two (ie. running and gunning), I would recommend you take the stealthy (gasp!) approach this time.
Episode 11 - Why So Stealthy?
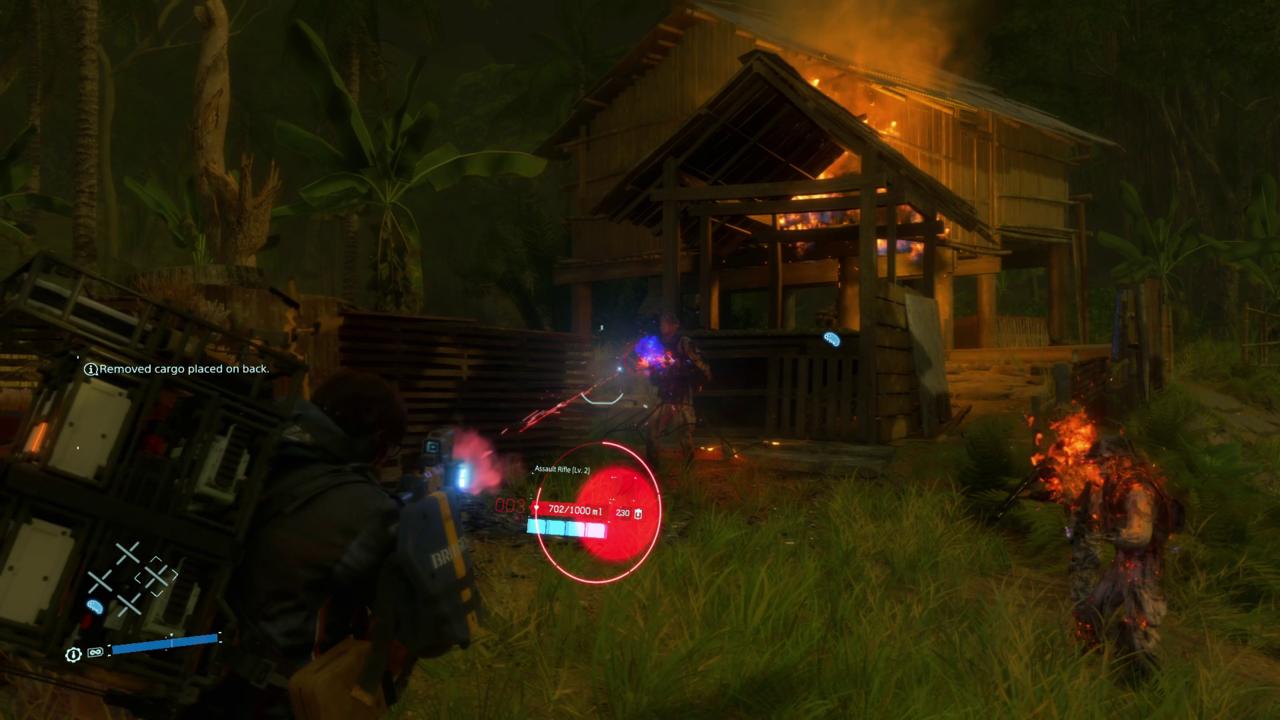
I recommend you go stealthy in this battle, using the long grass to your advantage because there are way more soldiers in this section and not a ton of cover. I found that once you started firing on a soldier, you would very quickly be *surrounded* and attacked by all sides, which is not great.
HOWEVER, as with past sections, if you manage to take out Mads Mikkelsen's character *first*, all the other soldiers will disintegrate and you won't need to deal with them.
So, what you want to do is stay hidden in the grass and use your odradek to try and locate Mads. When you're crouching in the grass, soldiers can be just a few feet away from you and not even notice. Keep in mind that you can't have too much cargo on your back, since that'll just give you away.
Move in the general direction the odradek is pointing, and keep your eyes peeled. You can identify Mads by the green glow of his night-vision goggles and his smooth, non-flaming demon skin. When you have him in your sights, give him everything you've got until he falls down.
Episode 11 - Time To Track
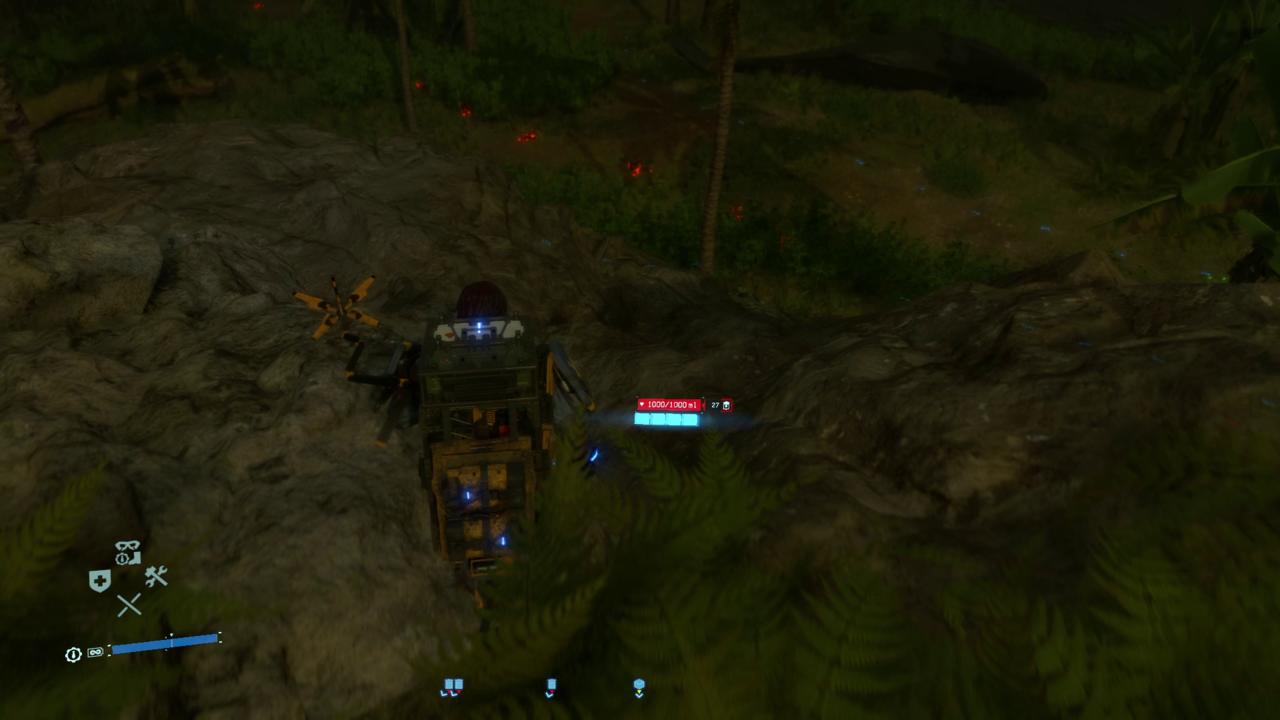
Once you take him down, he'll peace out and run to another part of the map. There's a simple trick you can do to track him down faster--pop out of hiding and quickly scan to highlight his burning red footprints, and then follow them.
If you lose sight of the footprints completely, you might want to try climbing the hill in the middle of the combat arena. This will give you a great view of the battlefield, and you can easily spot any footprints if you pop a scan.
Episode 11 - Rinse and Repeat
You'll have to take Mads down a total of three times, but it shouldn't take too long if you follow the advice I just shared.
He still has his old tricks--like being able to spawn more soldiers and throw a ground-based flame projectile--but if you get the jump on him well enough he won't even have a chance to use them effectively.
Once you're done, that's it! It's time for a heartwarming cutscene before we move on to Chapter 12. Already? Yes, already.
And I hope you like boss fights because man, they are just going to keep coming. More tips abound in the Chapter 12 walkthrough!