Death Stranding Walkthrough Guide: Episode 4 - Unger
GameSpot may receive revenue from affiliate and advertising partnerships for sharing this content and from purchases through links.
Death Stranding Walkthrough: Episode 4 - Unger
After the mammoth task of Episode 3, playing through Episode 4 feels like a holiday. You won't need to worry about a whole lot, and there are some weird surprises in store. If you need a helping hand through this strange territory, read on. If you arrived here by mistake and aren't up to Episode 4 yet, then maybe you'd like to go through our Prologue Walkthrough, Episode 1 walkthrough, Episode 2 walkthrough, and Episode 3 walkthrough first?
SPOILER WARNING! Look, I'm going to try and make sure these walkthroughs are as spoiler-free as possible when it comes to the main story beats. However, if you're looking at this guide and you're not actually up to Episode 4 yet, then it goes without saying that you're going to be at least a little bit spoiled scrolling through here. TURN AWAY NOW IF YOU'RE NOT UP TO EPISODE 4.
Death Stranding Guides
- How To Get Death Stranding's Half-Life Crossover Items
- Death Stranding PC Hands-On: The Once PS4 Exclusive Runs Like A Dream
- Death Stranding Walkthrough, Guides, And Tips
- + Show More Death Stranding Guides Links (2)
- How Long Is Death Stranding?
- Can Your PC Run Death Stranding? Minimum And Recommended Specs
Before we start, have you checked out the broader tips in our Death Stranding guide hub? It has some great tips to always keep in mind. Very few of them apply to what's going to happen in this episode, but hey! You might discover something you didn't already know.
Episode 4 - Time To Pick Up Some Cargo!
Start off by picking up the main delivery from the terminal at the Distribution Cen… wait, hold on.
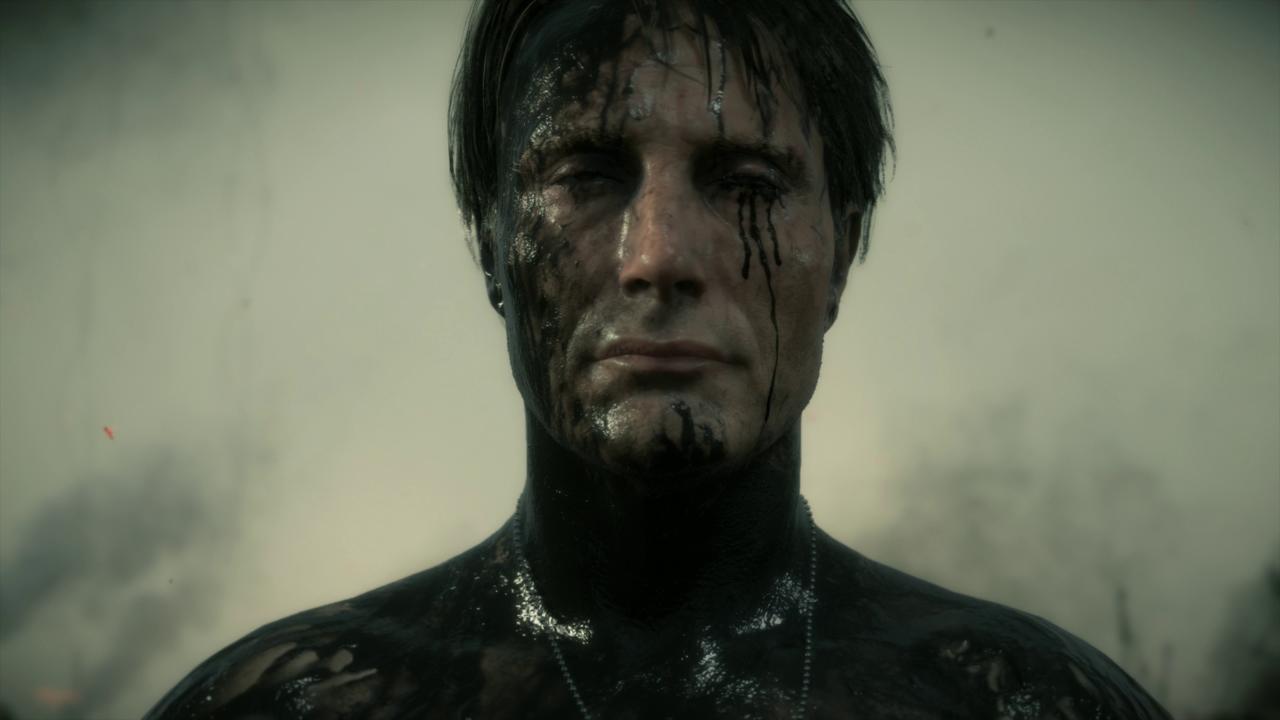
What the hell is this?

Episode 4 - I Don't Think We're In Kansas Anymore, BB.
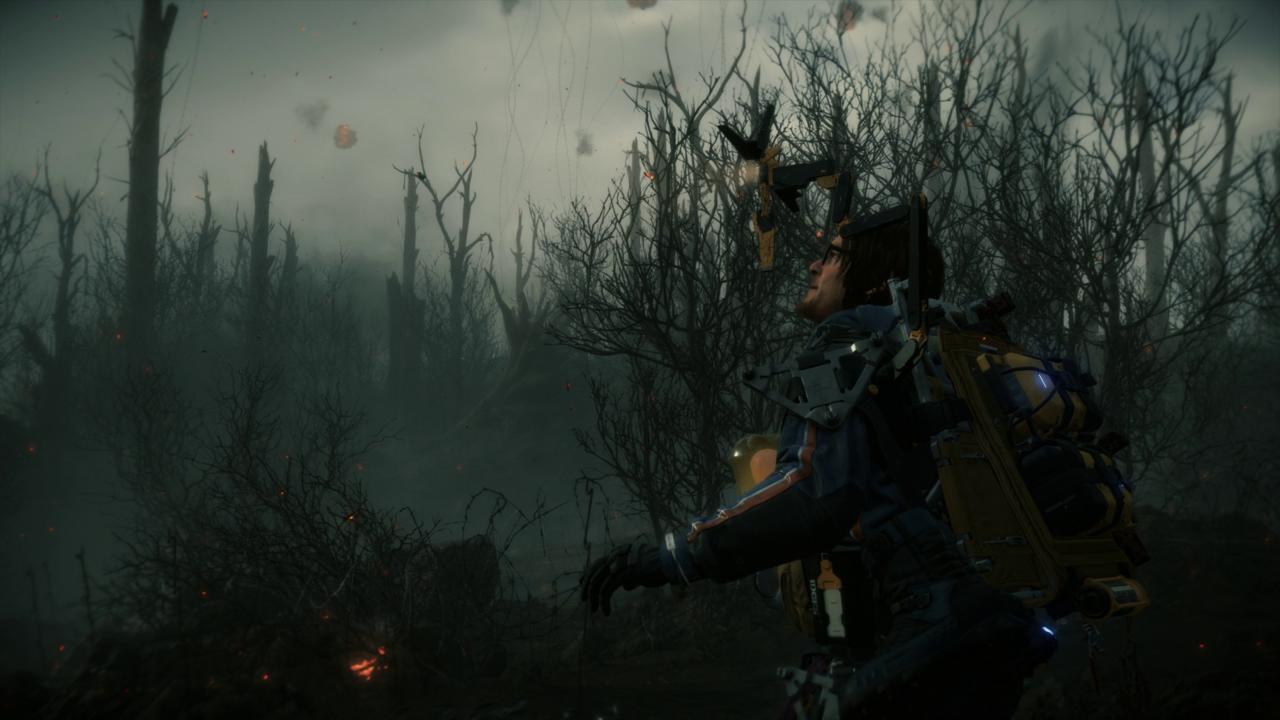
Run. Just RUN FORWARD!
Scan the terrain ahead, make sure you're not about to faceplant on a jagged rock and keep moving.
As you run, you'll notice some helpful cargo along the way--blood bags, the guns you got at the end of the last episode that you'd swore you'd never need, etc. Pick them up! You might need them soon?
Additionally, you might also notice some wooden walkways--try and stick to those if you can, they'll help you keep your footing.
Keep on moving forward, and eventually, you'll see a doorway which you should enter. Obviously. You'll hit a cutscene.
Episode 4 - Who Was That, Anyway?
Well, it looks like you can stop running for the moment, but now you have a new objective: Find the person you just saw.
How do you do that? Well, I'm glad you asked. You'll notice that your odradek has popped up, and is functioning as it would if you were in a BT zone.
Now you might think I'm crazy here, but the trick is to actually use your odradek to track the man. That's right--follow your odradek into certain death!

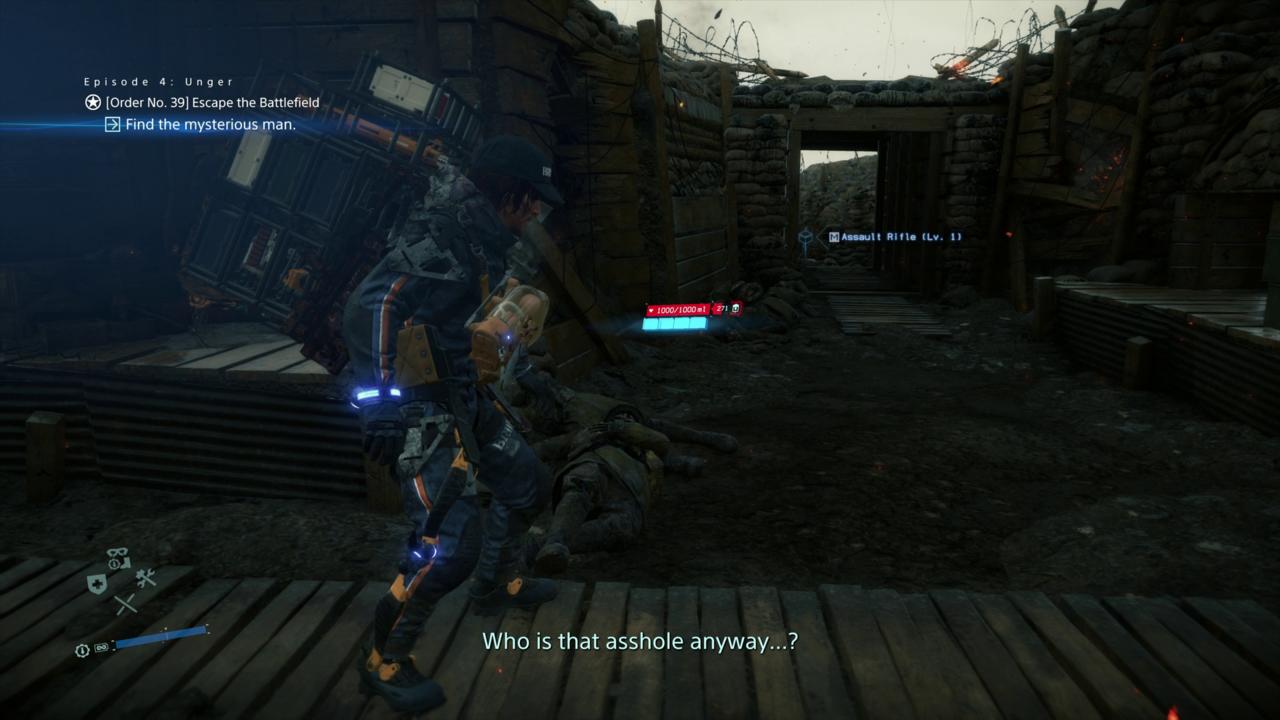
Episode 4 - Weapons Hot
"Hey," I hear you ask. "Why did you equip the assault rifle you got at the end of the last episode? And why are there things like assault rifles, blood bags, and grenades lying around this warzone-looking area?"
Look, don't ask questions. Just follow my lead. Ready your assault rifle, and pick up all those extra pieces of gear.
Keep following your odradek.

Episode 4 - Light 'Em Up!
DEAR LORD, there are soldiers here! And they're shooting guns at you!
Do you think Norman Reedus is the kind of man to take that lying down? No!
Bring up your assault rifle (L2) and fire it at them (R2) until they go down. A slow-motion effect will let you know when you can stop firing. I definitely recommend tapping R2 as a makeshift burst-fire, it will help you control the recoil.
You'll also notice a few waist-high boxes lying around. Use those, as well as corners, for cover. You've played third-person shooters before, right?
You may be asking yourself: "Hey, how about that handgun I got?" Well, from personal experience, and as a video game pistol-lover, I have to say that the handgun in Death Stranding felt woefully underpowered for this section. What's more, there are plenty more assault rifles lying around so you don't really need to worry about running out of ammunition. Later, you'll also find shotguns, which are a better alternative (the reload is super quick!)
Take out the soldiers, keep following the odradek, and stay on your toes.

Episode 4 - Peek-A-Boo!
Your primary target is easily identified--they're not wearing a helmet, and they don't look like they're on fire.
If you're lucky, you might be able to catch them unaware and get the first shot in. Either way, take advantage of cover and corners to avoid return fire.
A few short bursts should take them down, but guess what? You're going to have to find them three more times!
Repeat this process of following your odradek, clearing any soldiers in your path picking up replacement weapons, and then eventually taking down your target. Depending on how many hits you're taking, you might also need to find a quiet place to soothe your BB.
And hey, guess what? That's it for Episode 4! You'll probably finish this on in less than 30 minutes, but gee, didn't we have fun?
Let's keep those good times rolling with Episode 5! You've stuck with me for this long, so why not?

Episode 4 - What Just Happened?
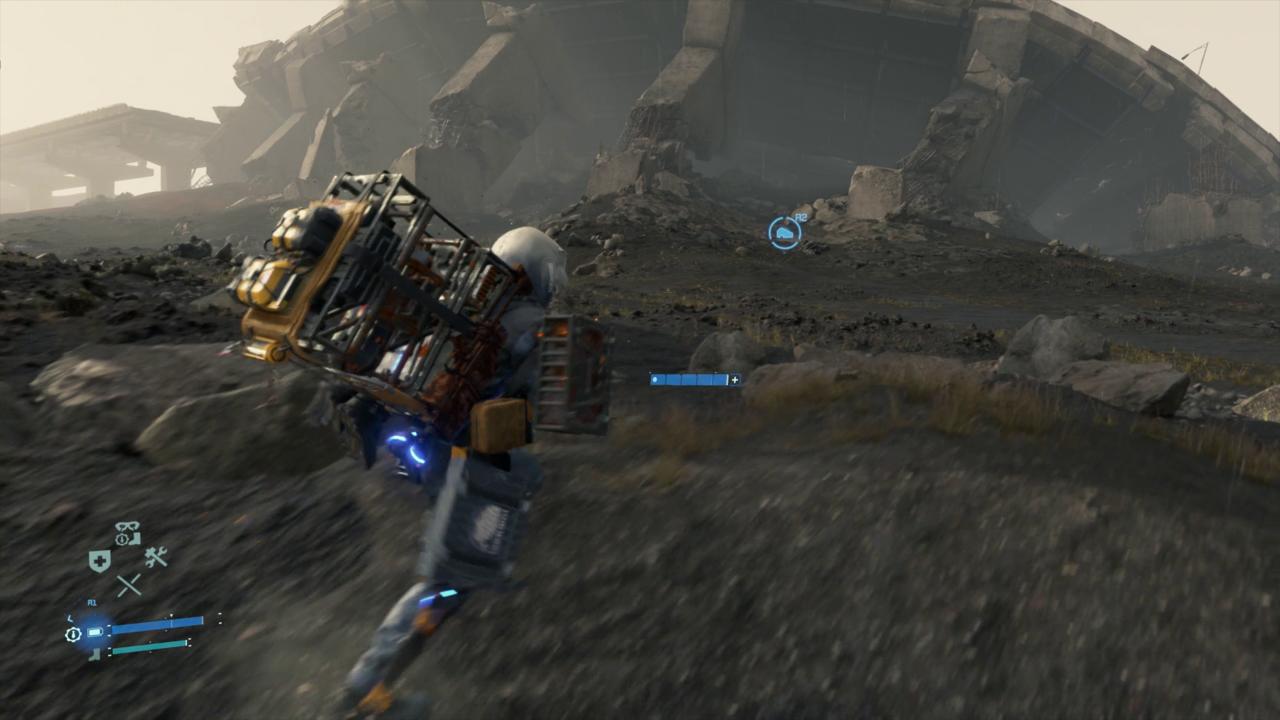
Once you're done taking out your mysterious assailant, you'll find yourself back in front of the distribution centre like nothing happened.
Your next task is to head to a nearby laboratory, but maybe you'd like to take a quick break in your private room before that?
Episode 4 - Time To Go To Mama's House
You might notice that the laboratory you need to get to is in a timefall area, but you shouldn't have a problem getting there. You might have an issue finding the entrance though--just hook around to the right and you'll eventually find a hole you can move through.
And hey, guess what? That's it for Episode 4! You'll probably finish this on in less than 30 minutes, but gee, didn't we have fun?
Let's keep those good times rolling with the Episode 5 walkthrough! You've stuck with me for this long, so why not?