Death Stranding Walkthrough Guide: Episode 5 - Mama

GameSpot may receive revenue from affiliate and advertising partnerships for sharing this content and from purchases through links.
Death Stranding Walkthrough: Episode 5 - Mama
Now that you've completed Episode 4 of Death Stranding and have had some time to cut loose, it's time to go back to work in Episode 5. The stakes only get higher from here on in, but don't worry--we're here to give you a hand if you need it. If you're at Episode 5, then no doubt you've finished everything that has come before, but if not, you should probably go through the rest of our guides--our Prologue Walkthrough, Episode 1 walkthrough, Episode 2 walkthrough, and Episode 3 walkthrough, and Episode 4 walkthrough?
Afraid of spoilers? Don't worry! We'll make sure these walkthroughs are as spoiler-free as possible when it comes to the main story beats. However, at certain points much later in the guide, revealing a few broad snippets of information will likely be necessary.
Again, the thing to keep in mind is that a big part of Death Stranding is the flexibility of the environment and the creativity of how you want to forge a path forward. There are a whole heap of different ways to tackle each mission, and on top of that, the map you encounter might also be different to the one you see in this guide--that's thanks to the multiplayer aspect of the game, where members of the community will clear different paths and place helpful structures in different ways depending on your personal game.
That said, this walkthrough will give you a good idea about what you need to do. It can offer one viable path to success if you're at a bit of a loss, or if you just want some inspiration to get you started.
Death Stranding Guides
- How To Get Death Stranding's Half-Life Crossover Items
- Death Stranding PC Hands-On: The Once PS4 Exclusive Runs Like A Dream
- Death Stranding Walkthrough, Guides, And Tips
- + Show More Death Stranding Guides Links (2)
- How Long Is Death Stranding?
- Can Your PC Run Death Stranding? Minimum And Recommended Specs
Before you start, definitely check out the broader tips in our Death Stranding guide hub to get your head around some must-have tips to always keep in mind, as well as get your head around what you can expect a little later down the line. Things will definitely get a little less tough over time with the right preparation!
Have a question or a great alternative route we didn't think of? Leave a comment and we'll do our best to address it!
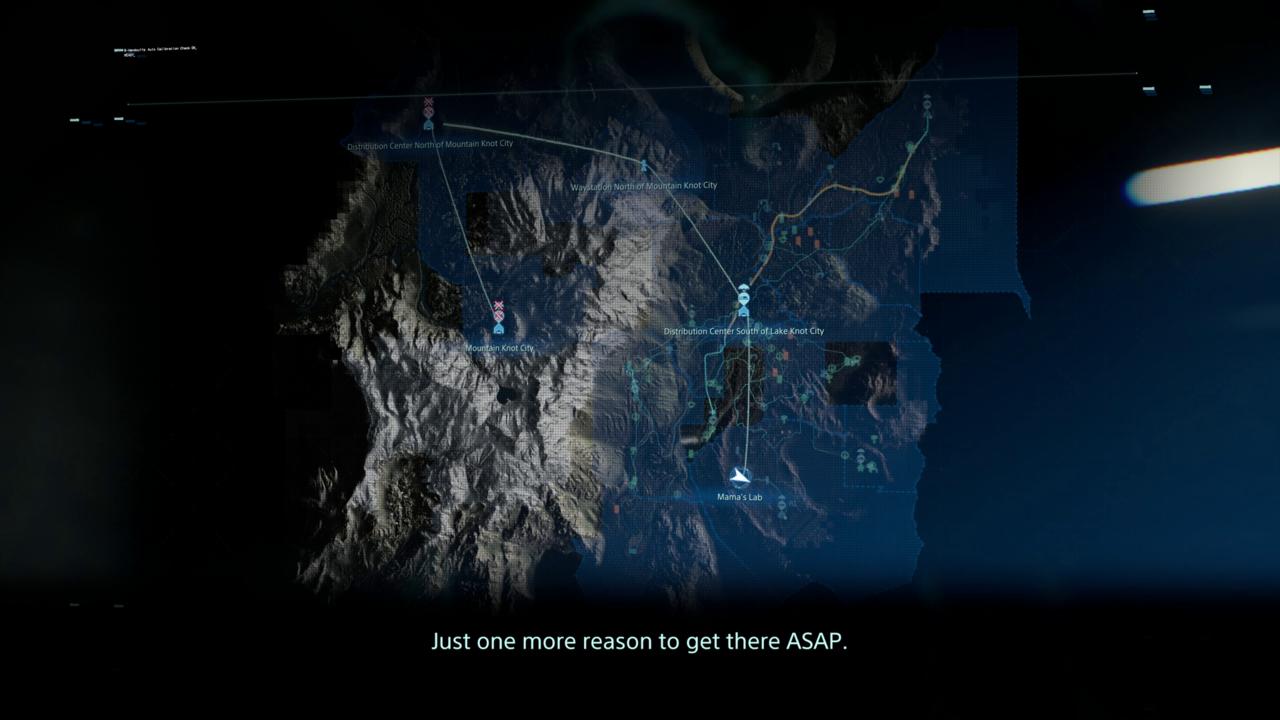
Episode 5 - Mountain Time!
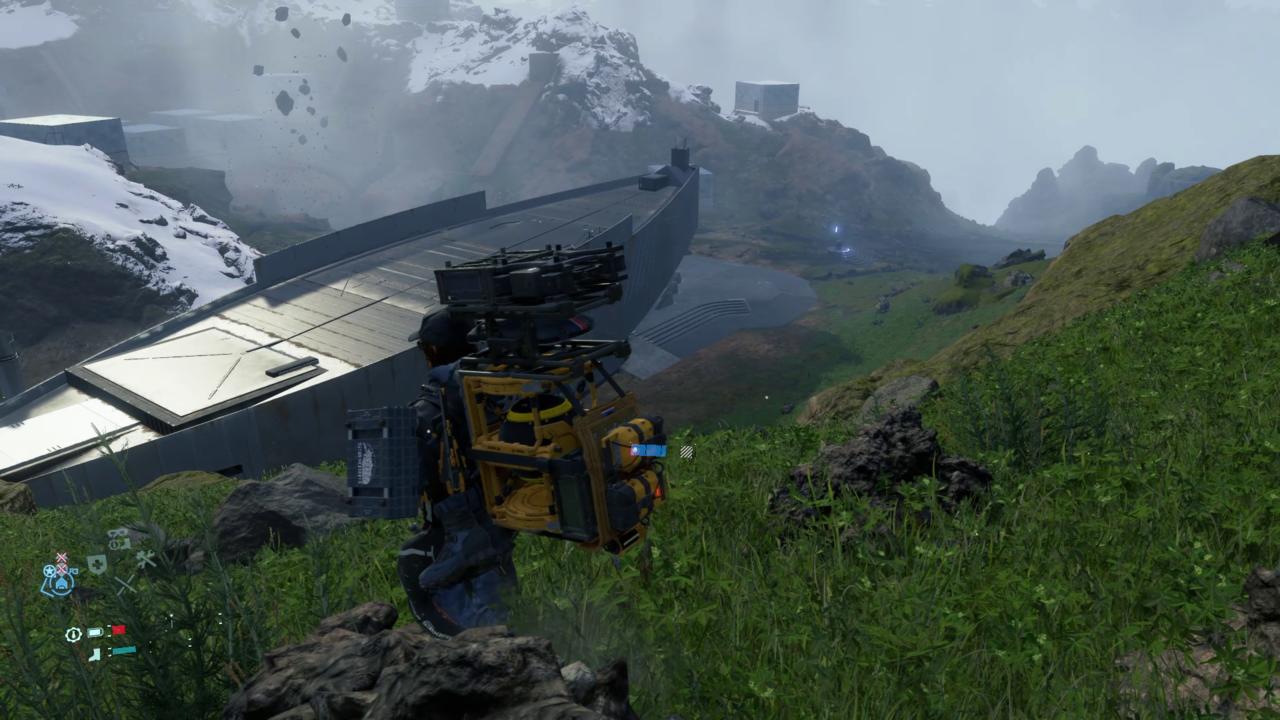
We're heading up to the mountains this episode, and by mountains, I mean like big mountains. There'll be a few new challenges to deal with this episode, and if you're up for the harsher challenges and the risk of catastrophic failure, you can potentially save yourself some time by taking things head-on.
If you're a low-risk person there's plenty of ways to circumvent things too, though that will take some extra time. You can see the major touchstones of this episode in the screenshot above.
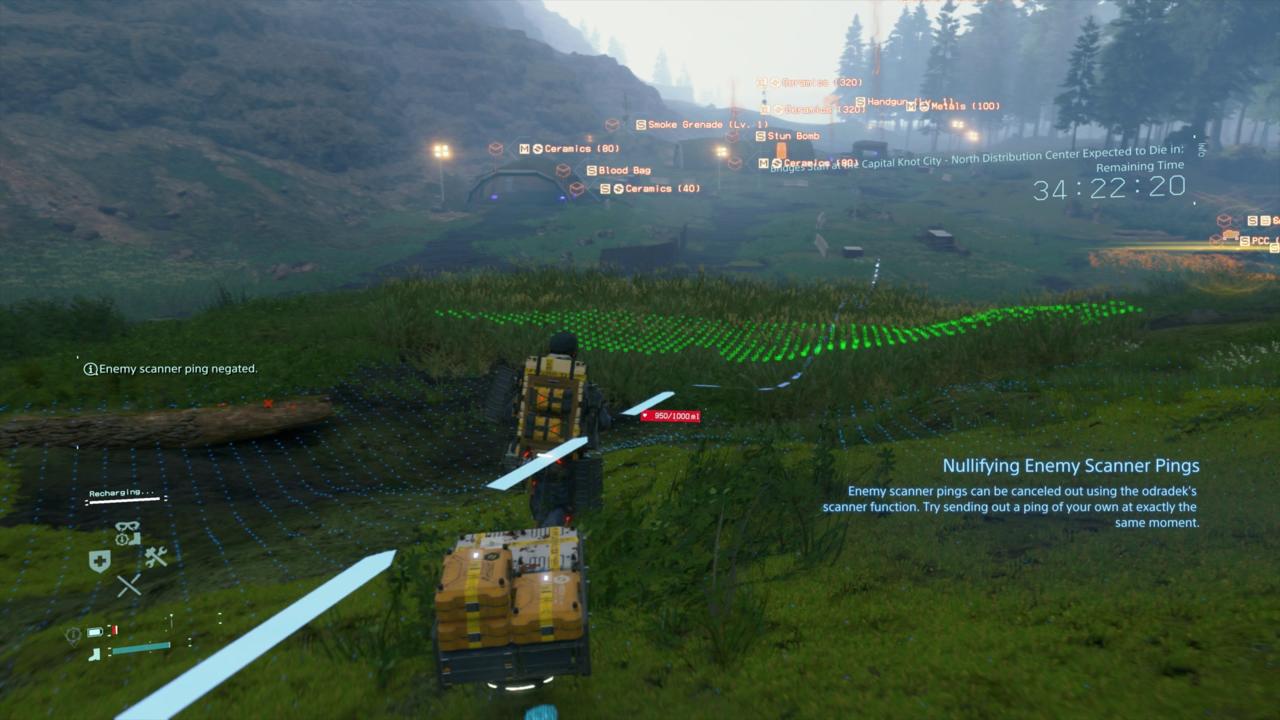
You'll gain access to the zipline schematic for the PCC. After building two anchors, you'll be able to easily move between those two points--and these can be a lifesaver if a community member has set some up over tricky terrain.
Our first destination is the Distribution Centre South of Lake Knot City to pick up an order. My recommendation? Pop back to your private room in South Knot City and use the Fragile Jump to get there. Bamf!
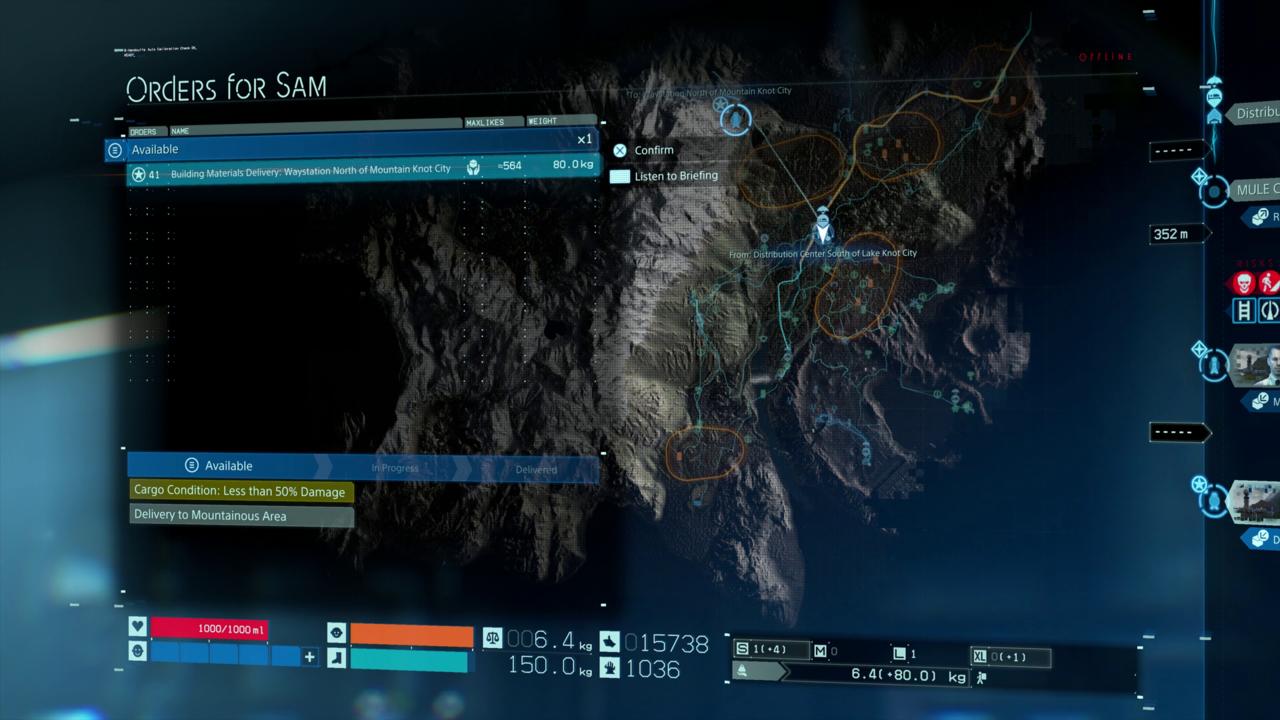
Episode 5 - Materials Delivery
You don't have far to go on your first critical order for this episode, but you do have a lot to carry--80kg in total.
Bring a few Level 1 and 2 PCC's with you--you'll need those generators and Timefall shelters eventually--and maybe a container repair spray.
Episode 5 - How's The Serenity?
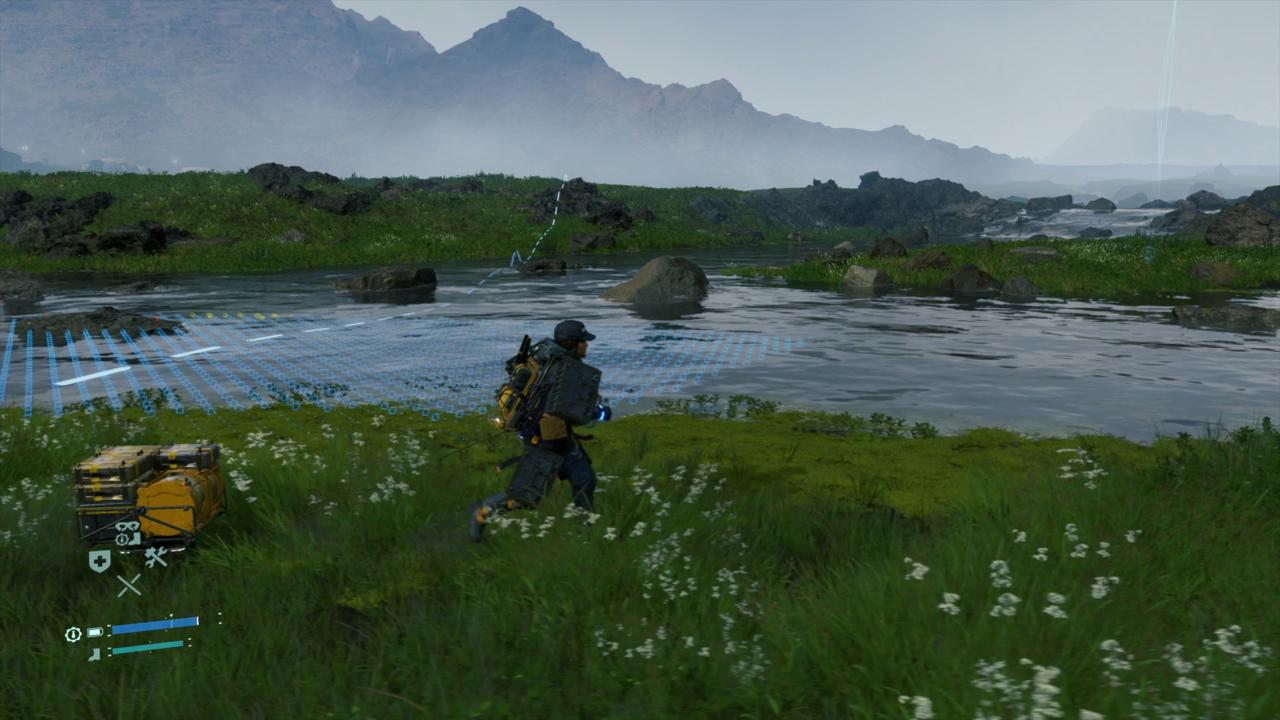
It's a good idea to grab a bike or a truck to help you out, but I would suggest just grabbing a floating carrier and going it on foot for your first time through--it'll help you get a better sense of the topography, give you an idea of where you might want to build some structures, and just let you soak up the nice scenery.
Just remember to keep an eye on the weather and MULE areas with your map, and approach them as your heart desires.
PSA: This mountain area is defined by a lot of wide rivers. So if you're going it on foot, make sure to scan ahead to make sure you're not hitting any deep water areas (marked with red), and be sure to watch your endurance.

Episode 5 - Getting Rocky
Once you start getting closer to the base of the mountain, you'll likely encounter timefall. It's the kind that will eventually pass, however, so this is a great place to set up a Timefall Shelter and pass the time--especially since you have so much cargo to look after.
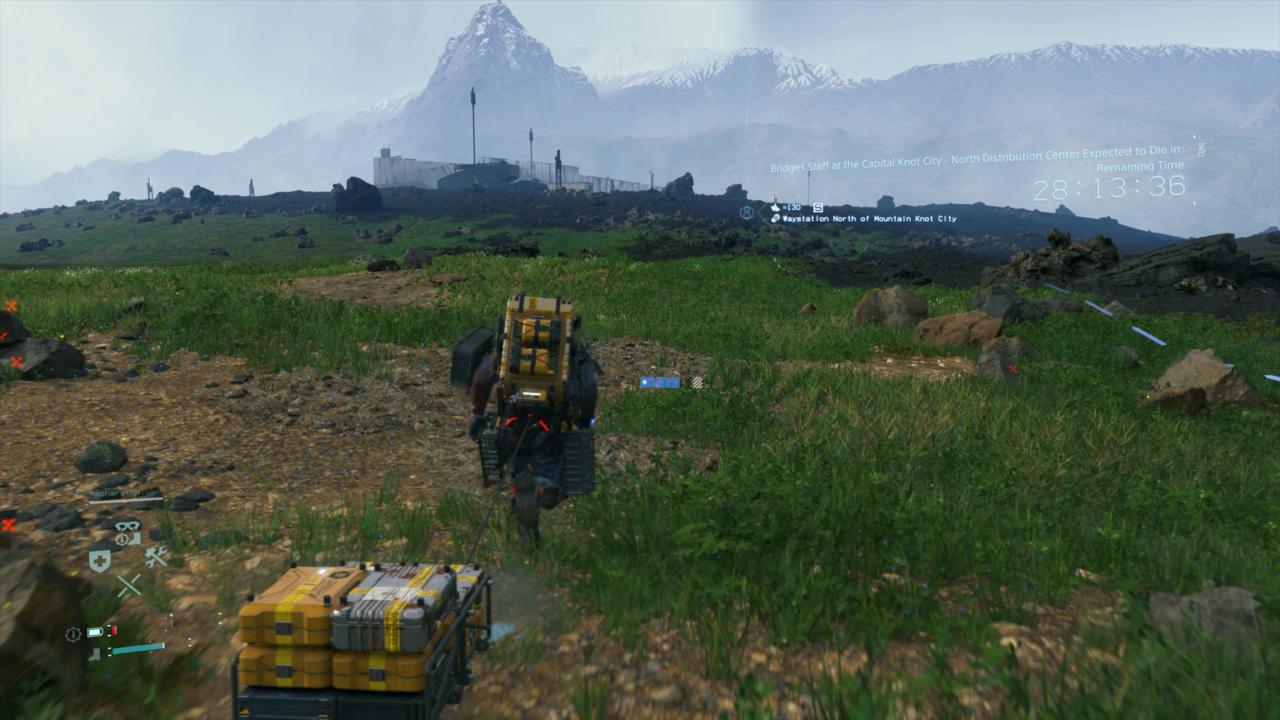
The waystation will be past the ruined buildings and up the mountain to the left.
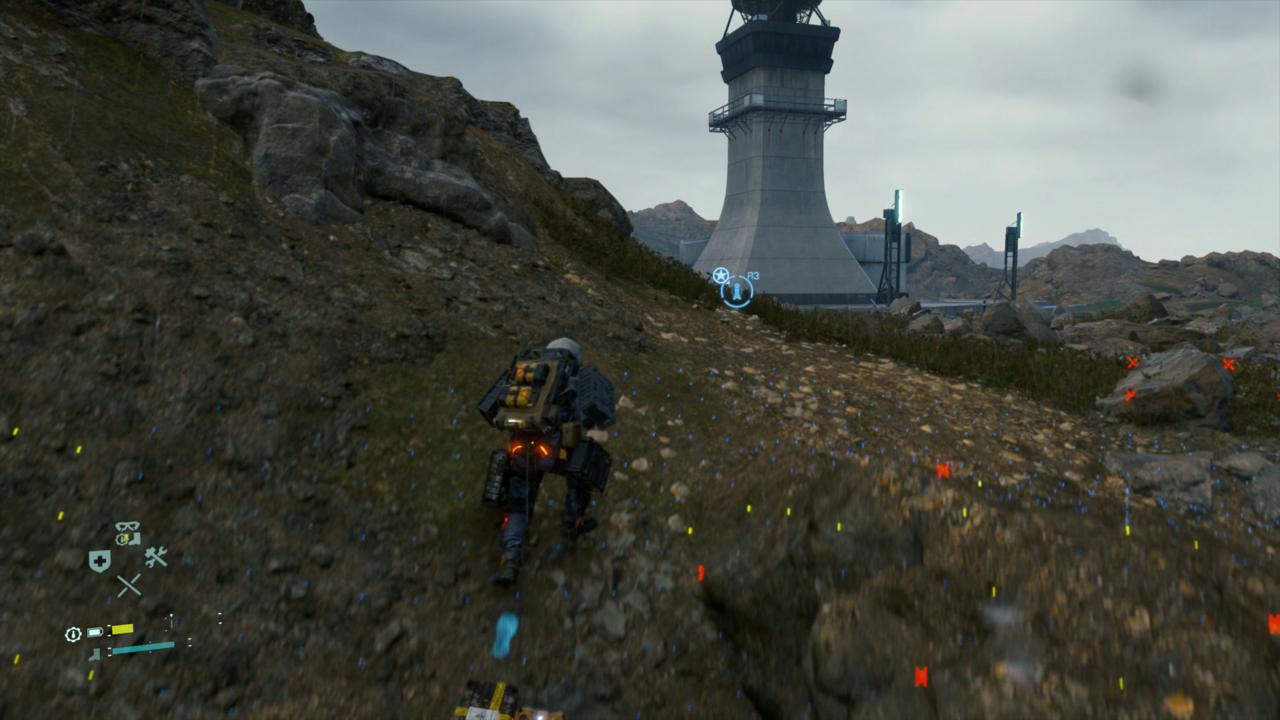
Episode 5 - Waystation Ahead!
You can't miss it. If you decided to sneak through the BTs, make sure to patch up your boxes before you turn them in.

Episode 5 - Lock 'N Load
After you've turned your cargo in, you'll unlock two new pieces of gear:
Armor Plate - You can attach this to your suit to help protect yourself from impact damage and bullets. Yes, bullets.
Non-Lethal Assault Rifle - To shoot people and not have them die.
Hmmm… I wonder why they're giving you access to these things at this particular point in time?
Maybe you should fabricate and equip them both after picking up the next delivery?

Episode 5 - URGENT!
Episode 5 - URGENT!
This next objective doesn't seem to be too far away, but it's labelled as urgent, meaning there's a time limit! A very generous one, but a limit all the same!
Grab the package, grab the non-lethal assault rifle (seriously), fill up on blood packs (uh oh) and go!

Episode 5 - Like A Rolling Stone
It wouldn't be a mountain segment without some kind of falling rock hazard. As you head west, watch out for these rolling stones--you can take cover behind the outcrops.

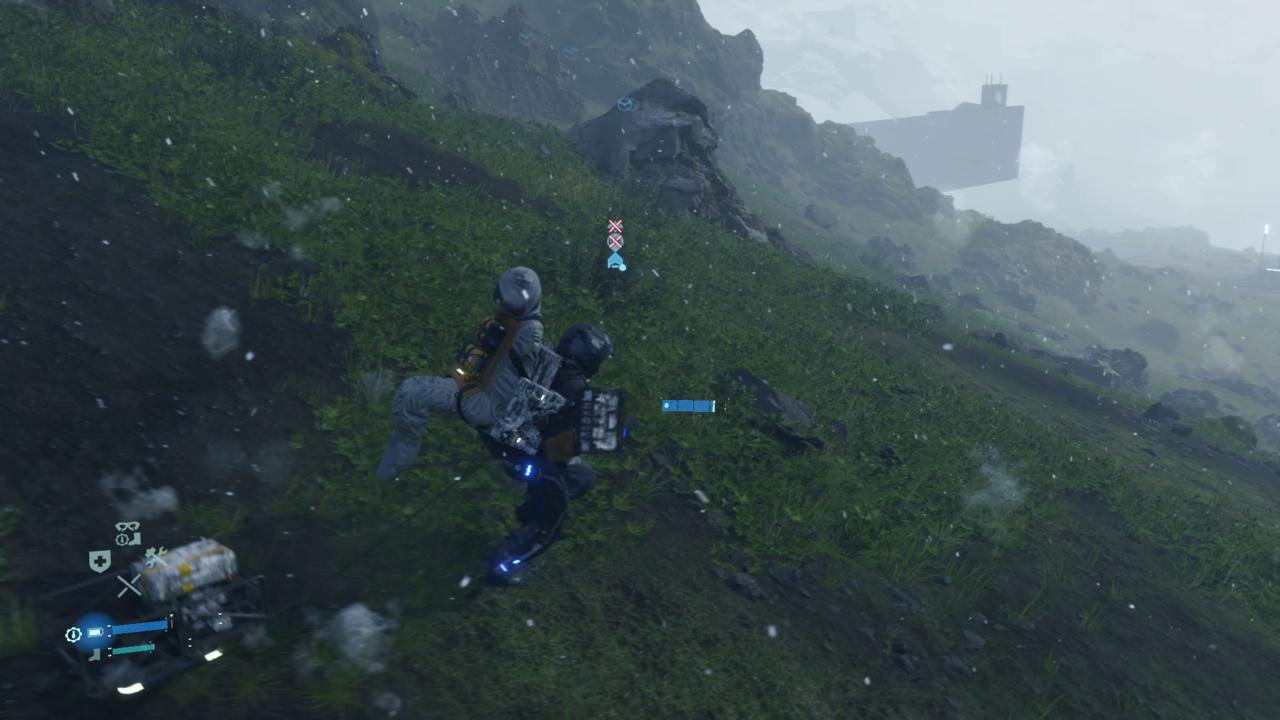
Episode 5 - Down Into The Valley
If you're punching straight through, you'll eventually crest over a snow-covered peak, and come across a misty forest valley down below. Take it easy heading down. A climbing anchor wouldn't go astray if you have one handy, but there's definitely a clear path down if you don't.
Episode 5 - Uh oh, MULEs.
There'll be a MULE camp at the bottom of the valley.
Now, at this point in time, you've probably had your fair share of MULE encounters, and maybe, like me, you feel like you're some kind of expert at taking them out.
But trust me--try to sneak around this camp--there are viable paths on either side, but stay as vigilant as possible!
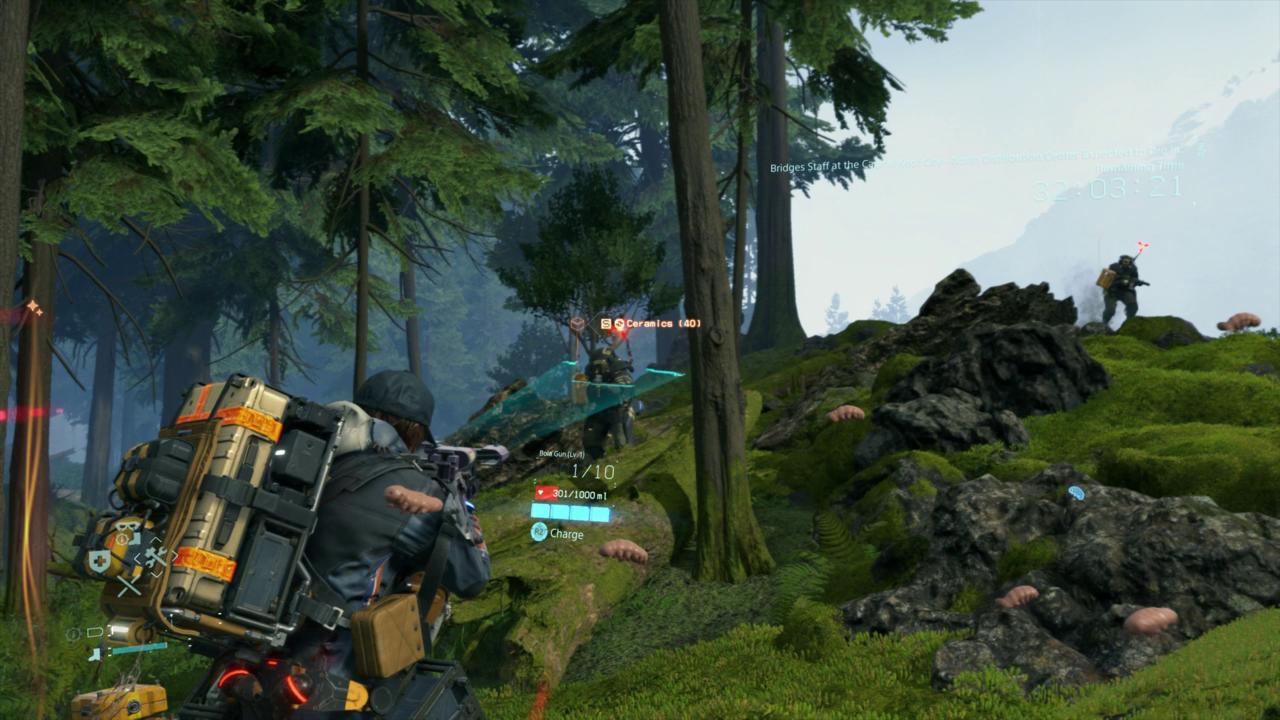
Episode 5 - MULEs With Guns!
If you get caught--oh no! These MULEs are a cut above! They have *guns*!
Outrunning these MULEs is a little more difficult than the regular MULEs, because, well, guns. They can chip away at your health and damage your cargo from afar, meaning if you do get into a scrape with them, you might need to be at least a little be proactive in taking your main assailants out.
Use either the Bola Gun to incapacitate them, or knock them out with the Non-Lethal Assault Rilfe I told you to pick up earlier.
(I'll point this out again later, but there's a much safer, long-way-around route to the north of this area in the map. But, this mission was urgent and it's better if you learn about these new MULEs first-hand)
Episode 5 - In The Distance
Episode 5 - In The Distance
Past the MULE area, it's pretty easy going with a lush green field a nice view to take in as you approach the distribution centre.
Once you hand in the cargo, you'll take a mandatory break in your private room and be treated to a cutscene.
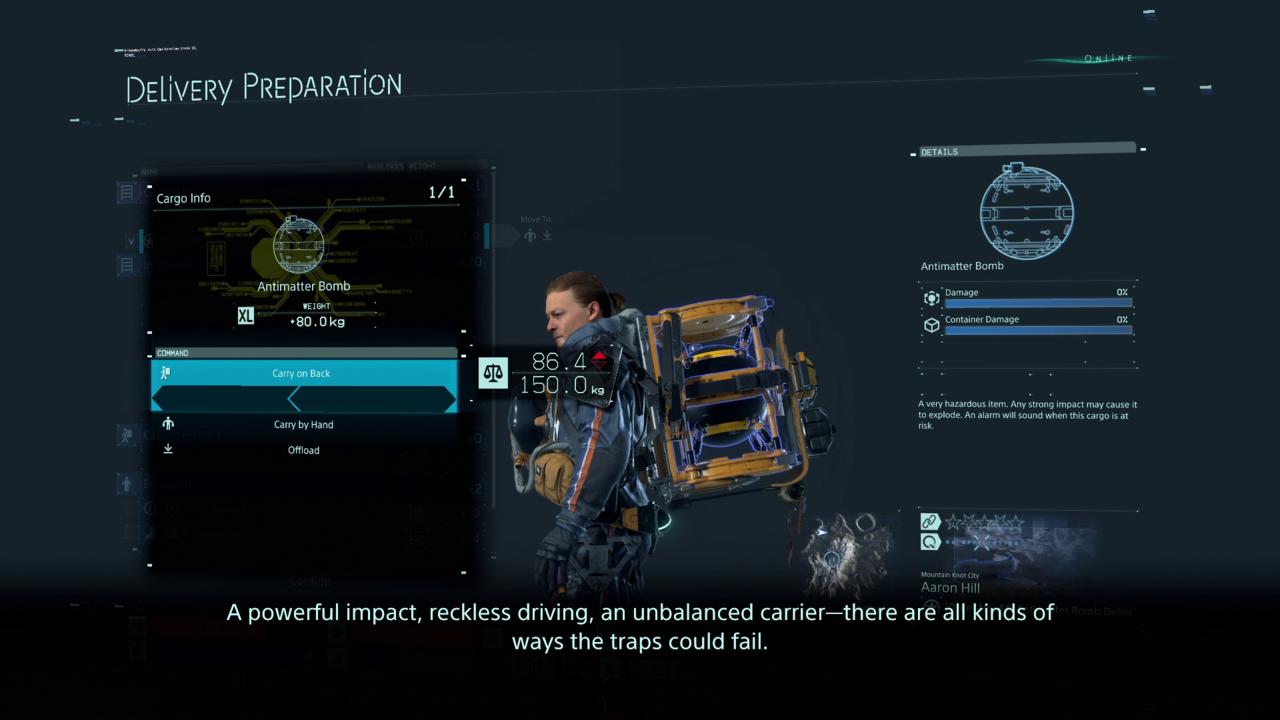
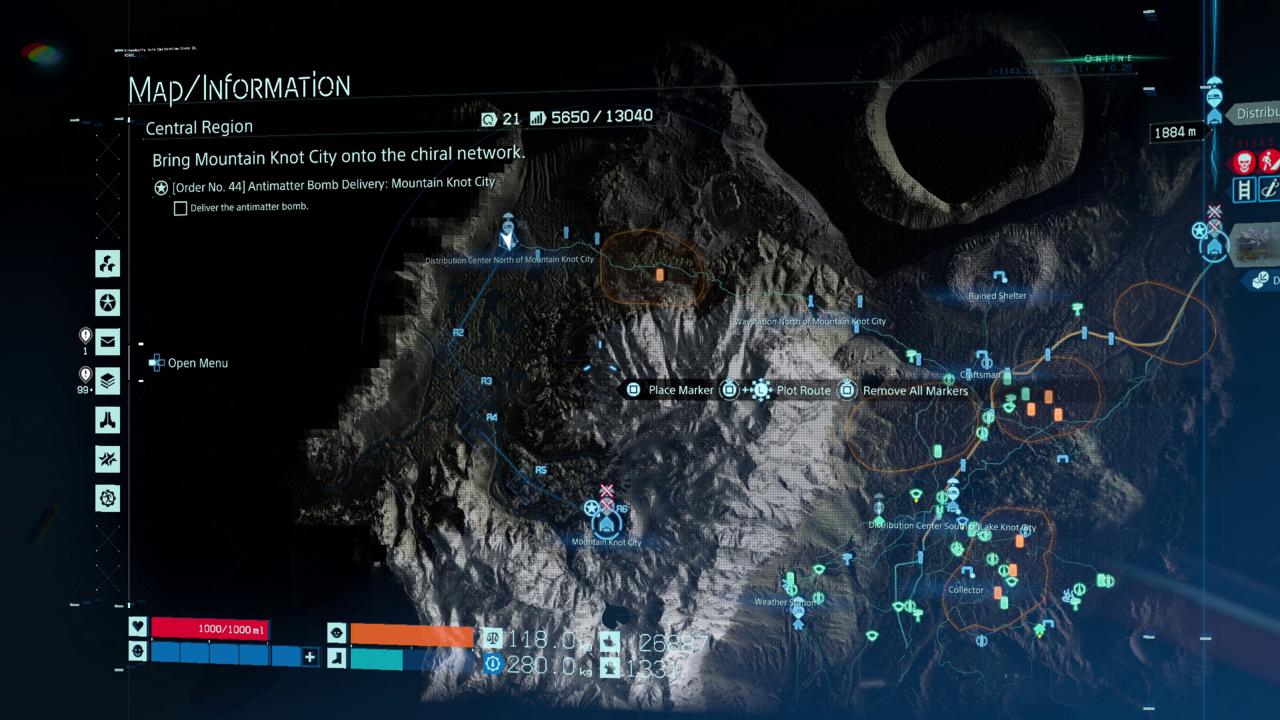
Episode 5 - You're The Bomb!
Fragile cargo delivery, coming up! Surprise, it's a bomb!
As you can imagine, this cargo definitely does not want you to drop it or do any kind of impact damage to it. It'll start beeping if you're at risk of doing anything severe.
I'd recommend taking this one on foot. You can offload most other cargo if you need to--the path I'm going to take you is mostly trouble-free.
Episode 5 - No More MULEs, Please
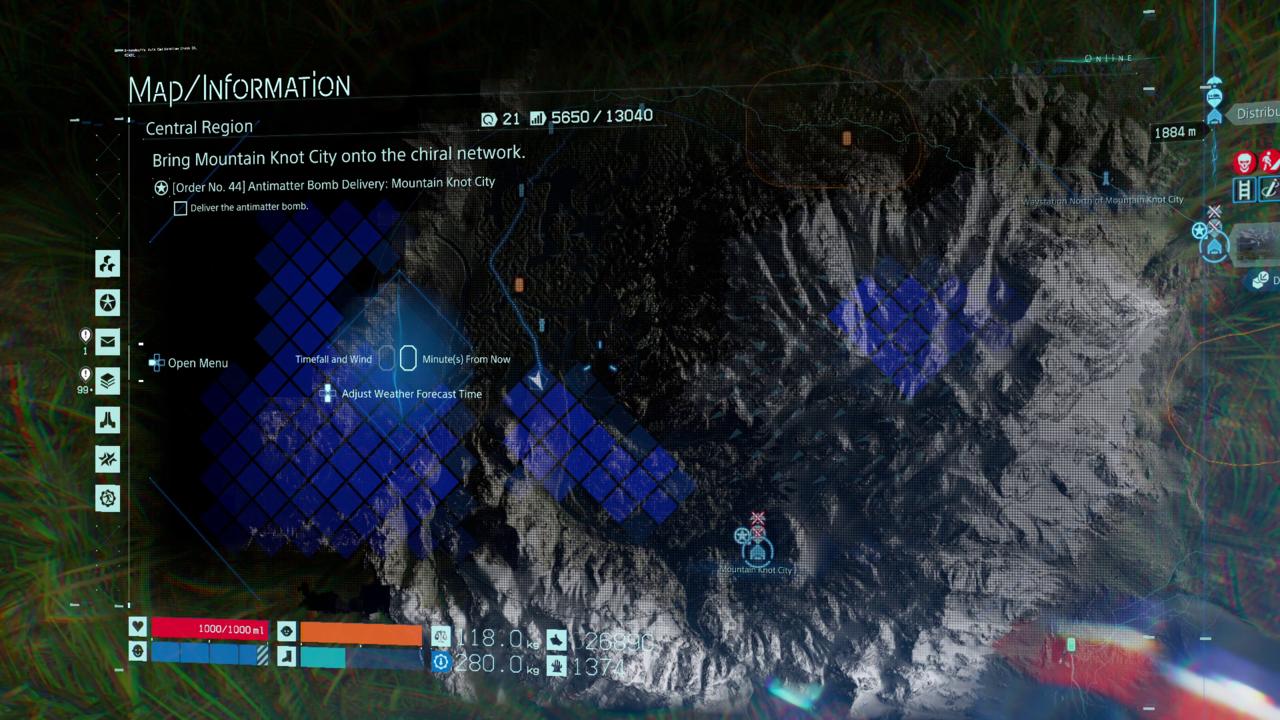
You won't be able to see ahead, but there's a big patch of MULE territory between the distribution centre and Mountain Knot City, as well as some moving clouds of timefall. This can cause you some headaches if you decide to punch through carrying A FREAKING BOMB, but it's easy enough to skirt around.
Check out the screenshot for an idea of how much you need to veer, but make sure to check your own timefall reports too--your experience may vary.

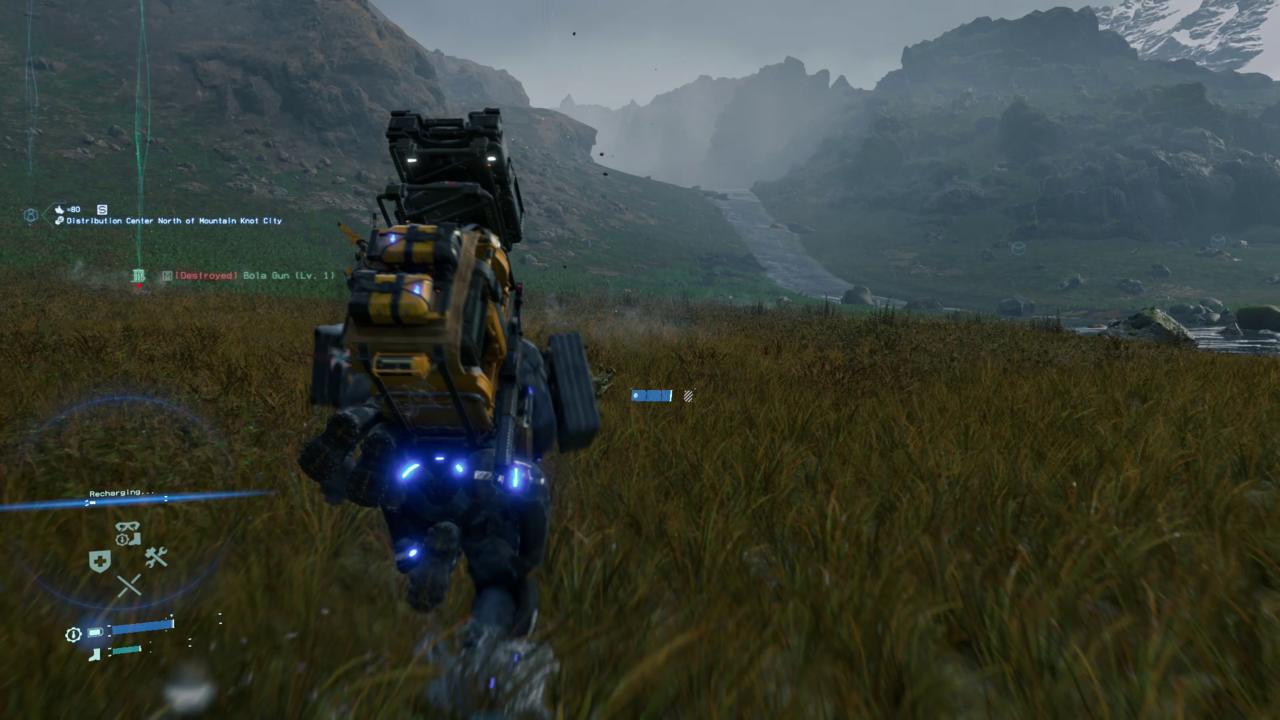
Episode 5 - I Get Wet
If you're following my path, the journey should be mostly uneventful--keep an eye out for the stakes marking MULE territory and take care not to venture too deeply in.
The biggest obstacle you should have to face are the deep rivers.
Episode 5 - I Don't Get Wet
Keep an eye on Timefall, and skirt the edges of them as well, if you can. The last thing you want is a BT up your butt, setting off your bomb.
Episode 5 - And Up We Go!
Follow the river up the mountain! You're doing a great job!
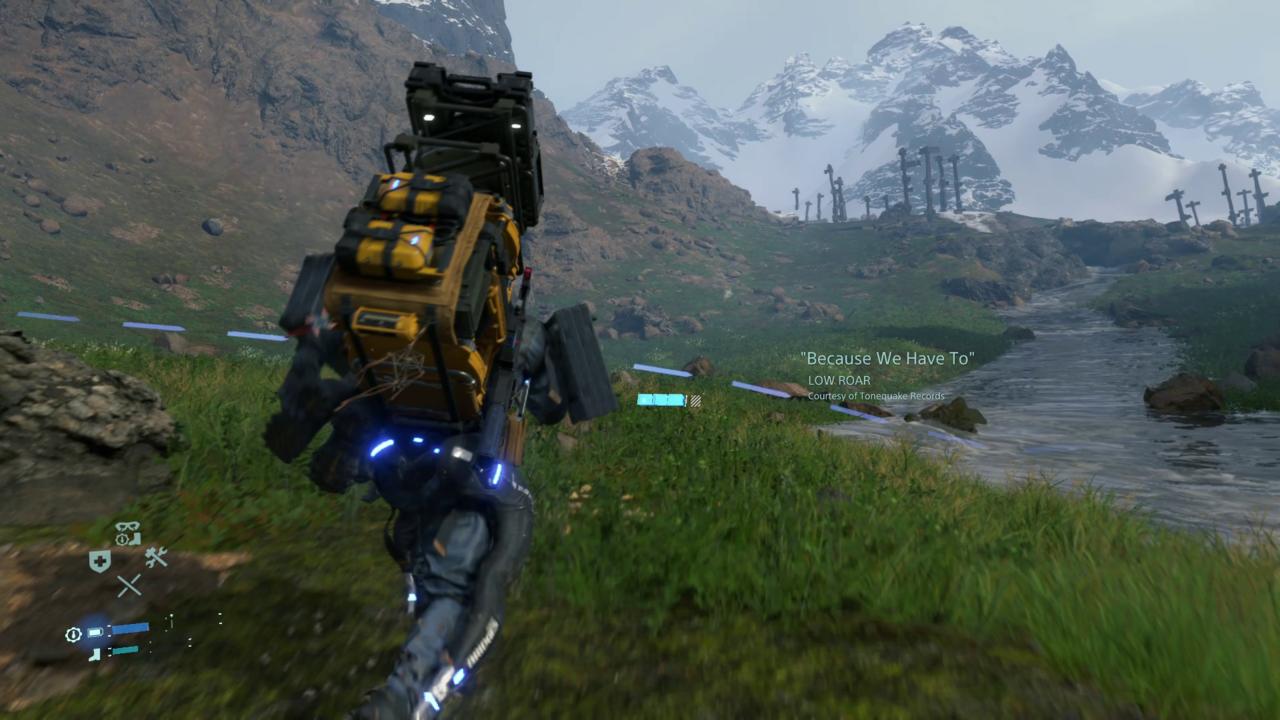
Episode 5 - Because We Have To
When a Low Roar track kicks in, you know you're getting close. You'll want to veer right once you get past these pillars.
Episode 5 - We're Here!
The main path to the Distribution Centre hooks around the right after the pillars, but if you ended up slightly behind it like I am here, don't worry--you don't have to jump! There's a back entrance all the way to the left which will have a ramp to take you down.
Head in, hand in the cargo, and give yourself a pat on the back.

Episode 5 - Back Again, Back Again
Well, it looks like we have a problem and no obvious solution. Well, I might know the solution--might I *suggest* that you trek *all the way* back to Mama's laboratory? That's right, the place you were at the very beginning of this episode?
Seriously, do it.
There are bunch of ways you can go about this--if you have enough climbing gear, you can take a chance to try to climb east directly over the mountain to take the shortest route possible. You can hike back to the distribution centre and use a Fragile Jump to get back to South Knot City.
I decided to take the long way back and pick up a few conveniently-situated deliveries along the way. There are a few optional prepper locations here, so it's worth making the connection if you have time. Also, if you have any desire to help the community rebuild the roads in this area, now is definitely the time to do it!
Either way, see you back at Mama's laboratory! You'll get a cutscene when you make it.

Episode 5 - Time For a New Mission!
Well that was a lovely moment, wasn't it? Time to turn around and head on out of here.
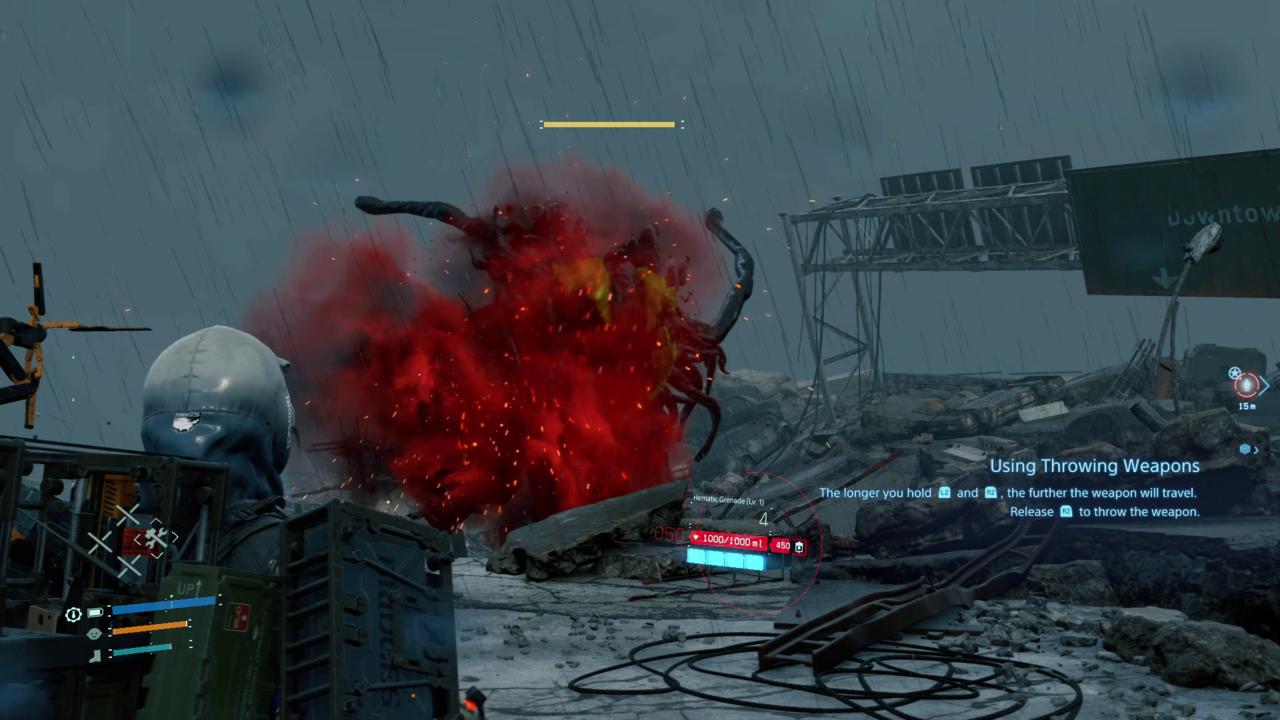
Now, before you head out of Mama's lab, may I suggest that you go to the terminal and fabricate yourself a few sets of hematic grenades, and maybe an assault rifle (with hematic rounds) or two?
Trust me! When have I ever led you astray?
Episode 5 - Stay Back!
Well, would you look at that? Another monstrous BT you need to take care of. You'll be told to run, but honestly? You and I are too good for that.
First thing's first--before you engage, head back into Mama's laboratory and drop your precious cargo so it doesn't get damaged in this fight.
Then, pick up your weapons and get back out there. Throw everything you have at your enemy and don't let up!
Your enemy will occasionally come in for a lunge attack, but you should have enough room to move around on your initial starting area. This attack is telegraphed pretty obviously, so pay attention, hop out of its way, and assault it with grenades and gunfire when it whiffs.
So long as you're prepared with weapons, this encounter shouldn't give you much trouble.

Episode 5 - The Long And Winding Road
Welp, time to head on back to Mountain Knot City!
Again, there are two major ways to do this--the hard way, taking a shortcut west through the mountains, or the easy way, taking the long way up and around.
The mountain path is can be tough, depending on how many climbing tools are already set up for you by other community members. If it's sparse, you'll have to bring your own, meaning you'll have to load up a floating carrier since your precious cargo (okay, it's Mama in a weird body bag. What is with these body bags? Why can't they walk?) can only be carried on your back.
The low-risk method is definitely the long way around. However, now that you've already spent quite a bit of time in this area, there should be plenty of infrastructure (roads, generators, shelters) for you to trek through quite comfortably. I decided to grab a bike and speed through in one go this way, since I had quite a few roads built, and I was familiar with which routes were friendliest to vehicles.
However, your mileage might vary. Do whatever you think you're most comfortable with! This world is your domain now!
Episode 5 - What A Wonderful Moment To Share
Ah, snow. So beautiful. Once you get to the distribution centre at Mountain Knot City, head in and watch the incredibly upbeat and joyous cutscene. After that, you'll be sent to your room.
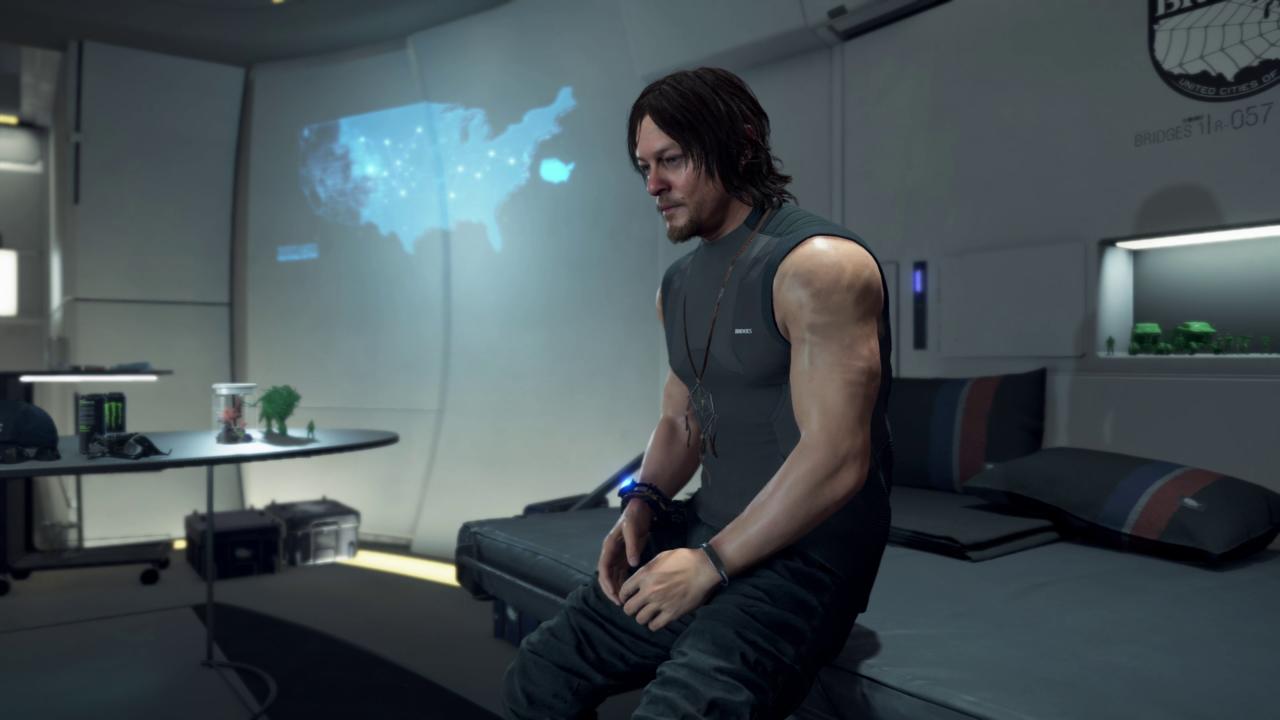
Episode 5 - Time To Take a Break
Take the time to do everything you need to do--take a shower, relieve yourself, chug your Monster Energy to boost your max stamina.
Once you're done, leave the room.
Wait, what do you mean you can't leave your room?
Weird.
Hey, I wonder how BB is doing?
And that's it. That's the end of Episode 5. A lot of back and forth during this chapter, but boy, you must be getting really confident in your ability to navigate the world, now, right?
Plenty of mysteries await ahead, so please join us in our Episode 6 walkthrough!