Death Stranding Episode 6 Walkthrough - Deadman

GameSpot may receive revenue from affiliate and advertising partnerships for sharing this content and from purchases through links.
Death Stranding Walkthrough: Episode 6 - Deadman
Episode 5 of Death Stranding leaves you without one of your most reliable tools, and then throws you into the most challenging terrain you've seen so far. What a predicament! It'll be tough going, and even though you'll get some tools to help you out part-way through, certain routes in this chapter can leave you feeling a little lost and helpless. Hopefully, your fellow Death Stranding players will be there to help you out with some infrastructure. But if not, we'll do our best to point you in the right direction to try and stop you from running into a dead end. If you're not quite at this chapter yet or are curious about future ones, follow the links below to our other installments:
- Death Stranding Walkthrough: Prologue
- Death Stranding Walkthrough: Episode 1 - Bridget
- Death Stranding Walkthrough: Episode 2 - Amelie
- Death Stranding Walkthrough: Episode 3 - Fragile
- Death Stranding Walkthrough: Episode 4 - Unger
- Death Stranding Walkthrough: Episode 5 - Mama
- Death Stranding Walkthrough: Episode 6 - Deadman
- Death Stranding Walkthrough: Episode 7 - Clifford
- Death Stranding Walkthrough: Episode 8 - Heartman
- Death Stranding Walkthrough: Episode 9 - Higgs
- Death Stranding Walkthrough: Episode 10 - Die-Hardman
Afraid of spoilers? Don't worry! We'll make sure these walkthroughs are as spoiler-free as possible when it comes to the main story beats. But if you're at this point in the game, some things are going to be unavoidable!
Now the thing to keep in mind is that a big part of Death Stranding is the flexibility of the environment and the creativity of how you want to forge a path forward. There are a whole heap of different ways to tackle each mission, and on top of that, the map you encounter might also be different to the one you see in this guide--that's thanks to the multiplayer aspect of the game, where members of the community will clear different paths and place helpful structures in different ways depending on your personal game.
That said, this walkthrough will give you a good idea about what you need to do. It can offer one viable path to success if you're at a bit of a loss, or if you just want some inspiration to get you started.
Death Stranding Guides
- How To Get Death Stranding's Half-Life Crossover Items
- Death Stranding PC Hands-On: The Once PS4 Exclusive Runs Like A Dream
- Death Stranding Walkthrough, Guides, And Tips
- + Show More Death Stranding Guides Links (2)
- How Long Is Death Stranding?
- Can Your PC Run Death Stranding? Minimum And Recommended Specs
Before you start, definitely check out the broader tips in our Death Stranding guide hub to get your head around some must-have tips to always keep in mind, as well as get your head around what you can expect a little later down the line. Things will definitely get a little less tough over time with the right preparation!
Have a question or a great alternative route we didn't think of? Leave a comment and we'll do our best to address it!
Episode 6 - Mission Start
Welcome back! Time to tackle another set of seemingly insurmountable challenges with our old friend Norman Reedus.
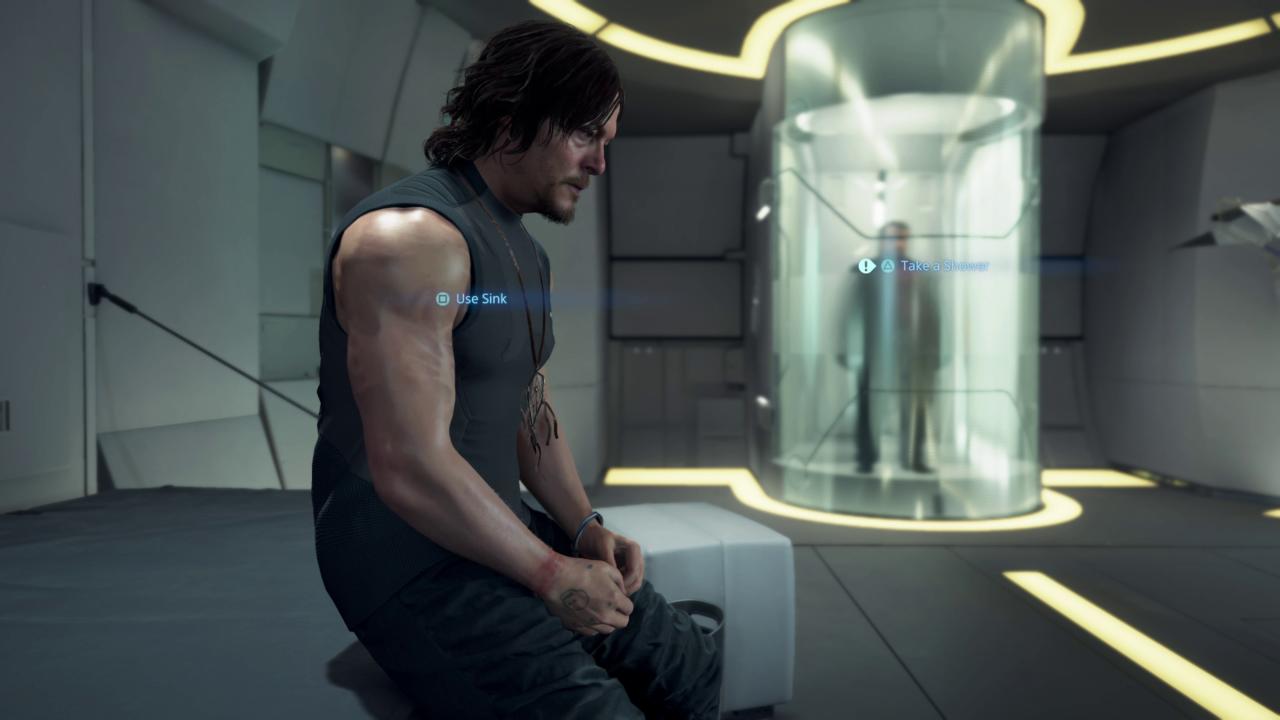
First thing's first--take a shower with Guillermo del Toro.
You heard me.
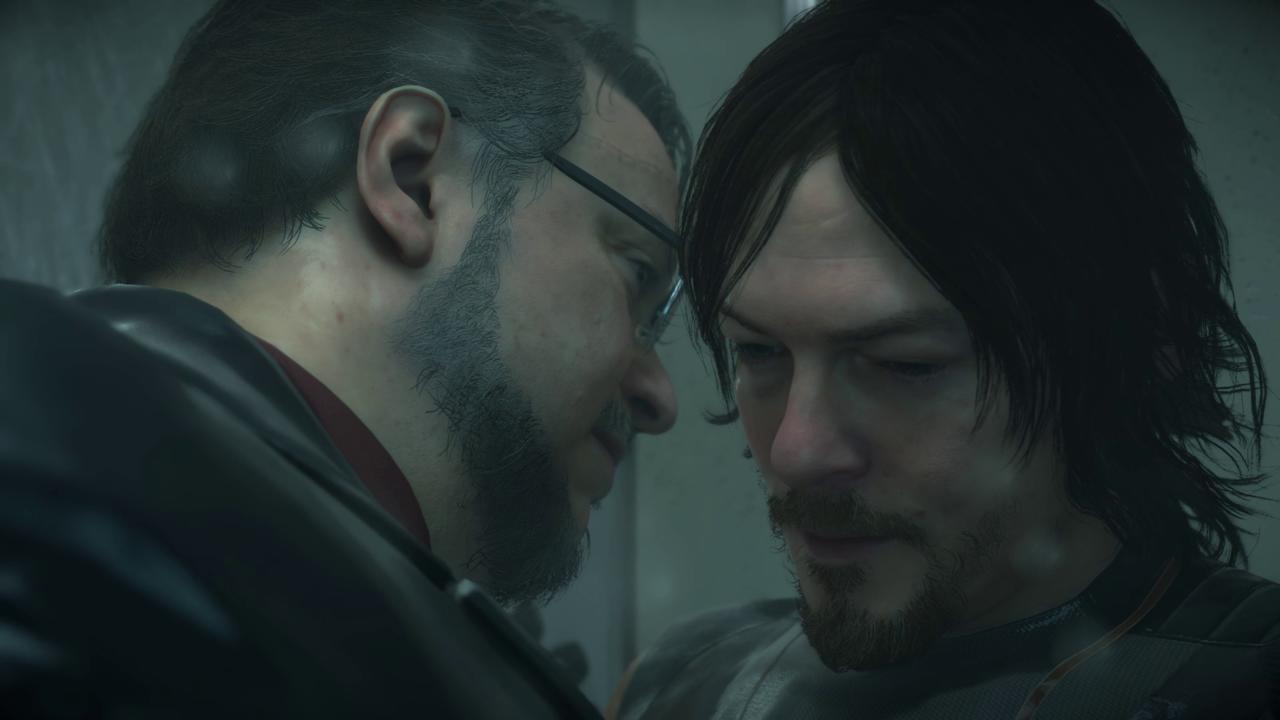
Episode 6 - Shower With Your Dad Simulator 2019
No spoilers on what they're talking about here--you'll just have to use your imagination.
Anyway, when you're all done cleaning yourself up here, drink 3 of those disgusting energy drinks and head out of the room and pick up your next missions at the terminal.

Episode 6 - Another Pack Of Preppers
Alright, time to get your butt ready--we're about to hike all over these damn mountains and connect a bunch of preppers to the chiral network.
If you remember the last time you were asked to do this, you'll recall that it was never as simple as just heading straight to them, and that's definitely the case again. You don't have access to BB during this entire chapter, for reasons that you probably already know by now, so we'll have to be careful when travelling through BT areas.
What's more, you're about to hit some of the toughest terrains in the game. But, I'll help you out as best as I can. Grab the two critical quests, and let's head out--we'll go to the Doctor first.
I suggest grabbing a couple of ladders, or bringing a PCC and materials to build a bridge and/or zipline. We won't have far to go, but it's absolutely worth going out of your way to set up some helpful infrastructure or future runs here--you'll thank yourself later.
No seriously, listen to me: BRING LEVEL 2 PCCs TO SET UP ZIP LINES.

Episode 6 - Let's Go To The Doctor!
The path to the doctor can be a little treacherous at first, which is why we want to try and build and easier route. We'll also be heading to the doctor's place quite a bit later, so try and memorise the route.
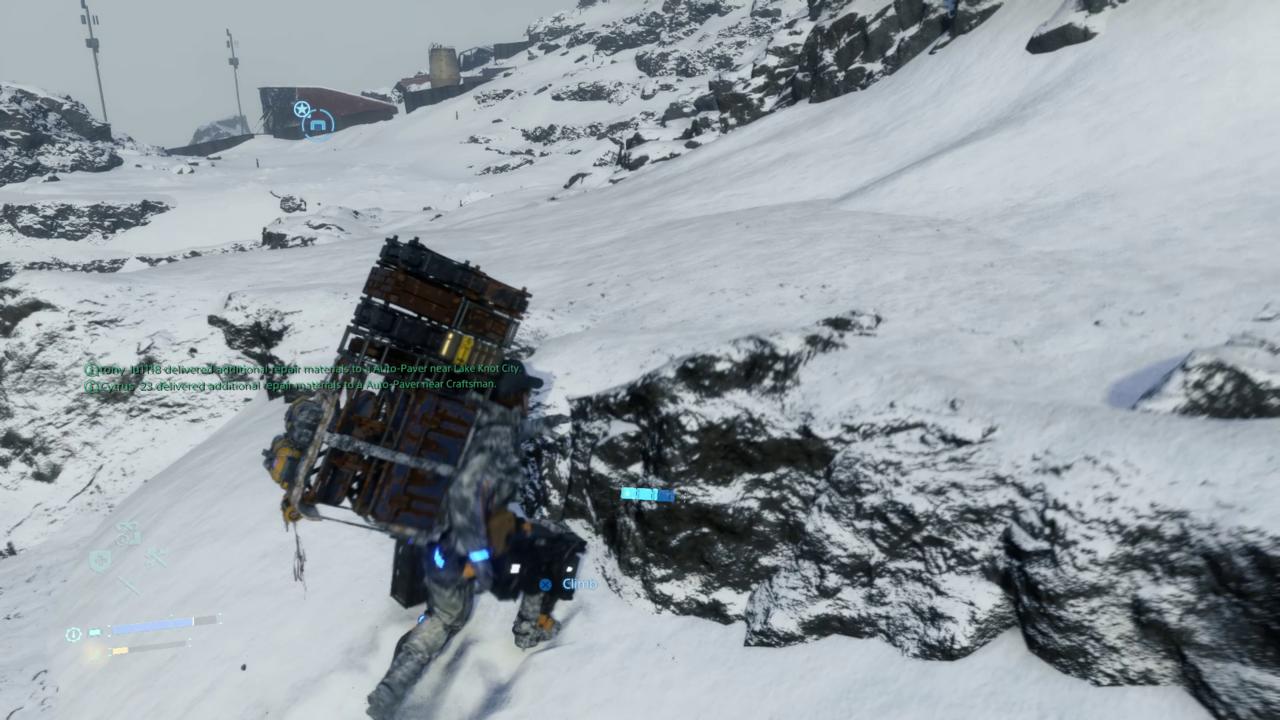
Head straight out of the distribution centre, through the little gap in the rocks (which you can see in the screenshot above--where the watchtower is) and then take a left.

Episode 6 - Bridge That Gap!
Eventually, you'll see the doctor's place in the distance, but you'll notice a huge chasm in the way.
I would definitely recommend building a bridge to create an efficient route (again, you'll be coming back here frequently), but if you don't have the materials handy, you can keep going along the edge of the chasm to the left and find a narrow point that will support a ladder across.
Head to the doctor, hand in the cargo, and head on back to Mountain Knot City, where we'll chart a route to the Roboticist.
Episode 6 - Let's Get Vertical
Make sure your stamina meter is maxed out (go back and fresh yourself in the private room if you need to), make sure you have some ladders and climbing ropes, and if you haven't already, offload as much cargo of your back as you can, and throw it in a floating carrier. Now, head to the steep, snowy area behind the distribution centre.
Okay, you see the snowy area behind the buildings that looks like it would be an impassable mountain in most other video games?
Go and walk up it.
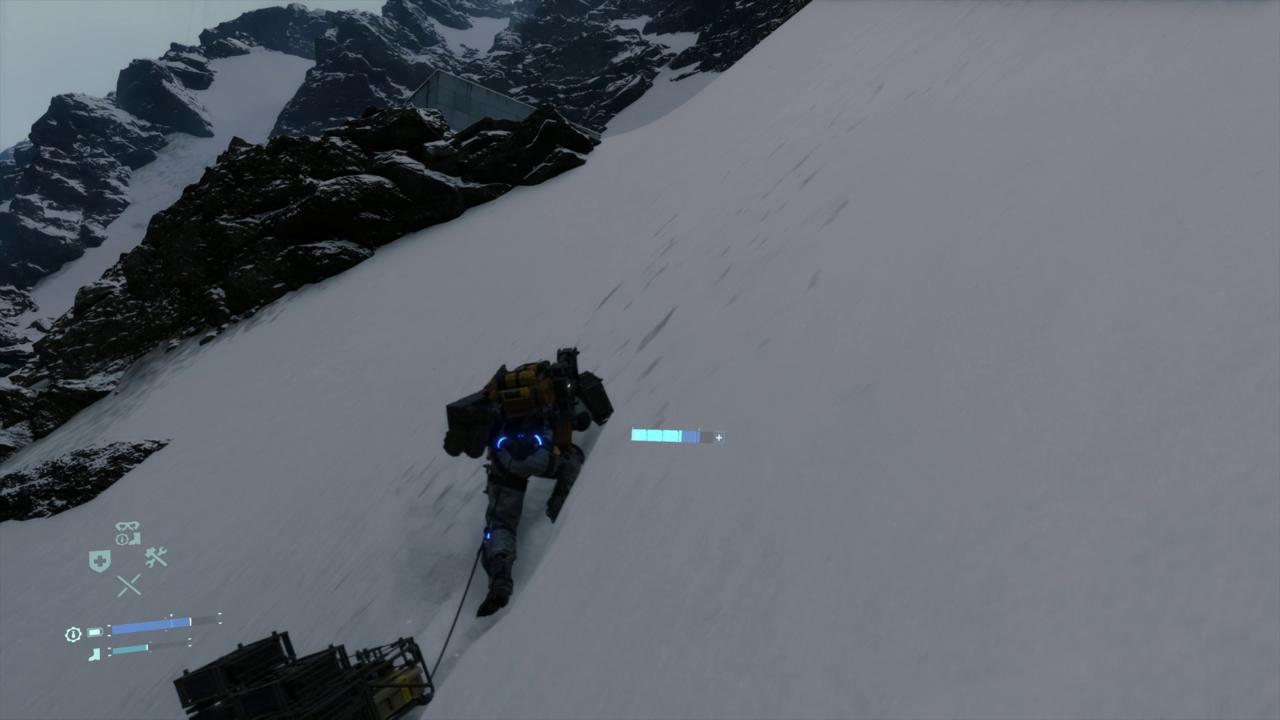
Episode 6 - Walk Up The Wall
I'm serious, walk up this horribly steep slope. Hold on to L2 + R2 and trudge up it.
I'm sure there might be a slightly easier way, but this is straightforward, and it'll both prepare you for what the rest of this episode is going to be like, and make you appreciate the tools you'll get later on.
PSA: Be sure to watch your endurance meter! Don't let it run out--simply stop walking for a spell and let it recharge if you need to (you'll definitely need to).

Episode 6 - You Can Do It!
Wow, I can see my house from up here!
Episode 6 - Almost There
Once the mountain starts to taper off you'll know you're almost there. Did you manage your stamina okay? Did you manage your patience okay?
Episode 6 - Uh Oh, BTs With No BB!
Oh no! Once you reach the top of the mountains you're going to run into BT territory. This might be a little scary without BB to help you spot them, but hey, what you can't see won't hurt you, right? Well, kinda.
Episode 6 - Get Off Me!
Some tips that got me through these areas:
Always crouch-walk and know which way you have to go.
If you start seeing/hearing those squelchy footprints, hold your breath with R1 and just keep on moving. These BTs seem to give up on the chase a bit faster.
Sometimes, you'll manage to sneak up on a BT. How will you know you're close? You'll see a "Cut Umbilical Cord" prompt with Square. Remember that thing you got last episode? This is a weird but great time to use it to get some BTs out of your way.
Don't panic if you get caught--you still have a chance to get free. Try and dodge the black figures coming after you in the tar pool.
Keep a hold of L2+R2 to balance, and hit Square anytime the black figures have a grip on you (if you hit square when they're not on you you're basically wasting time)
You can do it! It's not that scary I promise! Head towards the Roboticist's marker--the terrain should be more or less even from here on.

Episode 6 - Just Like Cliffhanger
If you did what I did and tried to just take the shortest route possible, you'll probably end up above the objective. Nothing a few climbing anchors won't fix! Use those ropes!
Enter the prepper's place and hand in your cargo. Guess what? It's time for a new skeleton! This one will help you tackle rough terrain (like these mountains) a lot more easily, letting you move faster, and achieve better balance and grip. Its boost mode (R3) will especially help you out on steep slopes, letting you tackle them at somewhat regular speed while saving your endurance.
Episode 6 - Back To Mountain Knot City
So the next critical objective requires you to head back to Mountain Knot City to pick up the cargo.
As you do this, I would recommend perhaps picking up a standard order from the Roboticist to go back to either Mountain Knot City or the Doctor to make your upcoming trek back worthwhile.
I would also recommend restocking your climbing equipment, as well as bringing a bunch of Level 2 PCCs in order to begin setting up a network of zip lines back to Mountain Knot City and/or the Doctor's place now that the chiral network is connected. This will make any return journeys back here a breeze, so long as you can fit all your cargo on your back.
I mean, unless you want to do those mountain sections again. Up to you, I suppose.
No, don't be dumb, create some zip lines.
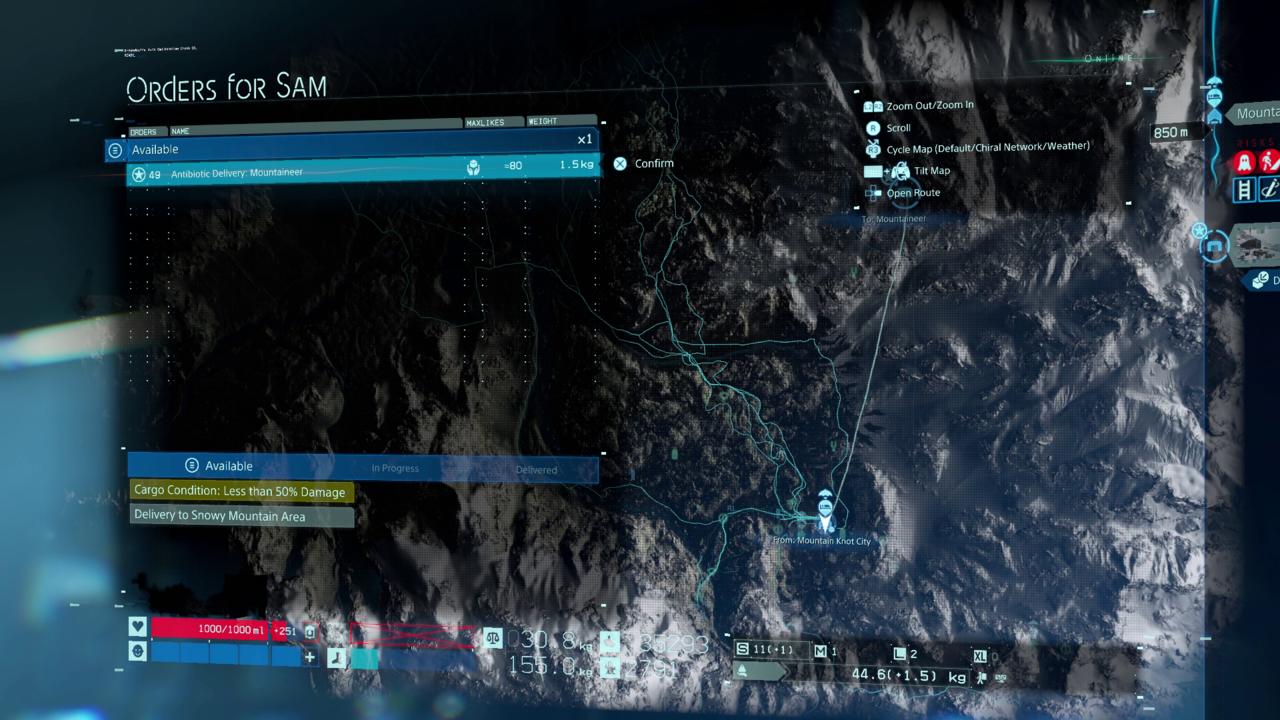
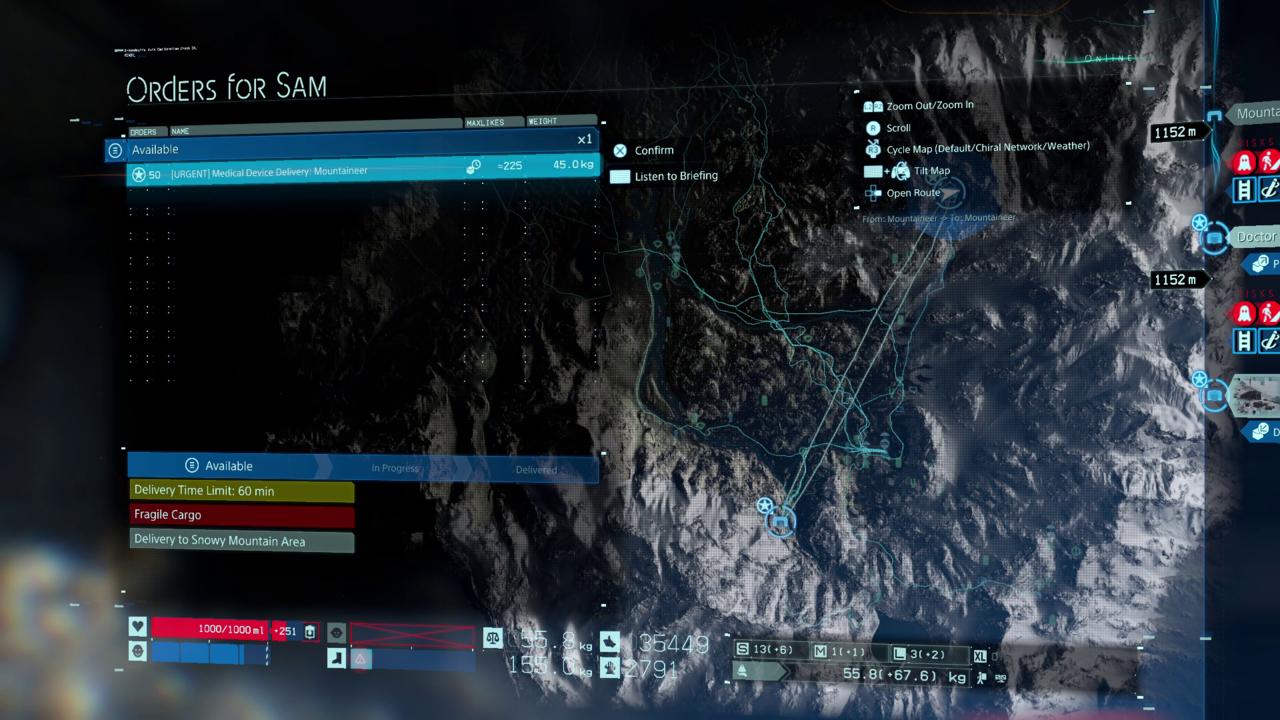
Episode 6 - Mountaineer Needs Medicine!
Once you're done creating the perfect network of zip lines between the Doctor and the Roboticist, pick up the next critical order at the Mountain Knot City distribution centre.
This one is going to be a fragile, handle-with-care kind of delivery, so prepare yourself for that. Restock yourself with a couple of ladders, climbing anchors, container repair sprays, and some PCCs (Lvl. 2) to keep establishing your zipline system. Try and offload anything that isn't vital, like weapons, to keep your load low. Bring your floating carrier if you think you need it.
Hell, borrow a motorbike for the first leg! It'll give you that sense of speed and freedom that you'll soon lose by having to hike up another mountain.
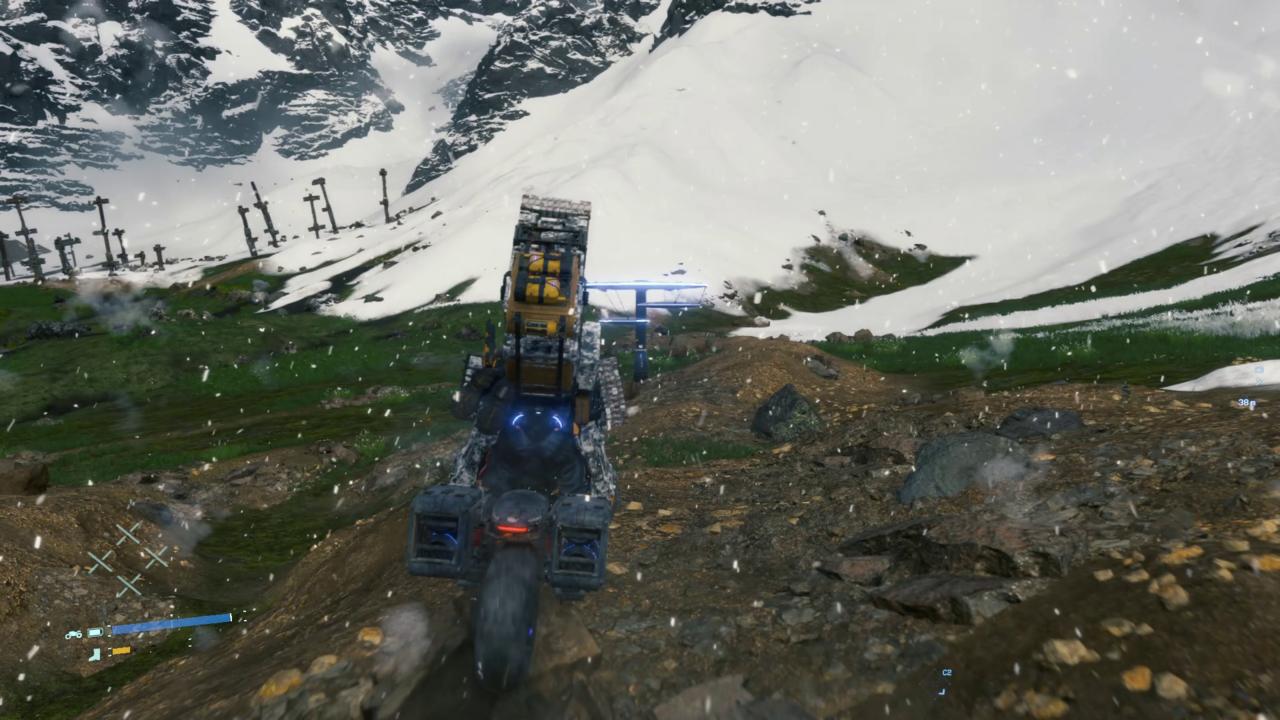
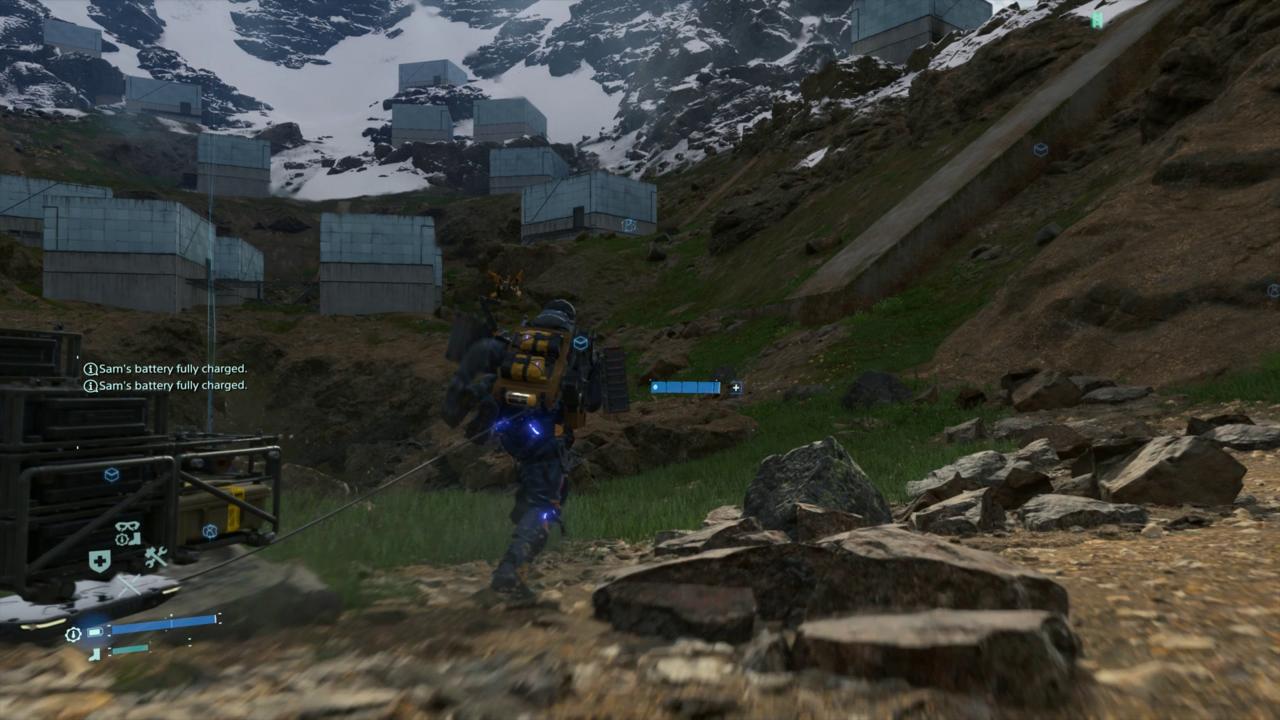
Episode 6 - Approaching BT Territory
Hey, remember those pillars that you saw when you first arrived in Mountain Knot City? Here they are again! Do you remember whether there were BTs in this area? Spoilers: There are!
I would recommend ditching your bike when you get close and tackling the rest on foot, but try and establish a zipline station before diving in.
Side note: There should be a memory chip to collect near the pillars--I haven't been noting them because it's an optional thing, but hey, you should collect them when you spot them and hand them in for likes!
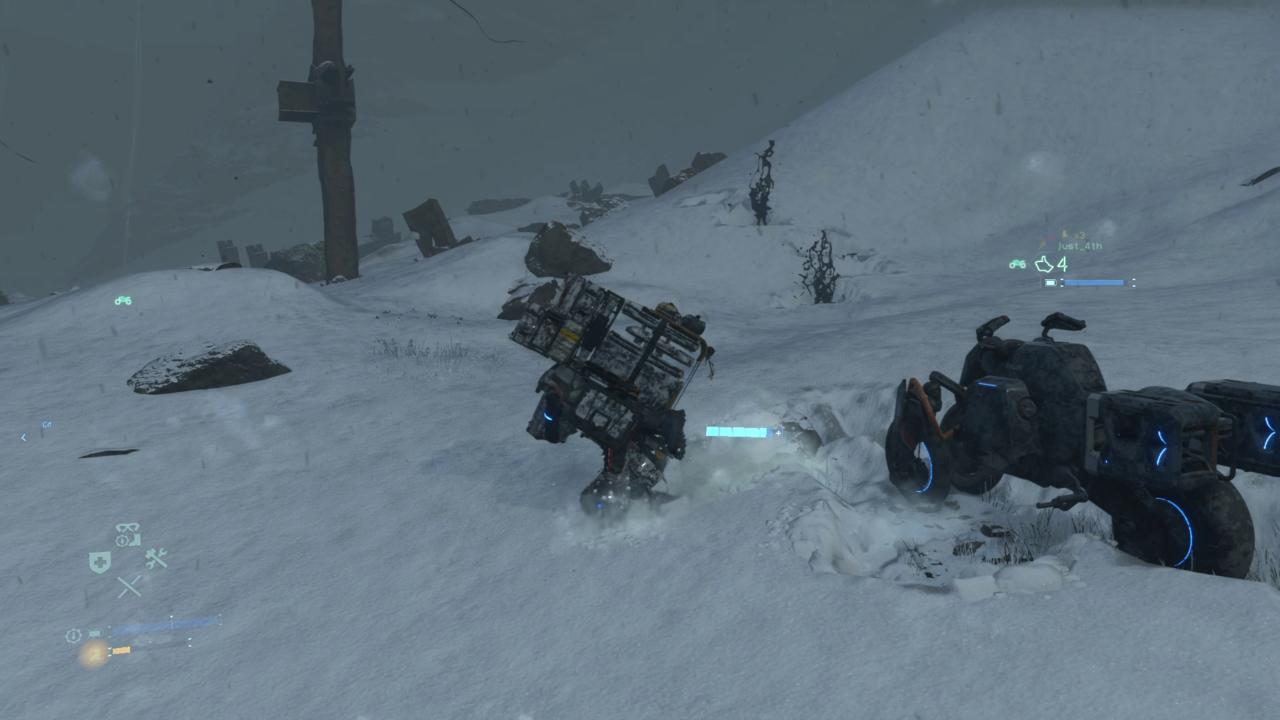
Episode 6 - Remember Basic BT Survivial
I left my bike at the very last second and instantly alerted a BT. Good thing I managed to escape it by holding my breath and moving real quick!
This section will last a while, but the terrain, at the very least, is forgiving If you head straight for the marker.

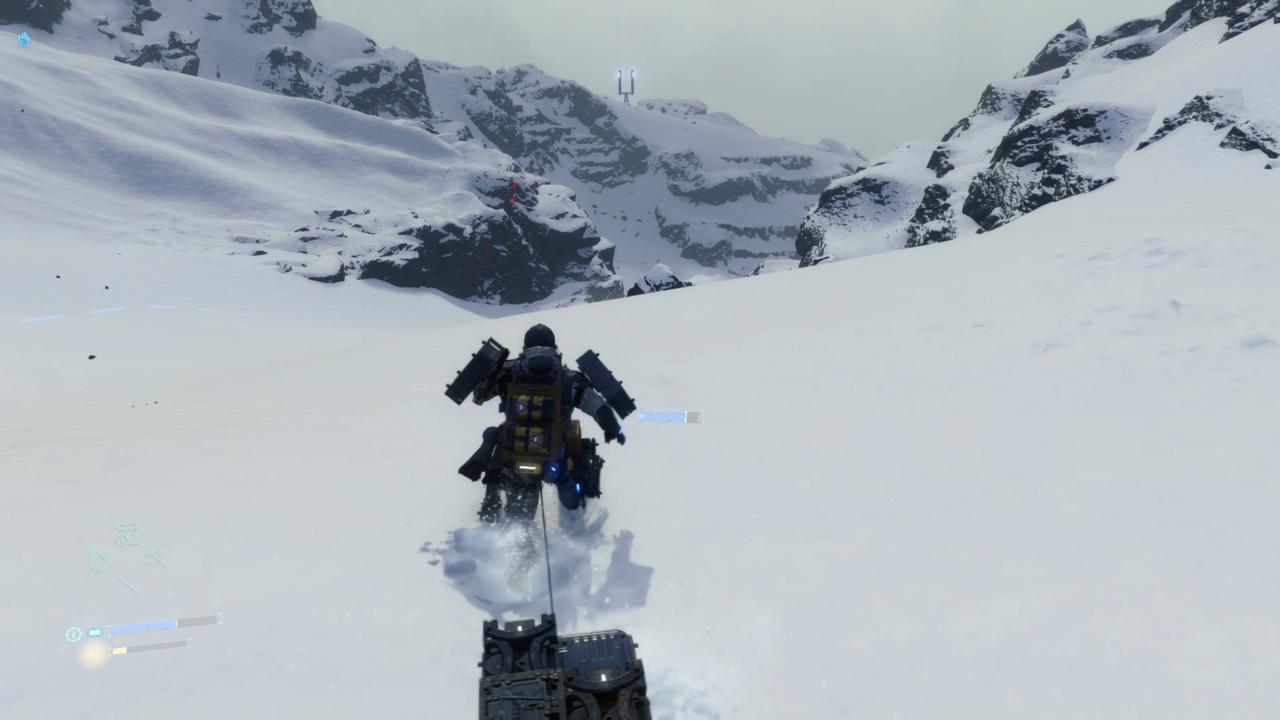
Episode 6 - Time To Climb!
You should be well clear of BT territory by the time you start to trek up another mountain. You should still within range of the chiral network here, so you can take a break if you need to, or set up some zipline stations. Seriously, I hope you're setting up some ziplines, you're going to need them soon, and they're no use just weighing you down!
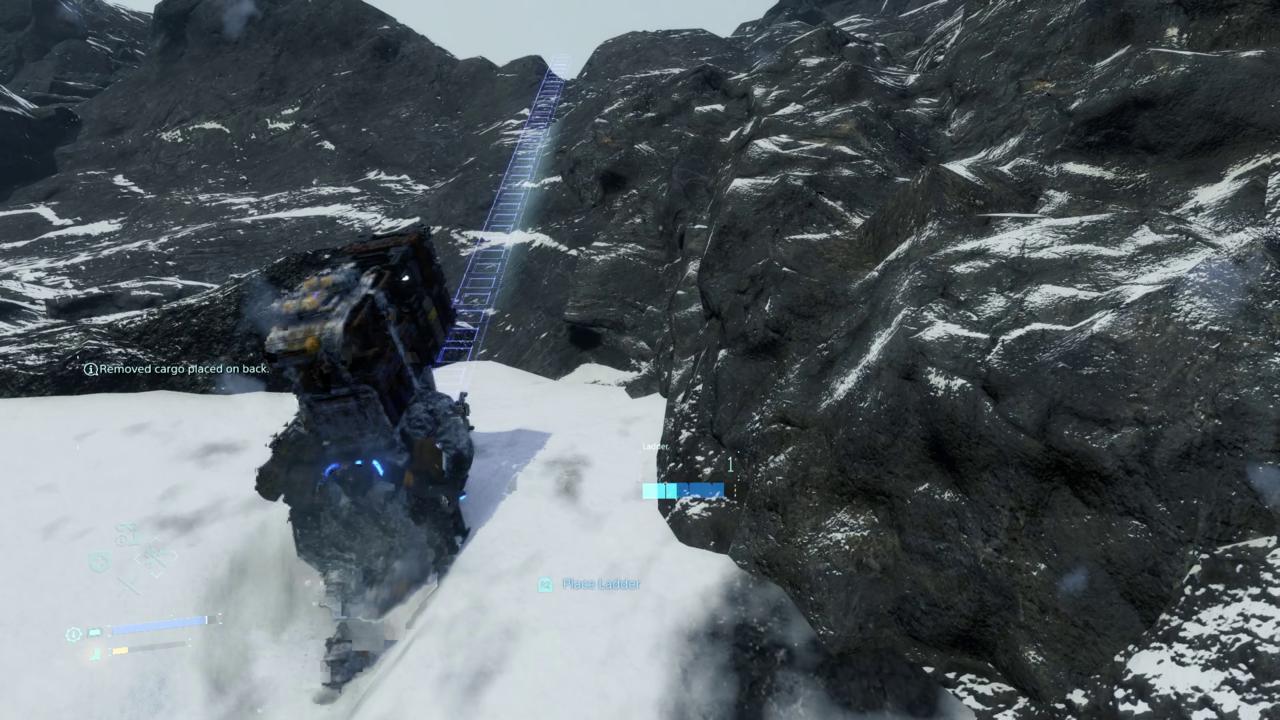
Episode 6 - Don't Be Afraid To Use Those Ladders!
If you're taking a straight shot to the Mountaineer, don't be afraid to throw up a ladder if any cliff faces are in your way. Everything you set up has a great chance of being used later, or helping someone else out.
Episode 6 - Finally!
The mountaineer should just be over that the crest featured in the last screenshot. Head in and turn in the cargo.
Easy, right?
Episode 6 - You Want Me To WHAT?
I shouldn't have said anything. As it turns out, the Mountaineer is having a few issues that require the assistance of the Doctor--yes, the Doctor way back near Mountain Knot City. What's more, this is going to be a timed operation.
The Mountaineer provides you with a bunch of gear to make up for the fact that he's not going to let you fabricate your own, so either grab it all and throw it in your floating carrier, or prioritise the climbing gear and container repair sprays and leave everything else in the private locker.
This is going to be a long trek, so you're going to want to have as little on your person as feasible.
Episode 6 - Pray For Infrastructure
Set out and head southeast.
Now, the initial hike back is going to be all you, and any manual climbing equipment you left behind. But once you get back into chiral network territory, your handy zipline system (you set those up, right?) should help ease the burden of this task immensely.
If you didn't manage to do so, some climbing anchors can provide a quick shortcut to the bottom of the mountain, but keep in mind that you'll have to slowly trek through that long BT area again--and without BB, there's way more danger of being caught.
Episode 6 - Just Visiting!
You should be back at the Mountain Knot City in no time (well, depending on how quickly you got down that mountain) and from there it's just a short hop to the Doctor's place. You… remember how to get there, right?

Episode 6 - Doctor, Doctor!
Of course you do, look at that! You're internalizing these mountains like the back of your hand.
Head in, pick up the cargo, and turn right around. No time to lose!
Episode 6 - ALL ABOARD
Hey, you've been setting up ziplines, right? Because if you're not back at the distribution center in like 30 seconds you don't know what you're missing.

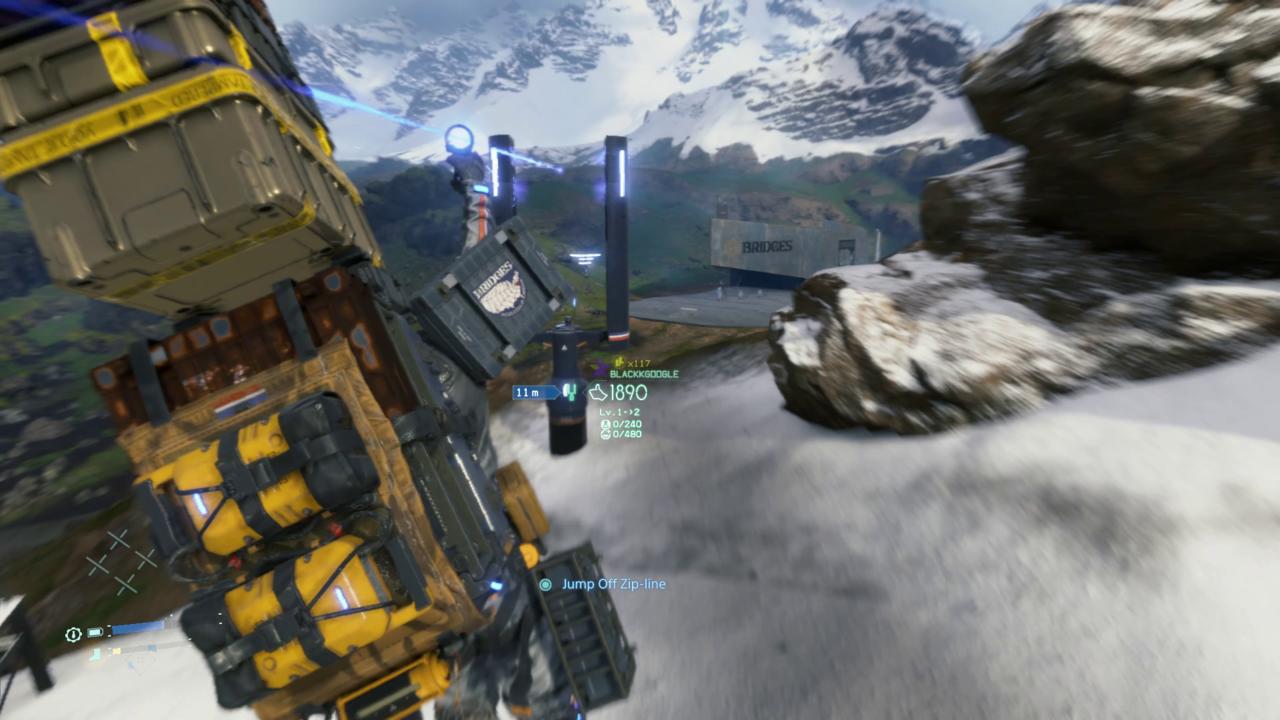
Episode 6 - WHEEEEEEEE
And now we zipline back up the mountain, avoiding all those BTs!
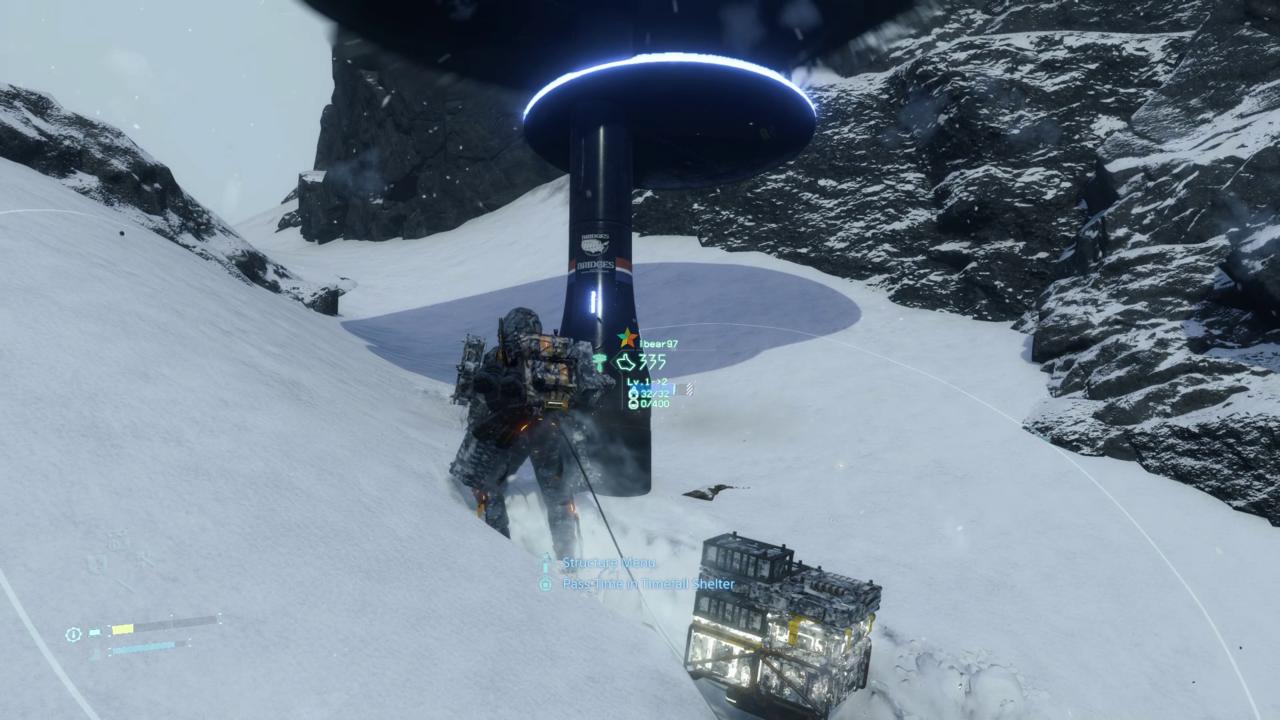
Episode 6 - Stay A While, And Repair Your Stuff.
Someone in my game was smart enough to establish a timefall shelter on the border of the chiral network, just before the Mountaineer's place. It let me repair all my gear, so you can bet I smashed that like button!
If you don't have a shelter in your game, consider putting one here for future porters!
You'll now have to trek on foot once you reach the peak of the mountain, unfortunately, but having a lot of the legwork done by ziplines is a godsend. Go deliver those things!

Episode 6 - Now You're Playing With Power (Gloves)
Upon delivery and chiral network connection, the Mountaineer will reward you with blueprints to construct Level 3. Bridge Boots, as well as POWER GLOVES.
These things are great, they increase your grip strength, let you more easily slow yourself from sliding down the side of a mountain, let you climb ladders faster, and most importantly punch MULEs harder (don't listen to what anyone says about not punching people with them)
They do use battery life, however--so always have a PCC handy to pop up a generator if you need it. With powered legs, hands, and potentially armour and vehicles, it can be frustrating to be stranded without a way to recharge.
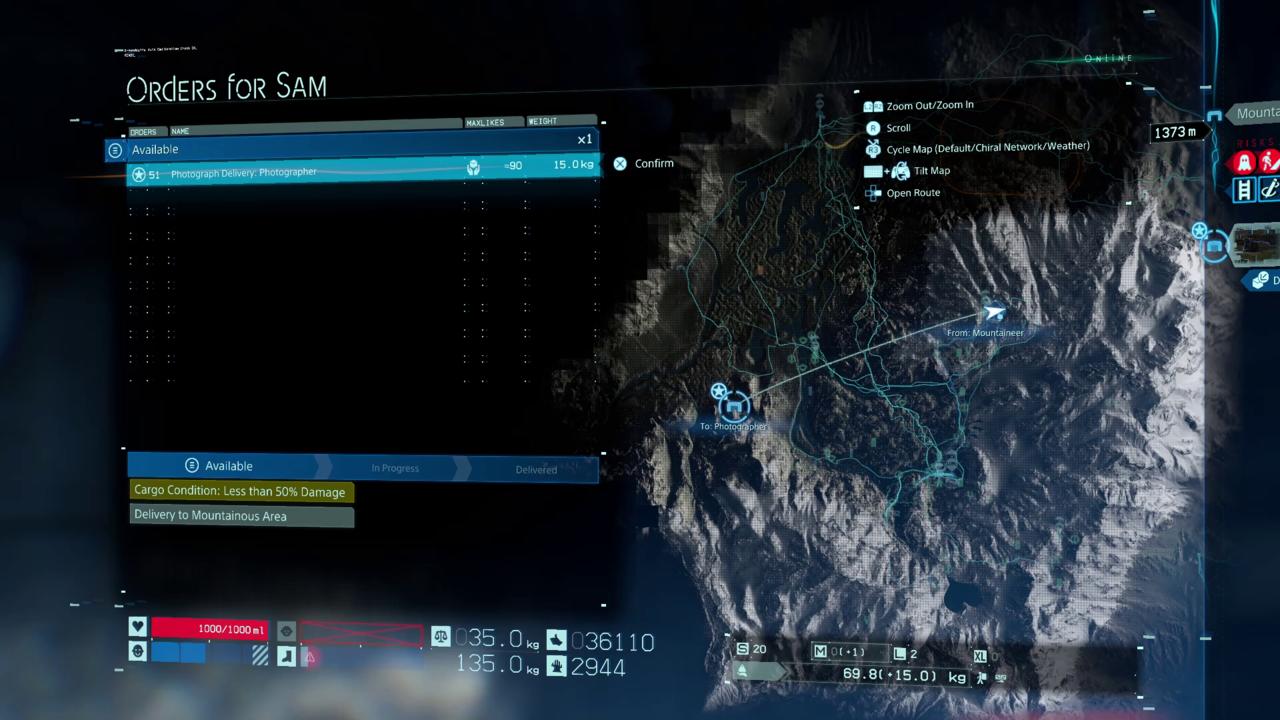
Episode 6 - Now Go To The Other Mountain
The mountaineer will give you the next critical mission, which is to deliver some cargo to a new prepper, the Photographer. She's located slightly southwest of your location, on the opposing mountain range.
Before you leave, don't forget to grab some container repair sprays and PCCs for ziplines!
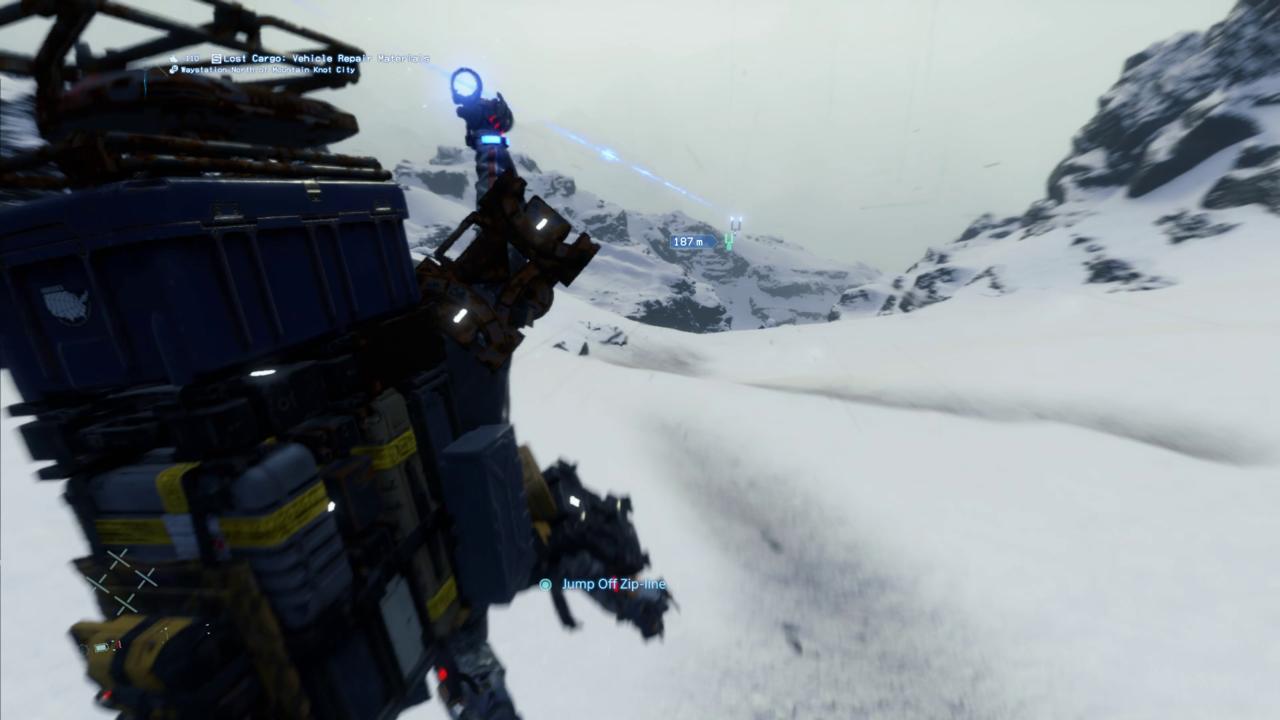
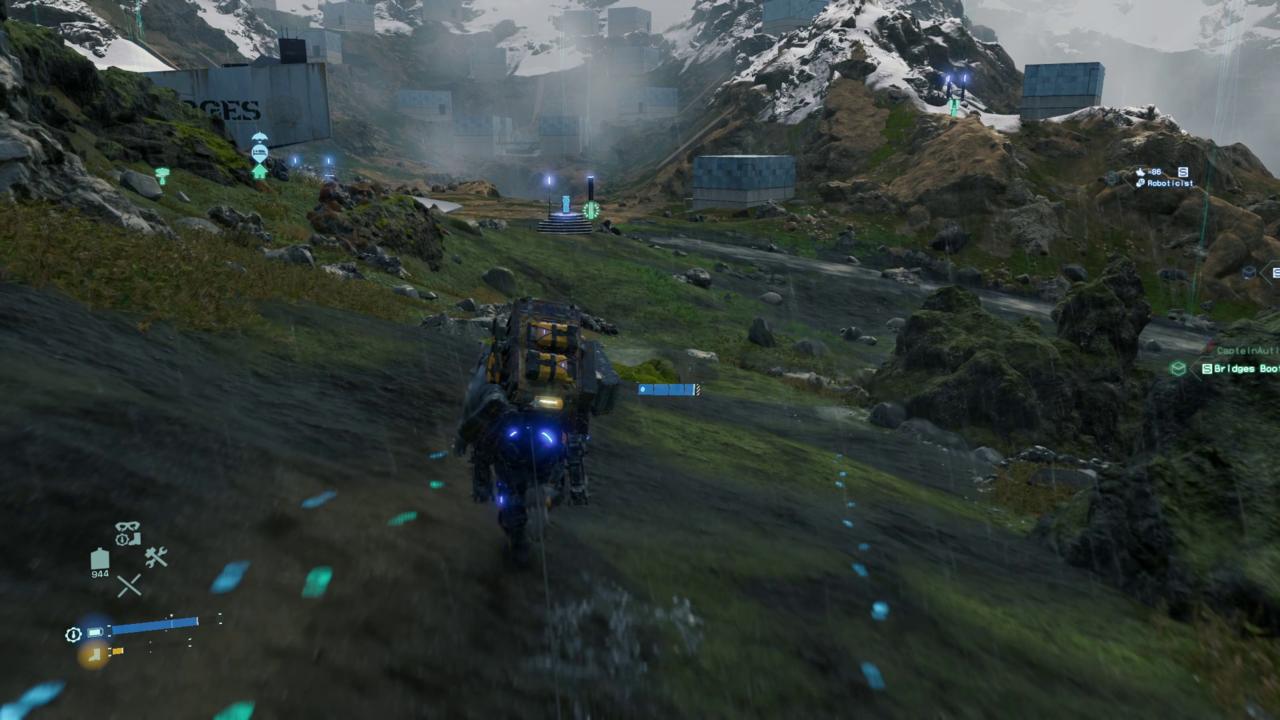
Episode 6 - YEE HAW
Now that the chiral network is back up, you know what you have to do--extend your network of zip lines and start *screaming* down that mountain.
Episode 6 - And Now, A Peaceful Walk
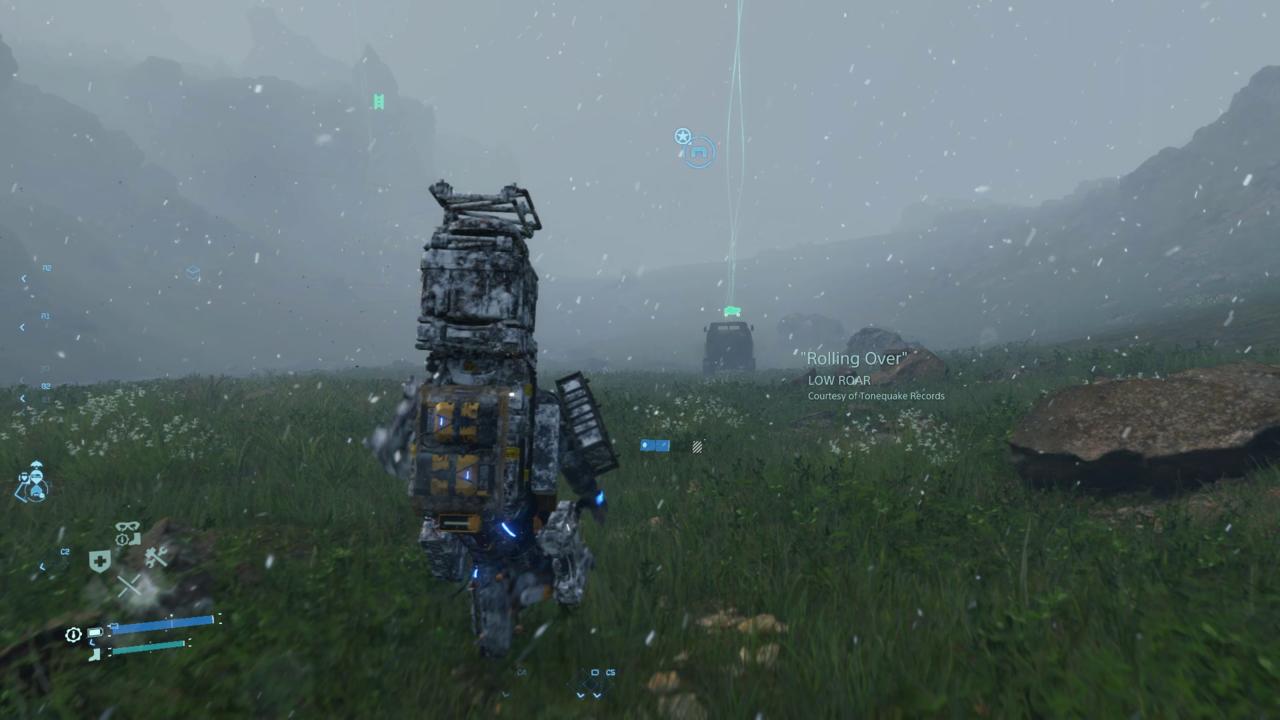
The valley bridging the two ranges is relatively flat and uneventful--definitely a perfect place for some self-reflection and another Low Roar track.

Episode 6 - BTs Love Mountains
Once you get close to the other side, you'll enter some familiar BT territory. This timefall section seemingly doesn't pass, so play it safe, remember your BT essentials, and do your best to get to the other side.
Hopefully, you still have enough PCCs to establish a zip line bypass to this area once you're through.

Episode 6 - Hello Photo
Past the BT area, the range leading to the Photographer's place is relatively mild. It'll still be raining, so be sure to repair your containers before handing the cargo over for that S-Tier kudos

Episode 6 - Go Fetch!
Oh great, the Photographer wants to give us a retrieval mission? *And* go up against some MULEs with GUNS?
Well, we have these Power Gloves to test out, and the Photographer is seemingly giving us full access to her armoury, so I guess this might be fun?
Grab all the weapons and tools from the cargo shelf, equip the armour plating on your suit, put anything you don't need (lost cargo, climbing gear) into your private locker, and let's head out.

Episode 6 - I'm Coming For You, MULEs!
Head northeast. The path to the MULEs is a cakewalk, but get ready--you're guaranteed to get into a gunfight soon.
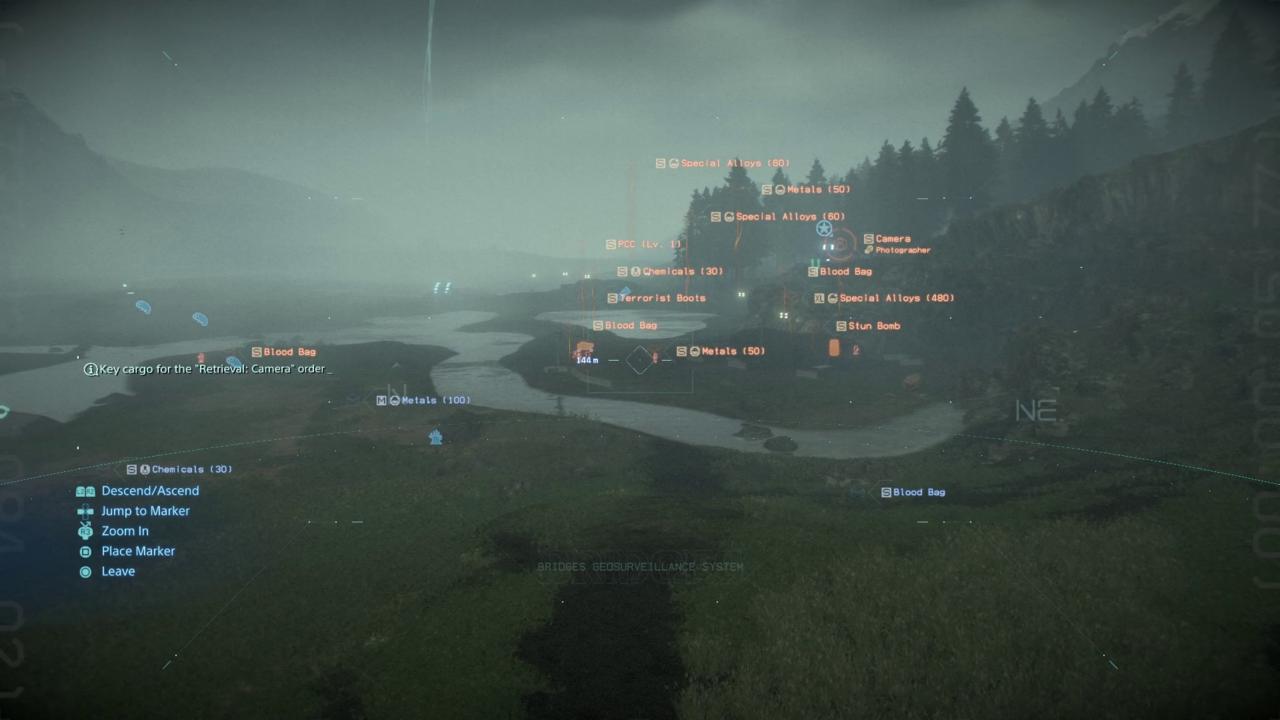
Episode 6 - I See You…
If there isn't already a watchtower on the outskirts of the MULE territory, I recommend building one and scouting ahead.
Now, seeing as we have all these guns, and I already tried a stealth run of this section and failed twice, I'm going to set you up with some good cover.
See those two rocks in the middle of the river in front of the MULE camp head there.
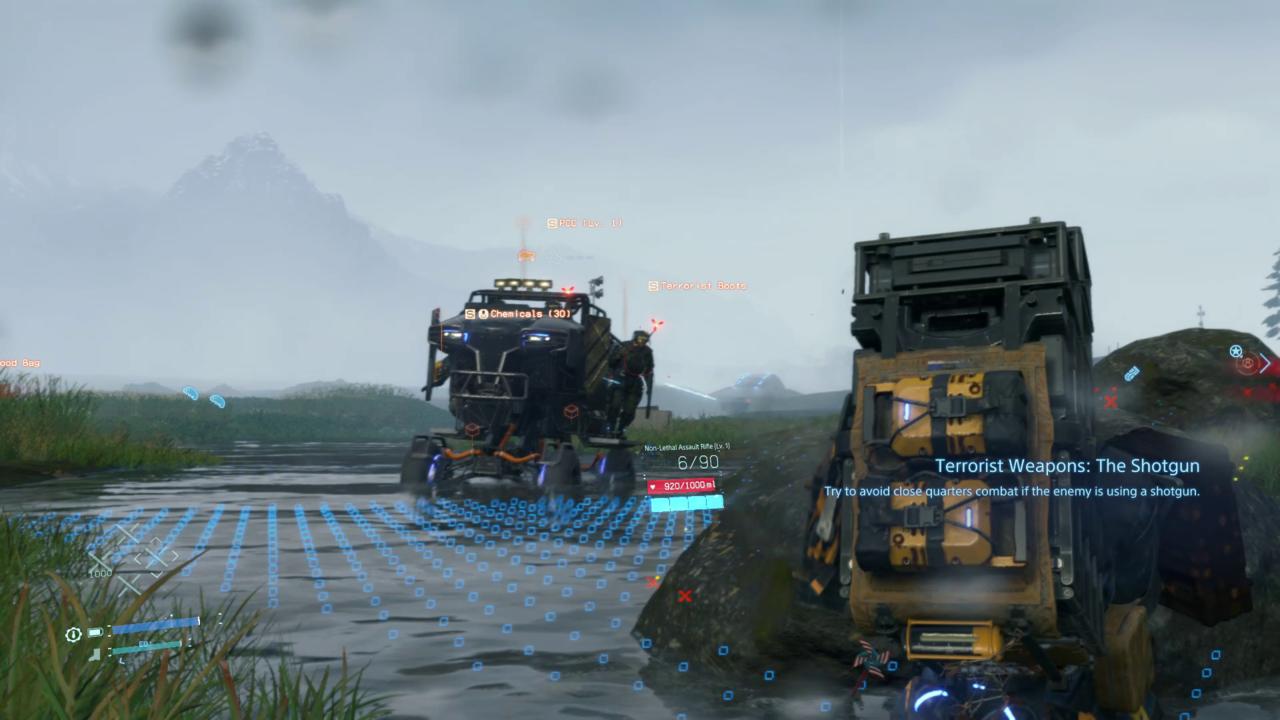
Episode 6 - Come To Me!
Once you get close to the river, it's easy for the MULEs to spot you and come running. These rocks in the river not only provide a great place for cover, but the MULEs need to slow down to traverse it, making them easy targets as they get closer.
Even the patrolling truck needs to slow down to cross the river, letting you easily take out everyone in it--non-lethally, of course.

Episode 6 - Okay, I'll Come To You!
You might need to move up a bit once the numbers start to dwindle--a perfect time to use the non-lethal shotgun the Photographer gave you. Trust me, it's a riot!
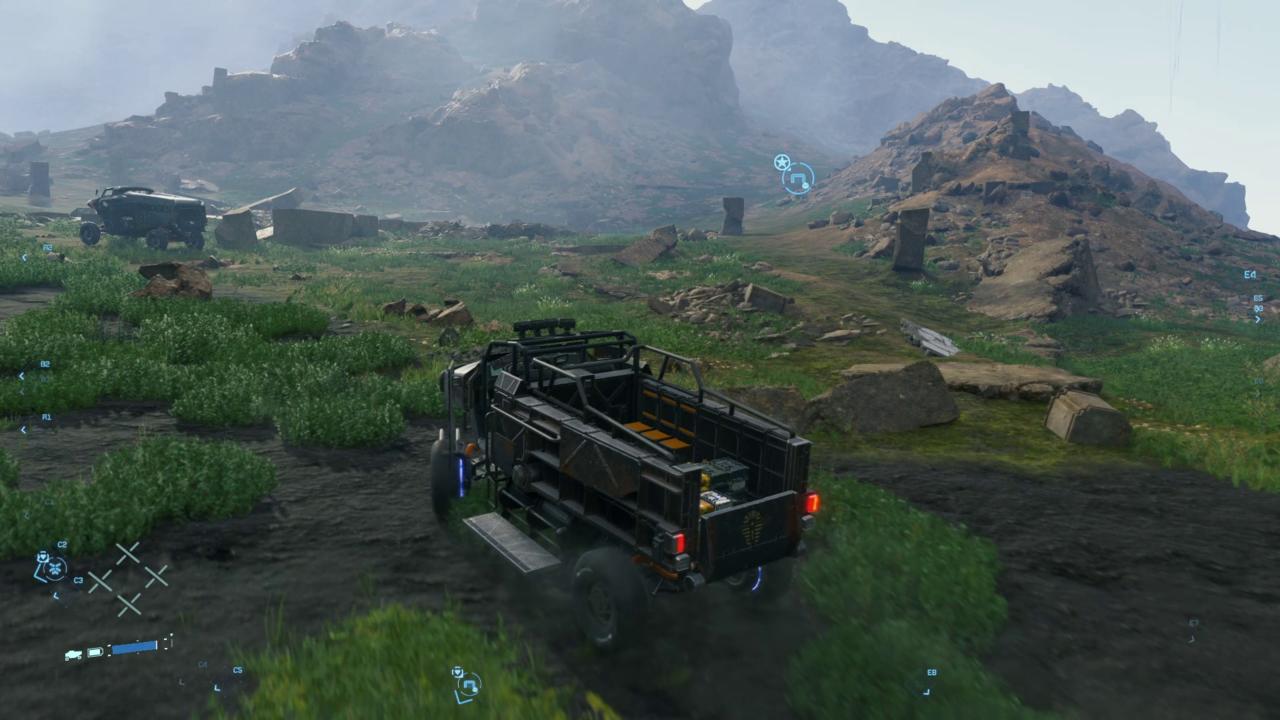
When you're done clearing them out, find the piece of cargo you need (one of the MULEs will have dropped it) and head on back.
You might like to steal one of their trucks and load it up with stuff to recycle back at the Photographer's place?
Episode 6 - Back We Go!
This trip back should hopefully be uneventful. At least, it was for me. I hope it is for you! Just watch that Timefall and don't do anything dumb, maybe.
Hand in the Photographer's cargo and let's move on! Are we done with these mountains yet?
Episode 6 - Mountaineer Again?!
Haha, sure aren't. As it turns out, the next critical mission needs to be picked up from the Mountaineer, so we gotta go back there.
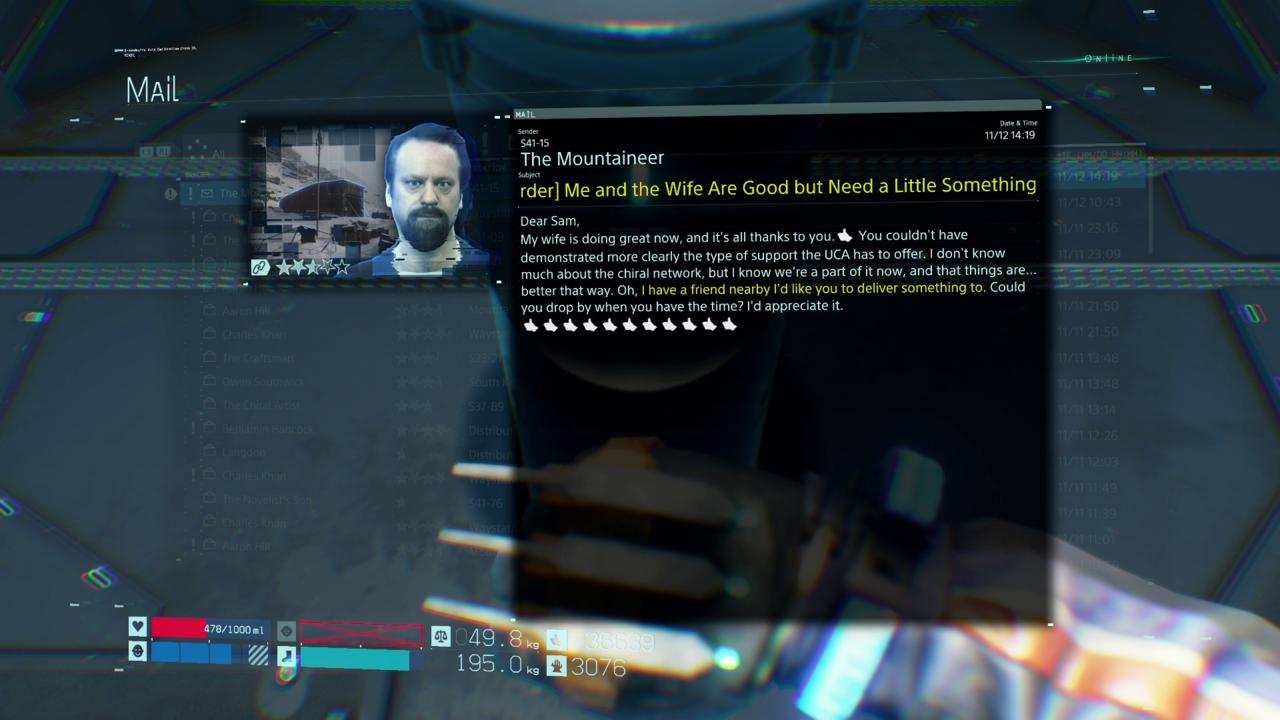
There's an optional request that you can pick up if you check your emails… you should probably take it, why not? We're going there now anyway.
Episode 6 - This Mountain Is Mine Now
It's a long trek back to the Mountaineer, but this is a nice opportunity to see all the progress you've made over the last few hours.
You should have zip lines everywhere (but especially up and down mountains), feel safe to drive and move through the space, and hopefully have plenty of bridges, generators, and timefall shelters around (thanks, other players!) to make you feel confident to make it through.
Off you go! See you there!
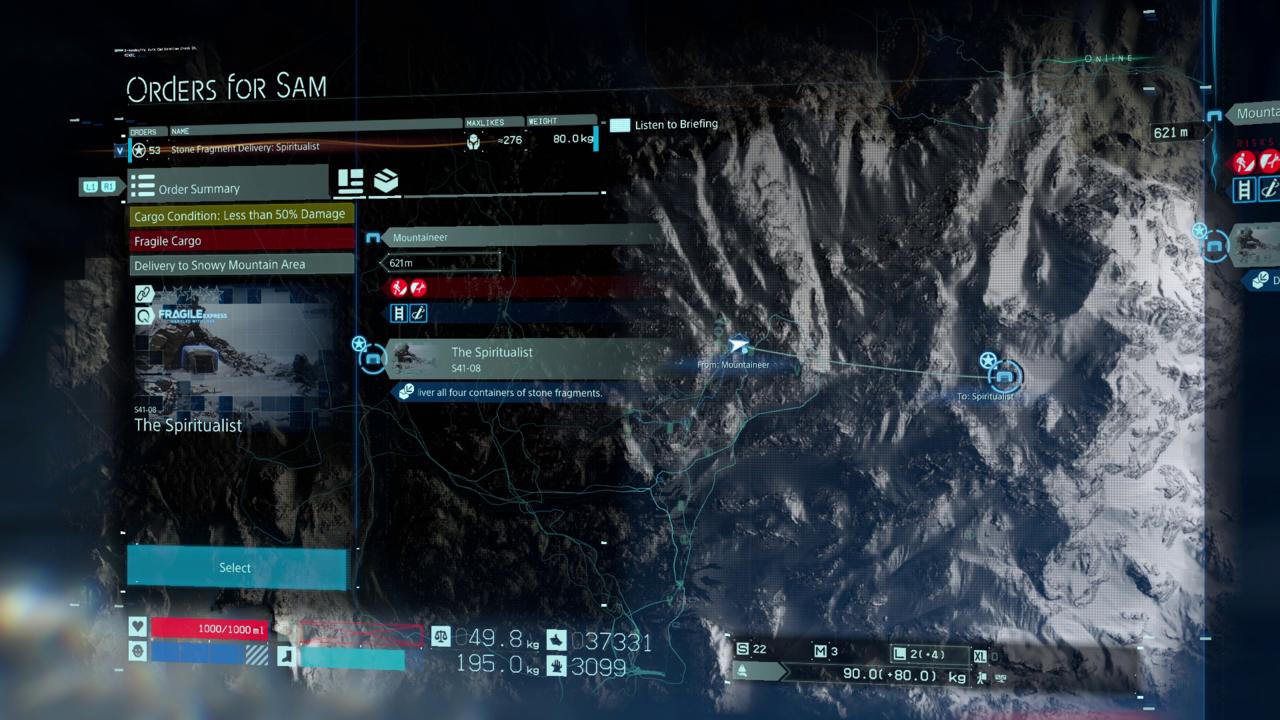
Episode 6 - Let's Get Spiritual
Okay! So the Mountaineer wants you to deliver a package to *yet another* Prepper in the mountains (how many people willingly want to live in this hell hole?)
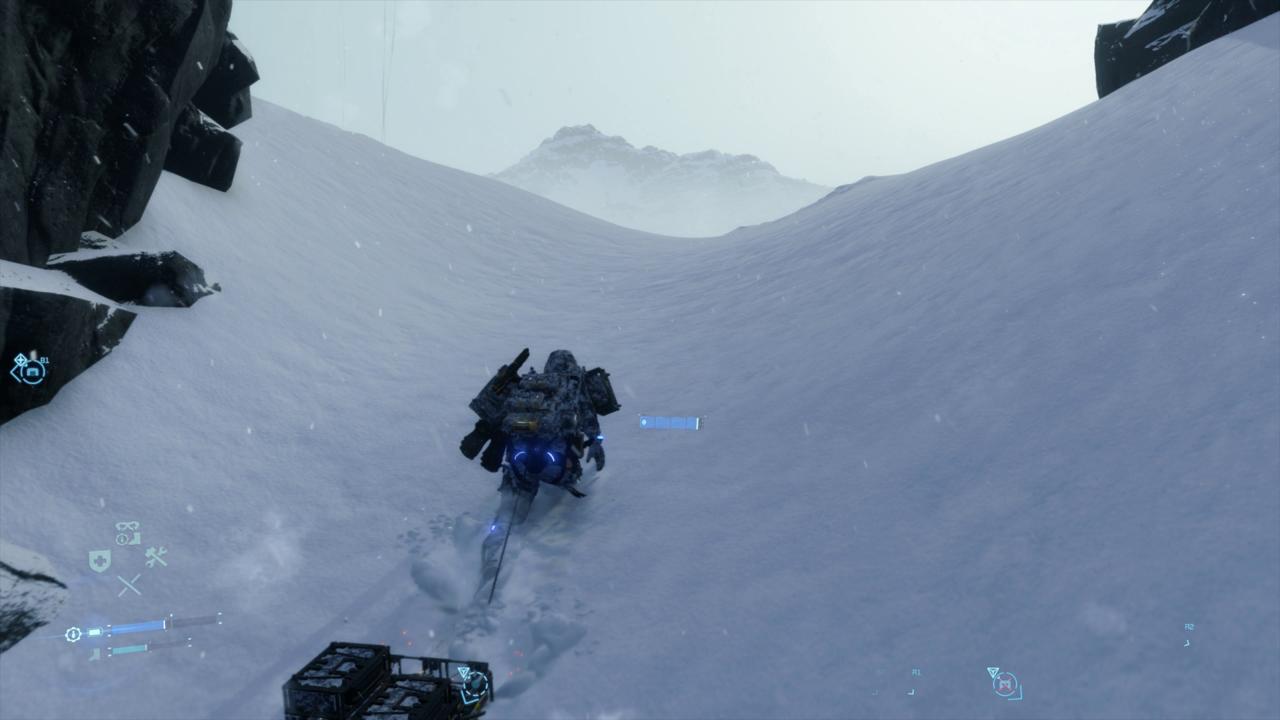
It's a short shot to the east, but there'll be a lot of up and downs across mountains. Make sure you equip your all-terrain skeleton and power gloves, bring some climbing gear and container repair spray, and make sure to charge up at a generator before you head off. If you're lucky to have a private room nearby, refresh your stamina there too.
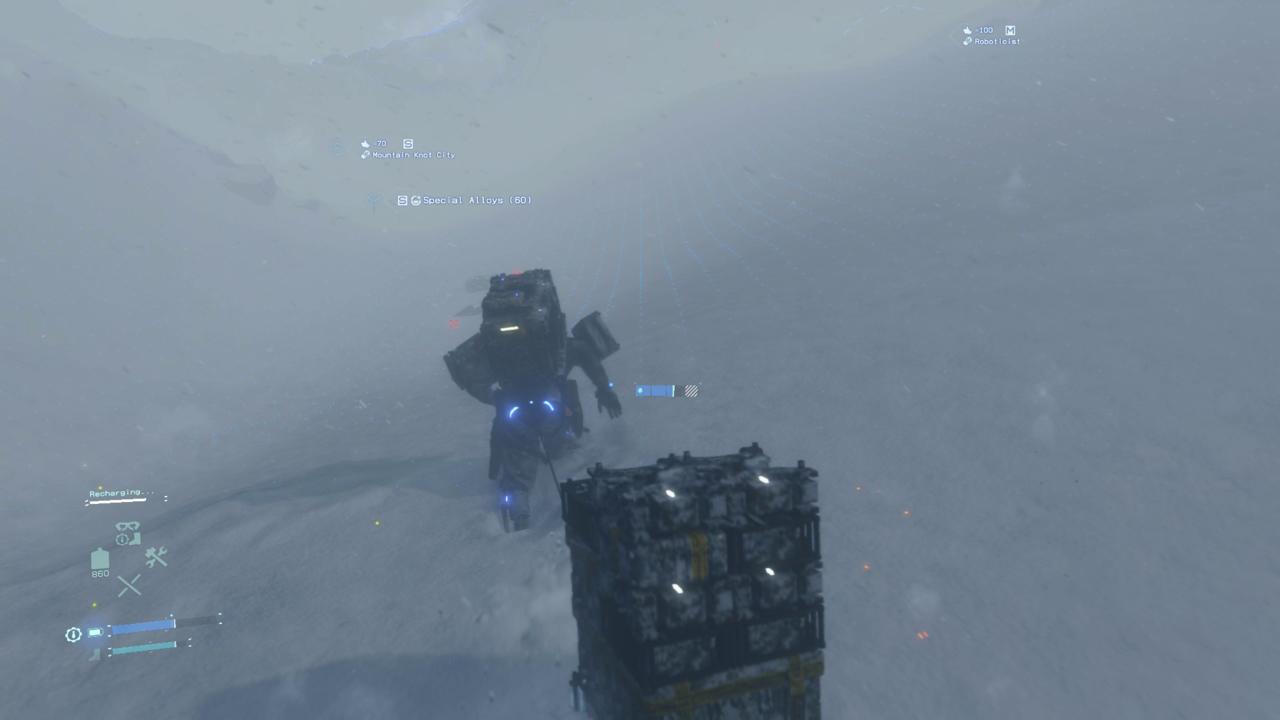
Episode 6 - Whiteout!
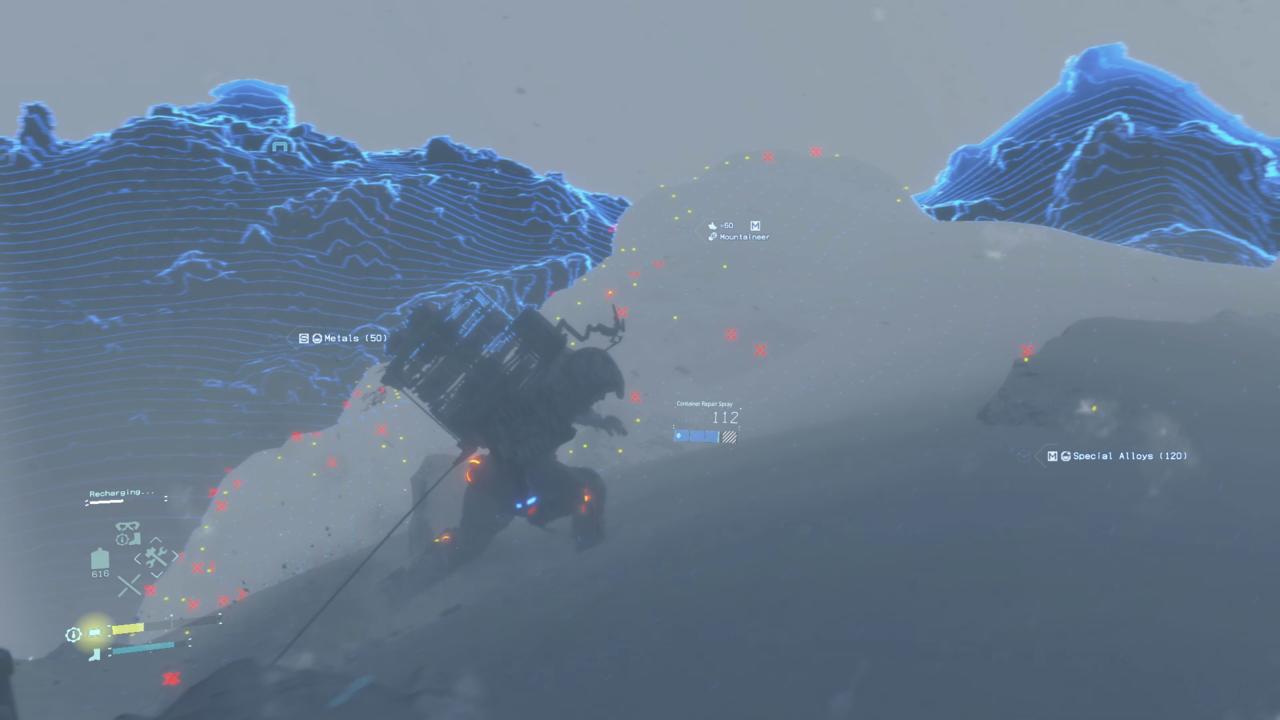
Oh yeah, surprise! The weather gets seriously intense. You won't be able to see very clearly in front of you, so be sure to use the odradek scanner freely to get the lay of the land. You'll soon be going up sheer faces, and it'd be good if you knew which way was up.
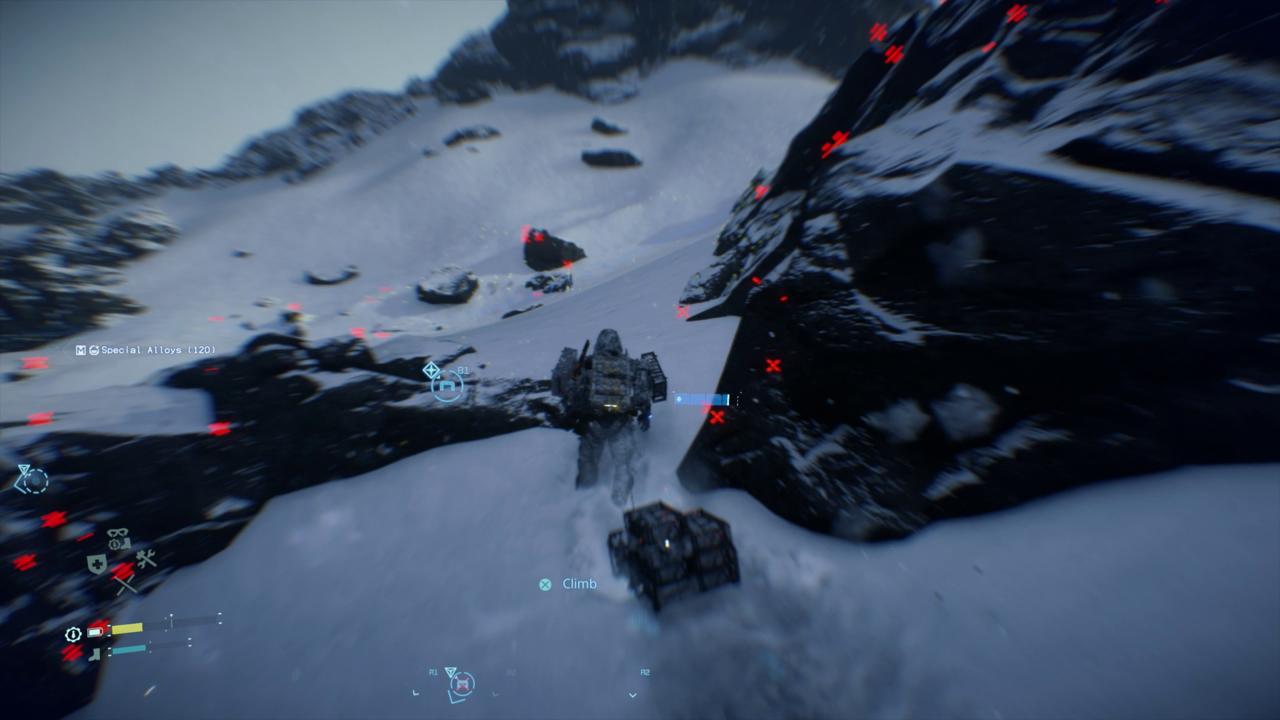
Episode 6 - I Should've Stayed In Central Knot
This screen was basically all white before I scanned. Remember: Red is bad! Don't step on re
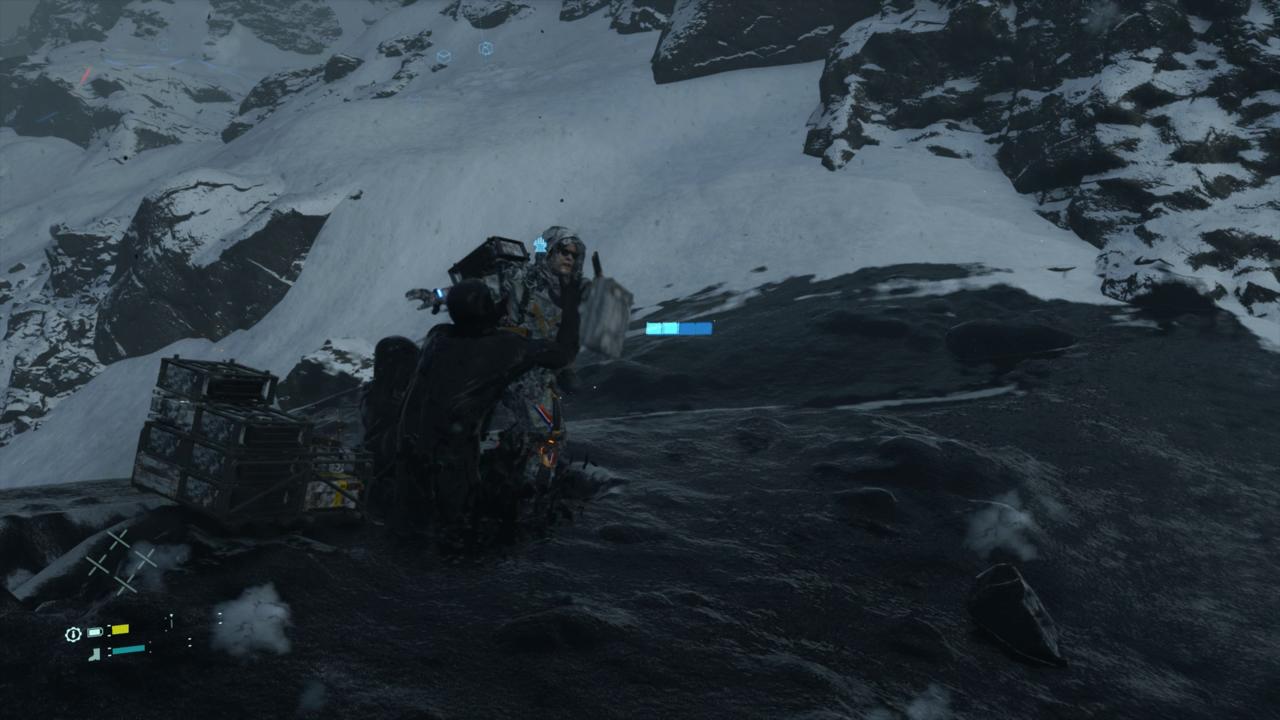
Episode 6 - Down To Nothingness
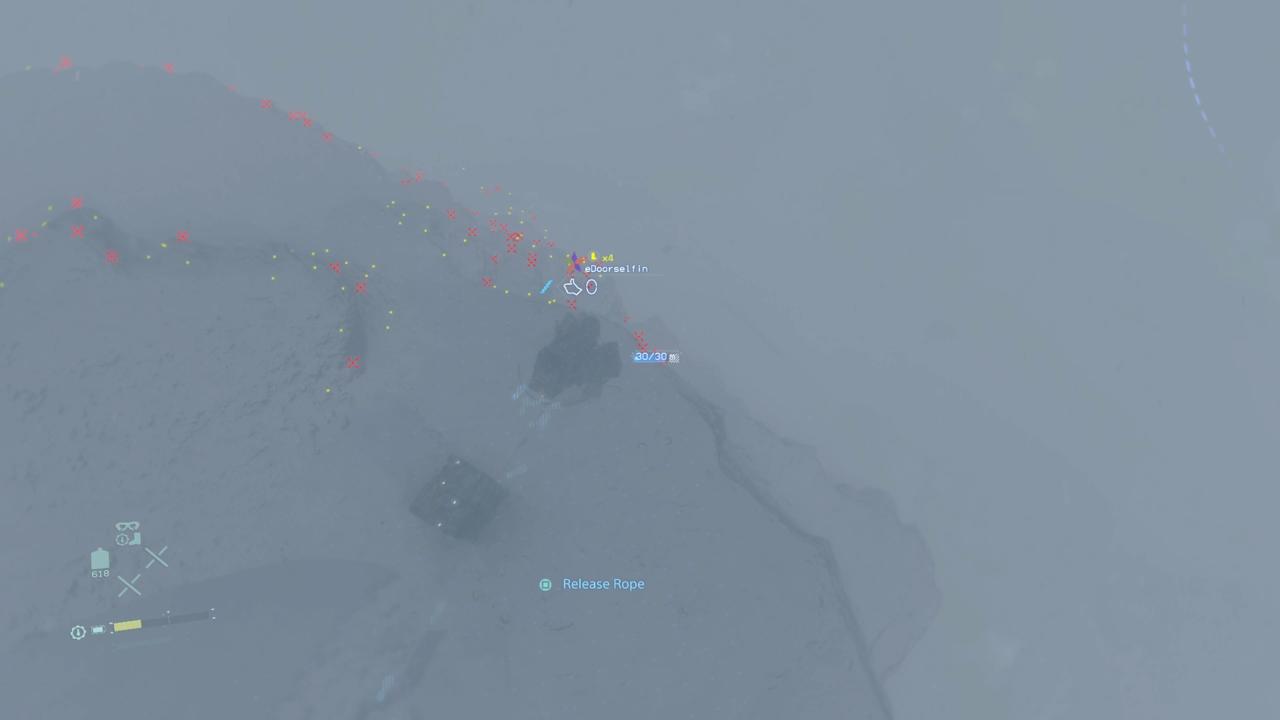
If you took a straight shot like me, you'll likely have to rappel down as you get closer. This descent required two climbing anchors, but I had to look carefully for a suitable spot to detach after the first one.
Find a flat-ish surface first! Don't fall to your death!

Episode 6 - Here We Are!
Spiritualist, you really need to reconsider your living arrangements.
Head in, repair the cargo with some spray, and hand it in. Give yourself a huge pat on the back, We're almost done.

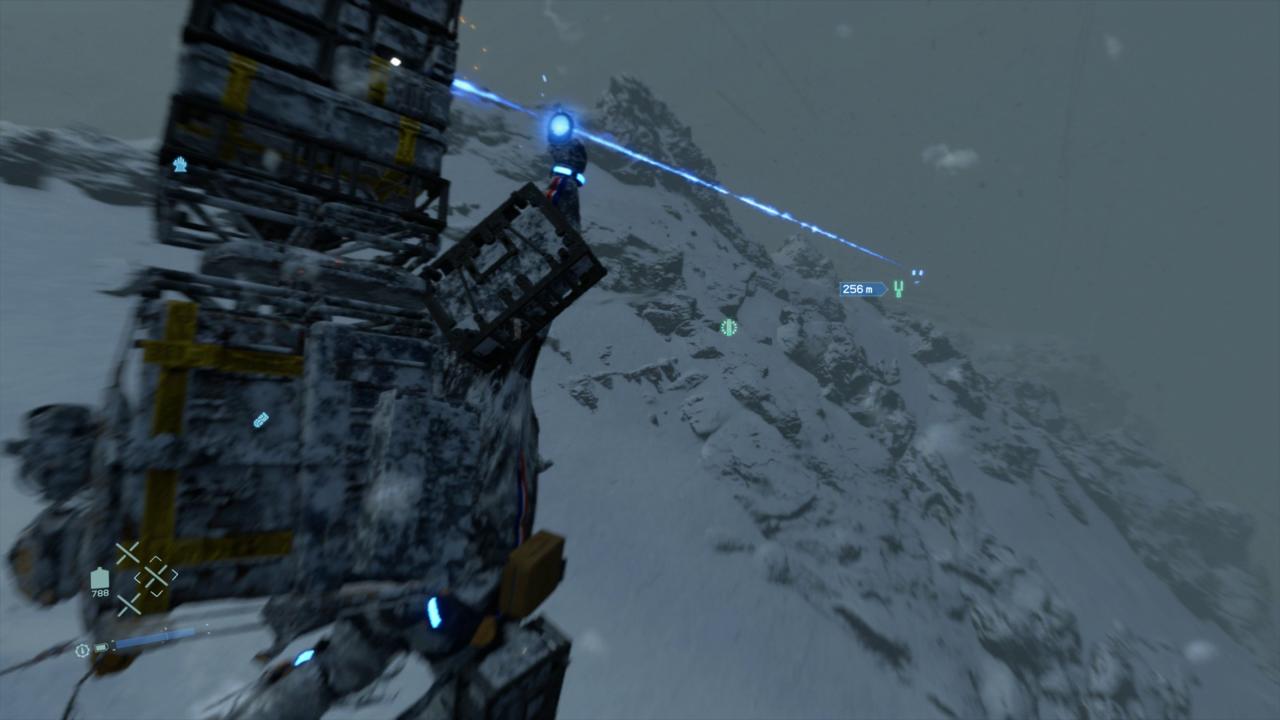
Episode 6 - Let's Meet Deadman
Deadman will ask you to meet him at his nearby cabin. Check your map if you need to, but I can tell you where it is--just look for the huge ominous cyclone.
Uh oh…
Grab a few ladders and anchors to make this short trip. I was fortunate enough to have a zip line arrangement already set up here (which also gave me a killer view of the environment), but if you don't, you'll just need to rappel down and head up another mountain. You can make it easier for yourself by veering to the side a little bit

Episode 6 - Almost There!
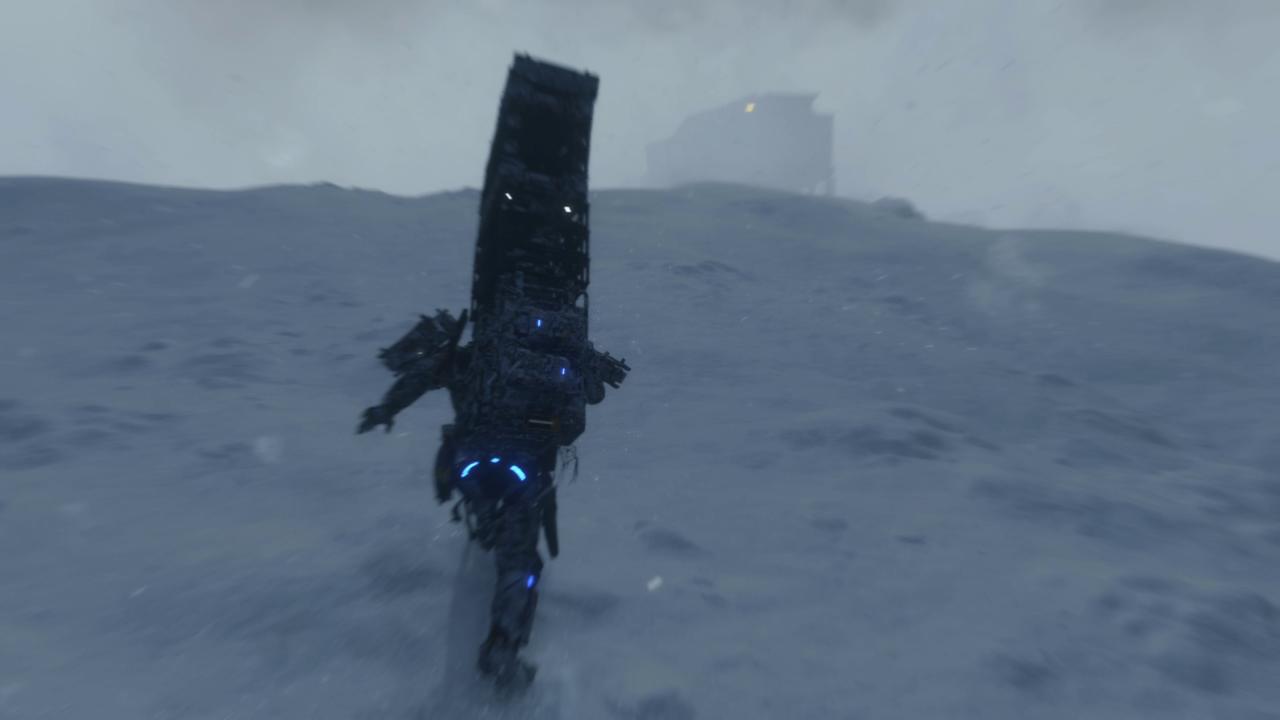
You'll know you're getting closer to your destination when the weather starts getting *really* bad.
But don't worry! It won't be long before you get into Deadman's cabin and have a nice hot cup of tea.
Episode 6 - We're Here! We Did It! We Conquered The Mountains!
Amazing work, you! Once you get close to the cabin, head inside, kick off your boots, and have a rest by the fire. You've certainly overcome a lot of obstacles in this episode, and you deserve to watch a nice, relaxing cutscene of Norman Reedus and Guillermo del Toro having another shower together.
Probably.
That's it for Episode 6! What an amazing effort by you to conquer those mountains. You deserve a break, but If you're gonna keep up the momentum, we have the Episode 7 walkthrough all ready to go.