Destiny 2 Gambit Prime, Reckoning Tier 1-3 Guide: How To Win The Drifter's New Games

GameSpot may receive revenue from affiliate and advertising partnerships for sharing this content and from purchases through links.
The new Jokers Wild expansion in Destiny 2 focuses on Gambit, the mode added in the Forsaken expansion that mixes shooting AI enemies with battling another team of players. In Jokers Wild, Bungie introduces two new Gambit-related activities: a new version called Gambit Prime, and The Reckoning, a tough wave-based mode that gets you new armor and weapons depending on which of the three difficulty tiers you try.
Gambit Prime makes a few key changes to how the original Gambit works, toughening up the experience and putting an emphasis on teamwork. Gambit matches see two teams of players face off, but for most of the match they fight waves of AI-controlled enemies rather than each other. Defeating enemies creates "motes" that players pick up and take them back to a bank in the center of the arena--bank enough motes, and you summon a boss called a Primeval. The first team to kill their Primeval wins.
A lot of those same rules apply in Gambit Prime, but with a bunch of new caveats. Gambit Prime matches consist of only one round, rather than the best of three structure in original Gambit. They're also a lot tougher, with stronger Primevals, more motes required to summon the bosses, and more difficult enemies to fight in each of the waves. Gambit Prime also works together with Reckoning, a new horde-like mode that lets you take your winnings in Gambit Prime and turn them into special gear. Both Reckoning and Gambit Prime are top-level activities, and they require a lot of coordination with other players.
If you're having a hard time jumping into Gambit Prime or Reckoning, don't worry--we've got you covered. Here's everything you need to know about the tweaked Gambit rules, how to best aid your teammates, and what you need to know to be effective in Reckoning.
Find Your Role
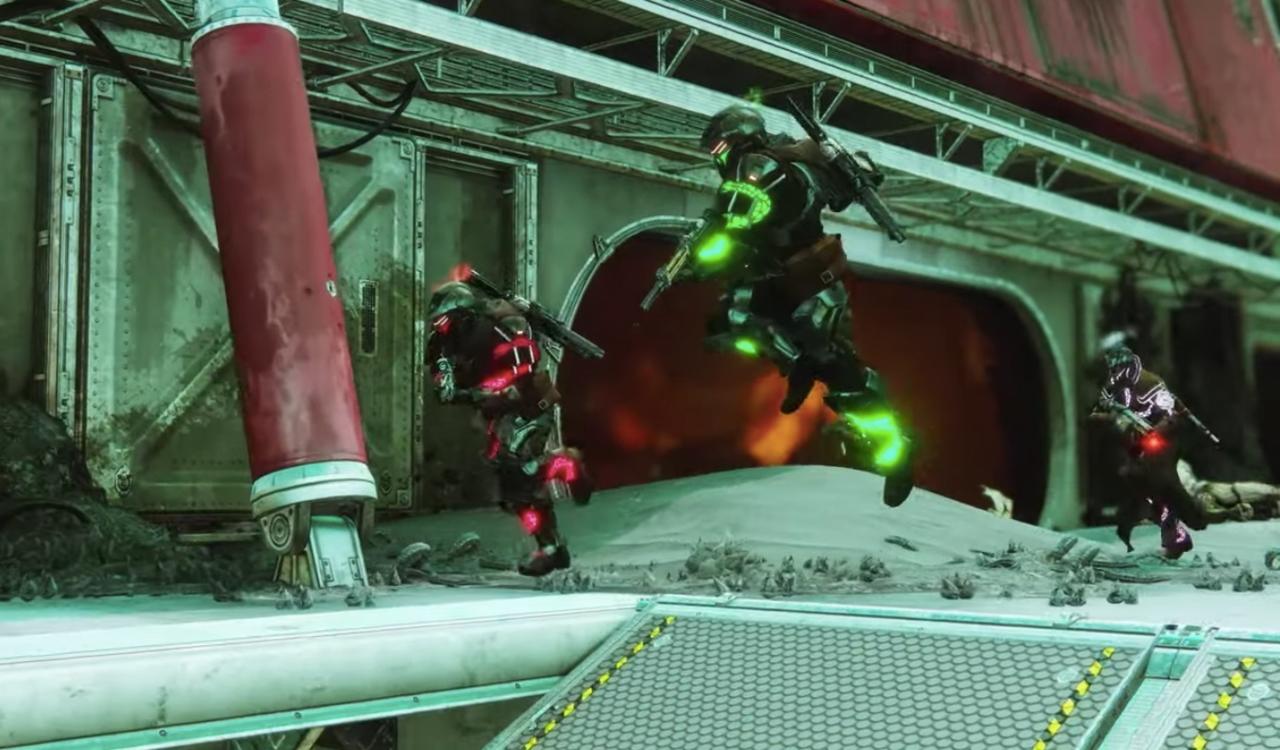
Gambit Prime is an amped-up version of the original Gambit, which was often something of a free-for-all. A four-player team scrambled to kill enemies and snag the motes they dropped in order to return them to the bank, and thanks to daily and weekly bounties, often teammates would steal motes from each other in order to pull higher numbers. Although everyone was on a team, players were still mostly out for themselves and rarely worked together in matchmaking rounds.
In Gambit Prime, there's more of a push for team synergy. That means that each person on the team should have a specific role: Reaper, Sentry, Collector, or Invader. The Reaper's job is to kill as many enemies as possible, while the Collector is meant to run around, grabbing motes and bringing them back to the bank, bringing in high totals and sending the toughest blockers to fight the opposing team. The Sentry's job is to smash blockers as they appear, and to focus on Invaders when they show up, while the Invader should focus on striking blows against the other team as much as possible. Knowing your role, sticking to it, and earning the right armor for it in Gambit Prime and Reckoning can make you highly effective in Gambit Prime--but if you and your team don't work together, you're very likely to get wrecked by people who do.
Note, also, that just because you pick a specific role doesn't mean it's the only thing you can do. Experiment with multiple ways to play to find where you excel the most.
Aid Your Teammates
No matter your role, Gambit Prime is largely the same as Gambit: kill enemies and pick up motes. If you're not the Collector or the Reaper, that doesn't mean you shouldn't be helping out--just that you should stay out of those players' way and let them do their jobs. But it's also useful to shoot enemies, especially when they're near your Collector, as well as to help clear out blockers, to focus on taking down Invaders, and so on. Don't get so focused on your role that you forget about important things like blockers or Invaders that should immediately demand your attention. Gambit Prime is all about working together, and that means helping out your teammates as much as you can.

Watch Out For Mote Thieves
A big change in Gambit Prime over the original Gambit is the fact that you can lose motes from your bank under certain circumstances. When two or more blockers appear on your side, they'll start draining motes from your bank, and you'll want to clear them out as quickly as possible. You'll want to note also that multiple blockers are almost always joined by an Invader--so keep your head on a swivel. Drained motes can amp up your enemies at key moments; listen for the Drifter to warn you that your bank's under assault, and make dealing with it your priority.
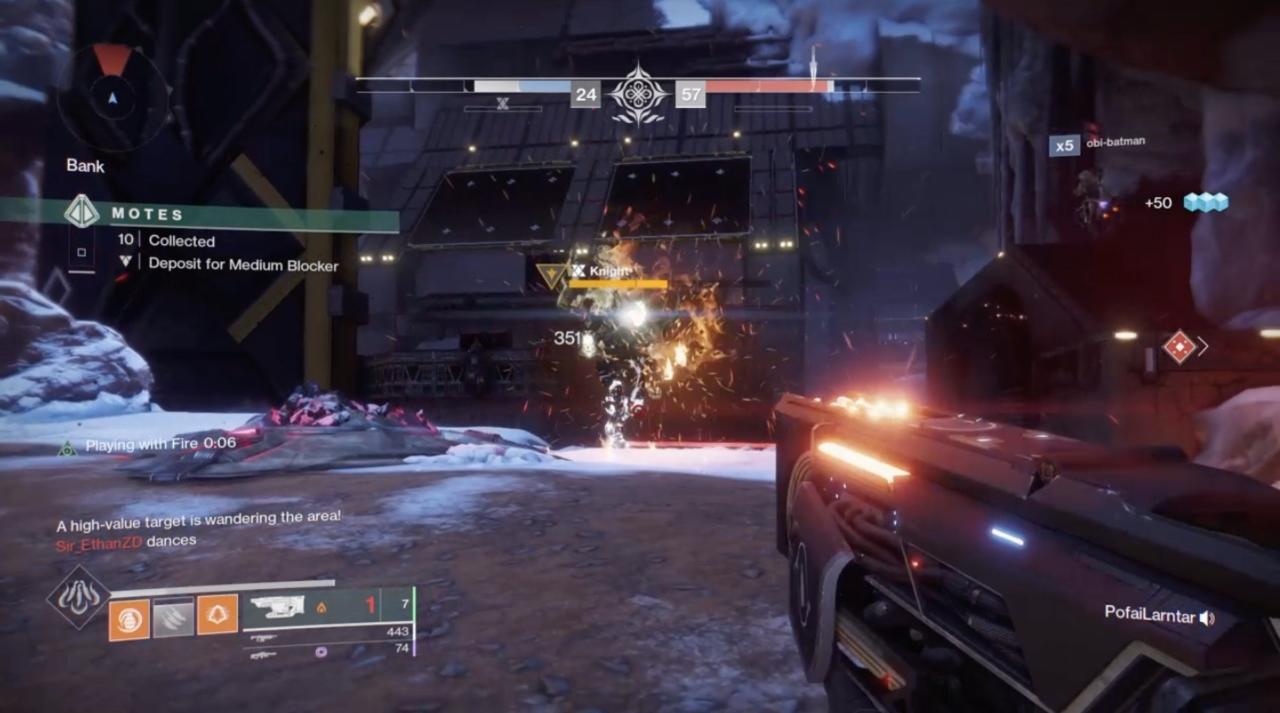
Gamble On Tougher Blockers
The flip side of guarding against blockers that can steal your motes is sending blockers to steal the other team's motes. You can do that with any combination of two blockers, but if you want to do some real damage, you can't just drop small blockers on the opposing team and expect them to get the job done. Small blockers are weaker since the Joker's Wild update, and that means they're very easy for enemies to destroy. Combine small blockers with medium and large blockers to make for a more effective attack--small blockers can shield larger ones, making them a lot harder for the enemy team to defeat them. Medium and large blockers also have more health than before the update, so it's worth gambling on getting more motes in the bank to get send better blockers.
Invade, Invade, Invade
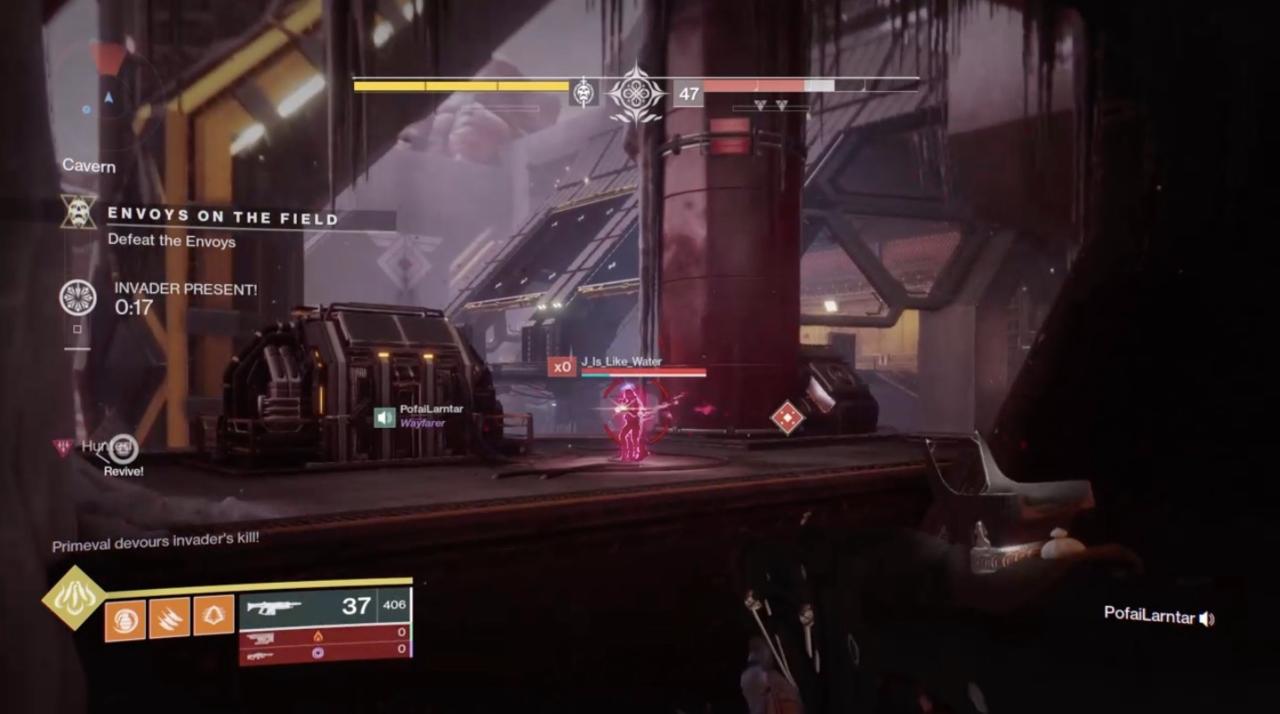
Gambit Prime is currently heavily weighted toward invasion. On your way to summoning the Primeval, you'll get three different opportunities to invade the other team, and you won't want to sleep on those chances to do some damage to the other team. Slowing down the opposing team is even more important in Gambit Prime than in regular Gambit. On the other hand, part of the Sentry's job is keeping an eye out for invaders and dropping them quickly--but really, you're going to need to whole team to be hypervigilant about enemy players. Especially during the Primeval phase, invaders can completely swing the tide of a match. When you're invaded, drop what you're doing and eliminate them, or you'll find yourself making zero progress against the Primeval--every death your team suffers heals the boss.
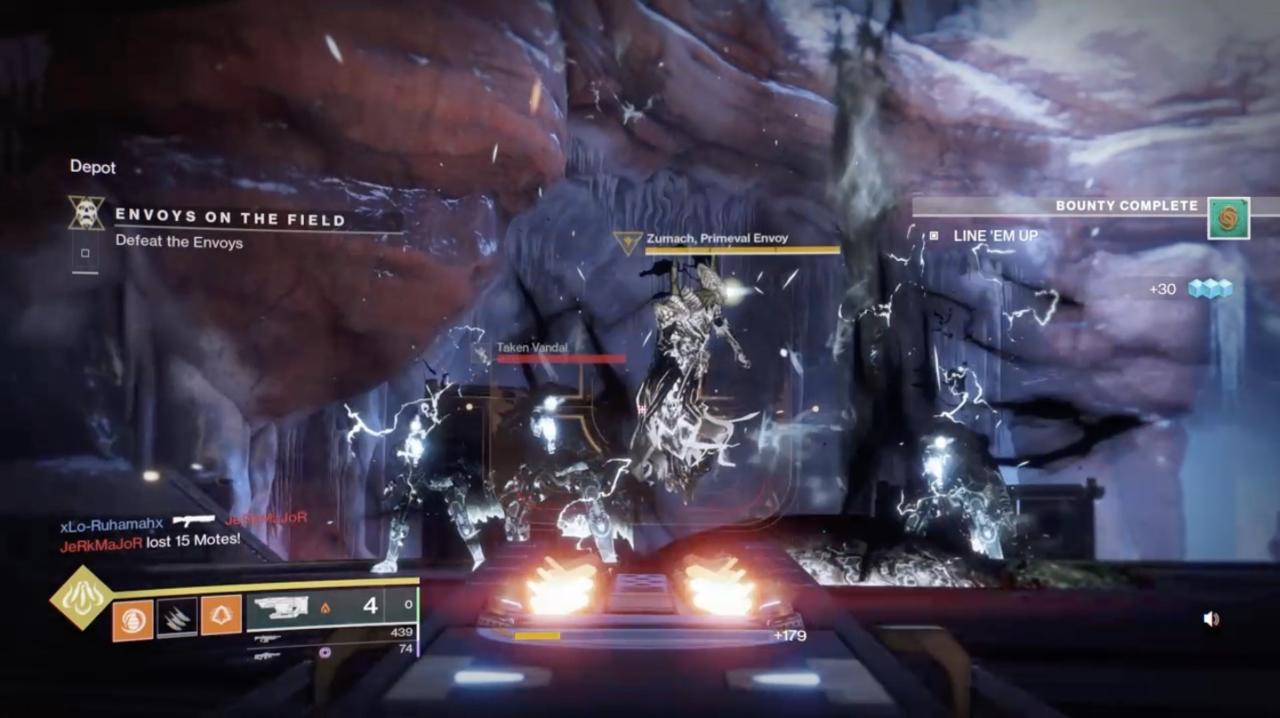
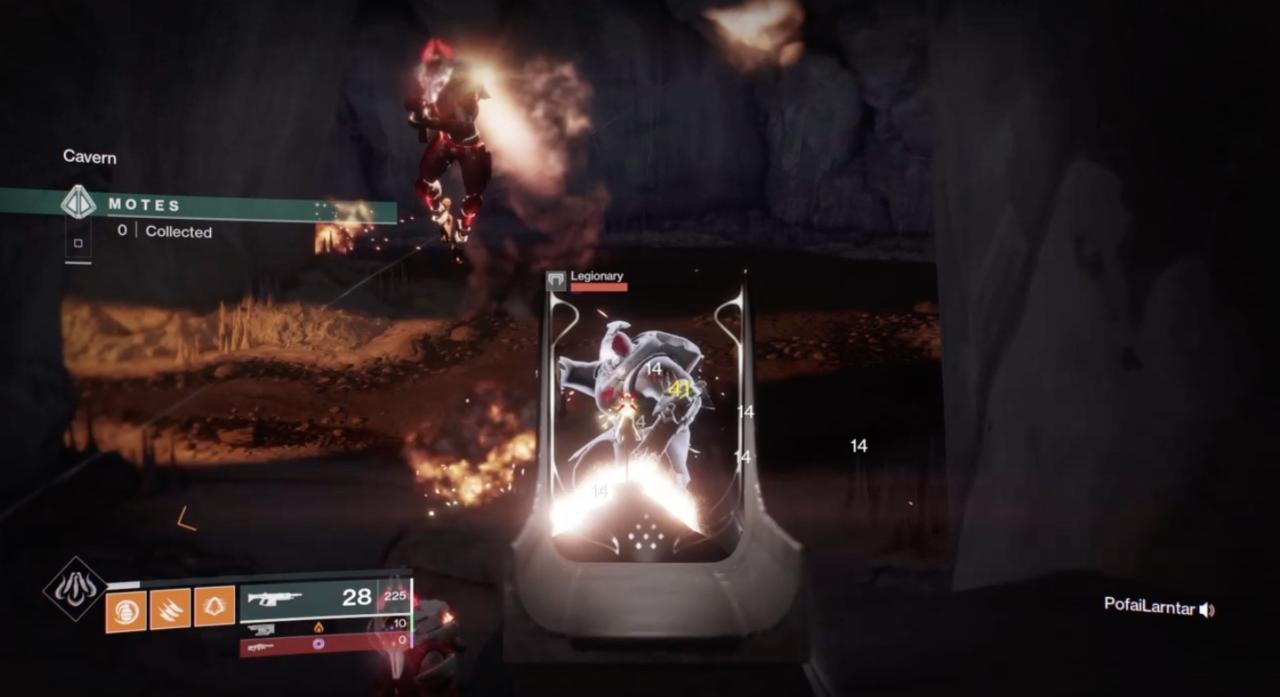
Eliminate Envoys For Buffs
When you summon the Primeval in a regular Gambit match, you'll also have to fight several Taken Wizards, known as the Primeval's Envoys, and killing them gives you a buff against the boss. In Gambit Prime, killing all three Envoys is a requirement, because they create an indestructible shield around the Primeval. When you kill the first two Envoys, a third spawns, and destroying that one creates a Well of Light that buffs you and your teammates against the boss. Make sure you're standing in the well when you attack the boss--and be aware that you're vulnerable to Invaders showing up with rockets or using their Supers to take out your entire team.
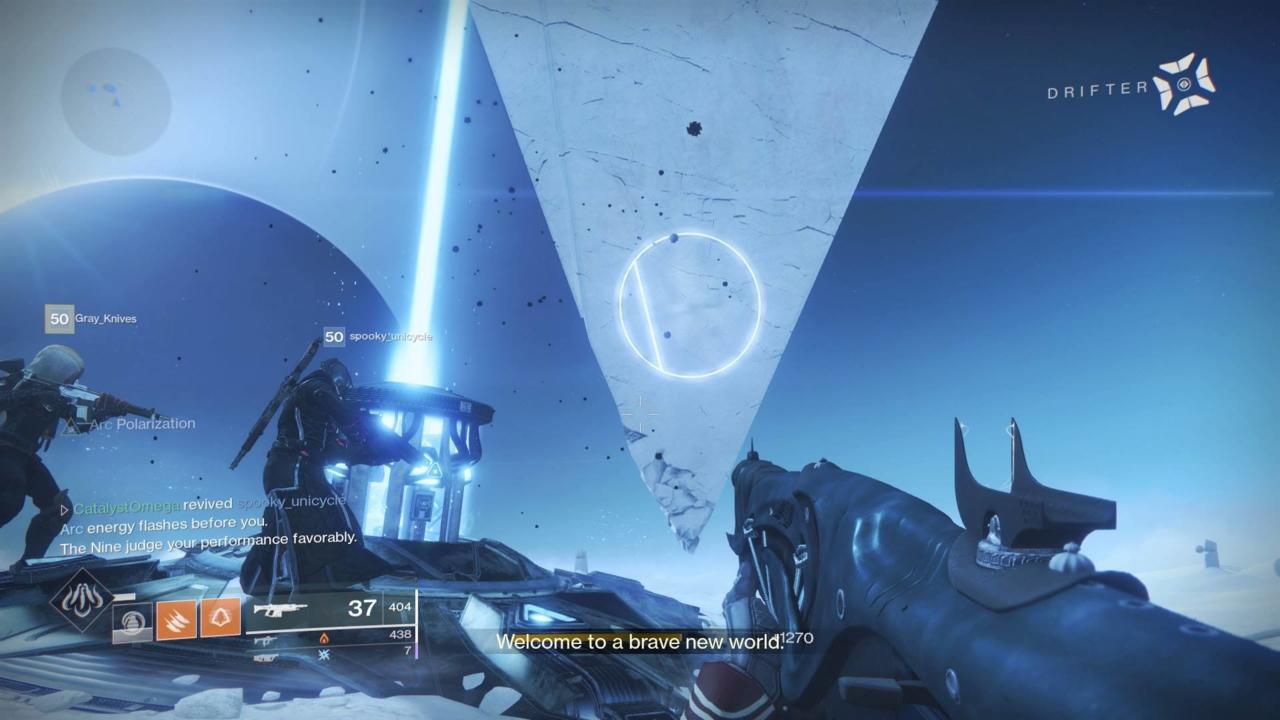
Take On The Reckoning
Completing a Gambit Prime match and finishing bounties will earn you items called Synths for each of the Gambit Prime roles. Once you advance the story a bit, the Drifter will give you an item called a Synthesizer, which you can use to turn Synths into special armor motes. You'll need those for The Reckoning, a matchmade player-vs.-environment activity that goes along with Gambit Prime. When you starts a Reckoning match, take your mote and plug it into the Gambit bank you'll find at the beginning. If you win, you'll get a piece of Gambit Prime armor that can give you perks for your role in your next match.
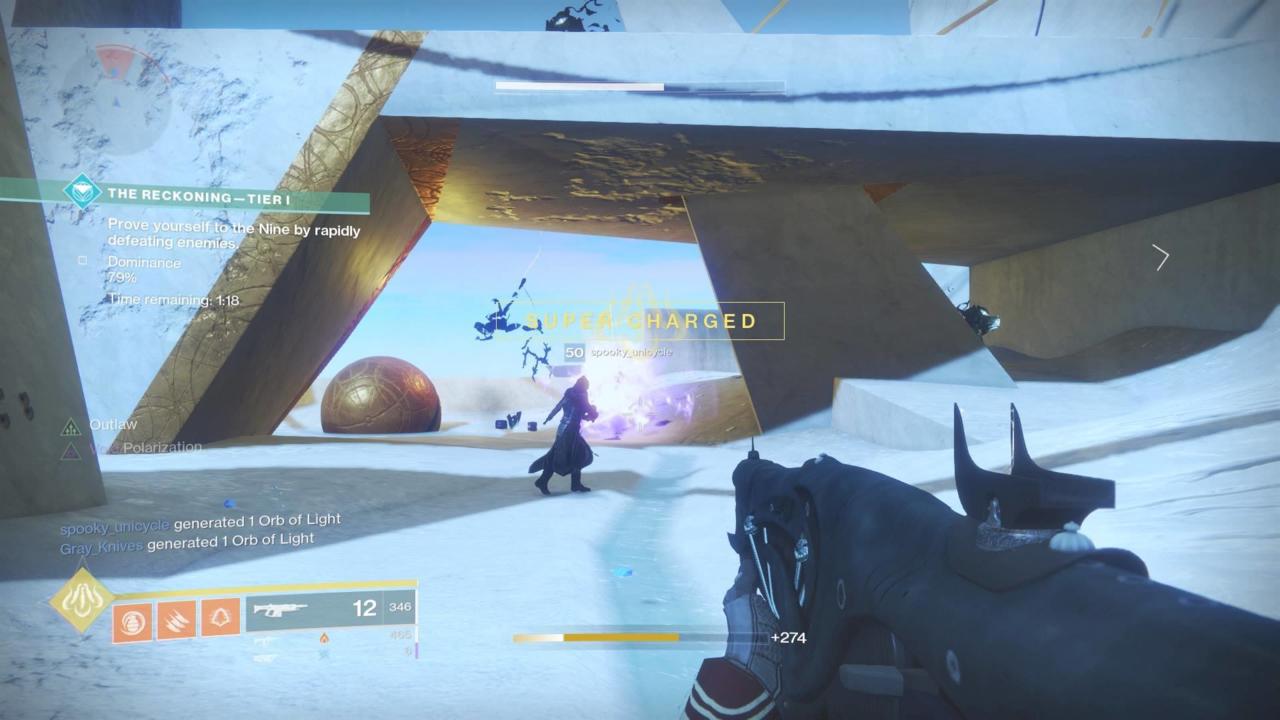
Reckoning Is All About Speed
Reckoning is similar to other horde mode activities in Destiny 2, like the Blind Well, in that your job is to kill a whole bunch of enemies. Unlike other modes, though, Reckoning is all about speed, and its difficulty modifiers change daily. You'll see a number on the right side of the screen called Dominance, which ticks up toward 100% as you kill baddies. Take too long between kills, though, and the ticker will start to reduce back toward zero. Keep an eye out for tougher enemies with yellow health bars, because they'll give you a lot more progress if you kill them. But overall, keep blasting away in order to win the match. Once the ticker reaches 100%, you'll access another area: in Tier 1, you'll face a Taken boss similar to the Primevals of Gambit, which you'll have to destroy before a timer runs out, but Tier 2 and Tier 3 have additional challenges.
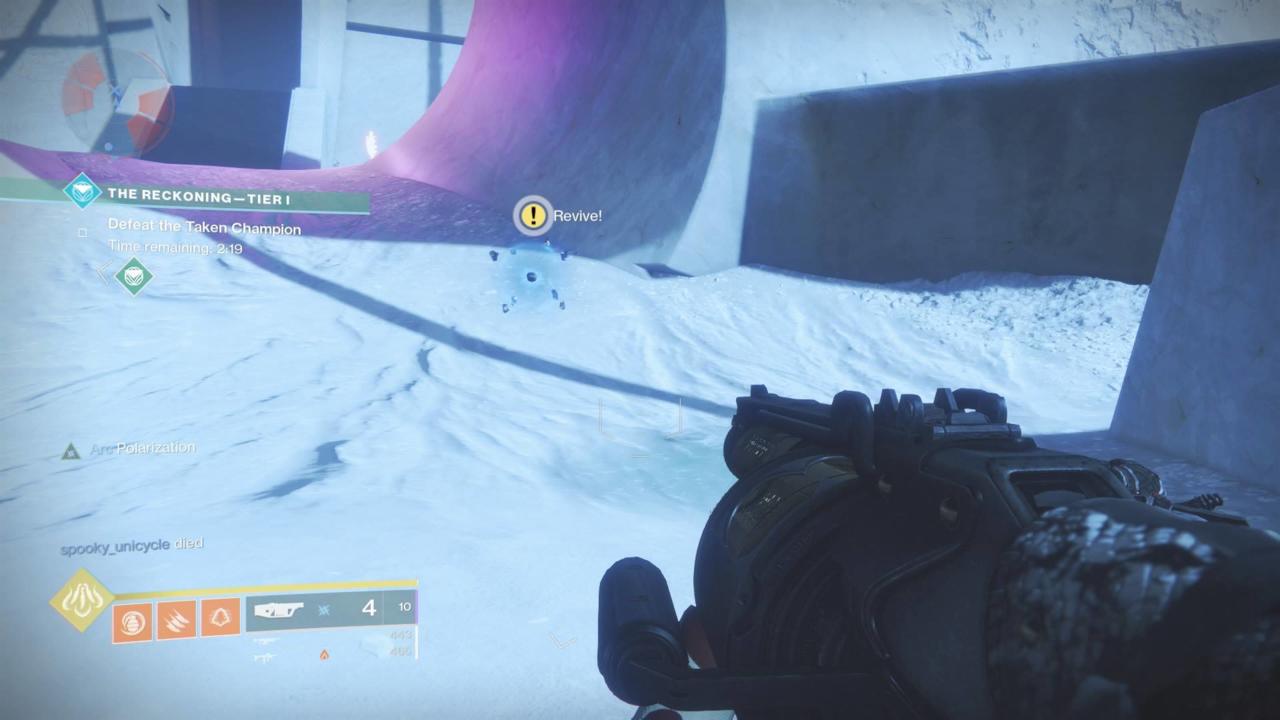
Revive Your Teammates!
Since Reckoning is about getting speedy kills, you'll want your team of four players at full strength as often as possible during every run. You'll notice if you fall in battle that the revive timers in Reckoning are pretty long--25 seconds--so leaving teammates down can result in some lengthy periods of losing progress. Stick close to your squad so you can back each other up, and revive each other if the worst should happen.
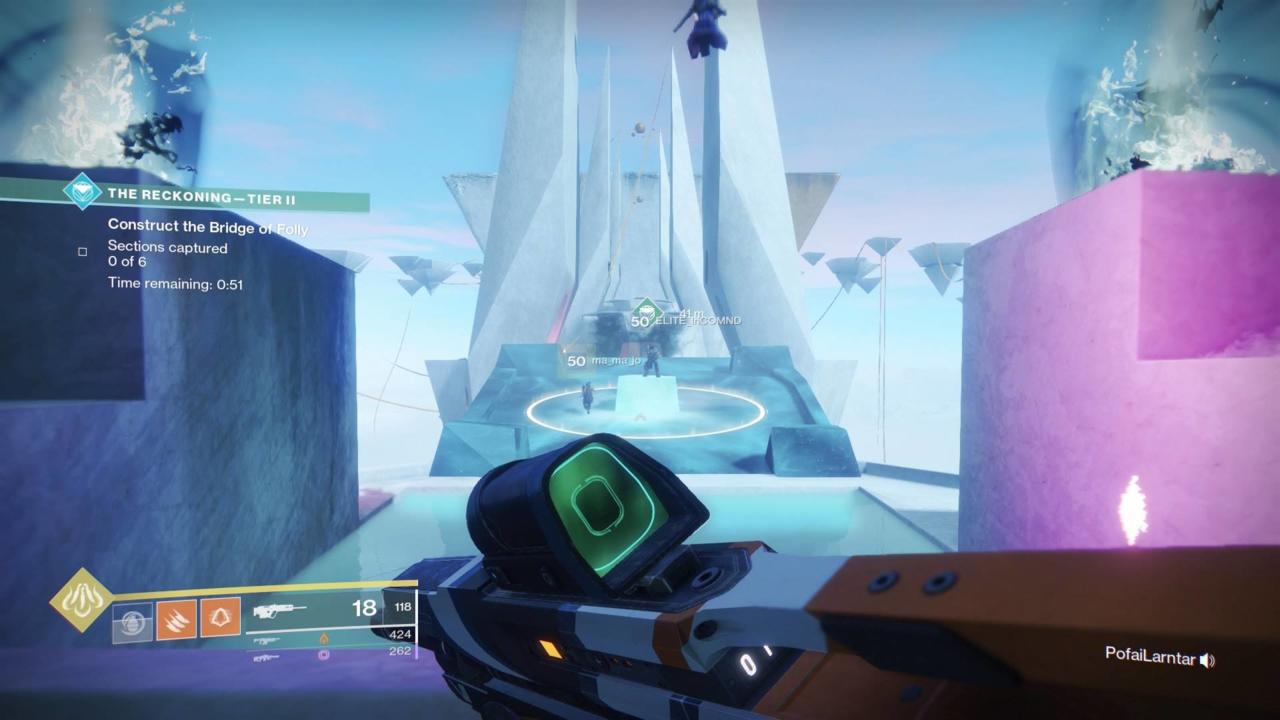
Reckoning Tier 2 And 3: Build The Bridge Of Folly
Reckoning Tier 2 introduces two new mechanics to the mode. It starts the same as Tier 1, in which you rush to kill enemies as quickly as you can. But the second part requires you to stand your ground and defend specific locations to build the Bridge of Folly. The bridge is divided into six sections, requiring you to stand in a ring in order to advance a timer and build the next section so you can advance. The whole time, you'll be besieged by enemies, including snipers and majors. Supers like Nova Bomb, Blade Barrage, and Shadowshot are great for cleaning up the many enemies that will rush you. Well of Radiance is basically a must to survive the onslaught of shadow thrall, major enemies, and super-annoying snipers in the distance.

Use Super-Restoring Exotics
The second and third tiers of Reckoning get pretty tough, and not just because they raise the suggested Power level from 650 to 670 and 690, respectively. They also requires you to hole up and defend specific locations, both on the Bridge of Folly and in the final objective of Tier 2, when you fight Ascendant Hive Knights known as Wandering Swords. A smart foursome who works together is a must, but equally important is being able to quickly squash lots of enemies, especially majors. Grab Exotics like Shards of Galanor and Skull of Dire Ahamkara that'll help refill your Supers quickly. You'll also want Supers that provide lots of orbs to teammates so you can keep the big attacks coming. A slew of Supers is basically essential to crossing the bridge, so your orb-generating Masterwork weapons are a good call, as well.

Reckoning Tiers 2: Defeating The Swords
The third part of a Tier 2 Reckoning Run puts you in a dark room filled with Ascendant Hive Knights, the big guys with axes who can one-hit-kill you. Avoid the water in this area or you'll suffer the Shadow Touch debuff. The trick here is to seek out glowing white enemies and kill them. They'll drop Wells of Light that give you a damage buff against the knights, allowing you to destroy them.
Taking down the Knights requires the same thinking as the bridge, but it'll take more stages. A Well of Radiance is great for keeping your team alive a little longer, but eventually, the knights will show up and kill you with one or two shots. Hit them with your strongest gun as they approach, and if you can, tether them up. Nova Bombs and Blade Barrages are great, as is Titans' Melting Point. Focus your fire to take down one fairly quickly if you can, as that'll make the rest of the fight much easier. It'll take a few rounds of running around the room creating Wells of Light to kill the two Knights, regardless.

Reckoning Tier 3: Avoid The Counterfeit Gaze
Destiny players who remember that game's Year 2 expansion, The Taken King, will remember fighting Oryx. He's the scariest thing the Drifter has to offer in The Reckoning, so you'll have to deal with knockoff copies known as Likeness of Oryx. These guys are powerful and fast, but they're not terribly bright and there aren't any special circumstances to worry about, expect for one: Counterfeit Gaze.
This is a holdover ability from Destiny 1. When you see Oryx go still with what looks like a Taken energy tornado around him, it means he's using the ability. You have only a certain amount of time to do enough damage to stop Counterfeit Gaze or he'll use it to wipe your squad, which means you'll have to wait 20 seconds to get back in and start damaging him again. That delay can make or break a run, so be sure to prioritize pummeling Oryx when he starts doing the Counterfeit Gaze move.

Build Your Armor Sets
When you finish a Reckoning run, your reward is a piece of Gambit Prime armor keyed to your chosen role and equal to the mote you wagered at the beginning. The more pieces of armor you put together for a role, the more bonus perks you'll get during Gambit Prime. Reckoning has three different difficulty tiers, and tougher tiers result in better armor. Take your better armor back to Gambit Prime, where you'll get benefits that'll help you win more matches and earn more Synths to build more armor. Don't worry if you fail a Reckoning run--you can still get your mote back from the loot box at the end.