Destiny 2 Guide: Here's How To Get The Last Word Exotic Hand Cannon
GameSpot may receive revenue from affiliate and advertising partnerships for sharing this content and from purchases through links.
High Noon
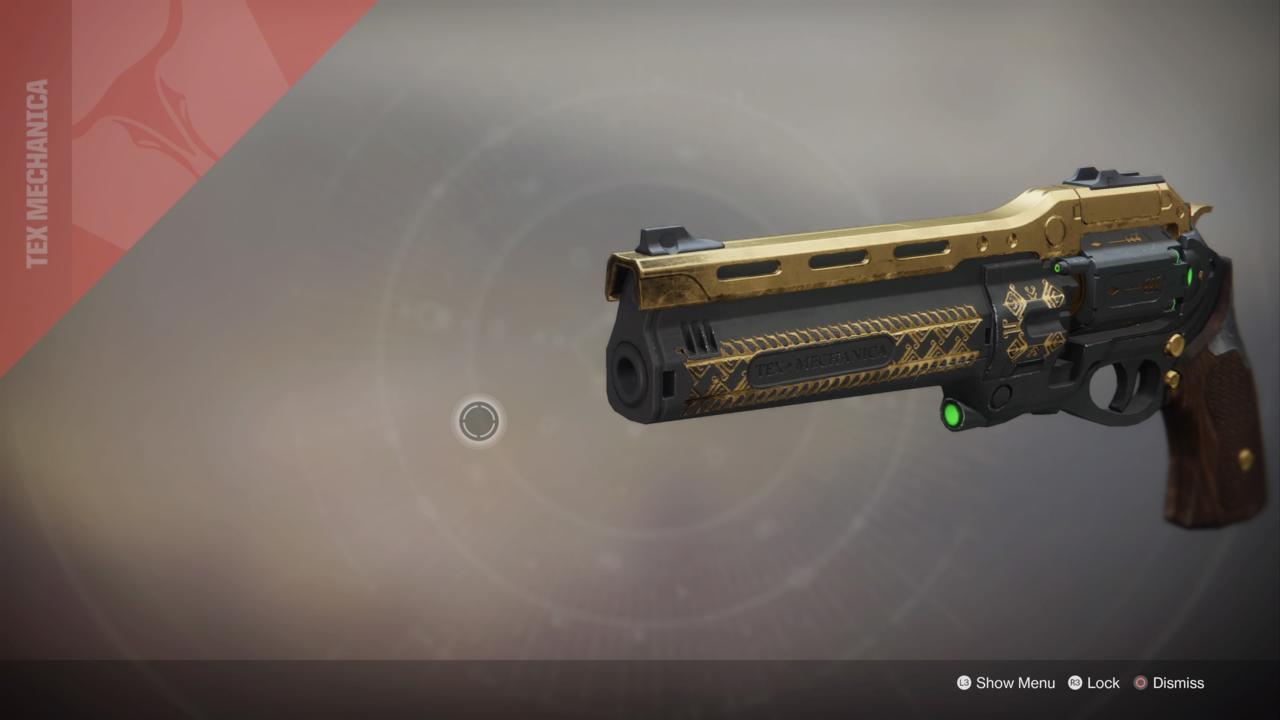
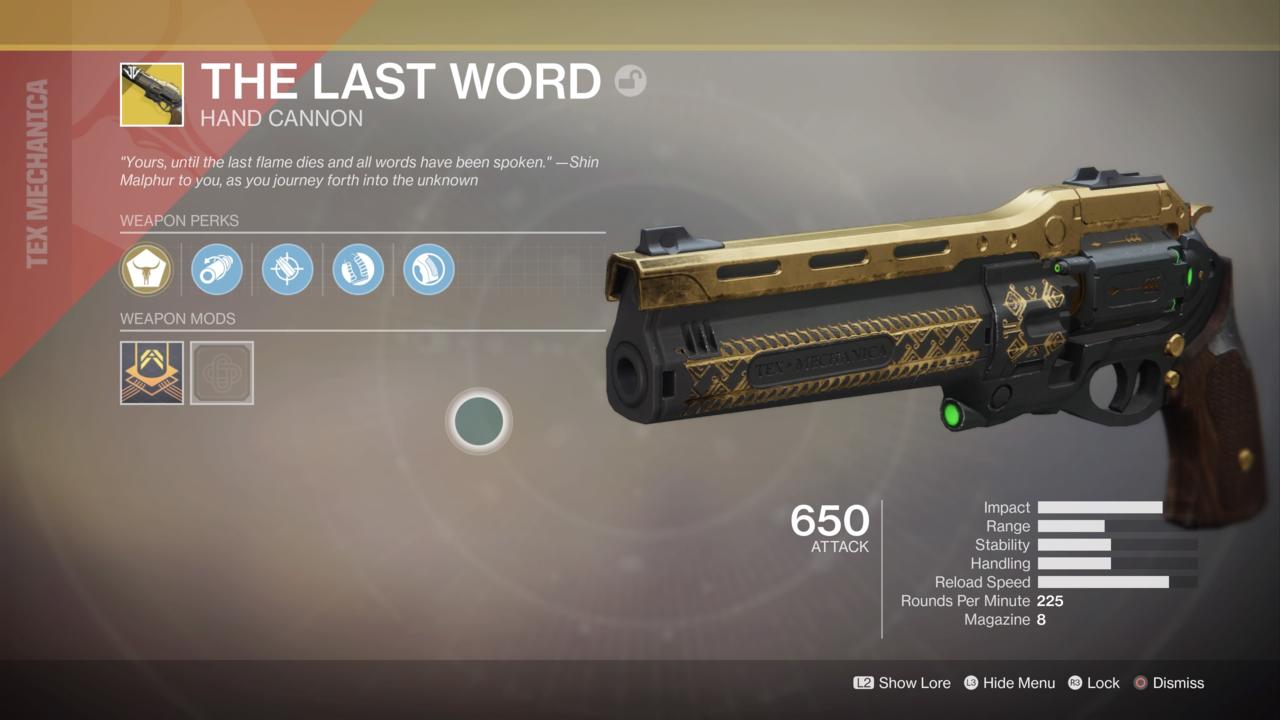
The Last Word was one of the coolest Exotic weapons in the first Destiny, and now it's finally returned in Destiny 2. It's a gun that has a storied history, with tons of in-game lore surrounding it that's some of the best writing in the Destiny canon. Completing the requirements to get the legendary dueling weapon, a quest called The Draw, isn't easy, though. It requires you to take out some Hive, then spend a fair amount of time in the Crucible, where your most important goal will be avoiding getting yourself killed.
While a lot of the requirements for The Last Word boil down to grinding and putting in the time, there are some places where you can fast-track your progress if you know some tricks to maximize your time. Here are all the steps you need to complete The Draw and earn yourself The Last Word, with some tips to help it all go a bit faster.
Talk To The Drifter
The Draw starts with meeting the Drifter in the Tower, who gives you a Tainted Artifact. This is a weird Hive thing he says is tied to the seventh Book of Sorrow, which is sort of the Hive's Bible. Your job is to cleanse the artifact by killing a bunch of Hive creatures.
The Cleansing
You'll need to rack up a bunch of Hive kills using Solar weapons, plus kill three Hive bosses and gather 75 Hive Tablets, which are random drops from Hive enemies. The best way to do that is to head to Mars and take part in a few rounds of Escalation Protocol using Solar weapons. Getting the kills isn't tough and the tablets drop pretty regularly, but finding Hive bosses reliably is a little arduous in most cases. Escalation Protocol guarantees bosses at the end of each level, but you can also try public events and Lost Sectors on Titan, the Tangled Shore, and Mars to find bosses as well.
The Temptation
After you've dealt with the Hive, you'll need to feed the artifact Light in order to find out its true power. That means stomping around the Crucible, where you'll need to rack up kills against other players. The trouble with this step is that deaths drag you back a bit; trading kills with another player seems to result in very little or no progress, while managing killstreaks rewards you with quite a bit. Your best bet here is to jump into matches with a fireteam, since assists will count toward your progress. You can also try to brute force it with Mayhem, this week's Crucible featured game type. That's how we did it, and the matches go very quickly, although the chaos of Mayhem means you'll take a lot of deaths even as you rack up a lot of kills.
The Damnation
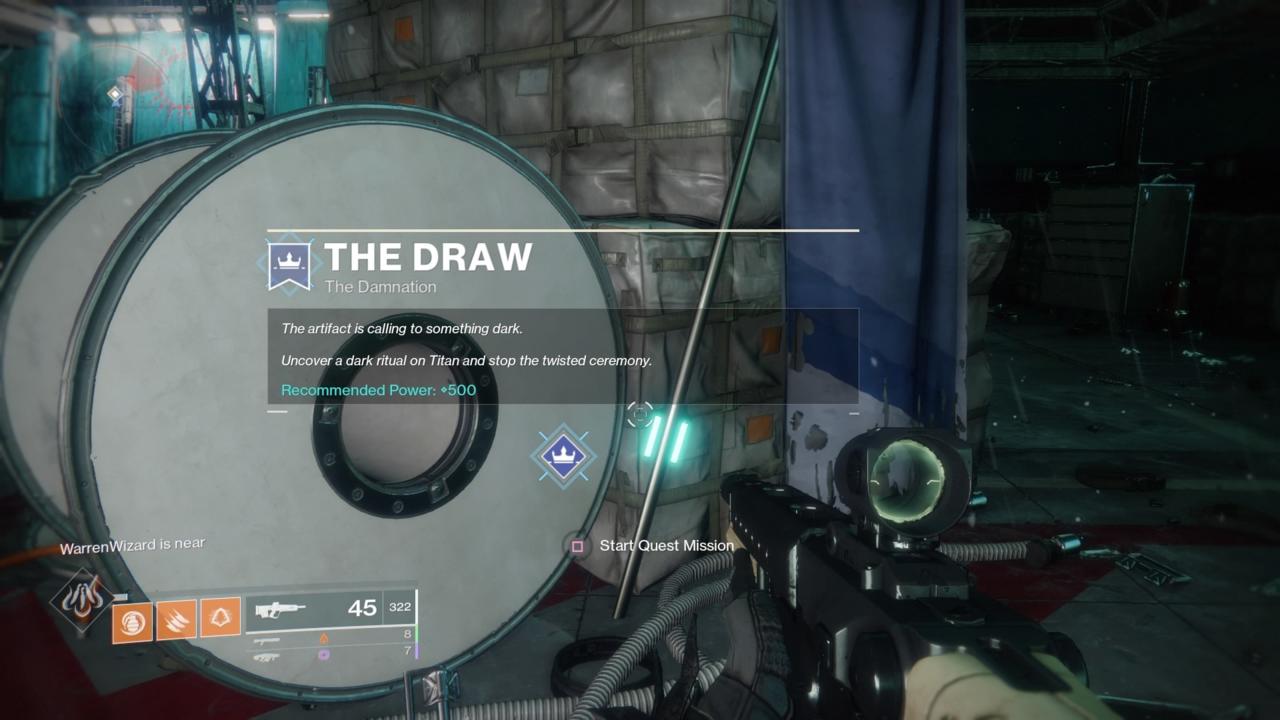
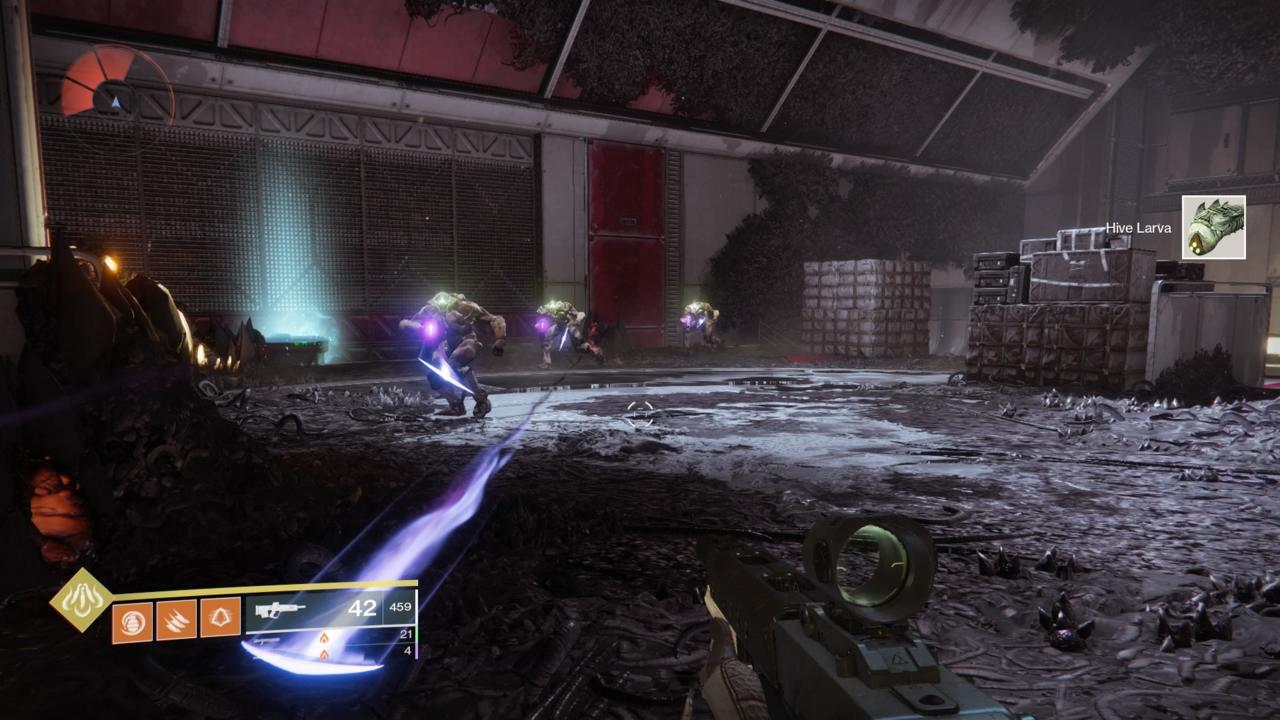
With the artifact charged, you'll find that it's calling to a Hive ritual located on Titan. Drop onto The Rig to find the banner that activates the mission, which will lead you to the Cargo Bay 3 Lost Sector. Inside, you'll find a mess of Hive, most of which respawn almost continually, so get ready for a pitched battle. You'll want to pack some powerful ranged weapons so you can hang back toward the entrance of the cargo bay while still picking off tough enemies, particularly Wizards.
You want to focus your fire on any Wizards you might see. The first one you kill will draw out your real target: an Acolyte with an impenetrable shield. To lower the shield, you'll need to seek out two more Wizards, who tend to hang out in the back corners of the room. When they're both dead, the shield will drop, allowing you to damage the Acolyte. Once you cut its health to about a third, though, the shield will go back up and new enemies will spawn in, including two new Wizards. Repeat the process twice more to kill the Acolyte for good. You'll then discover a Guardian helmet that's been penetrated by a powerful bullet--which might be from the Weapons of Sorrow, the very guns you're trying to prevent the Hive from creating. Bring it back to the Drifter for the next step.
Sullied Light
This is a big step. In order to stop the Hive weapons masters that are creating the Weapons of Sorrow, you'll need to sully your Light. That means obtaining a bunch of junk out in the world from a variety of places.
First, you'll need 15 Etched Crystals, which are objects you'll get from heading into Lost Sectors and defeating the bosses you find there. You specifically want to focus on the Wanted escapees from the Prison of Elders--which means you shouldn't start clearing Lost Sectors in the Dreaming City, but rather head to the older locations to find the bosses you need. The bad news is, 15 crystals means 15 cleared Lost Sectors, even though it sometimes looks like two crystals drop from the same boss.
The best approach we found is to go find Lost Sectors with Hive bosses, since that'll help you complete another step: Killing a bunch of Hive bad guys. You'll need 50 Worm Larvae to drop from Hive enemies, but the drops aren't guaranteed. They're pretty frequent, but only when you kill enemies with precision hits, so make sure you're landing headshots. We racked up the Larvae pretty quickly in Cargo Bay 3, and were able to rapidly leave the Lost Sector and then return to kill the boss over and over again and complete the step.
While you're doing that, you'll also need to complete three Heroic versions of the Hive Ritual public event. These are only found in two places: on The Rig on Titan, right next to the spawn point, and on Mars in the Glacial Drift region, to the north. The Titan ones come up fairly infrequently, so you might have better luck camping out on Mars if you're waiting for the event, provided it's not delayed by Escalation Protocol instances. A better way to approach this one might be to check the Mars and Titan maps between Lost Sector runs and Crucible matches.
Back To The Crucible
Speaking of Crucible, the last part of this step will take you back to the competitive arena. You're not fighting for kills this time, but rather, specific medals: Blood for Blood and Best Served Cold. You earn those two medals when you either kill an enemy who just killed you, or kill an enemy that just killed a teammate. These aren't too terribly difficult to earn, but they will take time. Your best bet here depends on your playstyle: for speed, the constant deaths in the Mayhem playlist by you and your teammates will probably mean you'll get medals constantly. But if you want to earn some wins while doing this step, other playlists might be a better fit, especially if you can bring a fireteam of friends with you. In any event, try to stick close together with teammates so that kills you rack up will tend to count toward the medals.
When you've completed all those steps, congratulations: You're through the worst of it. Head back to the Drifter to move on.
The Conversation
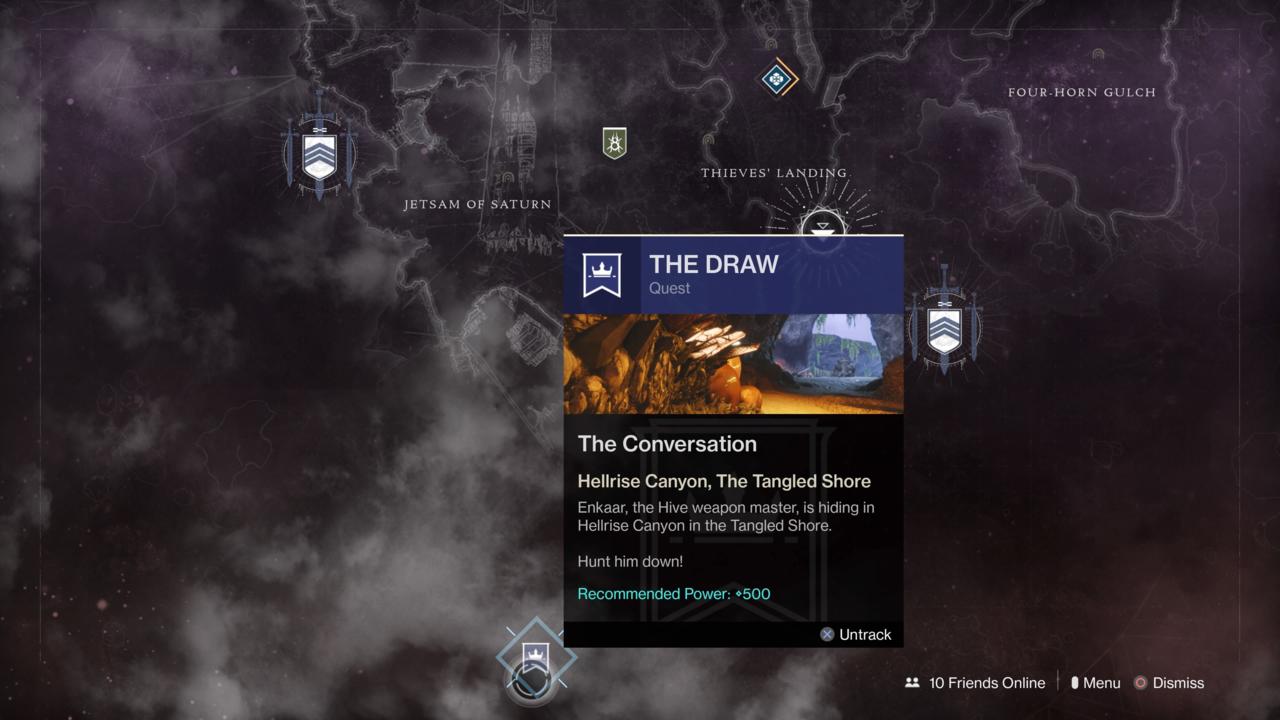
It's time to go claim your prize and defeat the Hive weapons master at the heart of the quest line. Head to the Tangled Shore's Jetsam of Saturn, then turn south into the ship into Hellrise Canyon to find the banner for the mission.
The mission is pretty straightforward at first, except for one major caveat: the modifier Suppression. When it's active, your shields won't recharge as normal, instead requiring you to pick up Light from dead enemies to kickstart the recharge process. Keep that in mind and bring weapons that will let you stay back and do damage from afar to avoid getting surrounded and killed.
You'll find your way barred near the start of the mission, with enemies spawning in the arena. Clear them out and keep an eye out for an ogre. When you kill it, it'll drop an ether-infected worm, much like the ones that come from knights in the Broodhold strike. Quickly take it to the wall before it explodes to open the way forward.
Dueling Enkaar
As you continue in the mission, you'll finally come up against Enkaar, the Hive weapons master the Drifter has been worried about this whole time. But you won't be able to just blast him as you would other bosses. Instead, dealing with Enkaar comes down to a good old-fashioned high noon duel. Check out our video guide of the mission to see how to handle it.
When you track down Enkaar, you'll come across a glowing pressure plate. Watch for it to charge on your screen--you'll see the word "Steady" until it fully charges, which will be replaced with "Draw!" when the time comes. As soon as that happens, hit the button prompted. The Last Word will appear, allowing you to grab it and bring it to bear against Enkaar and his Weapon of Sorrow, a prototypical version of the infamous Destiny 1 hand cannon Thorn. You don't want to shoot him, but instead, shoot the gun out of his hand when he raises it to take you down.
You'll face Enkaar twice more before the end of the mission. Keep moving forward, clearing out enemies, until you find a second plate to stand on. When you do, two copies of Enkaar will spawn in front of you. You'll need to shoot both their guns, but be sure to do so in the order they appeared--that's also the order they'll draw. Be quick and fire from the hip, or Enkaar will kill you, and you'll have to start over again at the first plate.
There's one more encounter with Enkaar to end the mission. Kill anything that gets in your way and continue forward until you hit the last plate, which is stationed over the bridge you cross during the Broodhold Strike. You'll face three Enkaars this time, but deal with them the same way: hip-firing at their guns in the order they appear. Stopping all three will destroy Enkaar, complete the mission, and finally earn you The Last Word.
The Last Word
Getting The Last Word will also have completed two lore books associated with The Draw, one filled with letters written by the gun's last wielder, Shin Malphur, and the other composed of the Seventh Book of Sorrow, a Hive holy text. Your last stop after receiving the gun is to head back to the Drifter, who will admonish you for trusting Shin and taking his gun. For a little bit more about why, check out our lore catch-up guide for all the story stuff that led up to this mission.
After you've spoken to the Drifter, it's all over and you're ready to take The Last Word out for a spin. It's a particularly great Crucible gun, thanks to its high power and fast firing rate--specifically when fired from the hip like a true gunslinger would.
It's worth noting that the story of Shin Malphur and the Drifter isn't over. Shin famously used The Last Word to kill the fallen Guardian, Dredgen Yor, to end Yor's murderous reign of terror with his Weapon of Sorrow, Thorn. As Bungie teased, however, we haven't seen the last of Thorn; expect the gun, and another lengthy Exotic quest, to pop up in Destiny 2's next season starting in March.
