Final Fantasy 7 Rebirth: Combat Guide - Synergy, Limit Breaks, And More
GameSpot may receive revenue from affiliate and advertising partnerships for sharing this content and from purchases through links.
Final Fantasy 7 Rebirth takes you on an unforgettable journey through vast fields, towering mountains, dusty canyons, and forgotten ruins. In many of these locations, you face off against hordes of creatures. Naturally, it's imperative that you're up to the task. Here's our Final Fantasy 7 Rebirth combat guide to help you with various concepts for all the battles ahead.
Final Fantasy 7 Rebirth combat guide: Synergy, Limit Breaks, Summons, and more
Our Final Fantasy 7 Rebirth combat guide aims to detail various mechanics that you can expect when you face numerous enemies in different environments. We start off with the basics, before moving on to other notable concepts. Likewise, we also have a beginner's guide with several tips to prepare you for all the exploration and activities that you'll do.
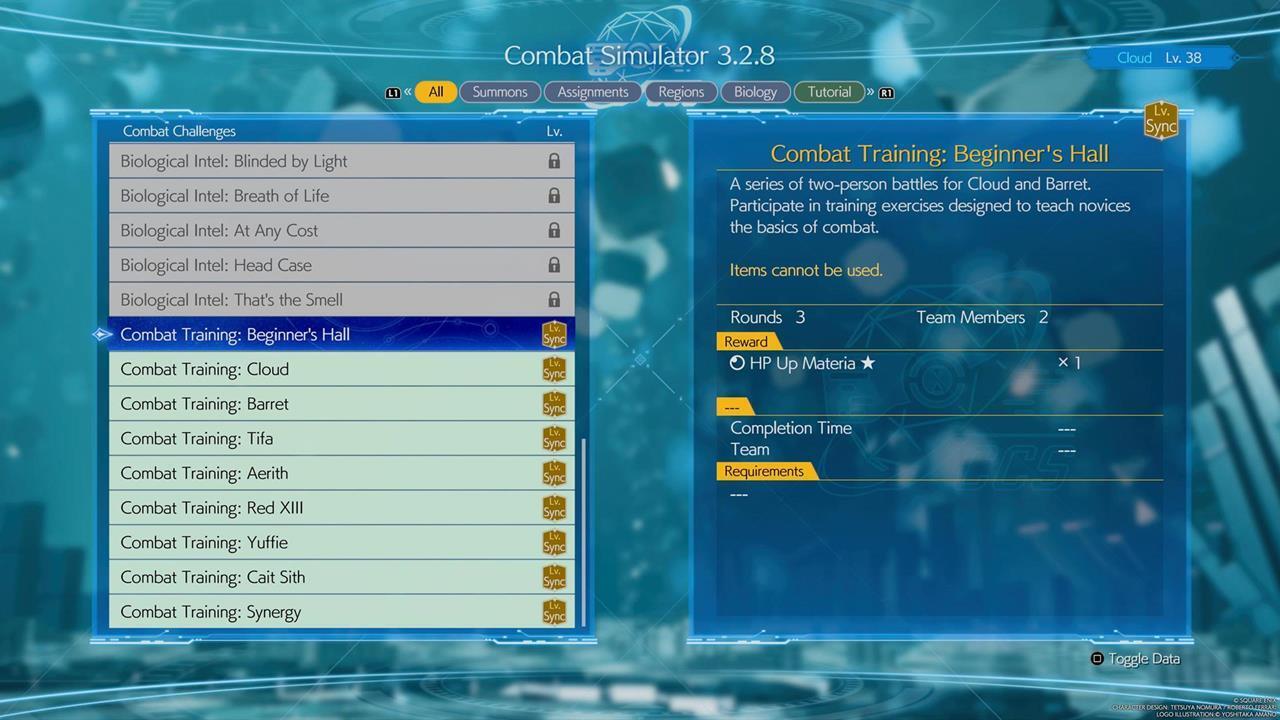
Use the Combat Simulator to train and prepare
The Combat Simulator can be accessed by talking to Chadley, a friendly NPC who tends to appear in various towns and settlements. These present various challenges that you can tackle, including those that are character-specific. Some are meant to help you learn about a character's moves, while others present tougher challenges to test your skills and coordination. These also offer rewards, including materia.
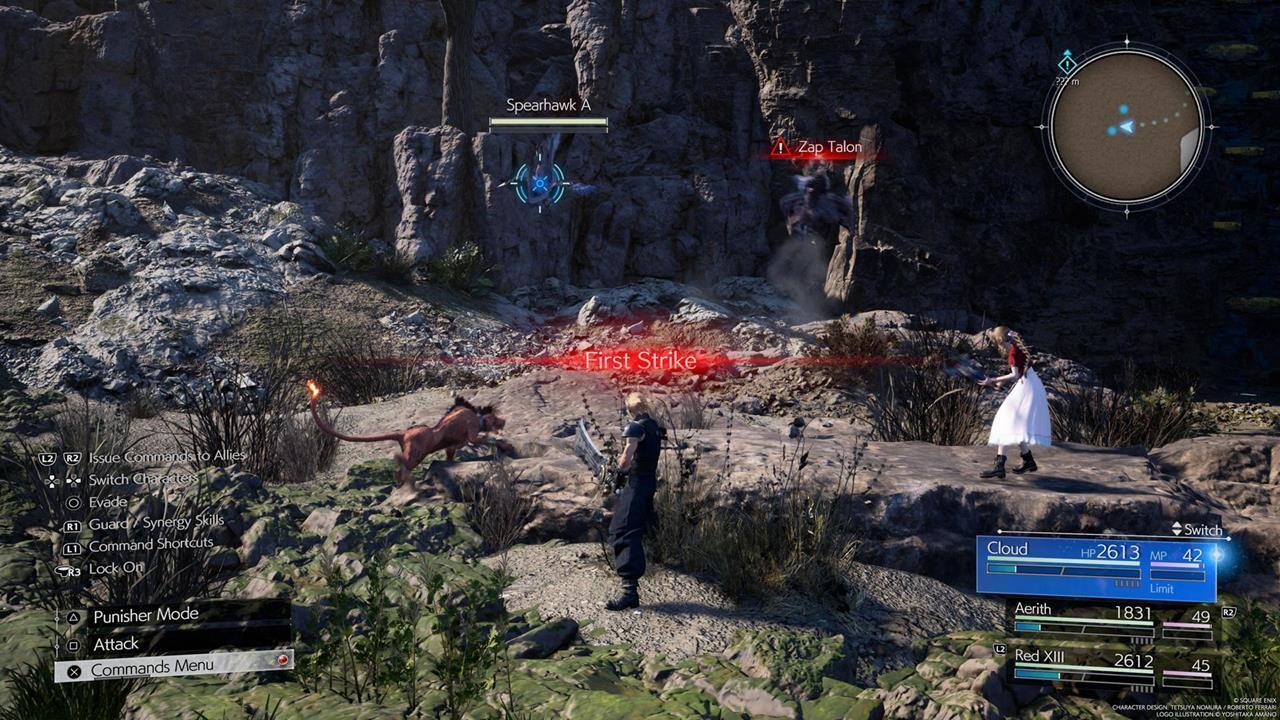
Go for the First Strike if you can't avoid enemies
As you explore environments, you'll be able to see hostile creatures roaming around. You can try to avoid them by finding another path or by running away. Still, if you want a fight, make sure you go for the First Strike. This is done by getting close enough to enemies, waiting for the red reticle to appear, and pressing the Square button. Getting the First Strike confers advantages during the early stages of the bout.
Make the most out of each character's playstyle and moves
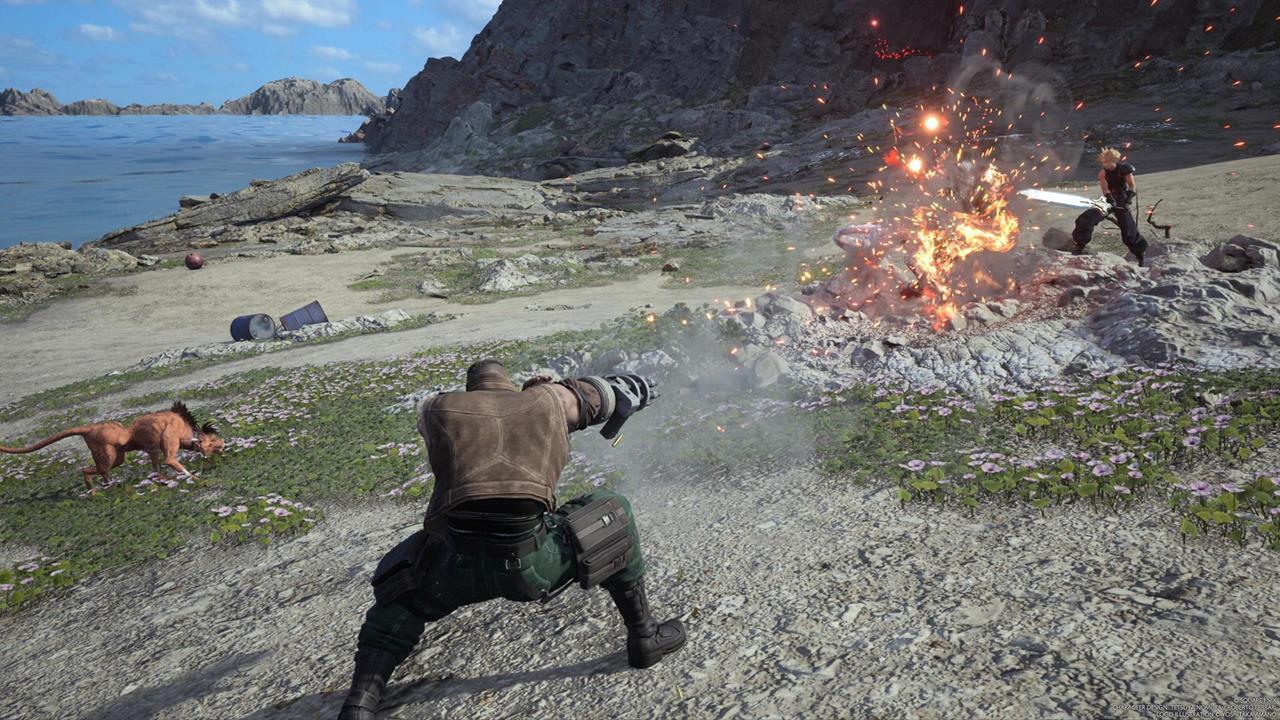
Final Fantasy 7 Rebirth has, funnily enough, seven party members, and each one has a unique playstyle and kit. For instance, Aerith is primarily used to deal damage from a distance with magic projectiles. She can also Ward Shift to protect herself and avoid damage. Cloud, meanwhile, can switch between the hybrid offense of his Operator stance and the melee-combo-oriented Punisher stance. As for Tifa, she excels at combos and juggling opponents while in mid-air, whereas Barret fires off devastating shots with his gun-arm.
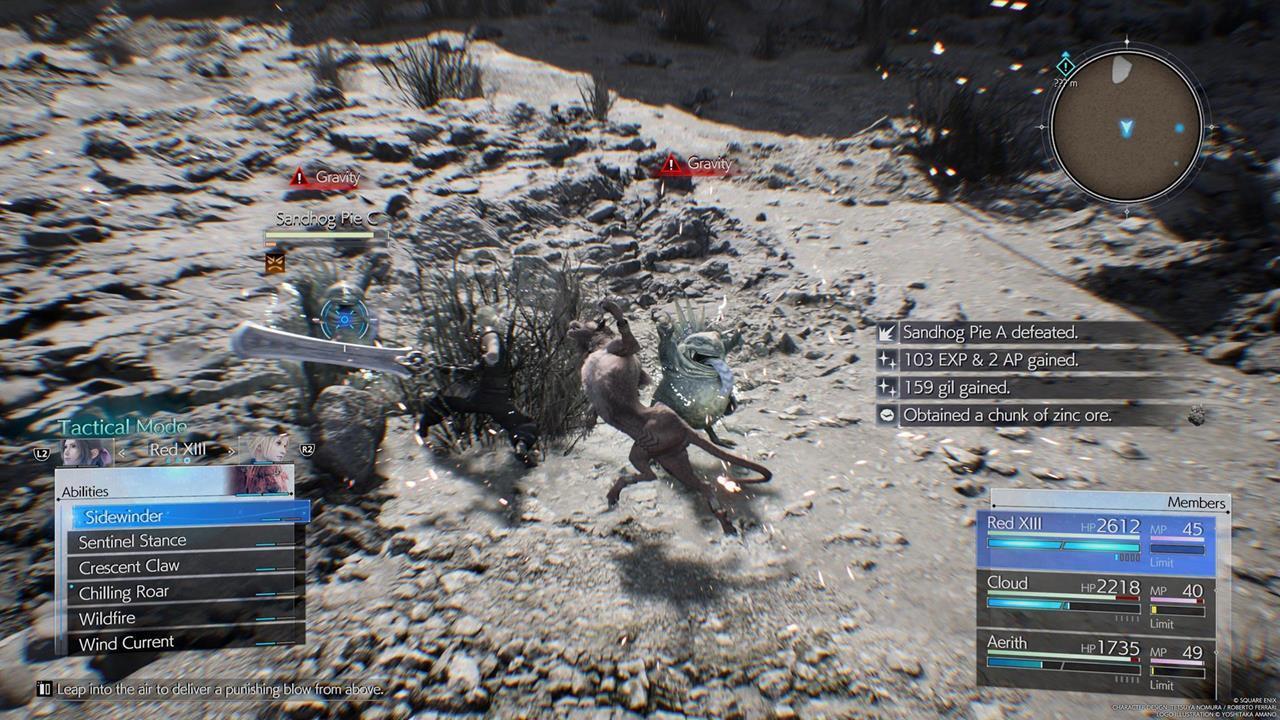
Likewise, you can swap to other active party members by pressing Left or Right on the D-pad. Alternatively, you can hold the R2 button to select a party member's action.
Lastly, note that you may also switch out party members (unless there are storyline restrictions). This is done by going to the Combat Settings menu and pressing the Square button.
Fill up your ATB meter so you can use more actions
The ATB meter is filled gradually by attacking your foes. When a bar is full, you'll be able to use various actions, such as:
- Character-specific abilities
- Spells
- Items
- Summons
You can see these actions by pressing the X button to open a panel. This also pauses the battle, which means you can issue commands to other characters without feeling frantic due to real-time combat shenanigans.
Take note of materia links in your equipment
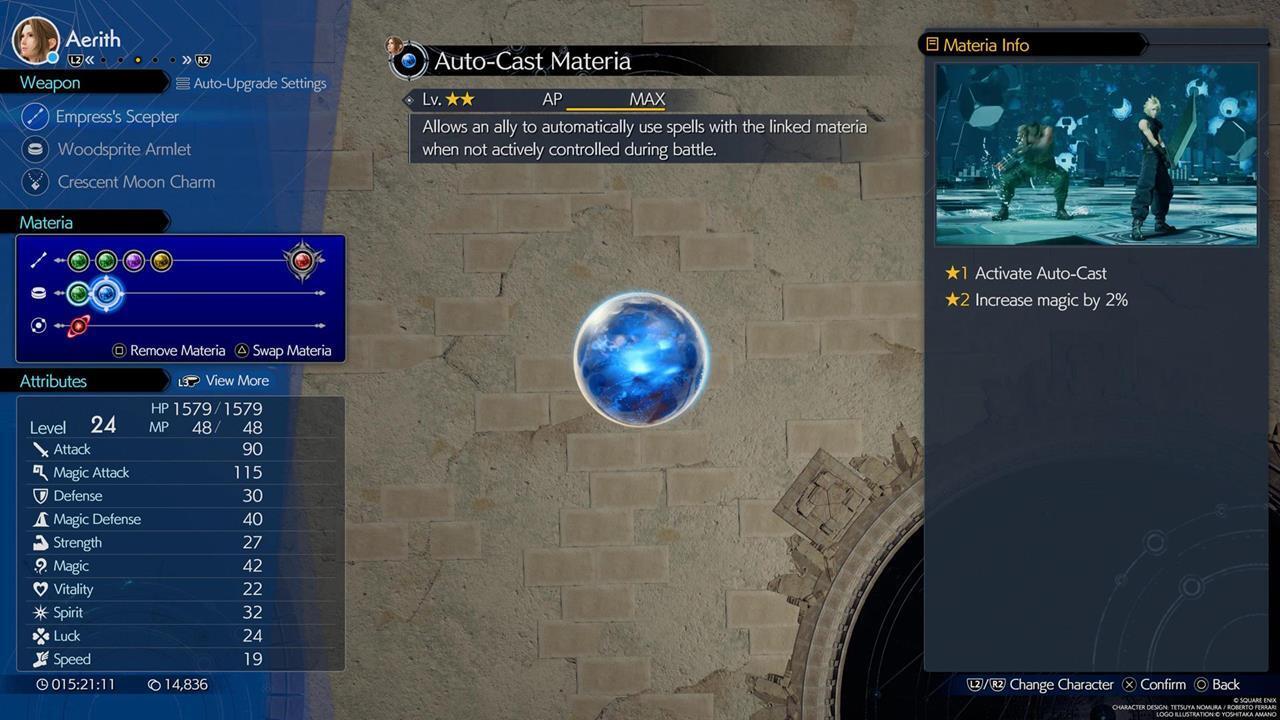
Check the weapon and armbands/wristbands that a character is wearing to see if materia slots are linked. If so, make sure that you socket a blue support materia to a different type of materia (i.e. green materia for spells). This is to ensure that their effects remain active. Here are some examples:
- Auto-Cast - Causes the materia spell to be cast automatically by a party member that you're not controlling.
- Magnify - Allows a single-target spell to hit multiple enemies within range.
- AP Up - Increases the amount of AP earned to help the linked materia level up faster.
- HP Absorb - Casting a spell granted by the linked materia also causes your character to restore a portion of their HP based on the damage dealt.
- Level Boost - Increases the rank of a materia. For example, a low-level Ice materia that lets you cast only Blizzard can become level 2 so you can cast Blizzara. This is only active as long as the Level Boost materia is linked.
Assess an enemy's weakness and pressure them
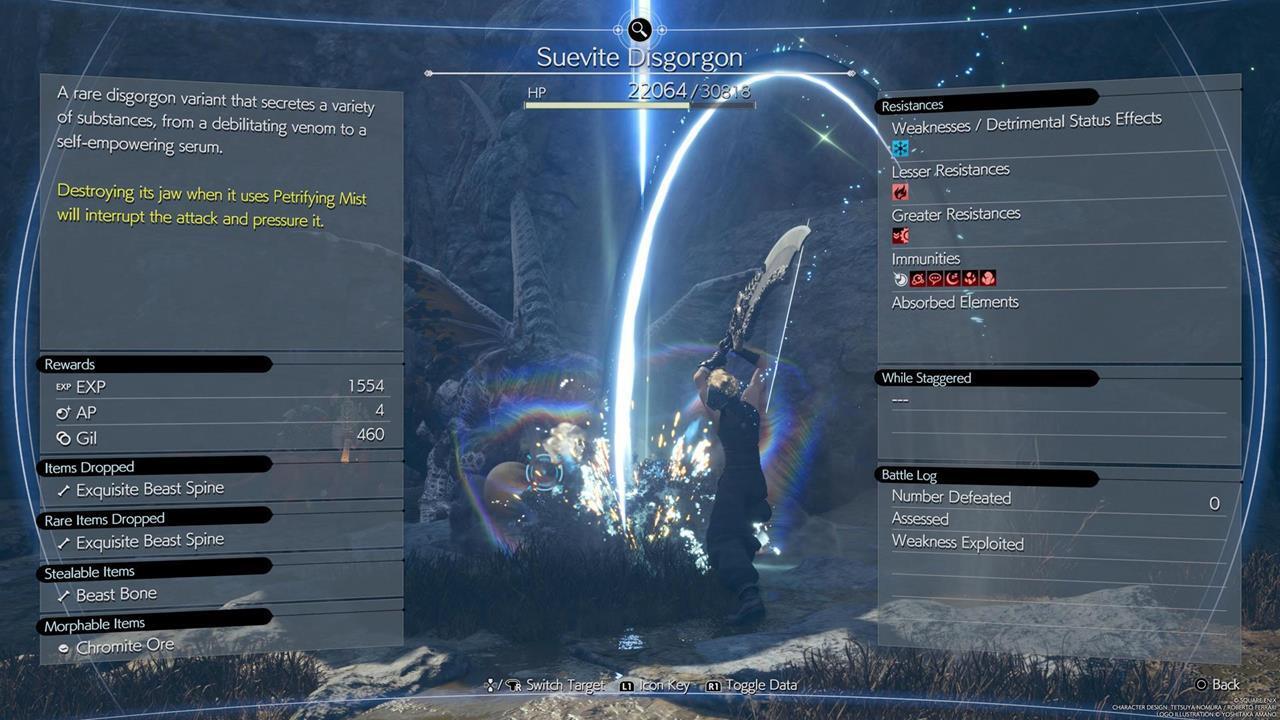
Initially, you have the Assess materia, which grants an ability that lets you determine an enemy's stats and weaknesses. The panel also has information regarding the target's "pressure" trigger. In most cases, this merely involves doing enough damage or using an elemental spell that they're weak against to fill their stagger meter. For others, it might be more complex, such as interrupting a particular attack or targeting a specific limb while a creature is casting.
Fill the stagger meter to stun an enemy
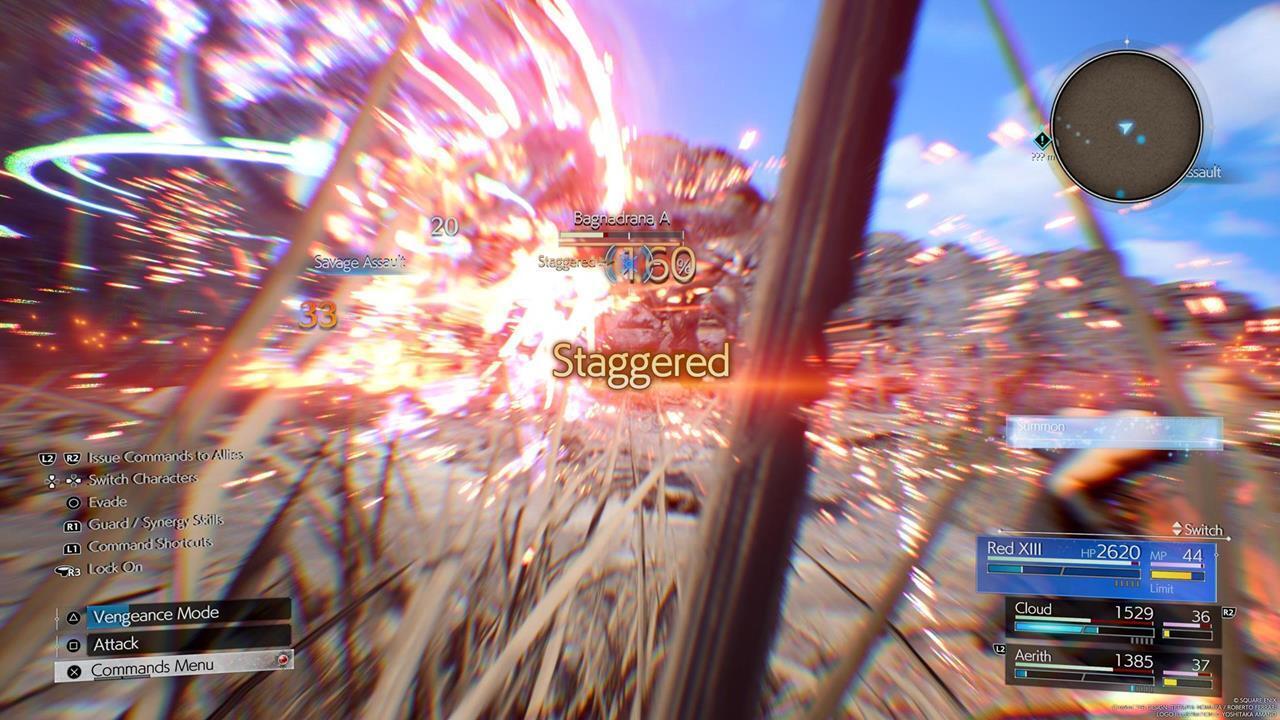
As you pressure an enemy, you gradually fill its stagger meter, which is represented by a thin orange line below their nameplate. When this is filled, the enemy will be temporarily stunned and incapacitated. Your foe is essentially in a weakened state, which means certain abilities and attacks also deal more damage to it.
Unlock the right perks via character Folios
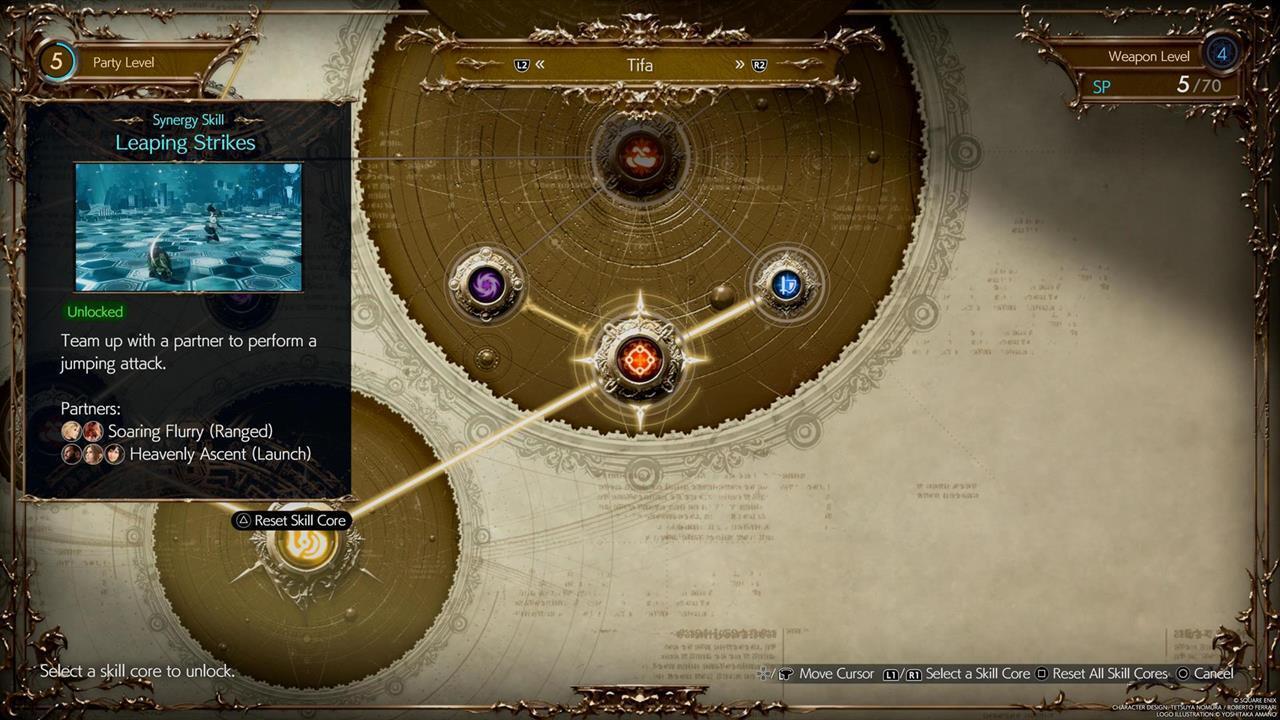
The character Folio system lets you choose from various perks via skill points (SP). You then get to decide a "build" of sorts, which can confer different kinds of boons:
- Passives - These buffs are automatically applied to a character.
- Elemental abilities - These allow you to cast an elemental spell that doesn't consume magic points (MP). However, you won't gain Synergy resource pips (more on these later).
- Synergy skills - These can be used indefinitely during battles, as long as a character and a required teammate are in the active party.
- Synergy abilities - These can only be activated once a character and a required teammate have enough Synergy resource.
- Limit Break - Certain Synergy abilities increase the Limit Level of a character. However, you can also unlock their third and final Limit Break upon increasing your party's level. Note that the Limit Gauge is reset per encounter.
Make use of Synergy Skills liberally
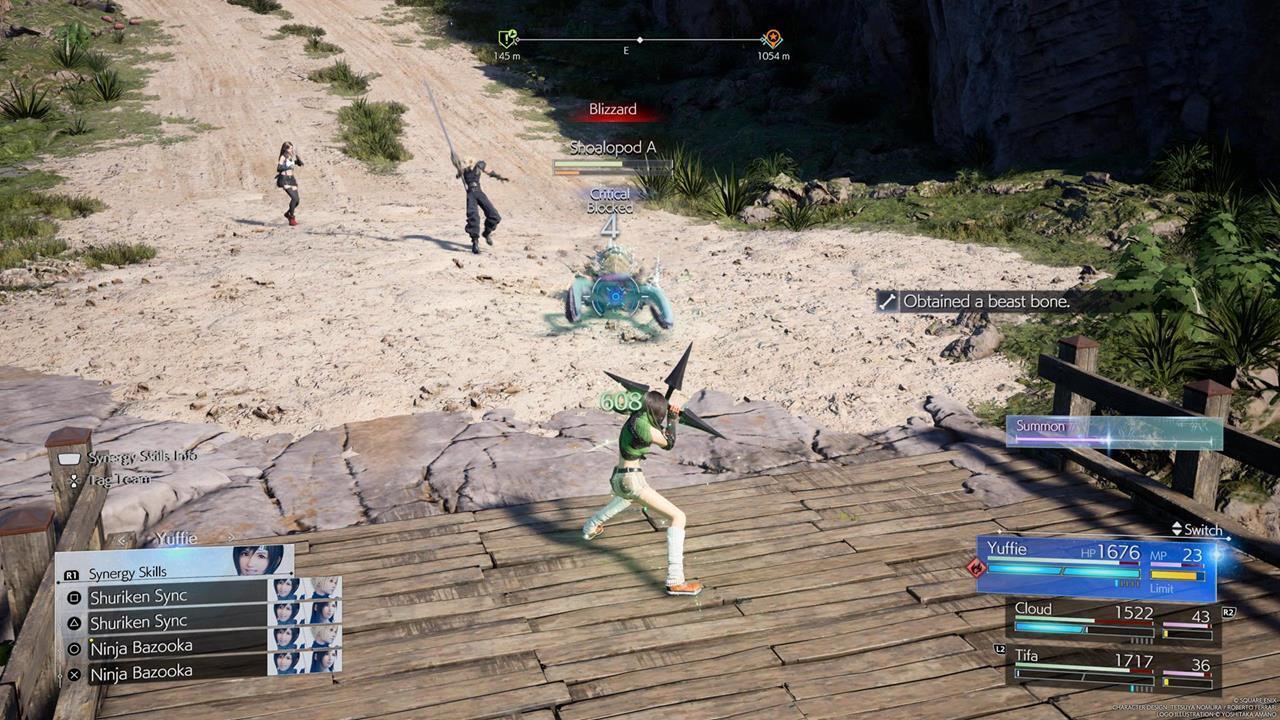
The aforementioned Synergy Skills can be used by holding the R1 button and pressing Square, Triangle, X, or Circle (depending on the commands). You also need to make sure that the required characters are in the active party.
Let's take Yuffie for example:
- We have Shuriken Sync and Ninja Bazooka unlocked via her Folio menu.
- Shuriken Sync and Ninja Bazooka can be used alongside Cloud and/or Tifa.
- With these in mind, we can use Shuriken Sync with Cloud (R1 + Square), while Tifa is in the middle of an attack animation. We can then follow this up with a Ninja Bazooka with Tifa (R1 + X).
Keep using actions that add Synergy, then unleash your Synergy Abilities
As mentioned earlier, filling up a character's ATB gauge lets them use various actions. Some grant Synergy pips, which appear as small vertical bars next to the name of the skill. Each action that you do for every character increases their own Synergy resource.
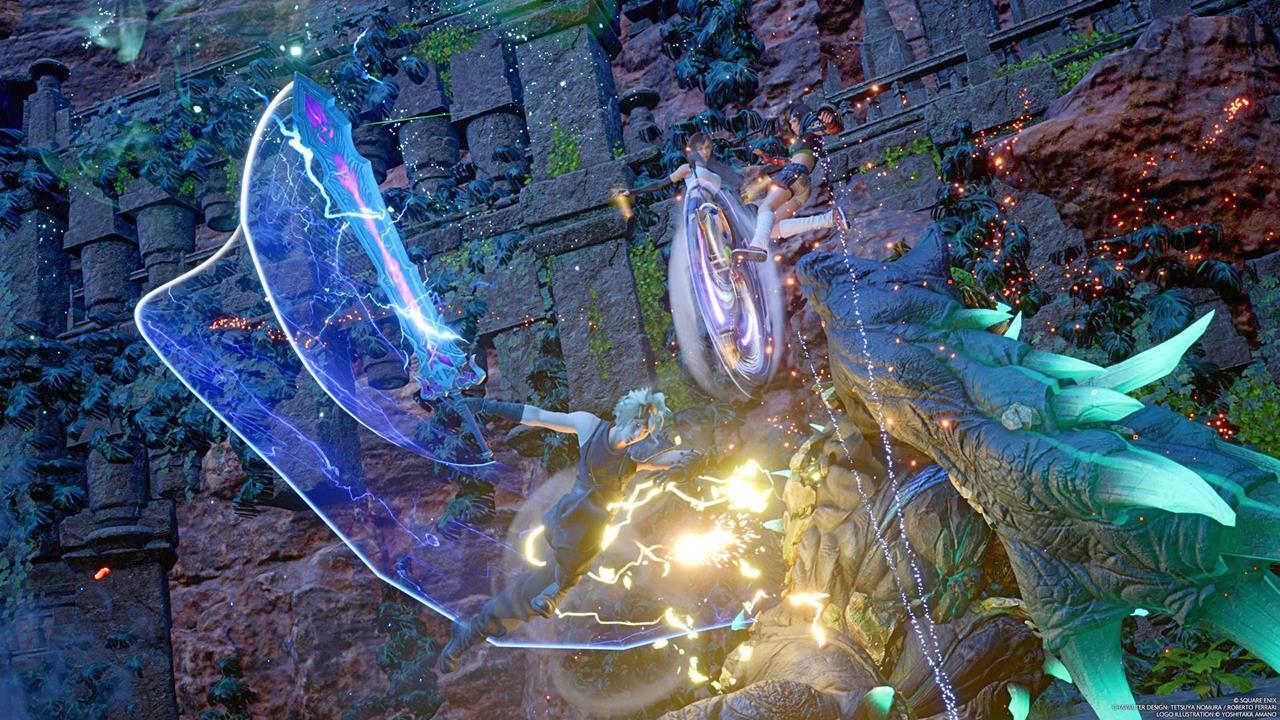
By default, you should be able to cast an unlocked Synergy Ability once both required characters have two points. Let's use Cloud and Tifa as examples here:
- Cloud can use Triple Slash, followed by Firebolt Blade.
- Tifa can use Unbridled Strength, followed by Reverse Gale.
- These actions grant them two pips each, allowing us to cast a Synergy Ability. We can pick either Relentless Rush or Synchro Cyclone, depending on what we've unlocked and what the situation calls for.
- Note that other characters have their own Synergy Abilities and required partners, each with a unique effect and intense cutscene.
- As an aside, if only one active party member remains and others have been incapacitated, you can make use of backline support as a Synergy move. This allows you to call on inactive party members to help out once per combat encounter.
Lastly, keep in mind that using Cloud's Synergy Skills and Synergy Abilities with certain parts--for the first time at least--grants additional relationship bonuses. You can learn more about this mechanic in our romance options and relationships guide.
Change button combinations and shortcuts as you see fit
As cited before, you can use button combinations to quickly activate character actions. However, you can also change these to suit your playstyle and needs.
A good example is how Tifa can use Unbridled Strength if you hold down the L1 button and press the Square button. If you want, you can have this button combination trigger the casting of a spell or the use of items instead.
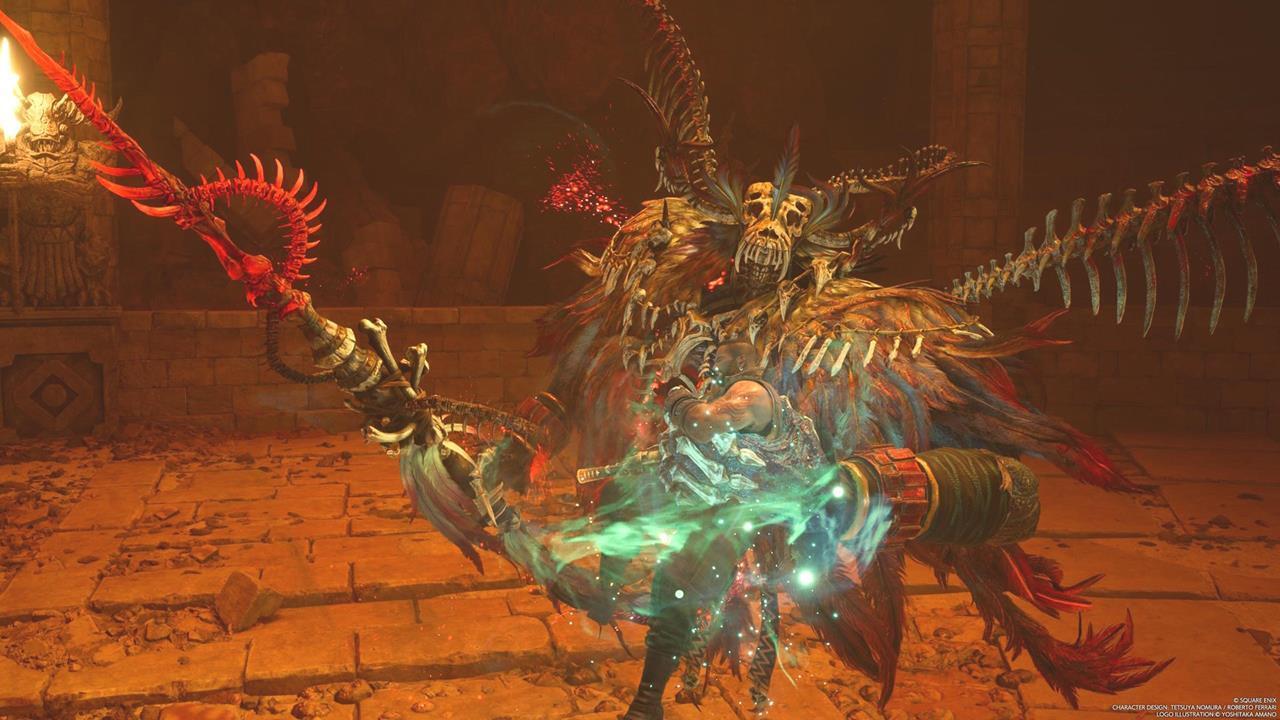
Annihilate enemies with powerful summons
Summons are powerful deities that can be unlocked as you progress further in the campaign. You can learn more about the ones that are available in our summon materia guide.
As far as using them in battle is concerned, you'll tend to see the summon meter appear upon staggering tough foes. This meter gradually fills up and, once fully charged, you can summon the entity if you have the ATB resource. Most require just one full ATB meter, while a select few require two ATB meters.
Summons stay on the battlefield for a certain duration, and you can continue filling up your ATB gauge to cast their abilities. When this duration expires, they also unleash an ultimate attack that can have devastating consequences for hostiles.
Free your bound teammates or just switch to other party members
Certain foes can incapacitate your characters just by knocking them down or capturing them in their clutches. If you can't free your character, then it's better to switch to another party member that can deal damage or heal up. It might even be possible to stagger the target, which automatically frees your bound teammate.
Maximize your combat potential by utilizing quick-swaps
With the above tips, the ideal flow of combat involves quickly swapping among your active teammates so you can continue attacking. Let's say your party consists of Cloud, Cait Sith, and Red XIII. Cloud and Cait Sith are currently in the middle of a Synergy Ability animation. Well, you don't actually have to watch the whole thing. Instead, you can switch to Red XIII to continue selecting specific actions (i.e. attacks, spells, or abilities). It's possible to have a multitude of actions happening at the same time, including summons attacking a boss, all while a couple of character perform Synergy in tandem, and a third character does their Limit Break.
The Revival Earrings help you avoid certain doom
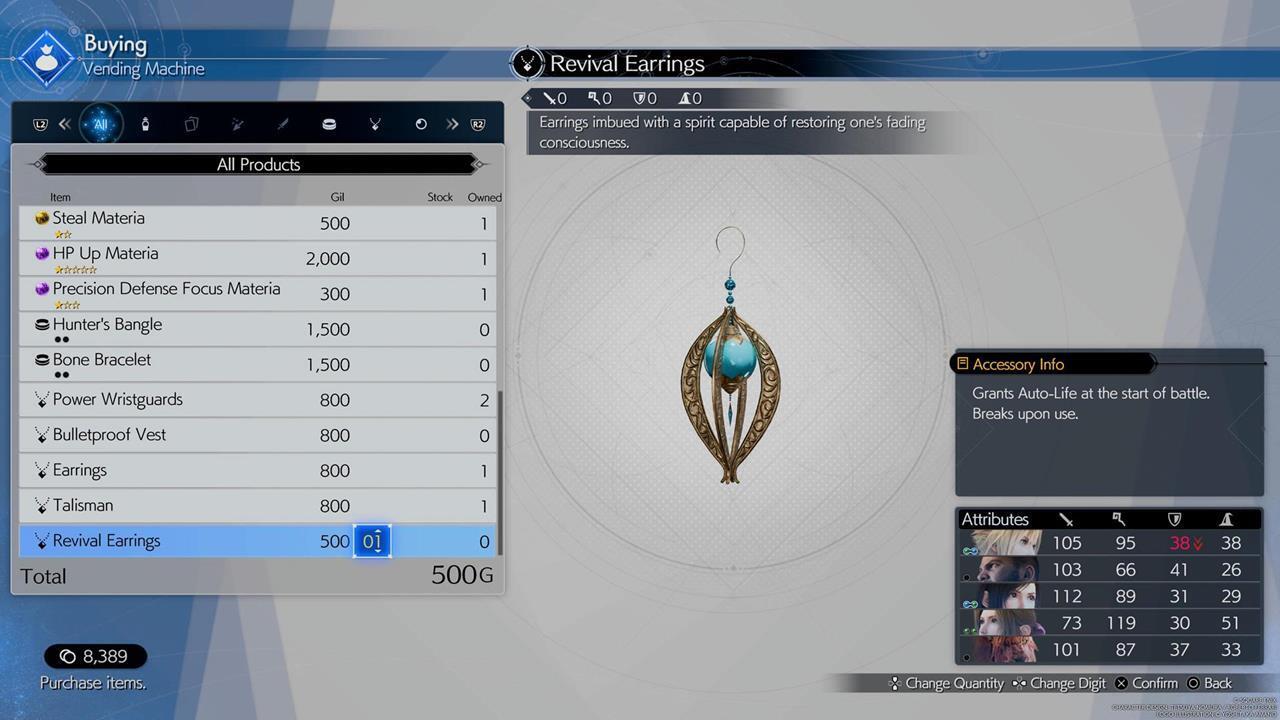
As you face tougher opponents, there's a good chance that characters would get taken out. You can get them back in the fight by casting the Raise spell or by tossing a Phoenix Down item. However, if a character has the Revival Earrings equipped, they'll come back to life the moment they're killed. While the accessory does break upon triggering the effect, you can buy a lot of these since each one only costs a measly 500 gil.
That does it for our Final Fantasy 7 Rebirth combat guide. With countless enemies and bosses to face, you've certainly got a perilous journey ahead of you. We also suggest checking out our exploration and activities guide to see what else the game has to offer.
A grand adventure awaits you in Final Fantasy 7 Rebirth. We've got all the tips and strategies for you in our FF7 Rebirth guides hub.

