Mario + Rabbids Kingdom Battle Tips: How To Defeat Every Boss
GameSpot may receive revenue from affiliate and advertising partnerships for sharing this content and from purchases through links.
Beat The Boss
Mario + Rabbids: Kingdom Battle mashes up crazy combinations of Mushroom Kingdom enemies with Ubisoft's mad Rabbids to make some pretty creative enemies. But none are as weird, or as dangerous, as the game's huge main bosses and smaller midbosses. They're the toughest enemies you'll face, combining abilities and weapons from the run-of-the-mill bad guys to create deadly remixes.
The right strategy can carry you through anything Mario + Rabbids throws at you, though. Here's what you need to know about every one of the boss characters you'll face in Ubisoft's Nintendo-centric strategy title, and how to claim victory over all of them.
In the following pages, you'll find tips on how to beat all of the game's mid- and level bosses, including (spoilers ahead) Pirabbid Plant, Rabbid DK, Blizzy and Sandy, Icicle Golem, Calavera, Phantom, Mecha Jr., Bwario and Bwaluigi, Lava Queen, and Megadragonbowser.
For more Mario + Rabbids: Kingdom Battle tips and guides, including beginners' tips and a full guide to all playable characters, make sure to check out all of our other hints for this challenging strategy game.
Pirabbid Plant
The first midboss you'll come up against does a lot of damage, but it's not especially defensive. It is pretty mobile, though, and can badly hurt your characters if you're not careful.
Pirabbid uses a cover-smashing rocket launcher that can inflict Burn, sending your characters scrambling all over the map. With a smattering of Ziggies around, that means you can find your characters taking fire from multiple locations without cover if they take a big hit. To deal with that, you'll want to try to get rid of the Ziggies when possible, to lessen the number of shots coming your way. Luckily, they tend to stand next to explosive cover boxes. You can blow those up by taking a shot at one of the enemies while they're in cover, provided your line of sight would put the shot into the box itself.
The environment is extremely advantageous in this fight, and since it's an early battle, Mario + Rabbids is still teaching you how to use the location around you. High ground with Luigi is powerful, so your first priority should be to knock out the Ziggies above you on the left and right, and to get him on a higher level. That should mostly protect Luigi, while allowing him to fire on almost anyone on the battlefield. You can also use Luigi and Rabbid Peach's explosive Sentry Drones to detonate explosive cover, dealing extra damage to the Pirabbid as it moves around the battlefield.
The high ground gives you an advantage in this battle, since the Pirabbid will move around the battlefield, trying to get you. That should mean that range largely won't be an issue for you since Pirabbid will close the gap between you and him, but the battlefield is also large enough that you can stay away from other enemies. In fact, your only goal here is to defeat the boss, so if you can lay down enough hurt on him quickly, you can ignore the smaller fighters. Just make sure that if you take that gambit, your characters aren't going to get thrashed by enemy reaction shots.
Use your Hero Vision and Steely Stare to blast away at the Pirabbid, while doing your best to keep behind cover, and you shouldn't have too much trouble. A few turns of bombardment should be enough to end him.
Rabbid Kong
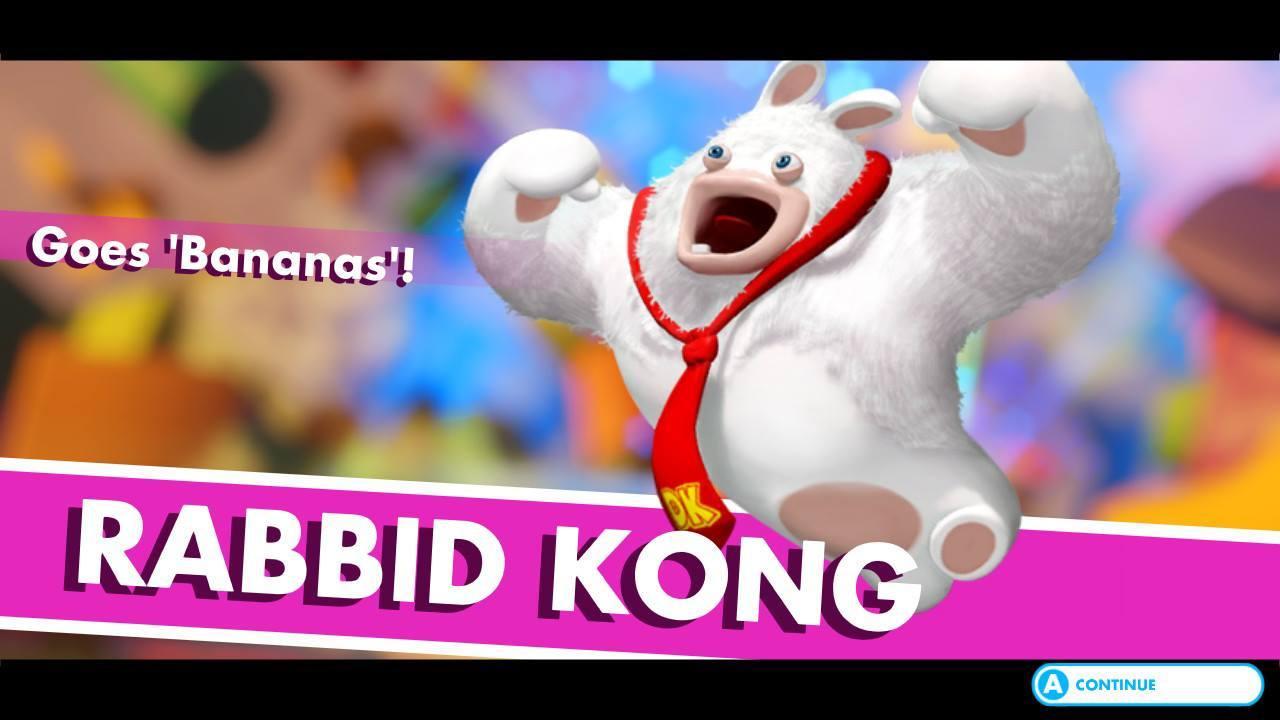
The first big boss in the game isn't too tough, but you need to be on your toes to take him down. At the start of the battle, don't bother targeting DK--that big pile of bananas he's eating will allow him to heal back up to full health immediately, making your shots worthless.
Instead, clear out the enemies around the battlefield and try to stay behind the metal high cover blocks. Every so often, DK will do an attack that creates a shockwave, sending everyone on the battlefield flying--except those standing behind the high cover blocks. It's not the end of the world if it catches you, but it can be annoying, especially if your characters get knocked out of bounds for extra damage.
Eliminating the smaller enemies will give you some space to move. Head close to DK and use Team Jump to toss a character onto the green banana button in front of him. That'll drop his bananas through a trapdoor and render him vulnerable to attack. Be sure to use a character who can take some damage, like Rabbid Peach with her Shield ability, because DK will immediately counterattack the character that hit the button.
With no bananas, you're free to unload on DK. Watch out for his shockwave attack and get ready for him to move once he heals: There are two other piles of bananas around the edges of the battlefield, and he'll move to the one on the left next. Try to anticipate the move by getting your team into cover facing the correct direction, so he can't catch you with a shockwave when he moves.
More enemies will spawn, so repeat the procedure from last time. Once you've gotten rid of the bananas and dealt some damage, DK will move a third time, putting him now on the opposite end of the battlefield from where he started. Just repeat what you've done up to now, getting rid of the bananas and hammering away at him, to finish the fight.
Blizzy and Sandy
This midboss is actually two different enemies, and they have complementary abilities and weapons that can seriously put you at a disadvantage. Blizzy is an ice-based sharpshooter that will hang around the back of the map, sniping away at your characters and taking reaction shots with Villain Sight. Sandy is much more mobile, getting in close and using rockets with Burn to shred your cover and force your characters to move, setting them up to take extra damage from Blizzy. Adding to the chaos are a few Ziggies hanging around to take pot-shots at your team, and they'll use their own reaction shots to get in extra hits when Sandy messes up your plans.
Both Blizzy and Sandy are vulnerable to reaction shots and movement abilities, as well as to status effects. If you can bring weapons that stop the midbosses from attacking with Ink, you might get lucky and save yourself some serious damage. Start the battle by positioning your characters near the side of the battlefield, where you can try to clear out the Ziggies supporting the midbosses. If you can knock one or two of them out, you'll fare all the better.
You probably can't hit Blizzy or Sandy hard enough in your first turn to make shooting at them worth it when you could take out Ziggies and reduce the number of reaction shots you'll inevitably take. At the end of the first turn, use defensive abilities with either Rabbid Peach or Rabbid Luigi to try and draw Sandy's fire. Rabbid Peach's Shield will allow her to deal with the explosive damage you get from Sandy as well as the reaction shots Peach is bound to take; Rabbid Luigi's Super Barrier will stop him from taking Burn damage, so those reactions won't be triggered at all.
In your second turn, Sandy will likely have moved up into the middle of the map to take you on directly, but with a Shield ability that will neutralize the first attack that hits it. A movement attack can knock the shield out easily, though, so make that your first priority. Then get to cover and hit Sandy with everything you've got. It's the midbosses in this battle that are really dangerous, but Sandy is the one that can make your whole team vulnerable with rocket fire that takes away your cover and potentially Burn your characters, causing them to trigger reaction shots. This is where Ink-based weapons will come in handy, because if you can stop Sandy from attacking you with explosives, most of the other characters' abilities and shots will be rendered much less effective by your intact cover.
Hit Sandy until the midboss goes down, then switch your focus to Blizzy. Just do your standard flanking maneuvers and stay in cover to avoid return fire from Blizzy's Precision gun. The second midboss should go down without much struggle.
Icicle Golem
The Icicle Golem is another multi-stage fight, and the huge battlefield can potentially give you some trouble. You'll have Princess Peach for your squad now, and she can be useful in this battle with both her Healing Team Jump ability and her Grenade Duck.
The Icicle Golem starts out as basically a giant Buckler enemy, complete with a massive shield. It carries a big ice-firing cannon that can inflict damage over an area and destroy cover, making one of your characters vulnerable every turn. The gun also inflicts the Freeze status effect, which makes the afflicted character's Techniques unusable for one turn. Get too close, and you'll risk taking melee damage as the boss walks around the battlefield. Luckily, you have a huge area to work in, and spreading out can be useful to avoiding getting into too much trouble.
For the first phase, all you'll need to do is spread your team out and flank the boss. You'll need to get to the sides of the battlefield, but keep in mind that Smashers will spawn here once you've inflicted enough damage on the Icicle Golem. Make sure you've got an exit strategy to keep characters--specifically Princess Peach--from getting overwhelmed.
Hit the Icicle Golem with enough damage and he'll lose his shield, allowing you to hit him from any angle, but he'll also gain the ability to take reaction shots on you with Villain Sight. Use Rabbid Peach's Sentry drone to trigger the reactions, then get moving. On the sides of the map, two Smashers will pop up, one on each side, and they can be a serious nuisance for your squad. Keep away with them while you keep firing on the Golem, or try to quickly take them out. The fight is a bit easier if you can deal with them, since in the third phase, you'll need to move toward the back of the map, which means going past them or engaging them anyway.
The Golem itself doesn't get much tougher as the battle goes on; you'll just have more enemies to deal with. Move your team toward the back half of the map as you keep firing away, and eventually you'll do enough damage to move to the third phase. The Icicle Golem's feet will melt, trapping it in the center of the back of the map, but several Supporters will spawn and attempt to restore its health while you try to finish it off. You'll also have its Villain Sight reaction shots to deal with, which can impede your ability to get into good positions.
If you can't do enough damage to the boss quickly in the third phase, take out the supporters so they can't undo your efforts or blow up your cover. You can get a little closer to the boss now to do heavy damage with Peach's Boomshot, but note that since the boss isn't moving, reaction shots aren't going to be much good against it. Hit it hard enough and its head will pop off, and you can finish the Icicle Golem for good by using a movement attack to slide-tackle the head.
Calavera
This is one of the tougher battles you'll face in Mario + Rabbids, as Calavera is tough to hit, difficult to avoid, and backed up by a bunch of enemies that are great at dealing a high amount of damage before you can finish them off. Range is helpful in this fight, particularly if you can get Luigi to high ground and leave him there to pick away at both the midboss and his minions. Defensive abilities are also useful, in case your characters are caught out in the open and under fire.
Calavera rides around in a coffin that doubles as a shield, making it impossible to deal damage to the boss from the front. Cover won't always save you, thanks to Calvera's Grenadeduck attack that can reach a lot of the battlefield and blow up your positions. And if you get too close, you risk him using the Scaredy Rabbid Technique that scares your characters away, forcing them out of cover.
Flanking isn't easy either, thanks to enemies all over the place--in particular, Peek-a-Boos, which have a long range and can teleport to get into flanking positions. They're as annoying as the boss itself, in fact, and if they're hitting you too hard, you'll need to make getting rid of them a priority. As the battle goes on, two more Peek-a-Boos will spawn, followed by two Ziggies.The more quickly you can knock out Calavera, the less chance you have of being inundated with minor minions.
At the start of the fight, you'll face the two Peek-a-Boos and a Smasher, who are positioned close enough to give you trouble before you can focus on Calavera. If you can take out the Smasher quickly, you can keep it from hassling you for the rest of the battle, but the Peek-a-Boos are the real threat--they're tough to deal with and can move around quite a bit. It'll take at least two turns before you're in a good position to deal with Calavera, so clearing this first group of smaller enemies is essential.
After that, try to keep your team protected as you move in to flank, but keep your distance from the midboss as much as possible. With a fairly spread-out team, he'll only be able to hit one character at a time, and with good defensive abilities, you can minimize the damage you'll take. You can also hit Calavera with movement-based attacks, so if you're in range, don't forget to grab that extra bit of damage every turn.
Calavera doesn't have a ton of health and your only objective is to destroy him, so try to do the math on how much damage you can inflict, and how fast. If you can get through the battle by focusing on the boss rather than mopping up all the extra enemies that keep popping up, you'll fare a lot better. Use flanking and explosives, and try to get rid of him as quickly as possible, or you'll face a protracted fight against annoying enemies that might be your undoing.
Phantom
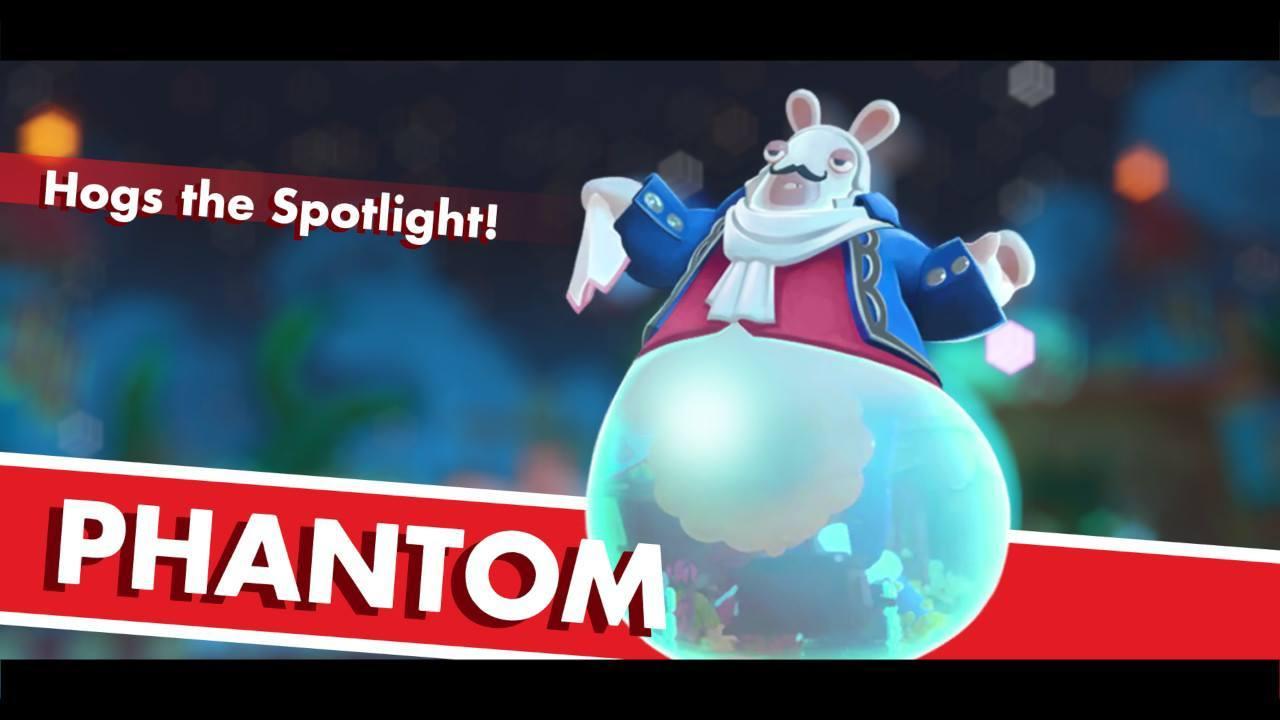
The gimmick for Phantom is that you can't hurt him unless you first take out the spotlights shining on him. That's not especially difficult, but smaller enemies will get in your way, so you might have to deal with them first. You'll also need to cover a lot of ground to get to the items powering the lights, so try to choose characters with high movement range, as well as characters that can use powers like Shield to protect themselves if they're stuck out of cover. Phantom also has a powerful area-of-attack scream that inflicts Push on your teammates, simultaneously destroying their cover and sending them sprawling. Stay clear of him if you can.
To defeat the boss speedily, character positioning is important. The first spotlight is powered by a single light bulb-like object right in the middle of the battlefield, near where you start. You can take it out with a movement attack, and once you have, Phantom is vulnerable to attack. But you want to think about the next part of the battle ahead of time, and use that to determine where you put your characters. The second phase of the battle will require you to move to the far back corner of the map, and you'll probably want two characters there at least, so plan ahead. Try to get one character as close to the back right corner as you can while keeping them safe, and position the second near the longest pipe on the right side of the map.
With the spotlight destroyed, you're free to fire away on Phantom. When he takes enough damage, Phantom will activate the second spotlight on the right side of the map and summon Bucklers to get in your way. They're a lot more dangerous than the Valkyries, and you'll need to move around where they are, so try to take a few out if you can while you get into position.
To destroy the second spotlight, you need to take out two powering light bulbs. One is on the high ground in the back right corner of the map, and you can reach it with the pipe where you set one of your characters. Send them up, kick the bulb, and then send them through the second pipe to get back down. Just be careful that they're not exposed to Buckler fire when their turn is over.
The second bulb is on the stage itself, way in the back. It might take a turn or two to get over there safely, but if you have a fairly mobile character in the vicinity, you might be able to get into position more quickly. Expect to find yourself stuck out of cover, though, so try to plan a route that can keep your characters safe, or at least deploy powers to protect them. Kick the second power generator and prepare to head for the left side of the stage to repeat it all a third time. When you're in the clear, open fire on Phantom.
When you've done enough damage, Phantom sings another song, then moves to the left side of the map. This spotlight is powered by three generators--one on the stage, one on the left side of the map near cover, and one on the elevated platform in the back left corner. You should be able to use your character on the stage to get that generator, and a mobile Rabbid character with multiple movement attacks may well be able to handle the other two in one go.
The third stage of the battle sees Phantom summoning two long-range Peek-a-Boo enemies on either of the elevated platforms, so the longer you take to knock out that spotlight, the more vulnerable you'll be. Once you've got it down, however, you can pour on the damage to Phantom and beat him. If you can plan your moves carefully and keep your characters safe, you'll be able to deal with him without too much trouble.
Mecha Jr.
Jr. gets the first turn, so be ready. He sports a big melee hammer and the ability to dispatch sentries like Luigi or Rabbid Peach can, which effectively add another fighter to the battlefield. Bring your ranged fighters, like Luigi and Rabbid Yoshi, so you can dish out a lot of punishment while giving Bowser Jr. plenty of space.
Note that if you restart the battle, it'll actually take you back to the battle you fought immediately before this one, which had you killing several Bucklers and a Support.
The trick to dealing with Mecha Jr. is staying well back from him. If you can knock out the minion enemies he brings with him, you'll have an easier time, but in general you need to give him as much room as you can, as often as you can. A good way to do that is to position characters on opposite sides of the map so you can draw him in multiple directions.Alternatively, keep moving through the pipes in a circle around the battlefield so he can't ever quite reach you with that giant hammer.
The trouble is, Mecha Jr. has a lot of reach. Shooting him will make him give chase, and he has a decent zone of movement and a fairly long reach with his hammer, too. He also sports the Magnet Dance ability, which can draw your characters out of cover and toward him. So keep everybody spread out--if you do get caught up in one of his attacks, you want your characters spread so they don't all take damage from one melee attack.
The only character you need to take out is Mecha Jr., so try to hit him hard and fast to get the gold trophy for the fight. Just be careful to avoid letting him and his minions gang up on your characters. Alternatively, if you clear out all the smaller enemies, you can lead Mecha Jr. around the battlefield using the pipes until you finish him off.
Bwario and Bwaluigi
Bwario and Bwaluigi are similar to midbosses, in that they have properties similar to regular enemies, but they're tougher to deal with. Bwaluigi is a high-health Smasher with Magnet Dance, which means he can draw your characters out of cover, giving him more reach than other Smashers. Bwario is a mix between a Valkyrie and a Ziggy, with Team Jump ground pound and a reaction ability to catch you moving.
Bwaluigi and the other Smashers are probably going to be your first major hurdle, since they'll aggressively rush you as soon as the fight starts. Focus your fire on the Smashers to clear some space so you can start moving up to the high ground. A drone to draw fire from Bwario's counterattack is handy, and down on the ground, either multiple slide attacks or explosives will be good for dishing out a lot of punishment fast.
Don't forget about those Valkyries, though. They'll be harassing you for most of the battle, so if you can manage to get around them to take them out, you'll be happier for it. Spreading your team out and off the ground level can get a lot done in that regard--if you can make enough distance to let the Smashers chase you, the Valkyries and Bwario might be easier to take out first.
Bwario, Bwaluigi, and Lava Queen
Range is key in this fight, as is having a few people handy who can take a beating. You'll want a drone to deal with Bwario's counterattacks, and having teammates who are highly mobile and can slide through multiple bad guys is a plus as well. By this point, there's not going to be much cover left on this battlefield, since you're now in your third fight on it, so having the range to keep your fighters out of trouble is key.
The trick to dealing with all three of these boss characters is separation. With some range, you can keep Lava Queen out of the fight for much of the battle. She won't move around much if she doesn't have clear targets, so if you stay on your side of the map, you can get a lot done before she even becomes a factor.
First up, use the high ground around you to clear out the Buckler and any other stragglers you can knock out in the first couple of turns. Concentrating your fire should make it easy to deal with the minion characters quickly, which will give you more options in the long run.
Bwaluigi is your first target, since he's the most aggressive of the tougher characters. Use the standard Smasher technique of drawing him in different directions, while using abilities like Hero Vision or Steely Stare to take advantage of his motion. He's got lots of HP, so hit him hard and fast before he can get close and smash up your characters.
Bwario will probably be next, but with a decoy drone, you can turn him into almost a non-factor, particularly if you've been good about removing teammates from his side. Without a handy team jump, Bwario is effectively just a machine gun, and you can probably hide from it pretty well with the remaining cover.
As the battle wears on, the Lava Queen will start to get mixed up in it, but she too isn't much to worry about. She's primarily a Valkyrie, so deal with her the way you would any other: Hit her from behind cover and avoid bunching up. After everything you've been through, with the right team, this battle should be pretty easy.
Megadragonbowser
A key thing to remember: Once you enter the battle, you can't choose a different team, so make sure you're ready before you pass through the boss battle banner.
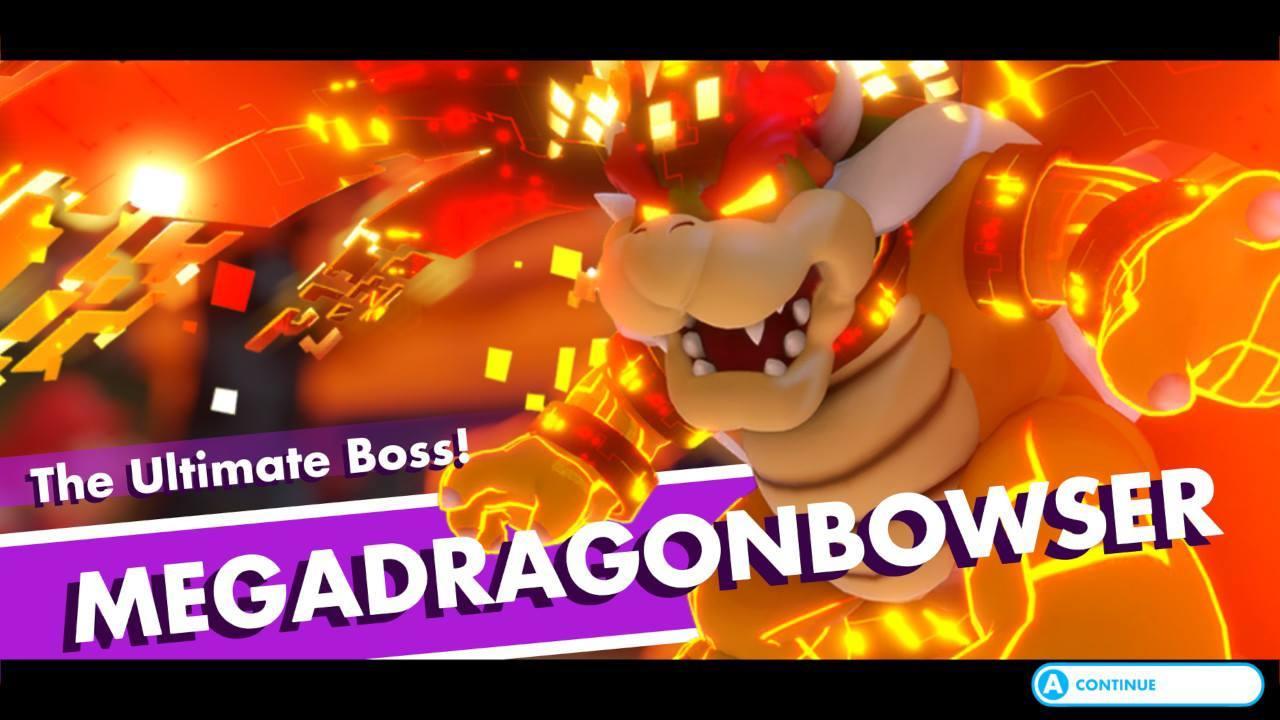
Bowser is a bit of a pain, and this three-stage battle will stretch on for quite a while. He'll have small groups of minions backing him up in each stage. First it's Valkyries, then Bucklers, and finally Smashers. It's tough to plan accordingly, but you'll definitely want some healing capabilities, as well as characters who can shield up to protect themselves. The two primary approaches to the battle are to either try to slug it out with Bowser as fast as possible by focusing on him, or to thin out the enemies he summons, which makes staying alive all the way through a great deal easier.
In the first stage, Bowser likes to cruise around the battlefield to take on your characters more or less one at a time. He uses a machine gun weapon that deals Burn damage, fires up a reaction shot occasionally, and can employ Magnet Dance to draw your characters out of cover. He can also move to anywhere on the battlefield to get behind your cover. His machine gun can destroy the black obsidian cover blocks, and he'll use his magnet power to try to pull you close for a ground pound strike.
The upshot is, Bowser can generally only attack one character at a time if you're smart about cover and spacing. Keep your characters far apart so they can't be drawn together all at once, and try to take out the minion enemies as fast as you can. This is generally a sound strategy throughout this battle--the extra enemies on the battlefield are the ones that will take advantage of Bowser's move to put serious hurt on your characters. Try to limit the number of other guns being fired at your troops.
Once you're able to deal with Bowser alone, spread out and lay some damage. If you can, heal up your characters before you strike the final blow that will send him to the next phase.
The second phase of the battle makes things fairly irritating. Bowser keeps to the edge of the battlefield, raining down pyroclasts once a turn. They tend to land on the black high cover positions, which makes them pretty much worthless, since you'll be driven out by burning attacks once a turn. Bowser summons four Bucklers during this phase, which are a pain to kill, but which you'll want to deal with as fast as you can.
The good news here is that you can leave cover and not have to worry about Bowser machine-gunning you. Cover protection is purely to deal with the Bucklers, which makes things a bit easier to manage. Look for cover that doesn't have black rings or cracks under it to avoid the pyroclasts, and focus on killing the minions. You'll want them all dead before you start the next phase.
In fact, you need to be careful about how much damage you deal to Bowser. If you start the third phase, you'll have whatever Bucklers you didn't finish, plus Smashers. It's not a fun combination. But Bowser will use Defend on his minions, which spreads the damage you deal to them between himself and them. Use movement attacks like dashes and jumps to hurt the minions without doing too much punishment to Bowser.
Once you've cleared the bad guys, heal up if you can and finish Bowser off. He'll head back to the ground for his third phase. In this one, the black cover positions are essential. Bowser likes to head to the ground to activate a protective forcefield. When you shoot it, he'll come after you with a spinning shell attack. Brick-based cover will crumble as he crashes into it, and if your characters are behind it, he'll send them flying. But the black cover will stop him, dazing him so you can deal some damage.
You don't need to be under cover so much as behind it, so that the black bricks are between you and Bowser, and he always attacks from the center of the map, so you can stay on the outer edge with cover between you and him and effectively avoid him. You can also use his attacks to your advantage--try to put Smashers between you and him when he attacks, and he'll hit them, sending them flying and dealing them damage.
The best way to deal with the third phase is to ignore the Smashers almost entirely. You won't need to kill any of them, and trying will just force you into situations that could get dicey. Instead, maneuver your characters to the edge of the battlefield and keep checking Smasher run distances to make sure you're clear of their attacks (you need at least one full cell of separation between you and where they'll end up, or they can reach you with those giant oven things). Keep black cover between you and the center of the battlefield, and Bowser will bounce off it, getting dazed. Blast him and then run to another spot with cover, making sure to keep away from the Smashers. It should only take two or three turns to take him down and finish the battle.

