Resident Evil 2 Remake Guide: 11 Essential Tips To Help You Not Die
GameSpot may receive revenue from affiliate and advertising partnerships for sharing this content and from purchases through links.
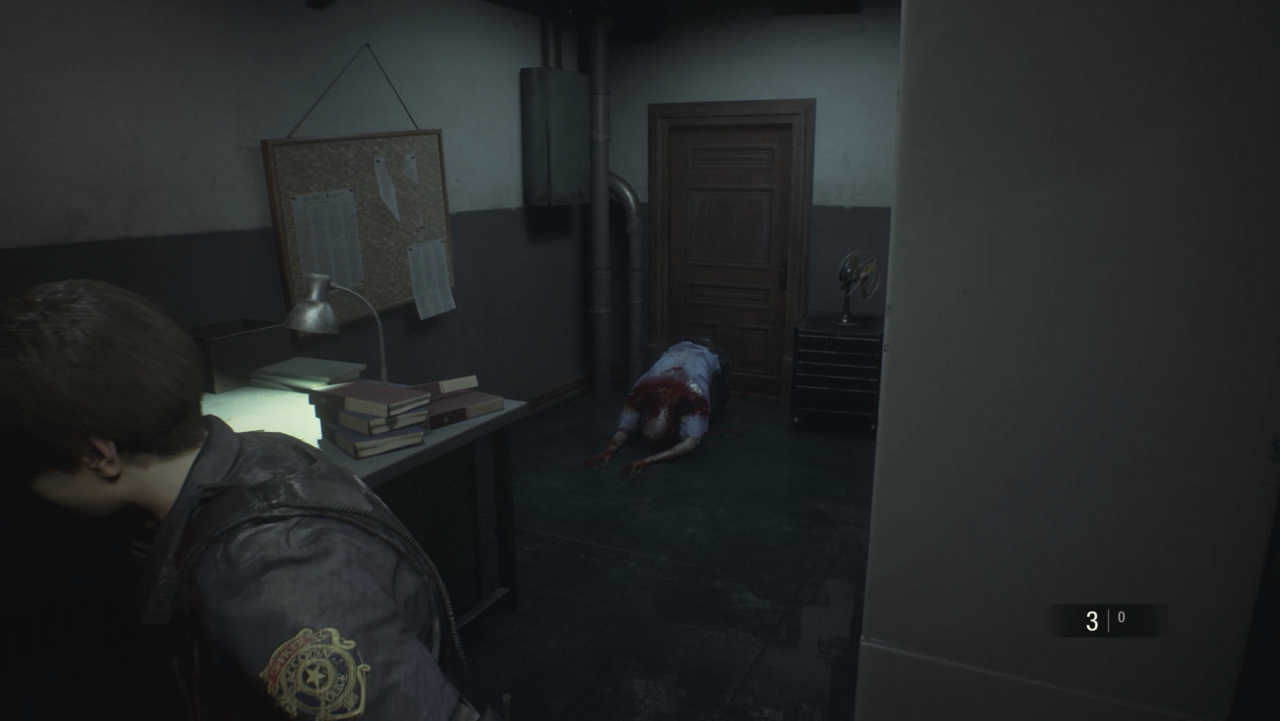
Resident Evil 2 remake has finally arrived and it's pretty fantastic. As you embark on this terrifying adventure through the zombie-infested Raccoon City, your skills need to be on point if you're hoping to get both Leon and Claire out alive. After all, this is a survival horror game where resource conservation and a thorough understanding of your enemies are the major keys to success.
We've compiled several tips that will help you better survive the slow treks through dimly-lit police station hallways and underground research facilities. There's a ton of new features added in the remake, so even if you're a returning player, these tips will better acquaint you with its reworked mechanics. Like previous Resident Evil games, an assortment of challenges lie in the journey ahead--but follow the tips below and you'll be in good shape to overcome all the game has to throw at you.
For more guides, be on the lookout in the days ahead. We've got a few guides lined up that detail gun upgrade locations, key codes, and more.
Resident Evil 2 Remake received an 9/10 at GameSpot. As Editor Alessandro Fillari wrote: "Resident Evil 2 is not only a stellar remake of the original, but it's also simply a strong horror game that delivers anxiety-inducing and grotesque situations, topping some of the series' finest entries. But above all, the remake is an impressive game for the fact that it goes all-in on the pure survival horror experience, confidently embracing its horrifying tone and rarely letting up until the story's conclusion. Though Resident Evil 2 has its roots firmly in the past, it reworks the familiar horrors into something that feels brand new and all its own."
Got any useful tips that you don't see here? Let us know about them in the comments below.

Refer To The Map (It's Very Useful)
The rooms of Resident Evil 2 are packed with numerous points of interest and hidden resources. As a result, you're more than likely to lose track of things in your pursuit to survive. Fortunately, your map marks items you might've missed (and were in direct contact with at some point), while also highlighting important points of interests, puzzle objects, key emblems/lock types, and more.
The map is also color-coded to indicate which areas still hold resources you've yet to pick up but didn't see when you were there. For example, a room will be colored red if there's something still left to grab or interact with but will then turn blue once you've cleared out everything inside.
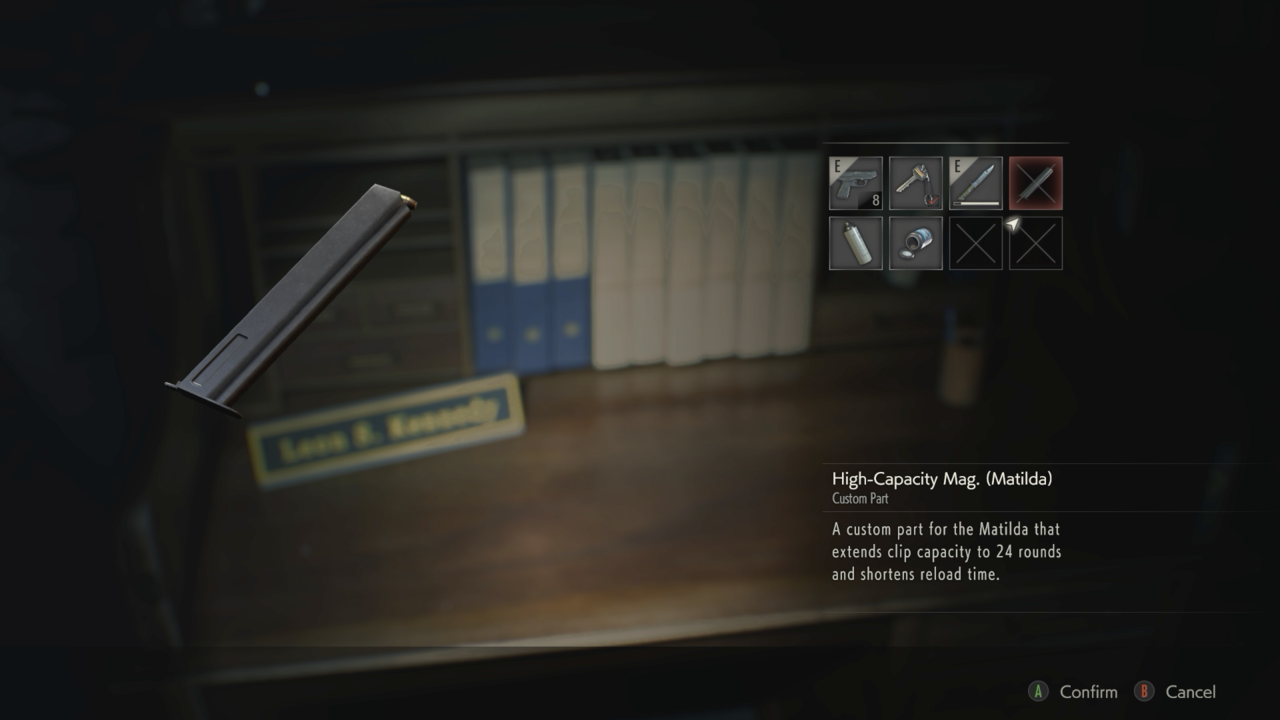
Gun Parts
As you explore Raccoon City, you'll discover parts you can use to upgrade your guns. These are useful for obvious reasons, but you'll soon discover that some parts increase the number of spaces a gun takes up in your inventory. Fortunately, you can remove these parts by highlighting the gun and selecting "Remove Parts." This will separate the part from the gun, so you can stash it away for safekeeping.
Another tip worth noting is that when you get a part that increases a gun's ammo capacity, don't combine it just yet. Drain most of its current clip first, as installing the part not only expands the gun's ammo count but gives you some extra rounds for free. It may not be much, but anything helps when you're trying to survive this zombie apocalypse.
Quick Turn Is Your Friend
A staple of Resident Evil games is the "quick-turn," which allows you to quickly turn your character around 180 degrees. This maneuver returns in Resident Evil 2 remake and is performed by pressing back + B/Circle. The quick-turn is useful for those moments when you gotta turn back on a dime. You can even perform it while aiming!
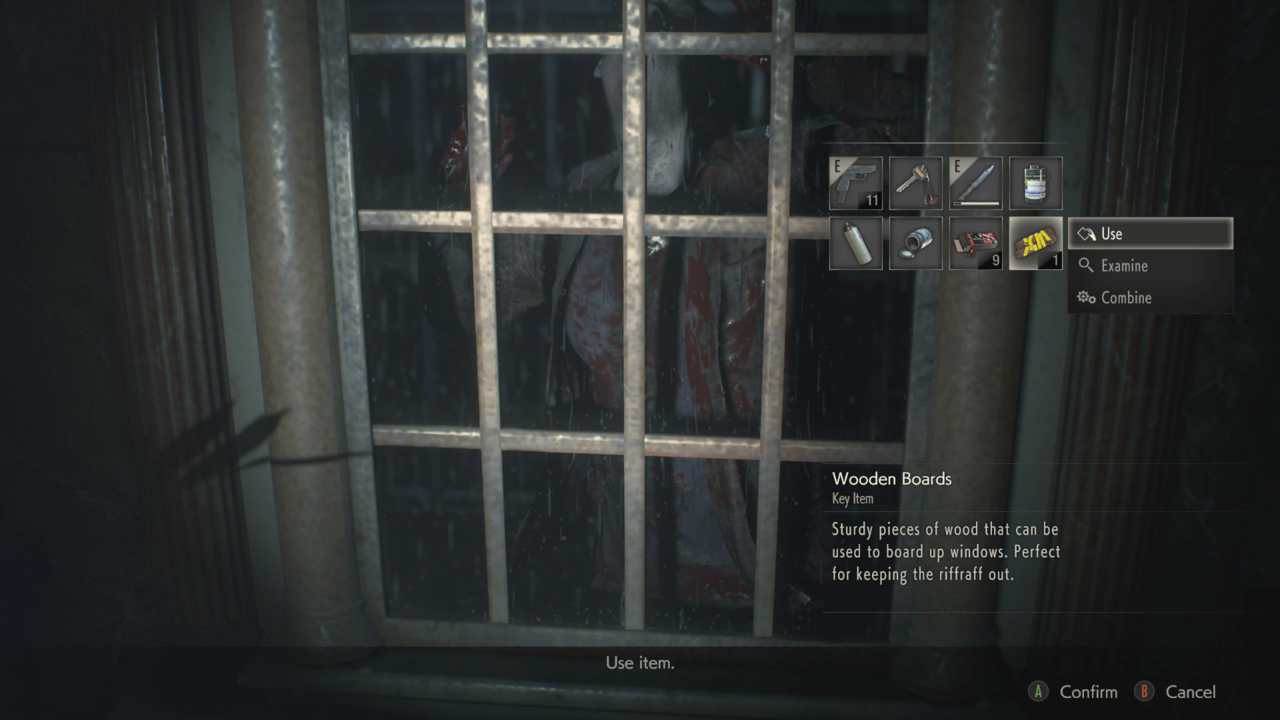
Use Those Wooden Boards
New to Resident Evil 2 are wooden boards you can use to barricade windows. This comes in handy in preventing zombies from entering the building. You get your hands on quite a few throughout your time spent at the RPD. Don't hesitate to throw one up, but we recommend using them in hallways that you frequent often. For example, the 1F western hallway is likely an area you'll want to board up early on. Choose wisely as you don't have enough board to block every window, but you'll have just enough to seal the ones that cause the most trouble.

Using Your Sub-Weapons
Aside from your arsenal of guns, you have access to sub-weapons, such as grenades and knives. These are fantastic in a pinch as you can use them to save you from damage by pressing R1/RB upon being grabbed. Be mindful that these will not work when an enemy grabs you from behind.
The knife can only be used a few times before it breaks. In addition, when you stab it into an enemy, you need to down them first before being able retrieve it. On the other hand, the grenade is great at inflicting some sizable damage against enemies--even the larger ones. We recommend tossing them at zombie groups instead of lodging them into a single one's mouth.
The flash grenade is exceptionally useful, though. They're great for blinding groups of zombies, allowing you to easily pass by. Flash grenades even work on Mr. X, but be wary as he'll start flailing uncontrollably. They also make for a useful way to lure Lickers away given the loud sound they make upon detonating.

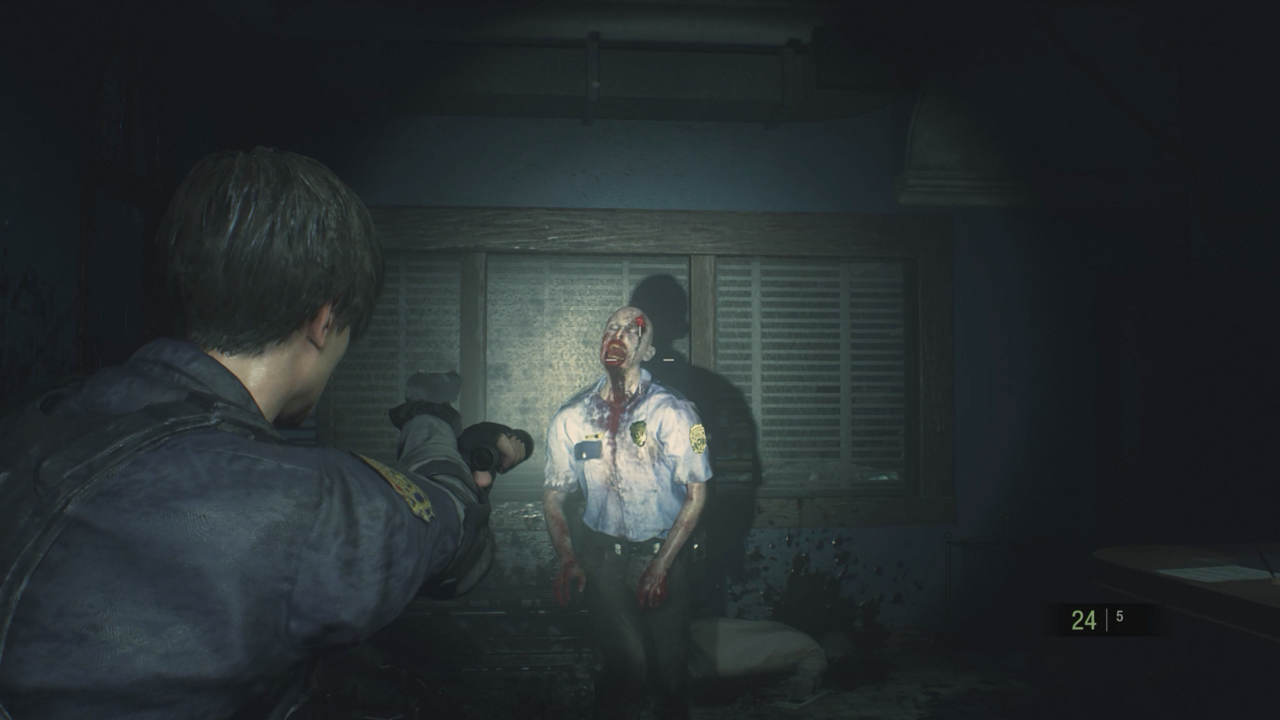
The Knife Check
Zombies may fall to the ground after a few headshots, but don't be fooled by the silenced music; it's most likely playing dead. If a zombie isn't getting up, try knifing it to see if it's really dead. If it's still got some life in it, respond in kind with repeated knife slashes or a couple more bullets to the head.
It's Better To Run
You might find comfort in killing every horrifying creature in your path but know that this will take a toll on your resources. Be smart about when to pick a fight and when to flee. Sometimes a good tactic is to down a zombie and run. If you're feeling particularly resourceful, you could cut off a zombie's legs with your knife to render it immobile and (mostly) harmless. Be creative and try to see completely downing a zombie with nothing but your gun as a last resort.

Double Back On Key Items Without Red Check Marks
If a key item has a red checkmark on it, that means it has no use and that you can safely discard it without worry. But if you still have a few important items in your inventory that aren't checked--even ones you've used once already--take time to explore and see what else they unlock. It's more than likely that you might've missed another door or box it opens, especially if you've had it in your inventory for quite some time. Take note of the color coding and points of interest on your map to help guide the way towards where to use them. You might nab yourself a handy gun part or a small stockpile of ammunition.
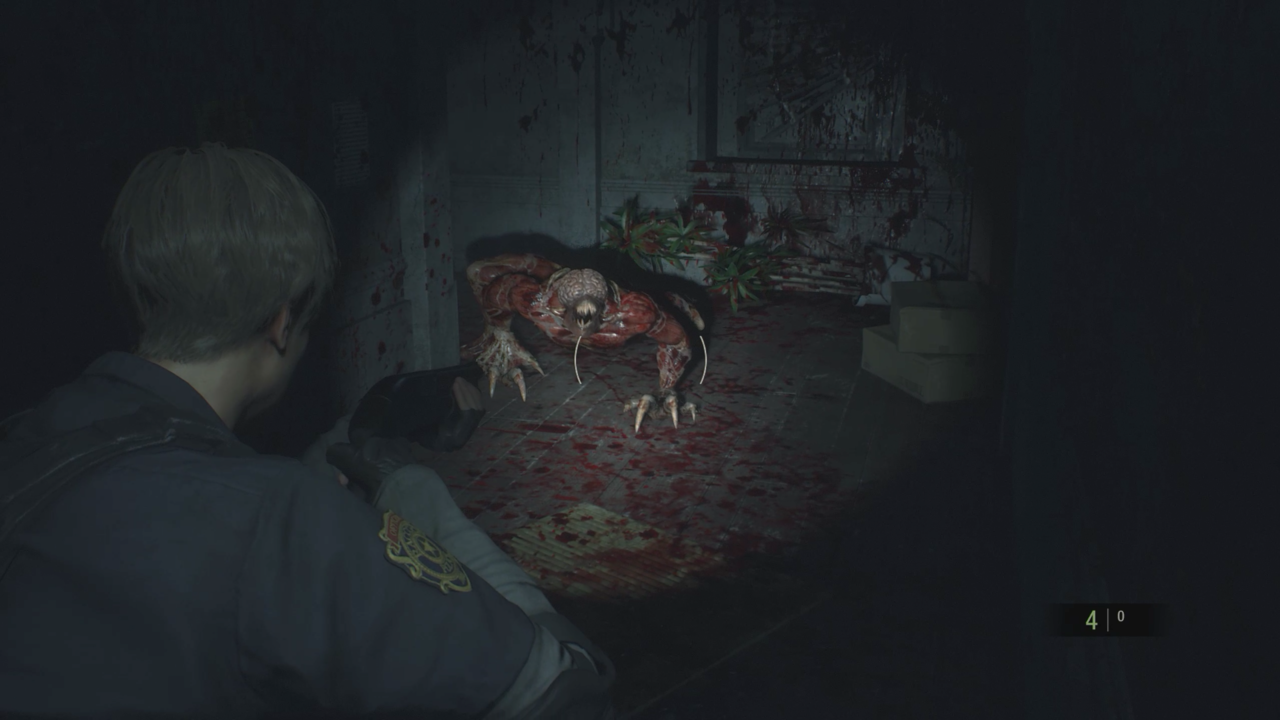
Walk Around Lickers
As the vendetta-fueled survivor said in his note in the 3F west hallway, Lickers only react to loud noises. Take caution around these grotesque creatures by moving as slowly as humanly possible around them. Walk slow enough and you should manage to elude a Licker unscathed. Admittedly, no amount of quiet movement is going to save you if you end up getting too close to a Licker in a cramped hallway, and in some instances, you'll have no choice but to fight them.
If you're forced to confront a Licker, we recommend using the "hit and run" strategy, especially if you're playing as Leon and only have a shotgun. As Claire, however, you can simply plant your feet and fire off Acid Rounds at the Licker until it's dead. Just be mindful of how many Lickers are in the room, as later on these monstrosities start coming in pairs.

Don't Waste Valuable Resources On Mr. X
This hulking behemoth can easily bait you into using up all your ammo in an attempt to take him down. While a grenade launcher or shotgun round may seem like the best course of action, it really only takes a few pistol rounds to the face to get it to kneel for a brief duration. This may not put it out of commission completely, but it's better than having it relentlessly chase you.
If you're feeling particularly confident, you can easily lose Mr. X by luring him into any section of the RPD and then making a beeline elsewhere. It's more than likely he'll lose track of you if you juke him well enough--preferably around more cramped rooms, like the Records Room or the East Office.
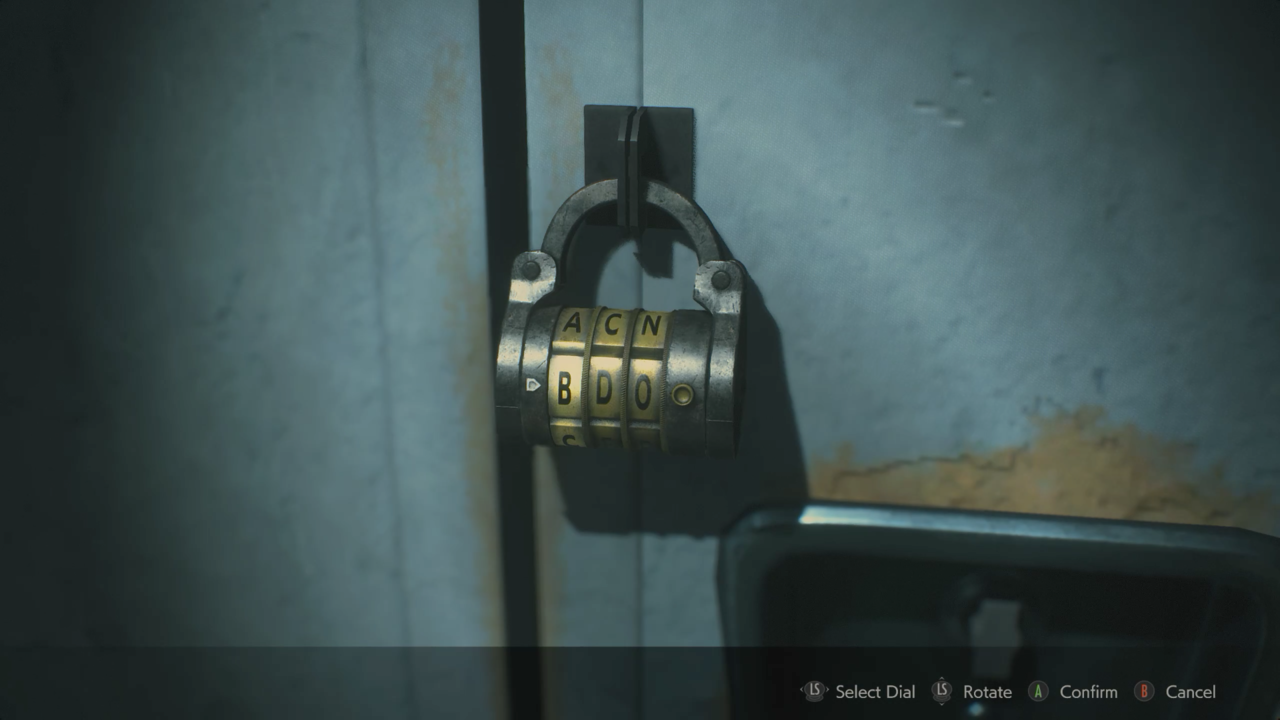
Key Codes And Optional Items
There are a bunch of items and resources in the game that are completely optional. These are typically hidden inside safes or lockers with dial padlocks. You can find the combinations for these either in memos or even scribbled somewhere on a wall.
Other optional items don't show up until you've developed a film roll with photographs that point you to their locations. Whenever you find a roll, develop it in the dark room on the western side of the police station. The resources you gain by completing these are typically more lucrative, so try to set aside time to complete these item hunts.
If you wish to open the way to these items, investigate every corner for memos and make note of any bizarre details you notice in the environment. But if you'd rather not find the answers yourself, be on the lookout for our key codes guide in the days ahead.