Stellar Blade Cans - All Collectible Locations

GameSpot may receive revenue from affiliate and advertising partnerships for sharing this content and from purchases through links.
Stellar Blade has a bunch of outfits, upgrades, quests, and puzzles to keep you preoccupied. However, the one activity that will likely take up most of your time is collecting beverages. Here's our guide on how to get all Cans in Stellar Blade.
How to get all collectible Cans in Stellar Blade
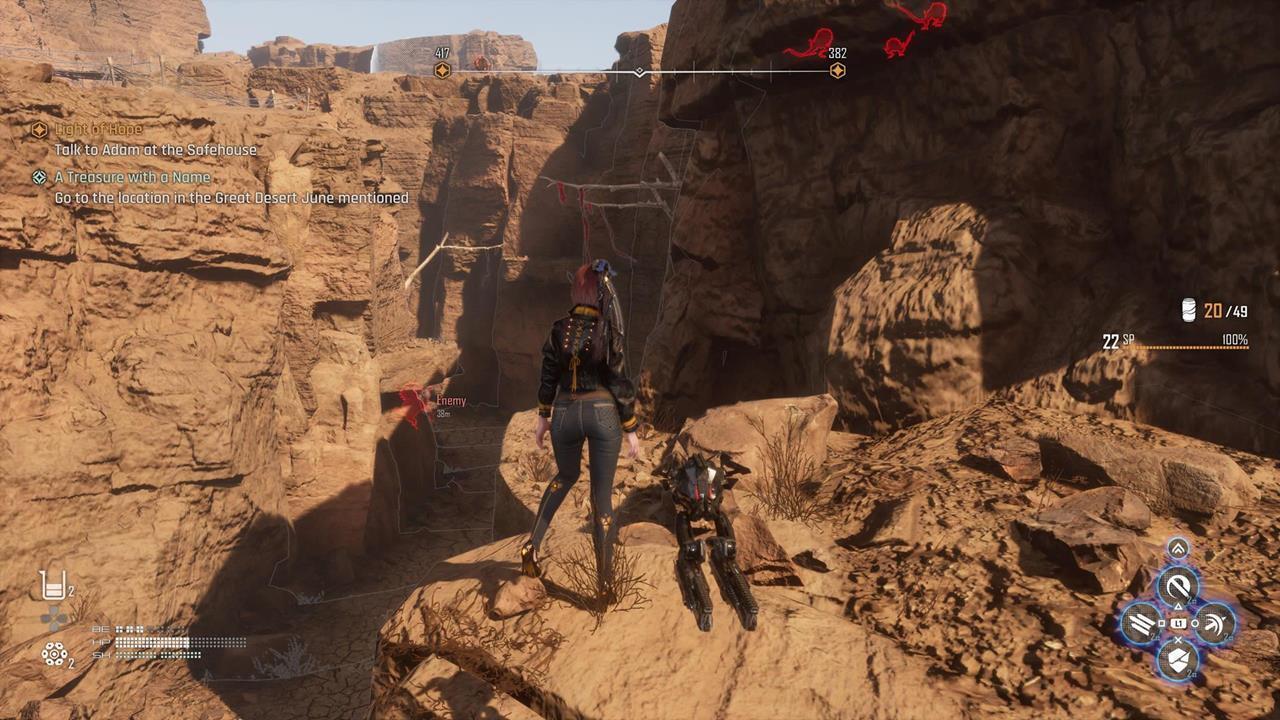
There are 49 collectible Cans in Stellar Blade. These are scattered across various regions:
- Eidos 7: 3
- Xion: 8
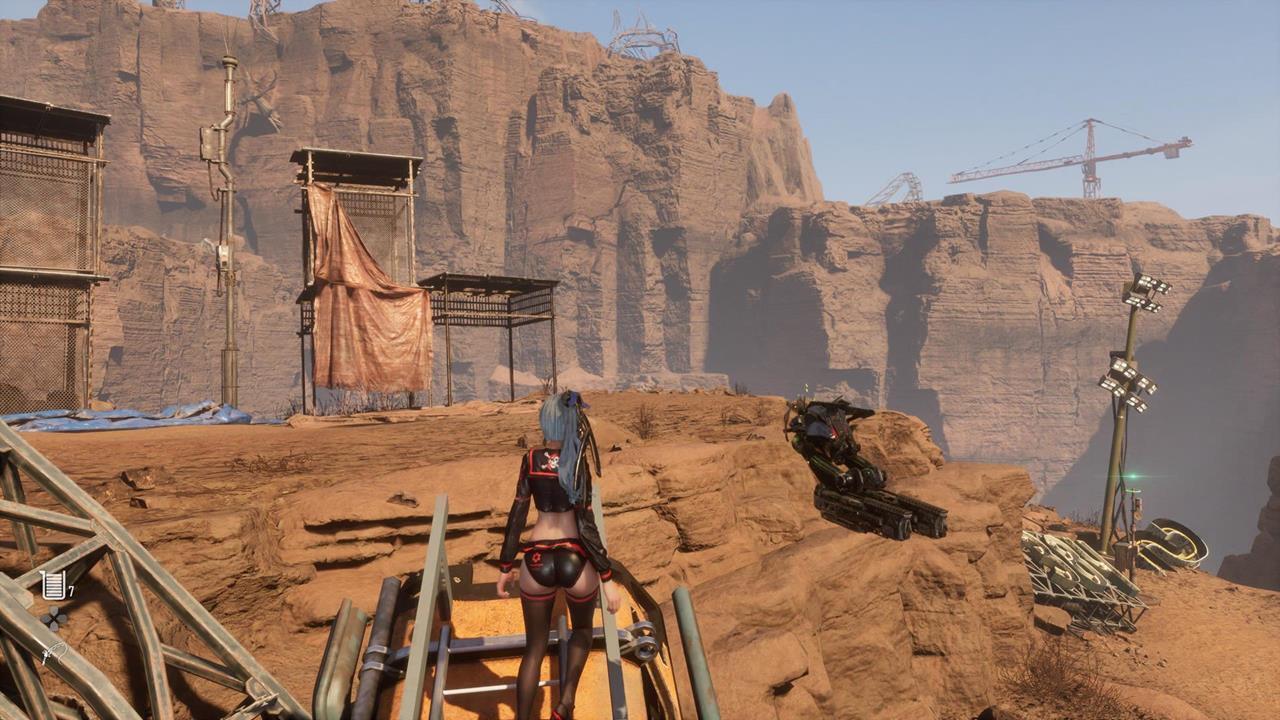
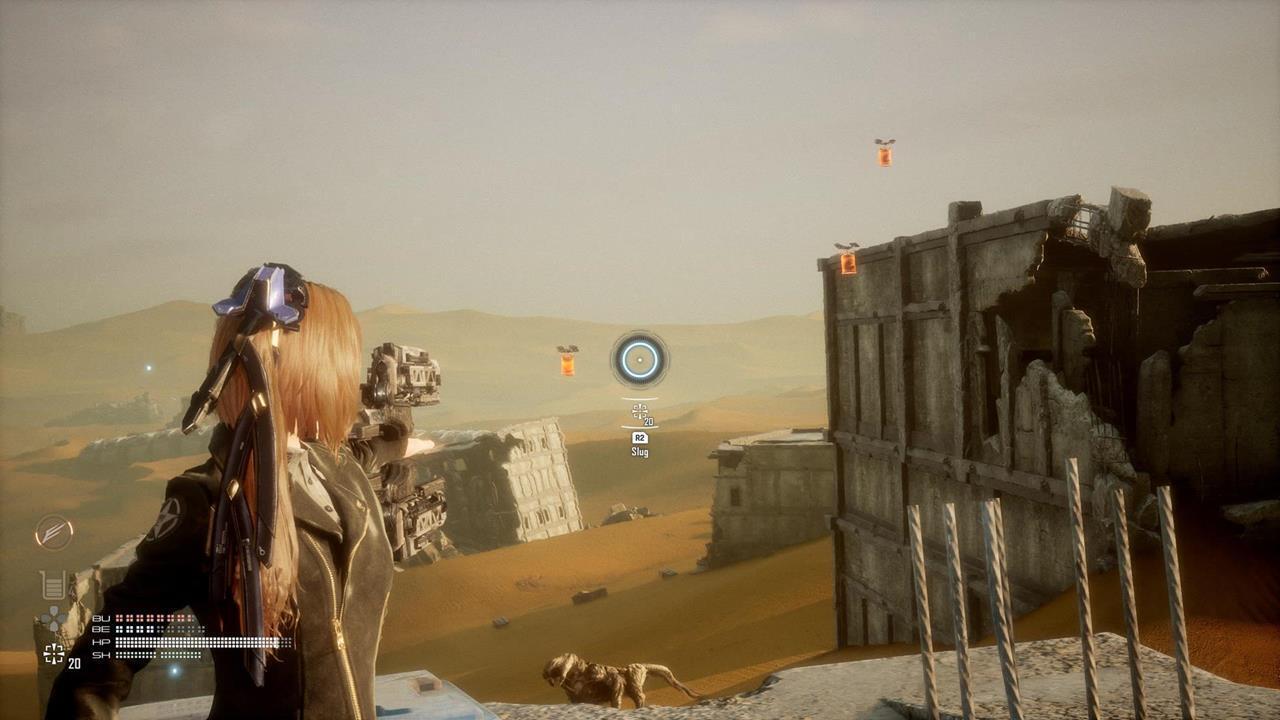
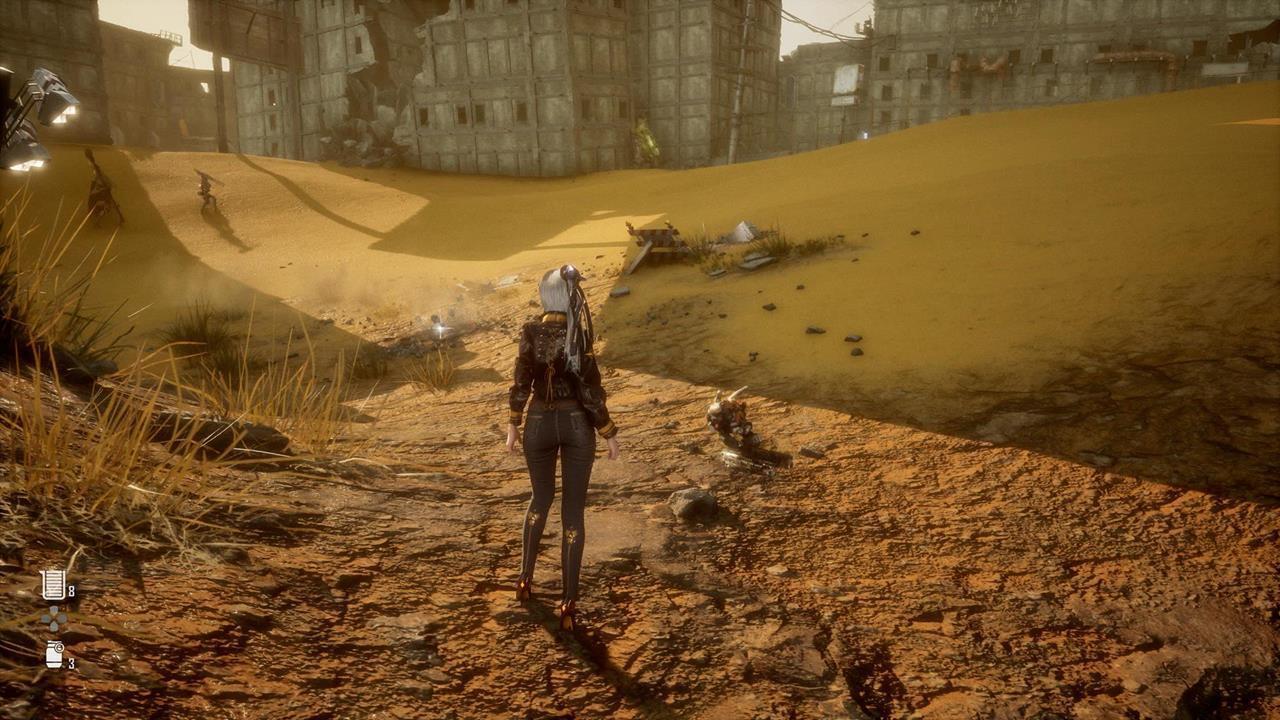
- Wasteland: 15
- Matrix 11: 3
- Great Desert: 16
- Spire 4: 4
Our Stellar Blade Can collectibles guide is organized based on the regions that you visit in the campaign. We also take note of when certain areas become accessible.
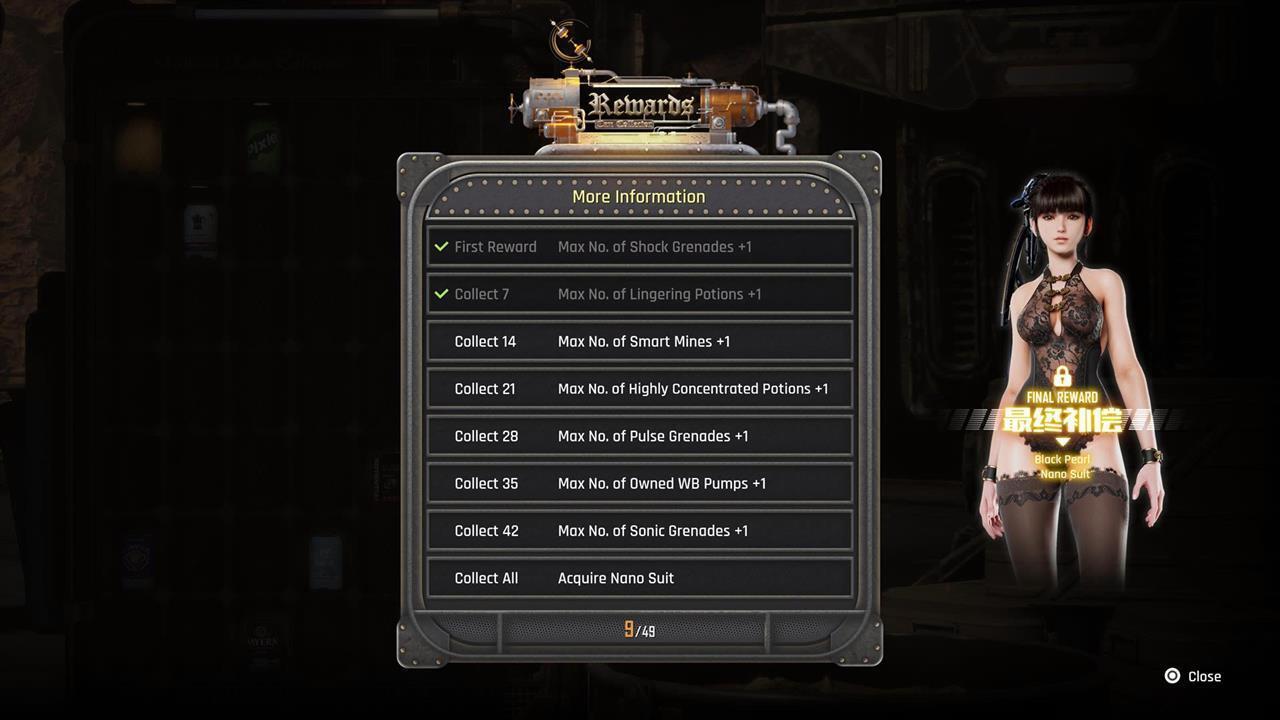
Can collectible rewards
You receive the following permanent boosts and rewards upon obtaining a certain number of Cans in the game. The vast majority of these add +1 to your maximum number of consumable items. You can check your total tally via the display case at your hideout/shipyard just outside of Xion:
- First reward/first collectible obtained: +1 Shock Grenades
- Seven Cans: +1 Lingering Potions
- 14 Cans: +1 Smart Mines
- 21 Cans: +1 Highly Concentrated Potion
- 28 Cans: +1 Pulse Grenades
- 35 Cans: +1 WB Pumps
- 42 Cans: +1 Sonic Grenades
- All 49 Cans: Black Pearl nano suit

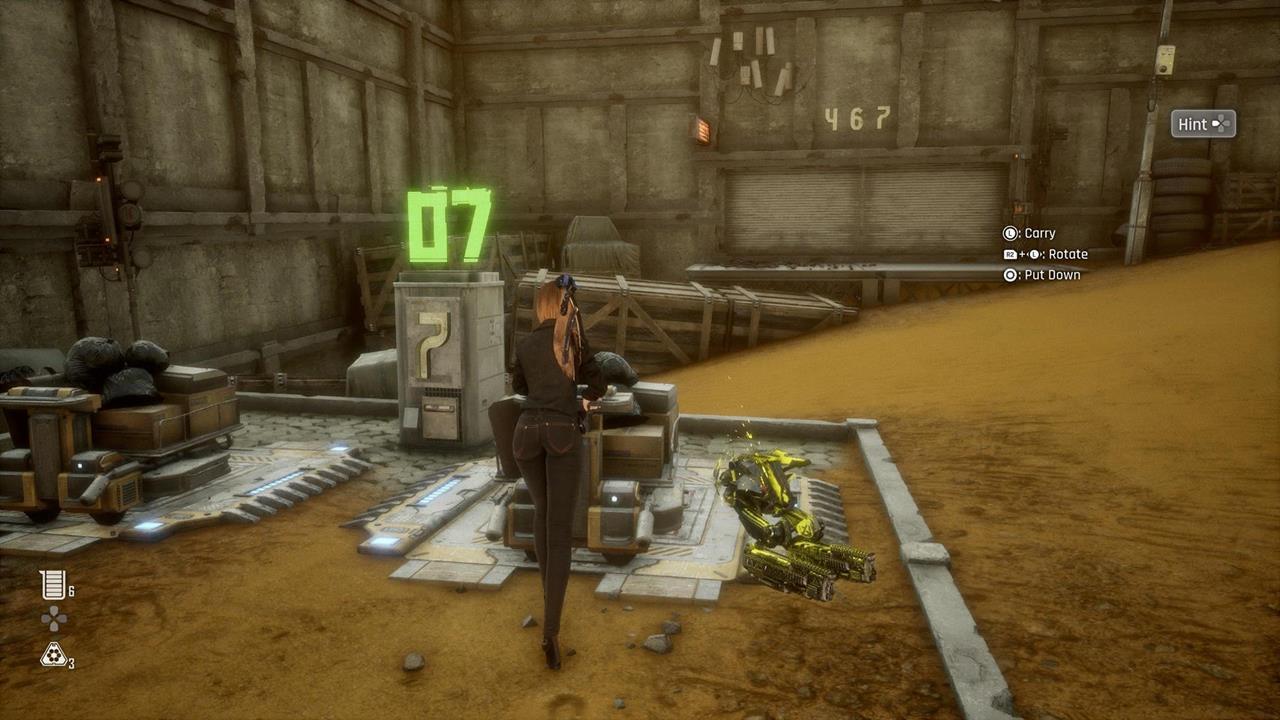
Eidos 7: Can 1 - Potential Blast
On the top floor of one of the buildings at the Construction Zone. It's also where you can find a Crane ID Control.
Eidos 7: Can 2 - Elixir Carrot
After completing the main objective in Wasteland - Altess Levoire, you can drain the water in the Flooded Commercial Plaza. You can learn more about the steps in our Oblivion side quest guide.
Anyway, you should head down the lower section until you spot a robot. Destroy it to obtain a code that unlocks a chest inside a liquor store.
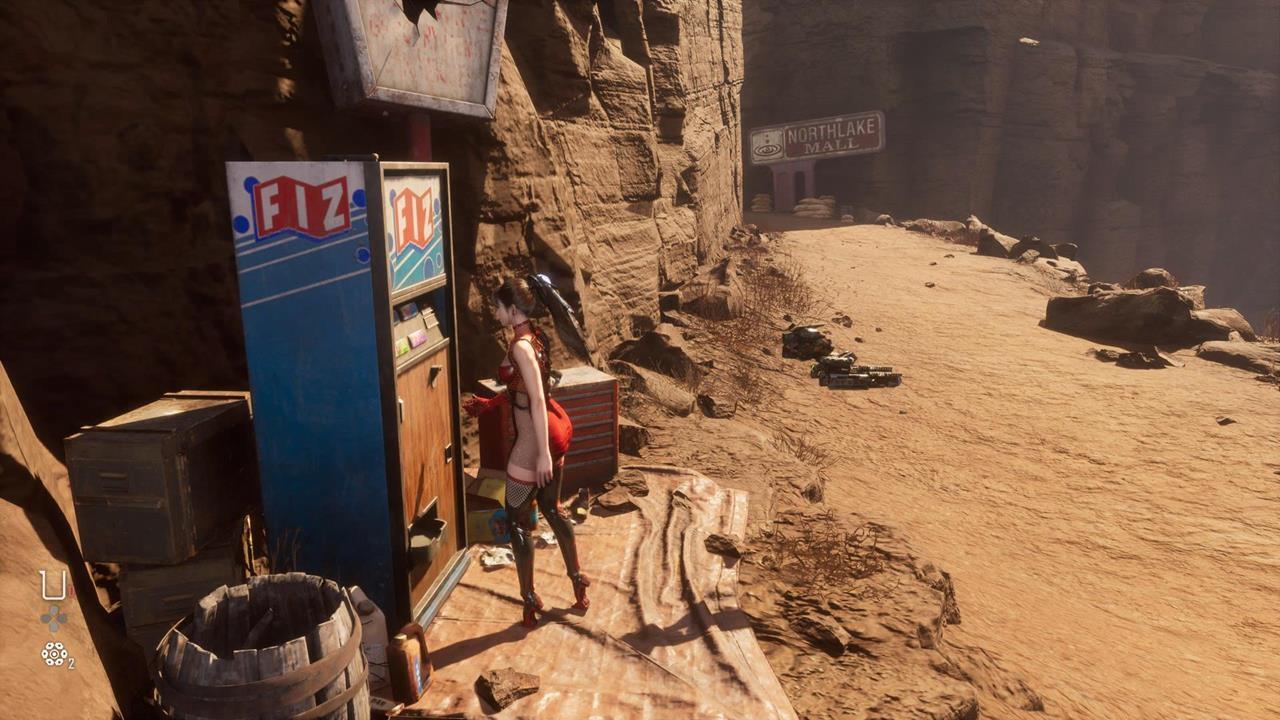
Eidos 7: Can 3 - Cryo Original
After getting Can #2, continue to the opposite side of the sector. There's a vending machine here that's in front of a liquor store.
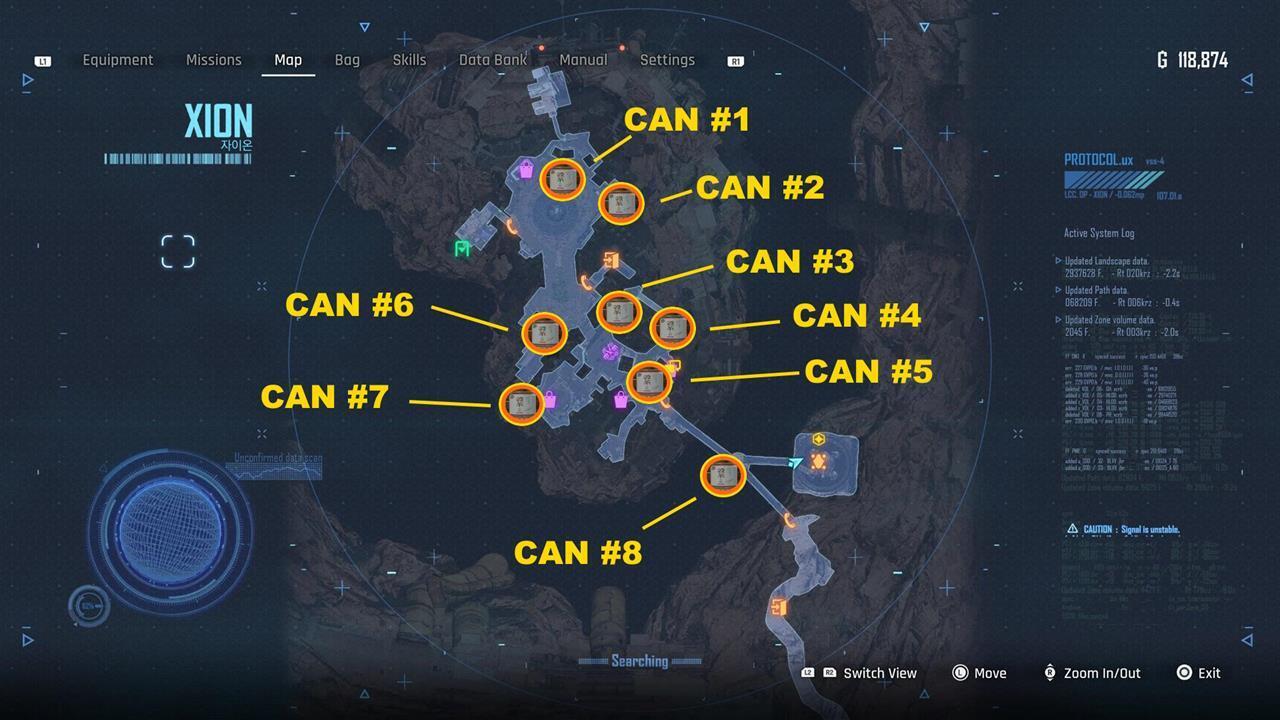
Can collectibles in Xion
These are the Stellar Blade Can collectibles in the city of Xion. Take note that all but one of these items come from vending machines. As such, you just need to interact with a vending machine--Eve will kick it and the reward will pop out.
- Can #1: Pixie - This vending machine is north of the town square. It's also fairly close to the Lost Ark terminal.
- Can #2: The Machinetta Caramel Macchiato - The vending machine is near the stairwell that takes you to the Great Desert.
- Can #3: The Machinetta Americana - At the end of the alleyway opposite from Can #6. There's usually a woman that's chilling here.
- Can #4: Dionysus C - At the alleyway that's north of the bulletin board/Roxanne's shop.
- Can #5: Bayern Weissbier Dunkel - Check the vending machine between Roxanne's and Lyle's shops.
- Can #6: Behemoth Red - This vending machine is in an alleyway just before the bar where you meet Enya and Su.
- Can #7: Mountain Sparkle Mont Blanc - At the yard where you'll also find the Sisters Junk shop.
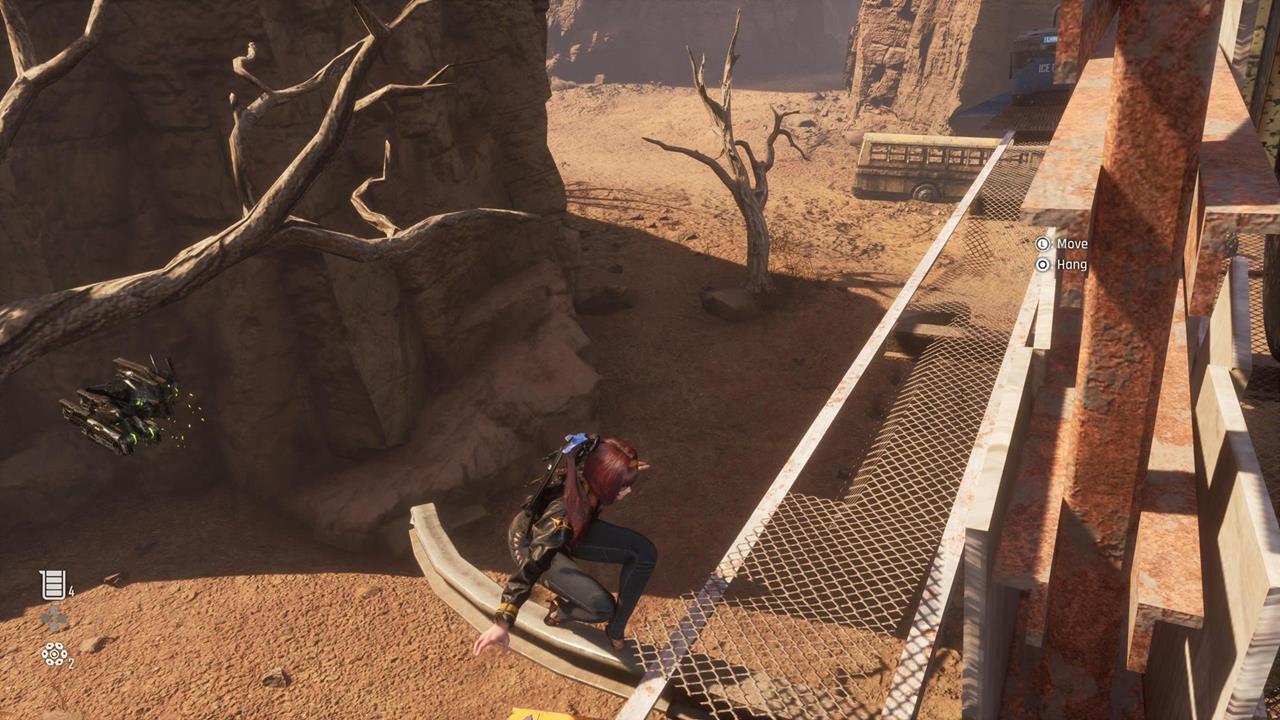
- Can #8: GrainT Oolong - As you cross the bridge leading to the Tetrapod ship, look below the cliff to see a rope. Climb down and jump across the gap to open this crate. This is the only Can collectible in Xion that's not inside a vending machine.
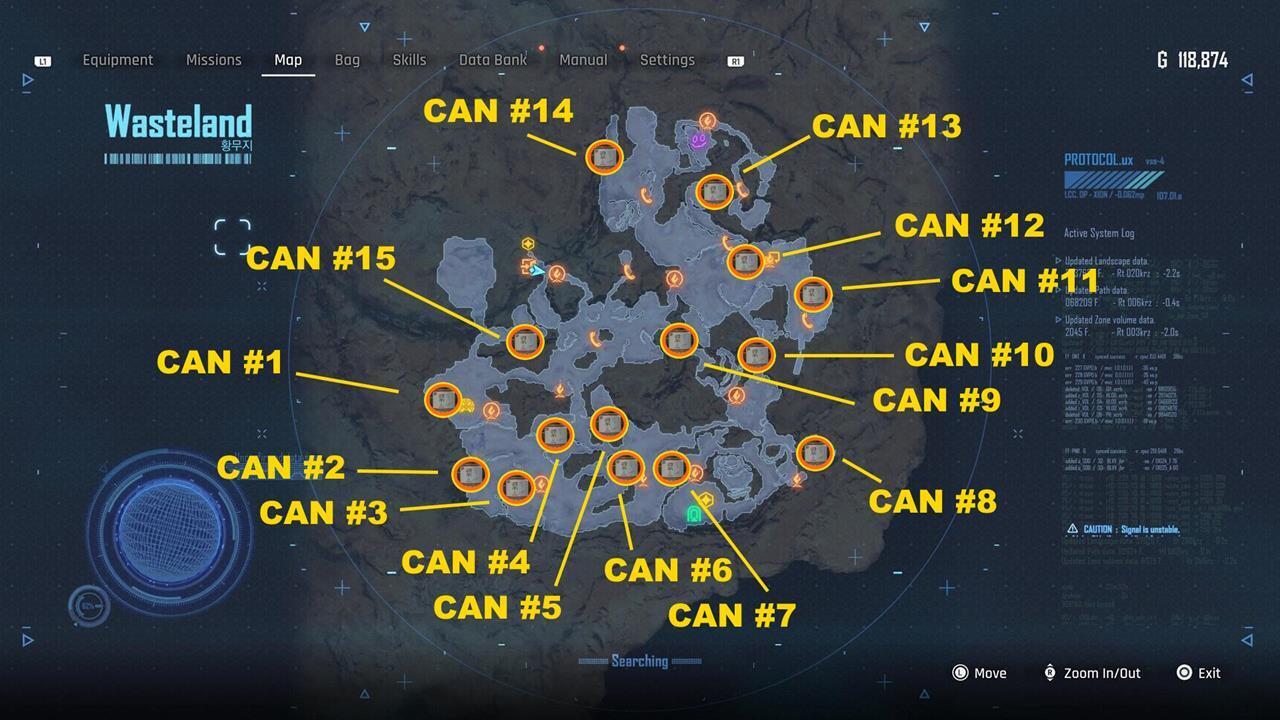
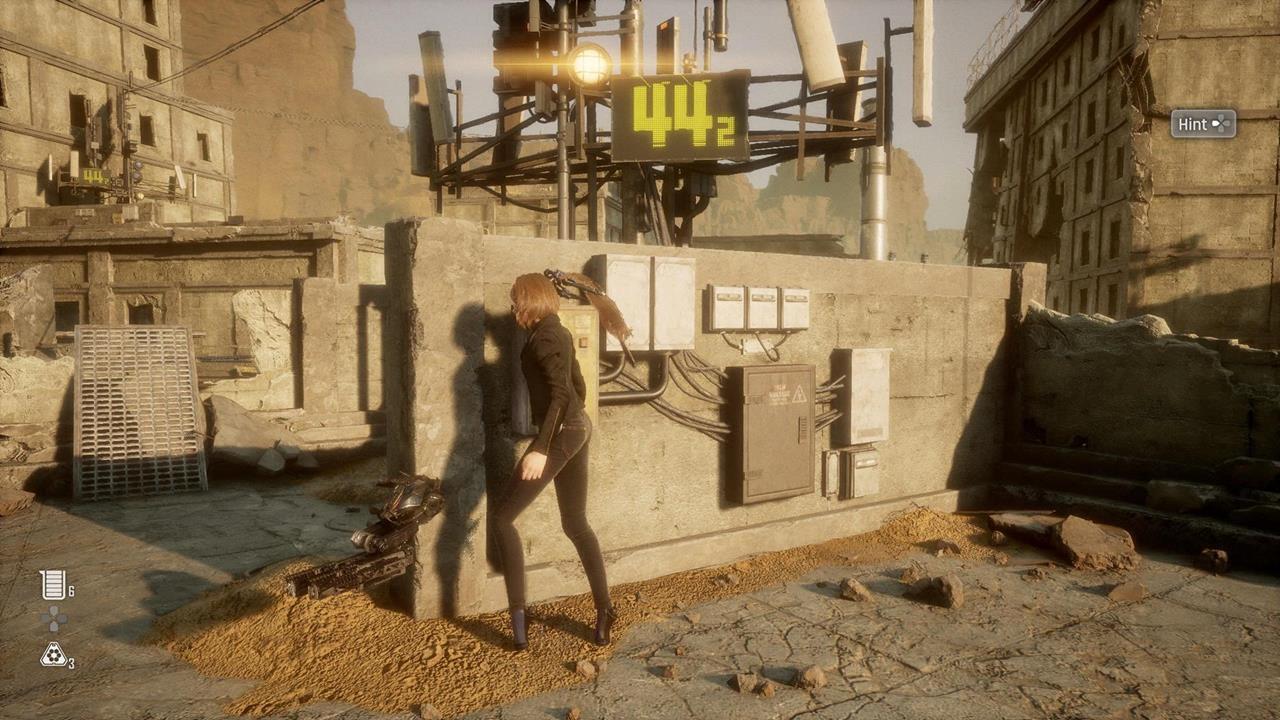
Can collectibles in the Wasteland
Above, you can see a map of the Wasteland region. We've marked the locations of the Stellar Blade Can collectibles in this zone.
Wasteland: Can 1 - Potential Tempest
We suggest starting things off by acquiring this Can collectible near the Solar Tower--you need to repair the Solar Tower anyway just to make use of camps and fast travel.
There are four terminals in the immediate vicinity. Activate all of these to unlock the chest.
Wasteland: Can 2 - Cryo Cafe
This item is further to the southwest, but you can head down the rope past the Solar Tower camp. Once you're at the base of the Great Canyon, follow the slope uphill and check the back of the shipwreck. Note that this place also has the terminal for the rather tricky Recruit Passcode Specialists quest.
Wasteland: Can 3 - Behemoth Green
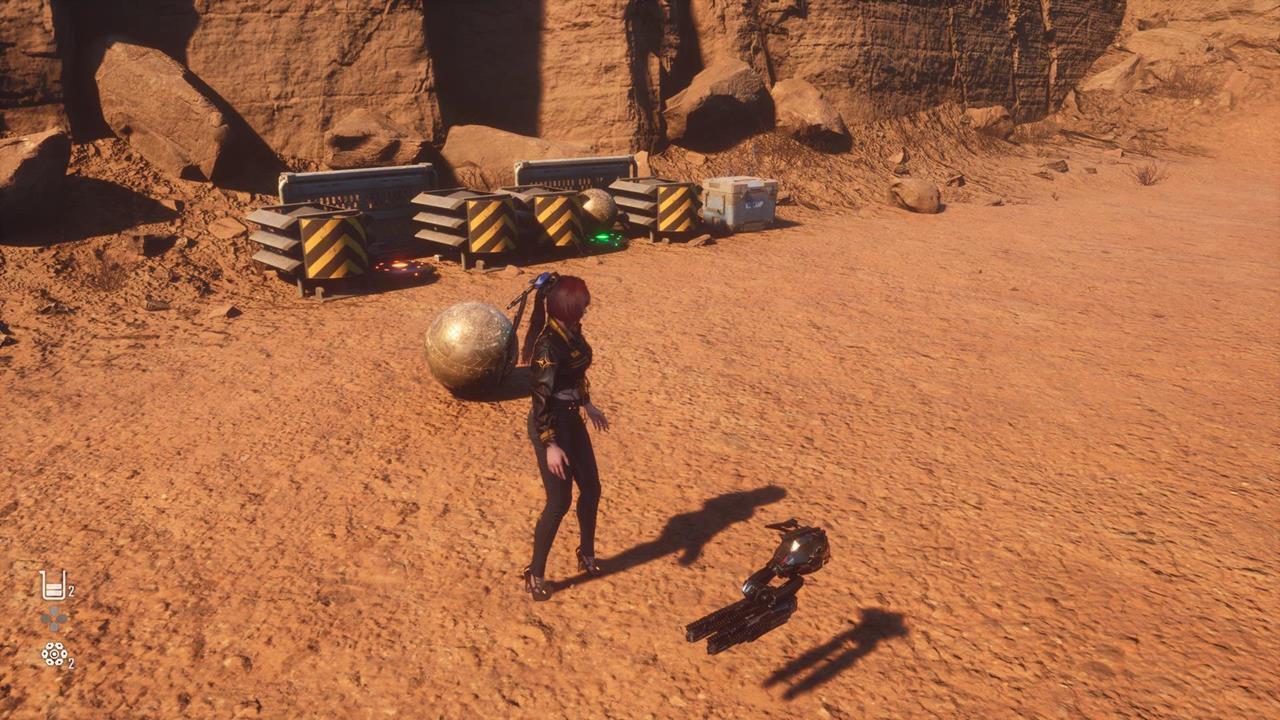
Near the Western Great Canyon camp, you'll spot two plates on the ground. Roll the two metal spheres on top of them to unlock the chest.
Wasteland: Can 4 - Mountain Sparkle Halla
Just across from the camp, there are yellow-painted handholds and wooden branches. These let you swing across gaps all the way to another plateau. There, you'll find a chest that has this collectible. Moreover, this spot has various rewards, too, including a Beta Core upgrade and an outfit for Adam.
Wasteland: Can 5 - Cryo Zero
At the cross-shaped ravine, there's a chest that you can open. Doing so causes a floating target to appear. Keep shooting it as it changes to another location.
Wasteland: Can 6 - Nectar Orange
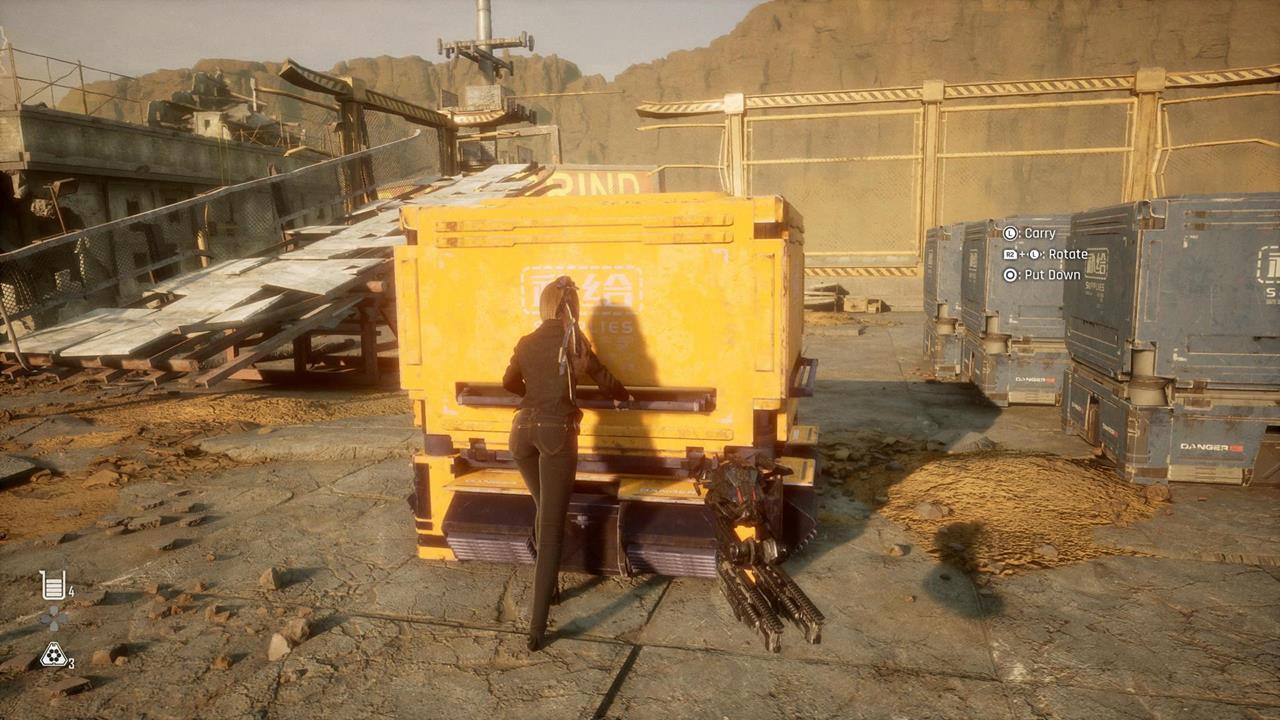
There's a neon sign next to the Central Great Canyon camp. You need to pull and reposition the large yellow container so you can jump and reach the bars.
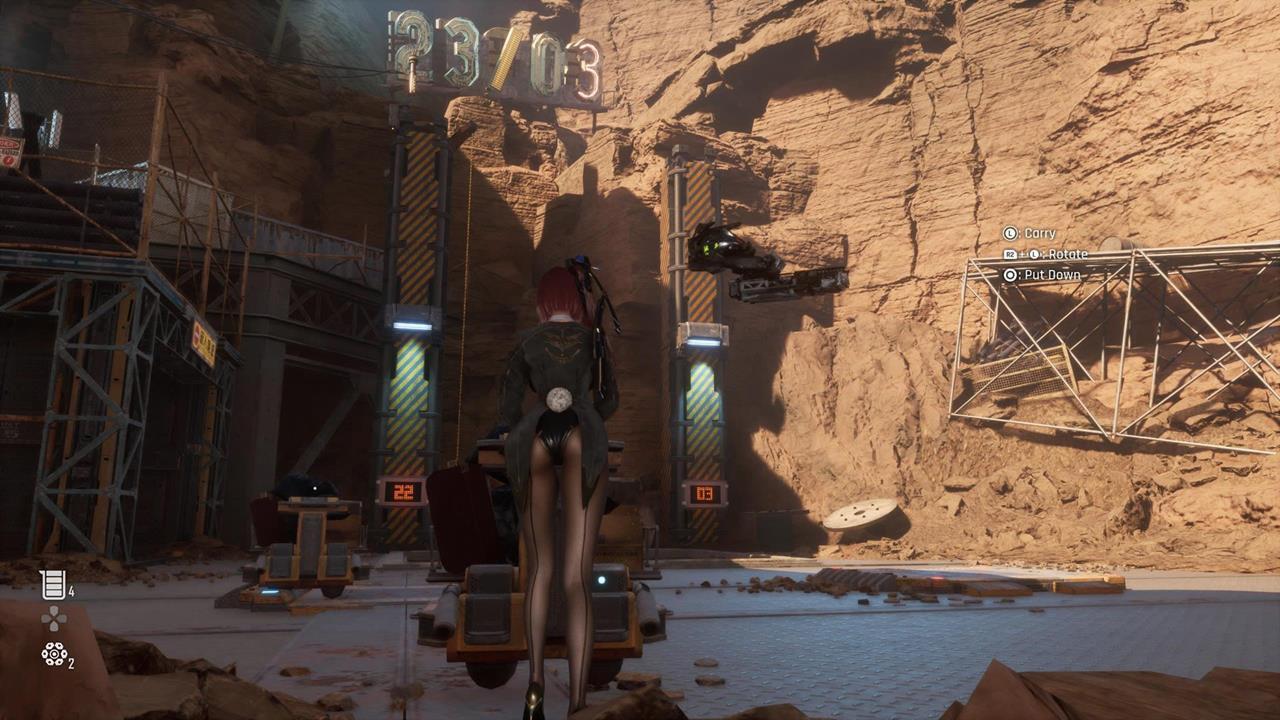
Wasteland: Can 7 - GrainT Barley
This Can collectible in Stellar Blade is near the Altess Levoire entrance. However, you have to trek through a nearby area to get the reward:
- From the Altess Levoire entrance, go east and unlock the gates.
- Climb up the zigzag path that looks like an "intestine" of sorts.
- Once you reach the top, jump and swing across using the branches.
- Cross the bridge until you reach an enclosure with some mechanisms.
- You then need to move the carts on top of the plates to distribute the weight based on the required value: 23 and 3.

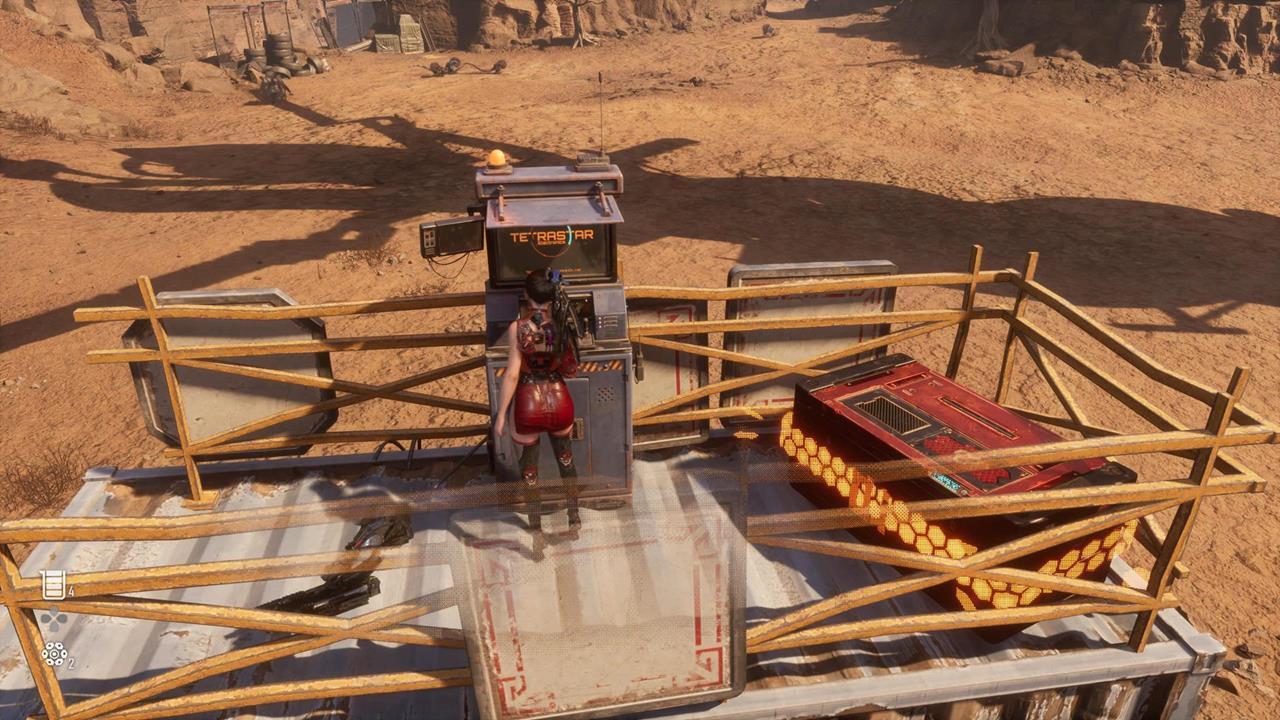
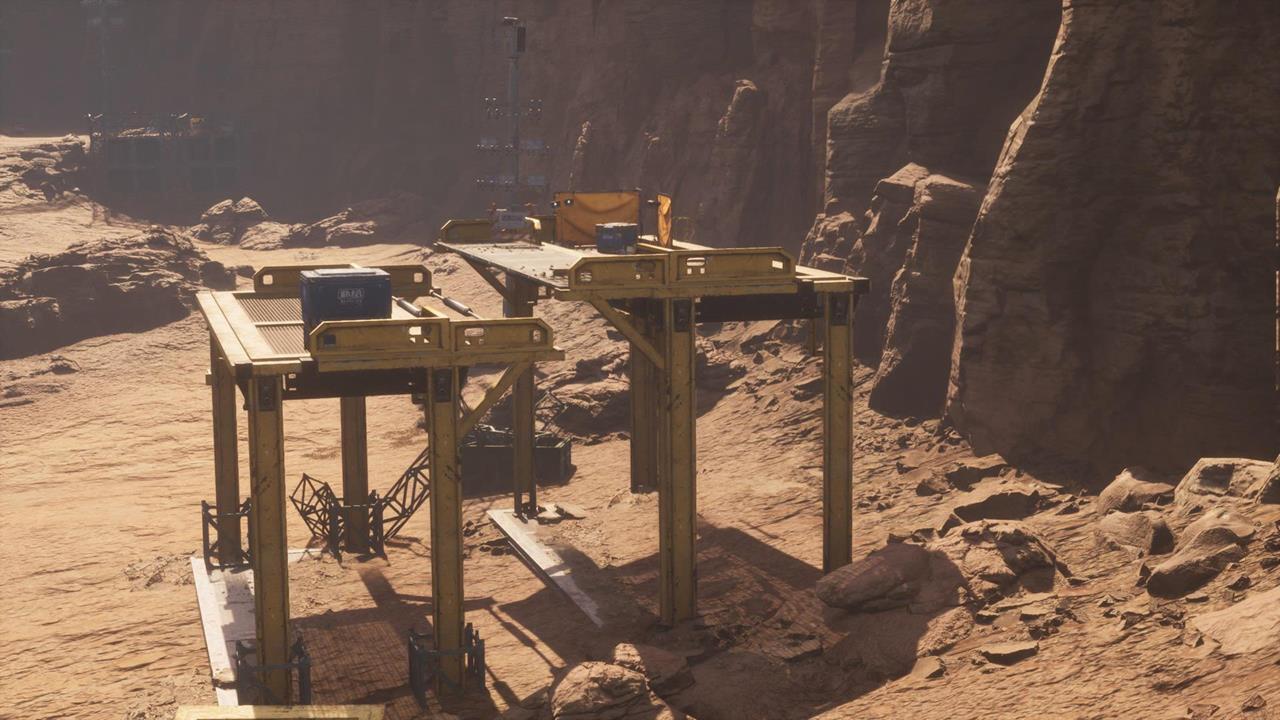
Wasteland: Can 8 - Machinetta Cafe Latte
Head to the southeastern portion of the zone. There, you'll enter a Plant facility with an area that's partially submerged. Take a look around you to find three carts. Reposition and place these on top of floor plates to get the reward.
Wasteland: Can 9 - GrainT Corn
There's a vending machine at the ravine in the middle of the entire zone.
Wasteland: Can 10 - Pixie Zero
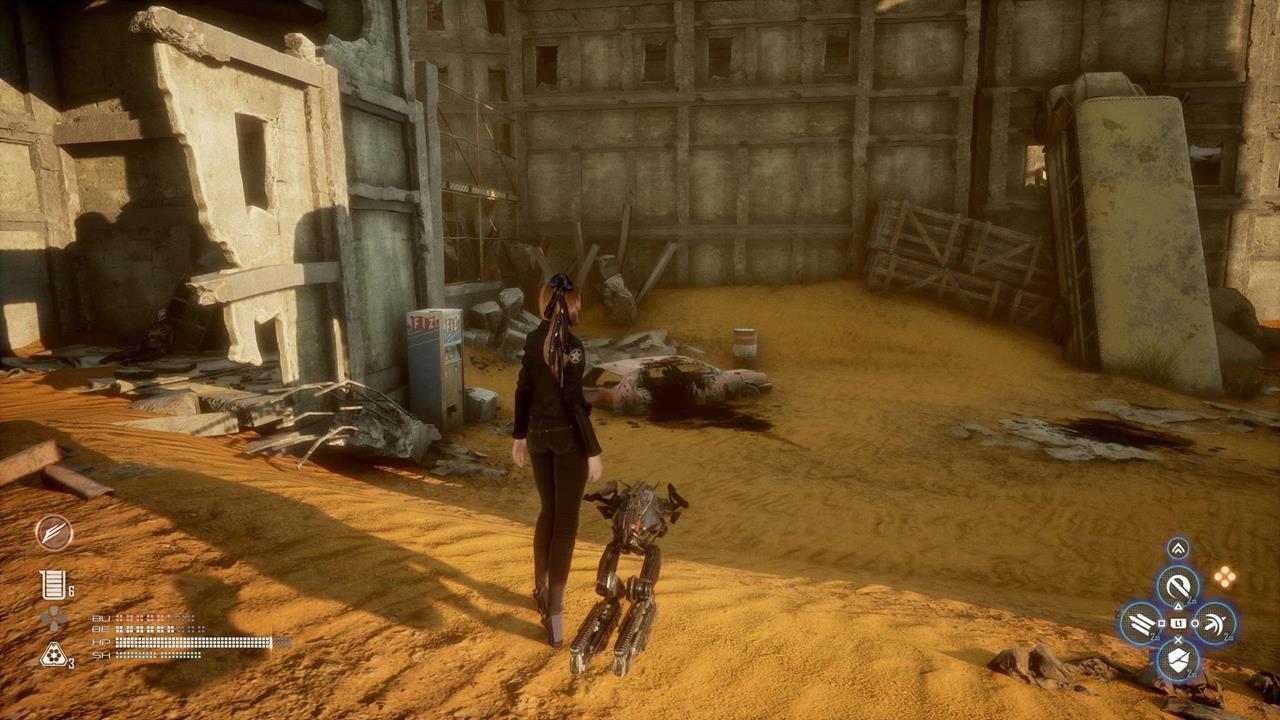
Check the cliffside section of the Junkyard. You'll notice a robot that's trapped under a destroyed bridge. Shoot the beams that are pinning it down. Once freed, it will fly up and dig out a Can for you.
Wasteland: Can 11 - Cryo the Clear
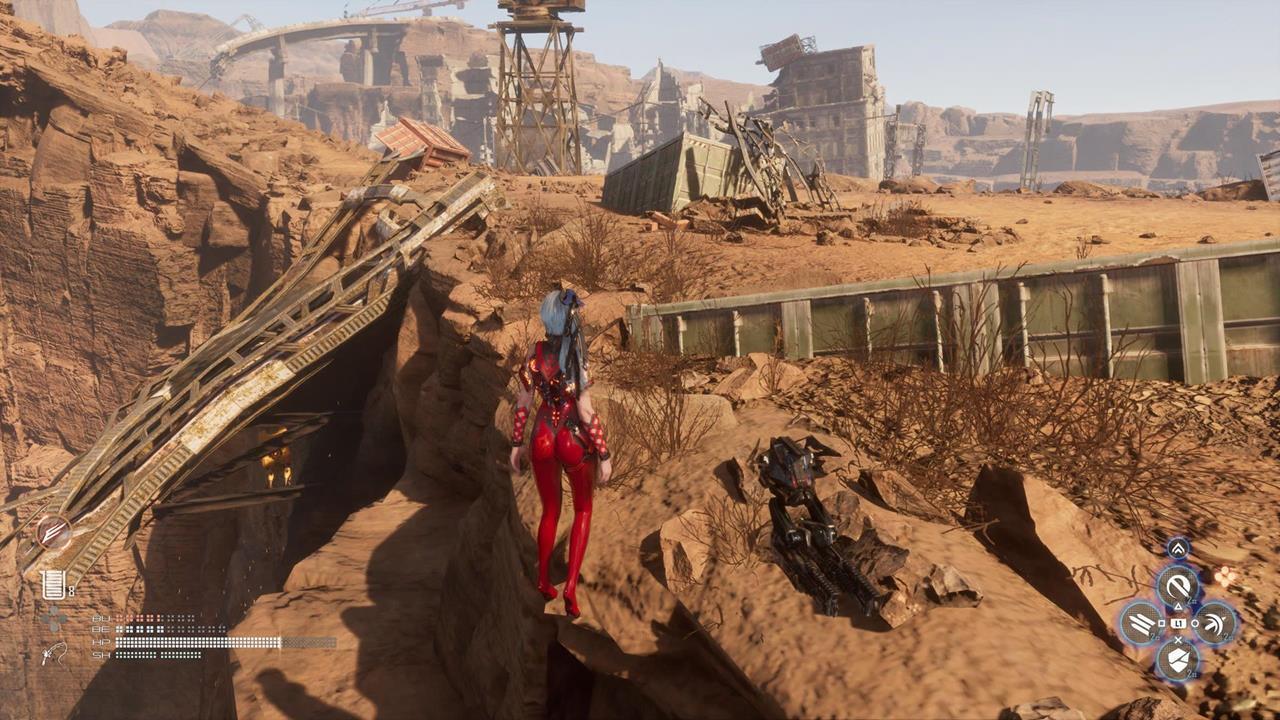
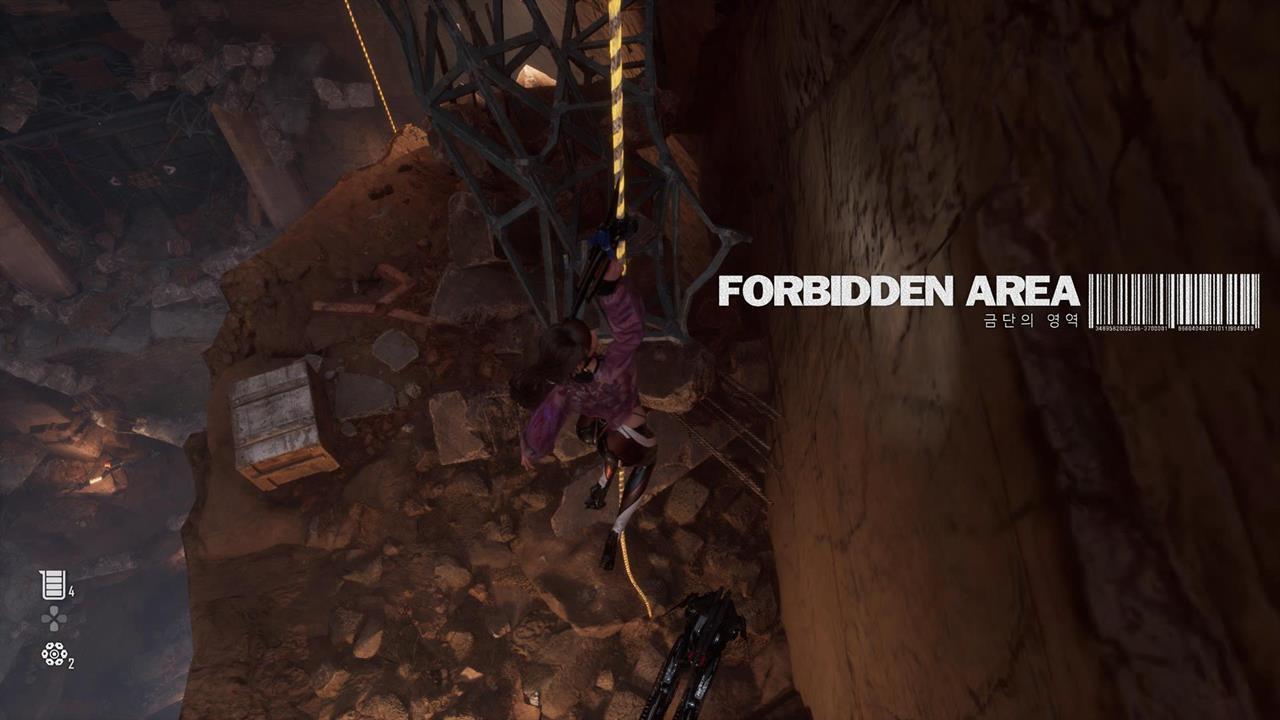
Northeast of the Junkyard is a ruined apartment complex with a perilous pit. Use the ropes to climb down and get this item in a well-lit room. Going further below leads to the Forbidden Area.
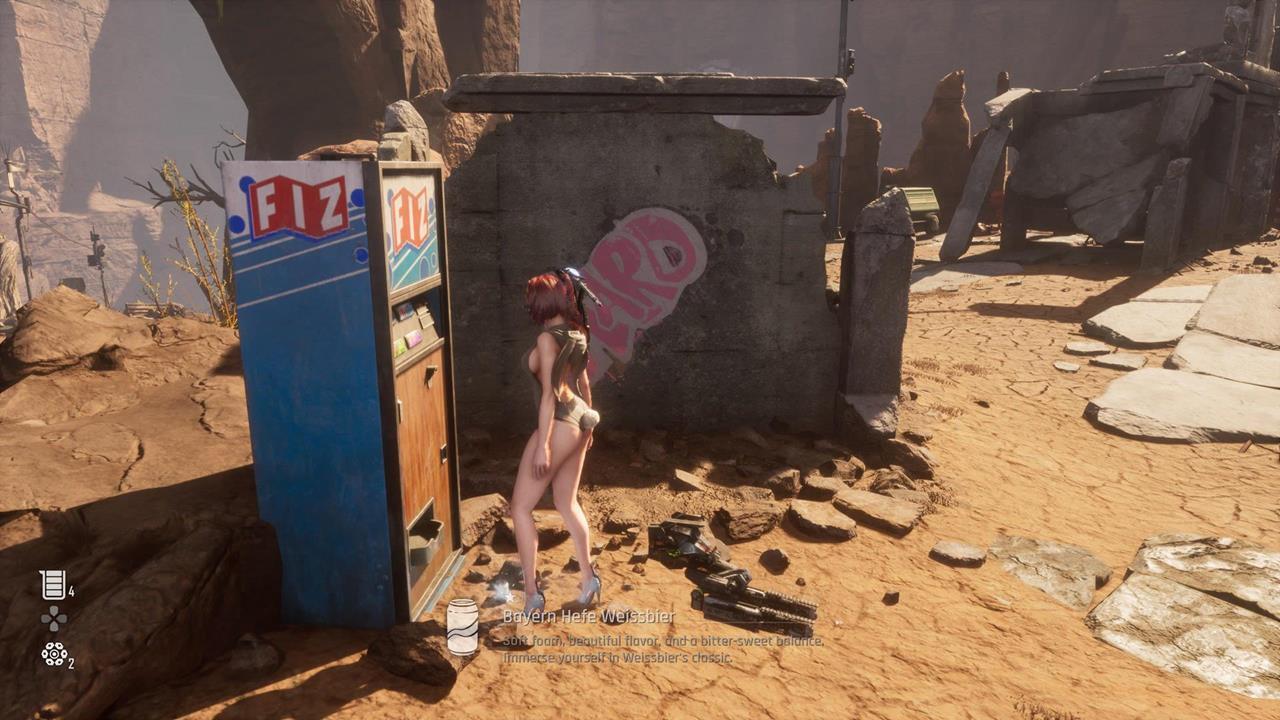
Wasteland: Can 12 - Bayer Hefe Weissbier
This vending machine is at a narrow winding pass near a waypoint.
Wasteland: Can 13 - Elixir Green
Check the metal scaffolding near a lone payphone waypoint. Go to the left of the structure and do a double jump off the ramp.
Wasteland: Can 14 - Corsair Lager
If you go all the way to the northern section, you'll see a terminal. Once activated, it will lower the bridge in the valley below. You have to reach it within 20 seconds, all while avoiding the shots from automated turrets.
Wasteland: Can 15 - Haven Green Tea
This Can collectible in Stellar Blade can be a little tricky to obtain:
- Make sure you've unlocked the double jump ability (i.e. after clearing the objective in Altess Levoire).
- Go north from the Solar Tower until you reach the edge of the cliff.
- Look below you to see branches jutting out of the cliff face.
- The idea is to fall down and grab onto a branch. Continue swinging and climbing until you reach the top of a rock pillar.

Matrix 11: Can 1 - Cryo Cafe Vanilla
Proceed normally through the level until you defeat the Stalker miniboss. In the next area, you have to control a crane that rotates a train car. Off to the side, you'll spot a robot. Below that robot is a collectible.
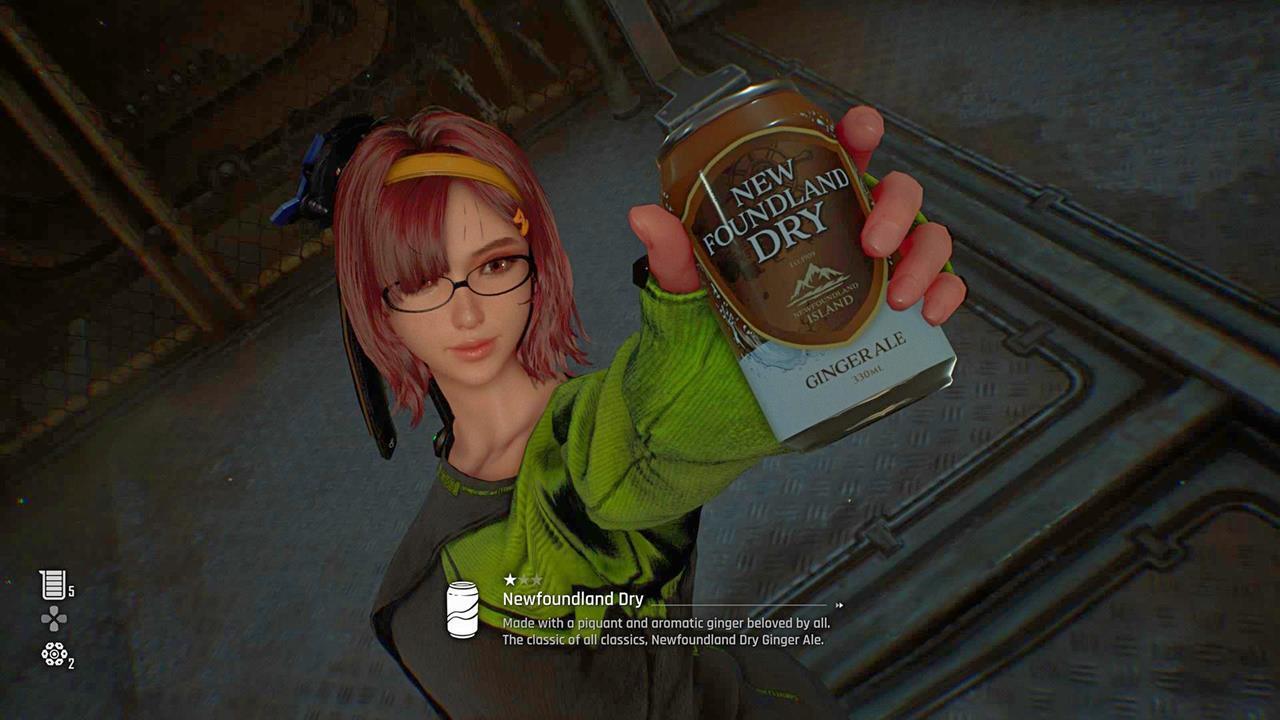
Matrix 11: Can 2 - Newfoundland Dry
After defeating the Juggernaut miniboss, make sure you scan the room for goodies. This item is just behind some cargo containers.
Matrix 11: Can 3 - Corsair Ale
Upon reaching the Train Graveyard area, swim to the right-hand side of the tunnel. This Can is behind a fence, and you should be able to reach it by diving underwater and going through an opening.
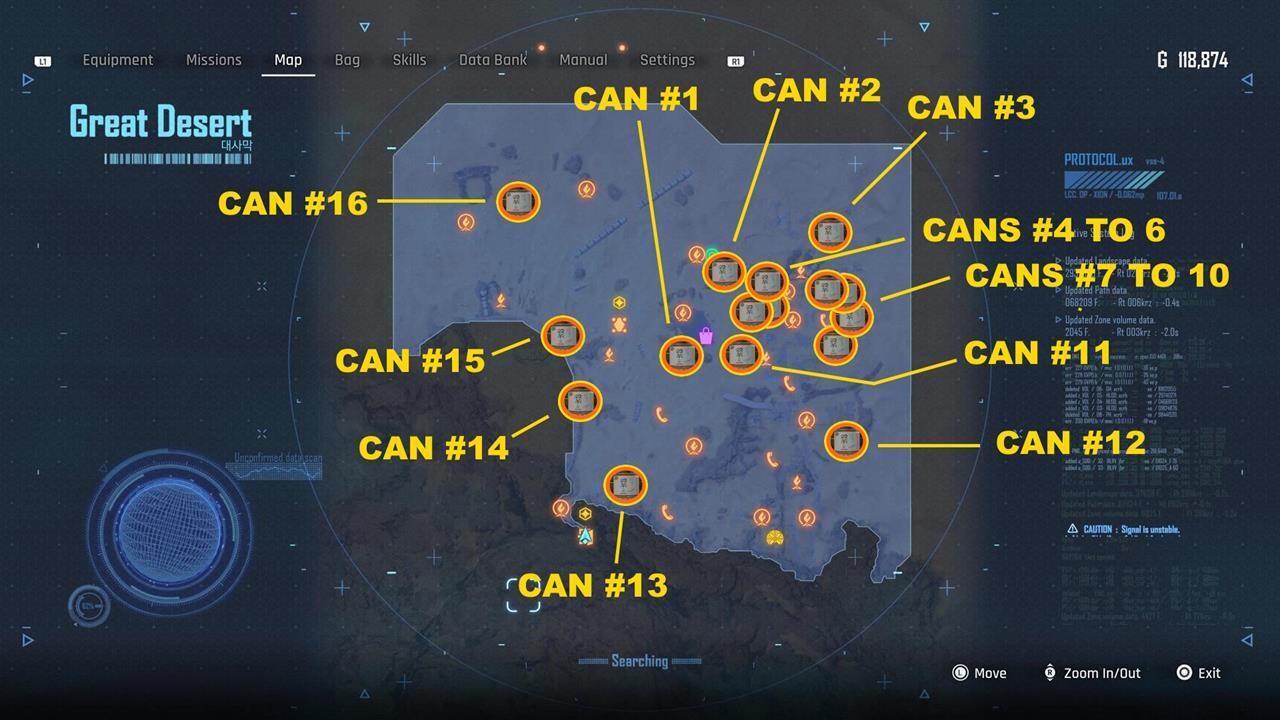
Can collectibles in the Great Desert
Your patience when it comes to acquiring collectible Cans in Stellar Blade is about to be tested. That's because there are 16 of these items in the Great Desert region.
You can get most of these in any order. However, we've grouped up some that are in the same general area (i.e. Buried Ruins).
Great Desert: Can 1 - Nectar Grape
Kick the vending machine near the Oasis.
Great Desert: Can 2 - Haven Earl Grey
Traverse the destroyed Hypertube until you reach the easternmost portion. You can get this reward from there.
Great Desert: Can 3 - Liquid Fire
Climb up the roof of this abandoned building. When you interact with the chest, several floating drones with bombs will spawn. Destroy at least five of them from afar using your makeshift firearm.
Great Desert: Can 4 - Cryo the Malt
The next few Stellar Blade Can collectibles are found in the Buried Ruins area of the Great Desert. We start off by climbing up the rooftop of one of the buildings. We then have to activate the first terminal, which triggers a 45-second timer. We then need to activate two other terminals on nearby rooftops. This is done by crossing the gaps by way of bars and ledges.
Once the third terminal is activated, the shutter will open. A chest with a reward is inside.
Great Desert: Can 5 - Potential Frost
You'll notice another building with a purple arrow/neon sign in the Buried Ruins. Climb up and go to a rooftop with a large yellow crate. Reposition this so that it's under the seesaw. Do a running dash, double jump, and air dash so you could land on the distant roof. Down below is a small nook with laser traps, but you can air dash through the gap to avoid getting killed.
Great Desert: Can 6 - Johnson's Highball Ginger
Continue going across the rooftops of buildings until you reach the very end, where you get to battle another Abaddon miniboss. After defeating it, tag the camp and climb down the ladder. There's another camp below, and a collectible is right next to it.
Great Desert: Can 7 - Haven Milk Tea
Now, we swing to the eastern part of the Buried Ruins. The parking garage here has a puzzle, which requires you to reposition carts onto floor plates in three sections. Each section's respective weight must match the requirement: 4 - 6- 7.
Note that there's an exact number of carts in the area. Look for barrels wedged under some rubble. You can shoot these to destroy the walls, allowing you to grab additional carts. Once the weights match the numbers, the shutter gate will open. Inside, you'll find this collectible item.
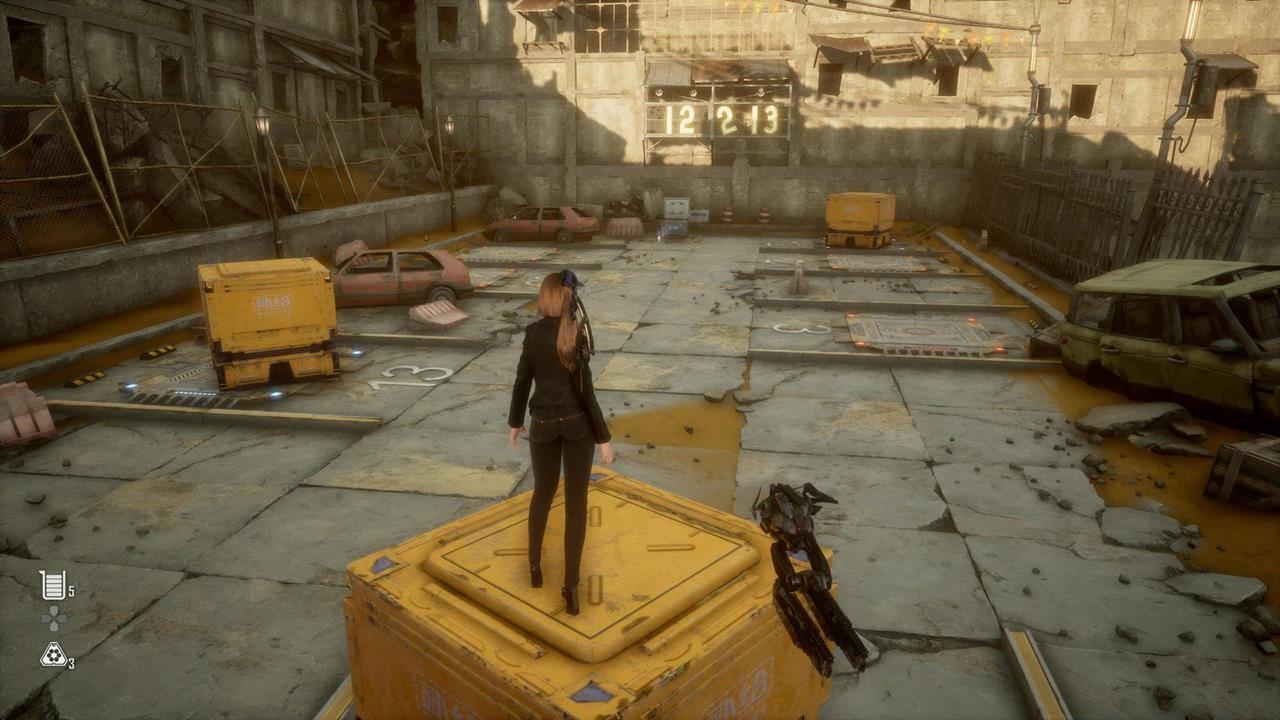
Great Desert: Can 8 - Behemoth Black
Just a short distance away from where you got Can #7, there's another parking lot. This one has several yellow containers that you need to reposition accordingly. You should have a container placed on the sections with the numbers 12, 2, and 13.
Great Desert: Can 9 - Mountain Sparkle Everest
Follow the looping alleyway to the southeast to reach a backyard with a yellow container. The idea is to push it all the way to the building with a laser trap. It will block the deadly lasers, allowing you to pass through and open the chest.
Great Desert: Can 10 - Liquid Nuclear
Near the southern portion of the Buried Ruins, there's a destroyed building that you can enter by climbing up a scaffolding. Move the large yellow container around the room until you can use it as a platform to reach the higher indentations on the opposite wall.
Great Desert: Can 11 - Starwell
There's a peculiar spot just past the western camp outside the Buried Ruins. There's a Lurker (i.e. Stranger Things Demogorgon-looking mob) that's roaming underneath the sands, all while an item periodically blinks.
The idea is to place a Smart Mine on the spot where the item is. When the Lurker moves around, it will trigger the mine, causing the item to sprout from beneath the sands. You do need to defeat the Lurker and several other Naytiba.
Great Desert: Can 12 - Johnson's Highball Lemon
At the eastern portion of the Great Desert (i.e. one end of the freeway), there's a rock formation with a tunnel that's been bored through. Defeat the two Lurkers in the vicinity, then climb up the wall to open this chest.
Great Desert: Can 13 - Newfoundland Dry Zero
This particular Can collectible in Stellar Blade is a bit hard to spot. Basically, there are several Lesser Lurkers in this area. One of them seems to be clawing at a buried crate. Shoot the crate and defeat the creature to obtain this reward.
Great Desert: Can 14 - Nectar Cranberry
The southwestern portion of this zone has massive, fortress walls. One section has a tower or battlement of sorts. Use the handhold and floating drones to reach the ledge, then open the chest to receive the collectible.
Also, you'll want to hop to the other side with the doorway. Inside, there's a dead fella with a passcode. This passcode unlocks a chest that contains the Cybernetic Bondage outfit.
Great Desert: Can 15 - Milky Pop Zero
Continue traveling along the dunes with the fortress walls to your left. Eventually, you'll see a rock formation with yellow-painted indentations. Go to the other side so you can climb up, then shoot the floating target to create a rope mechanism. There's a crate in this spot, as well as a Beta Core.
Great Desert: Can 16 - Cryo Cafe Mocha
To get this collectible, you have to travel to the northwestern part of the Great Desert. You'll notice a crate between the Twin Rocks camp and the gargantuan shipwreck. Activating the crate causes three floating targets to appear. You need to shoot them in the correct order. For us, it was: Middle -> Right -> Left.
Spire 4: Can 1 - Milky Pop
Proceed normally through this level until you battle the Belial boss. After it escapes, climb up to reach a camp (there's also an Eve outfit/nano suit nearby).
Now, instead of going through the large metal gate, head across the walkway to the far side of the room. You should spot this item in the corner.
Spire 4: Can 2 - Liquid Lightning
To get this Stellar Blade Can collectible, you have to get past the area with the conveyor belt and green laser tripwires. Once you've done that, you'll arrive at a small camp. Check the back of the large crates to get this item.
Spire 4: Can 3 - Nectar Apple
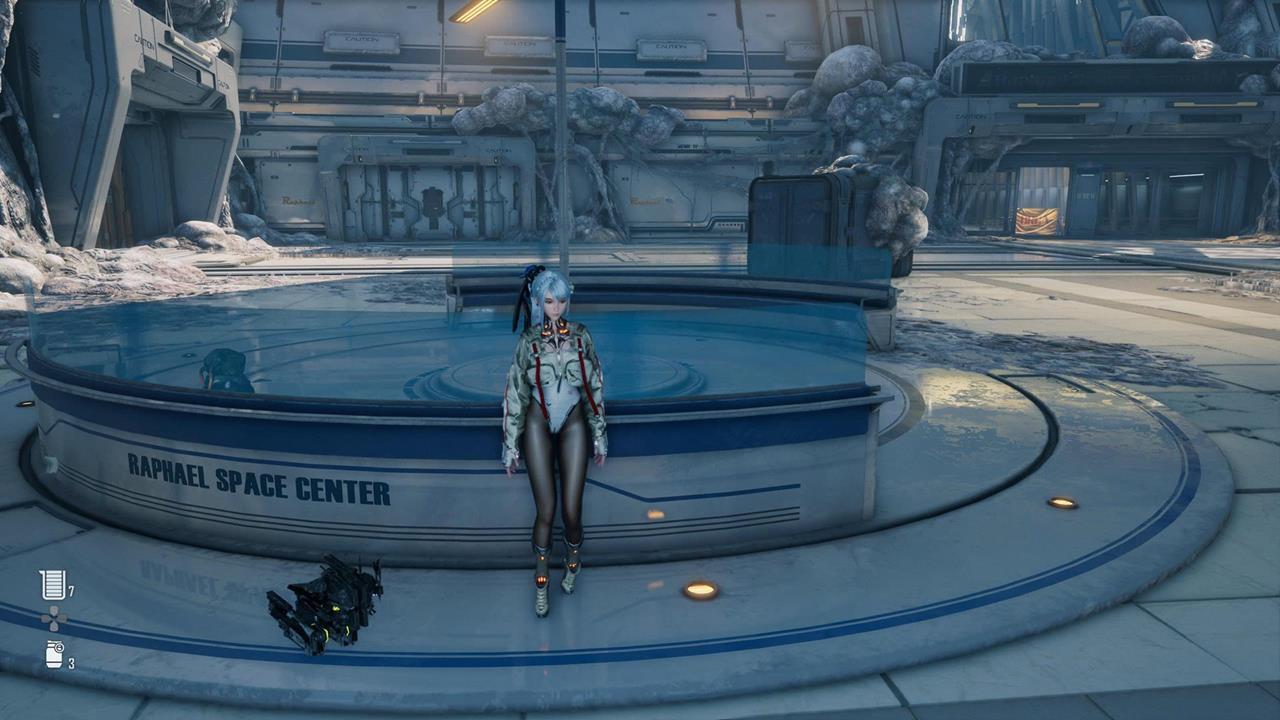
This collectible can be found in the Raphael Space Center. Upon entering, go to the back-right corner of the room. Check behind the seat to pick up this beverage.

Spire 4: Can 4 - Moonwell
This is technically the last collectible Can in Stellar Blade, and getting it is somewhat tricky. Basically, there's an area called the Tower Outer Wall, where you have to jump on floating drones and shimmy across beams to reach the next chamber. There, you'll spot a Machine Hive enemy that you need to defeat.
Climb up the wall-hangs until you reach a narrow corridor. At the very end, there's a vending machine that contains this item.
These are the Stellar Blade Can collectibles that you can find in the game. As mentioned earlier, obtaining all 49 nets you the Black Pearl lingerie reward. This is just one of many attires that Eve can wear. To learn about the others, you can check our Eve outfits and nano suits guide.
Stellar Blade has you facing off against vicious Naytiba, all while trying to figure out your origins. Action, thrills, and a bunch of collectibles/unlockables await. For more tips, you can visit our guides hub.