XCOM 2: Every Enemy and How to Defeat Them
GameSpot may receive revenue from affiliate and advertising partnerships for sharing this content and from purchases through links.
Top Notch General
In our time playing XCOM 2, we've learned many of the skills and strategies required to take down its toughest enemies. To help in your efforts, we've compiled all the information and tactics necessary to defeat each and every one of them. Join us as we give you the intel needed to take down the alien menace!
Advent Troopers
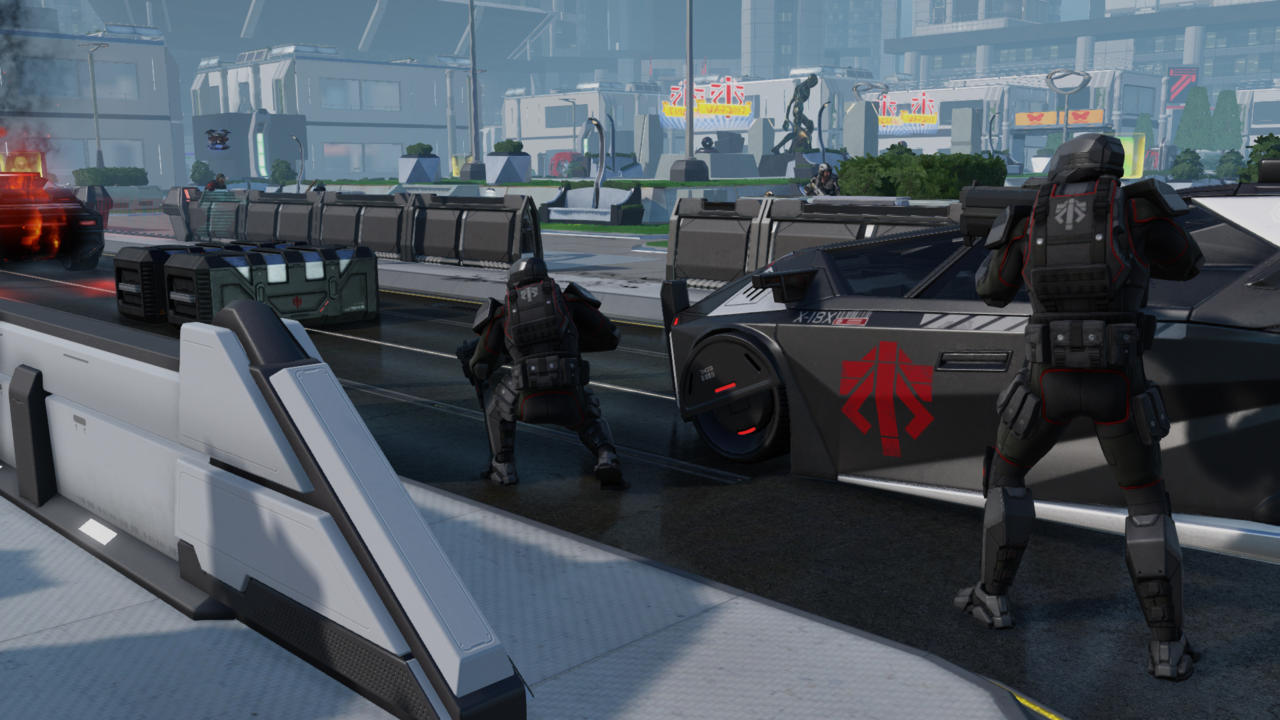
Description: Advent Troopers are XCOM 2's run-of-the-mill grunts, but they're no pushovers. Get caught out of cover and these soldiers can easily gun you down. They're even more of a threat when in the presence of Advent Officers, who can buff troopers' stats and effectiveness in battle.
Primary Strategy: Shooting Troopers from cover is a good way to eliminate them. A well-placed frag grenade when they're near their comrades is also a good solution that can wipe out multiple units in a single action.
Advent Officer
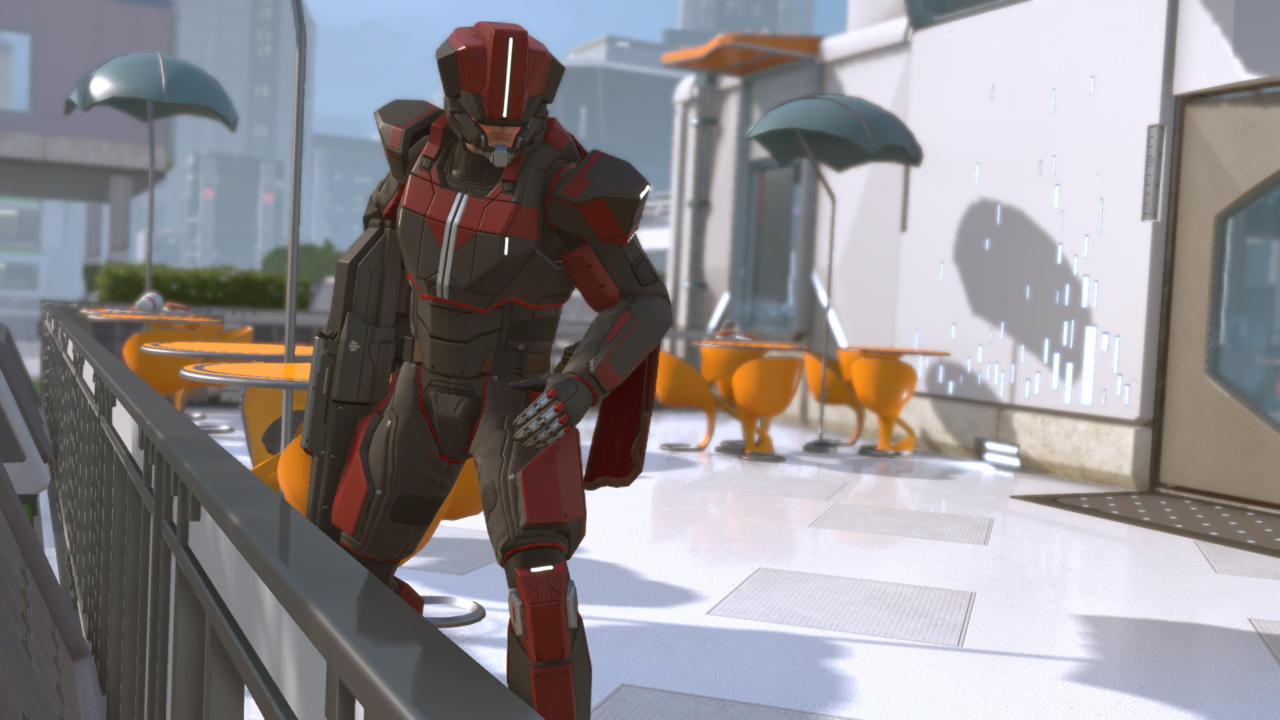
Description: The Advent Officer is a stronger version of the standard Trooper, with increased health and the ability to command and amplify the performance of Advent Troopers. For example, it can direct nearby Troopers into Overwatch, limiting your squad's maneuverability. Additionally, it can command all Troopers to turn their attention towards a single soldier in your squad.
Primary Strategy: As a rule, you should eliminate Advent Officers as soon as possible, especially in the presence of Advent Troopers. Grouping your attacks on them can easily put these crimson-armored officers to rest.
Advent Turret
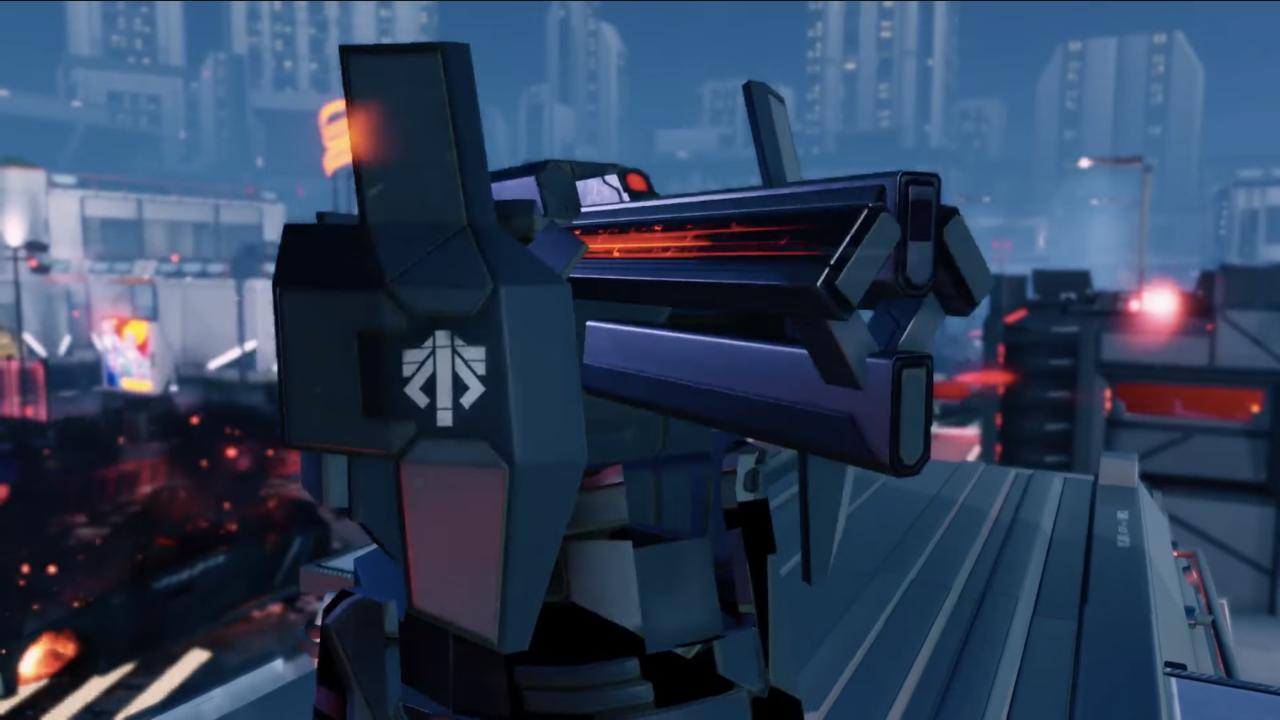
Description: The Advent Turret is a stationary mounted gun that can deal out damage comparable to Advent Troopers. While it doesn't sound like much, it's more of a threat thanks to its often-elevated position on maps. This gives it an accuracy bonus, which can potentially counteract any friendly soldiers on Overwatch, rendering their offensive coverage futile. Additionally, the Advent Turret has its own sight radius, making it particularly difficult for your squad to sneak around.
Primary Strategy: The best course of action after spotting an Advent Turret is hacking it with your Specialist's Gremlin drone. The sooner you can get it to work for you, the better. Otherwise, retreat out of its sight radius and assault it with whatever powerful weaponry you've got.
Advent Stun Lancer
Description: The Advent Stun Lancer is a melee-focused enemy class that can be a real threat to your soldiers in close-quarters. It's equipped with an electrified blade, which it can use to inflict a variety of status effects on your soldiers, such as stun or disorientation. If you're not careful, it can also render your soldiers unconscious, even killing them in the process. In addition, the Advent Stun Lancer is equipped with a Magnetic Rifle, though it rarely makes ranged attacks given the power of its blade.
Primary Strategy: Despite its power, the Advent Stun Lancer's greatest weakness is its kamikaze-like tendency to rush towards your squad regardless of the odds. While it may hit one of your own, your squad will have a chance to attack at point blank range on your very next turn. It's smart to hang back when dealing with Stun Lancers and to ready your soldiers with Overwatch as soon as one shows up. If your Ranger has the Bladestorm ability, it can instantly cut down an approaching Stun Lancer when it enters melee range.
Advent Shieldbearer
Description: The Advent Shieldbearer is a capable support unit that can provide defense boosts to nearby allies by hitting the ground with a powerful wave. Its heavy armor gives it high defense, making it a chore to take down in a single turn.
Primary Strategy: Eliminating a Shieldbearer should become your top priority the moment it spawns on the map. Given its ability to enhance the defense of its comrades, the Shieldbearer can easily make a firefight more difficult than it has to be. It's best to use high damage attacks to kill these defensive powerhouses.
Advent MEC
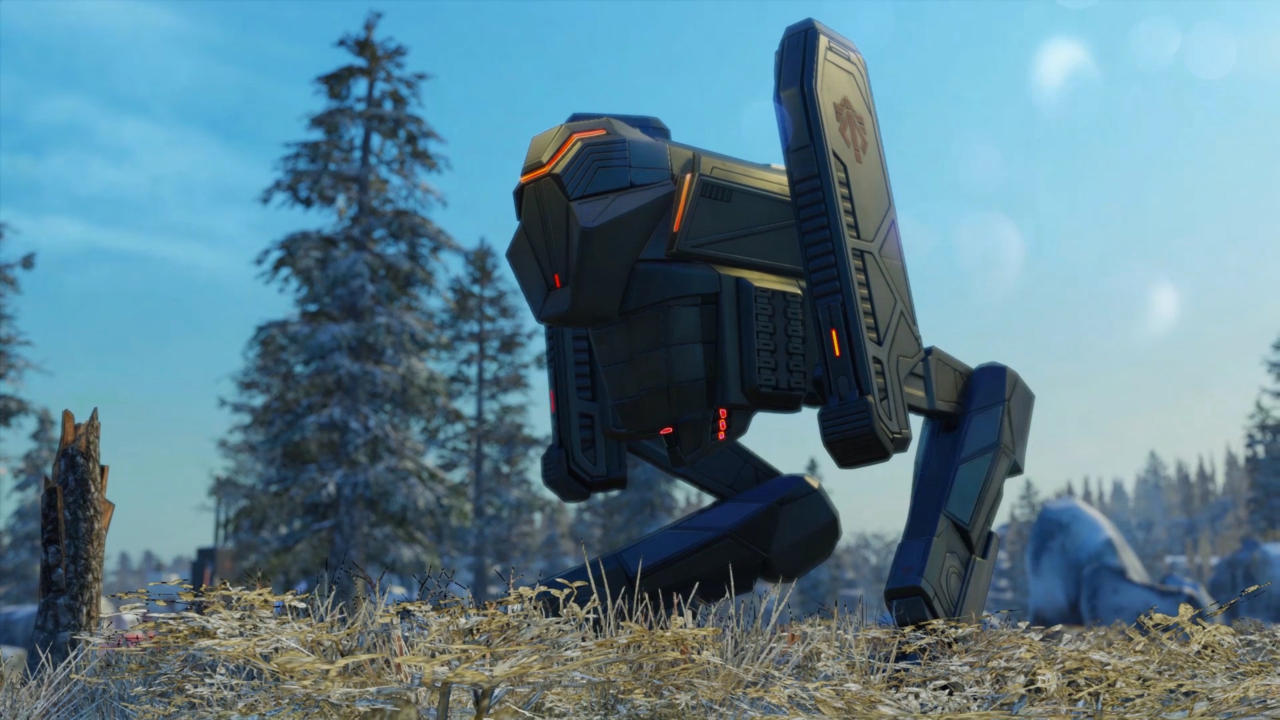
Description: The Advent MEC is a large robotic unit that assists its allies with artillery support. It carries a large variant of the standard issue Advent Trooper magnetic rifle and has a grenade launcher that can fire area-of-effect micro-missiles. It's also heavily armored, sporting a high amount of hit points as well as high damage reduction via armor points.
Primary Strategy: Spread your soldiers out to avoid the area-of-effect of the MEC's micro-missiles. Avoid elevated structures, as the attack can blow up the floor beneath your soldiers, causing them to fall to their death. Use the Grenadier soldier class to quickly shred the MEC's armor points and follow up with immediate gunfire from other soldiers in your squad. You can also use the Specialist class's drone to do extra damage to the MEC, ignoring its armor points. The drone can also hack the MEC for a short amount of time. It's worth noting that this skill must be unlocked in the Specialist's skill tree. Be wary, though: failure to hack an MEC causes it to increase its accuracy and defense, or even summon reinforcements.
Advent Sectopod
Description: The Advent Sectopod is an unmanned bipedal robot with a range of different area-of-effect attacks and abilities. It can emit a lightning blast that surrounds an area, as well as fire a cannon that deals damage in a long line that can penetrate multiple targets. In addition, the Sectopod can enter High Stance mode, which increases its reach and range. It can also destroy cover and buildings by walking through them.
Primary Strategy: If you encounter a Sectopod, try to hack or stun it with the Specialist's drone, then follow up with explosives to shred its armor. Like other mechanical enemies, failure to hack or stun the Sectopod will give it increased accuracy and defense. It may even call in reinforcements.
The Sectoid
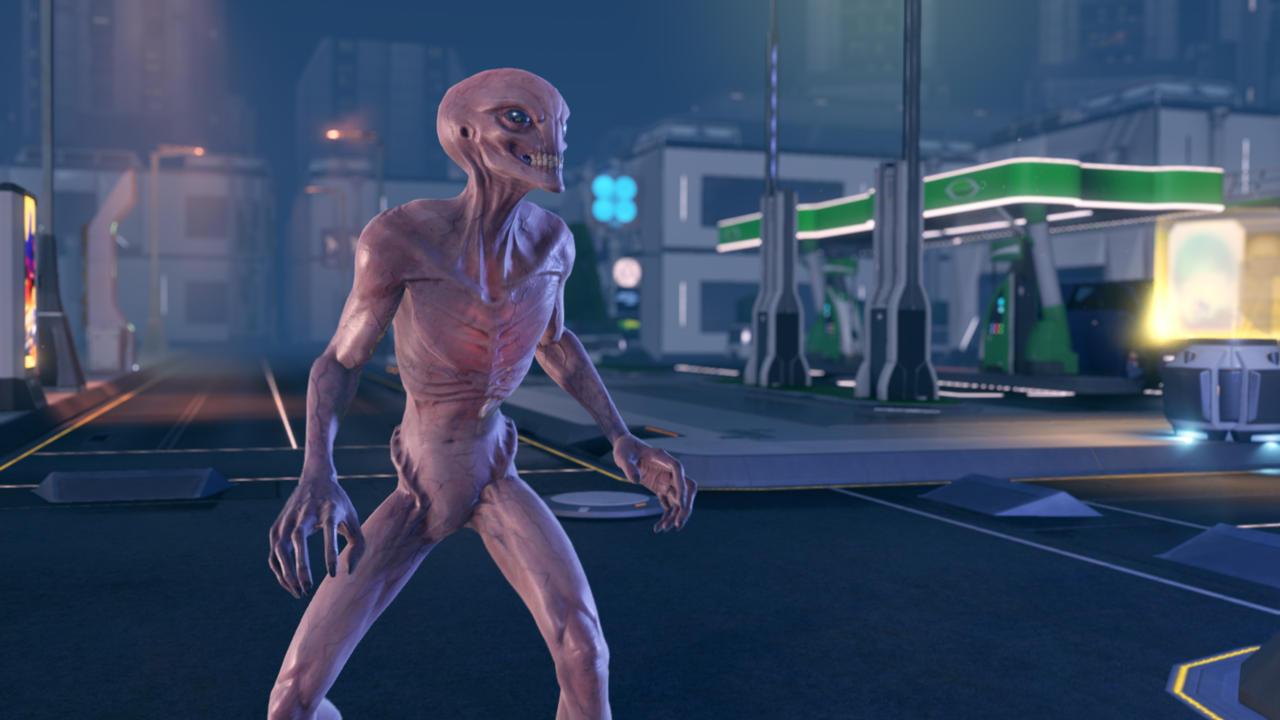
Description: The Sectoid is a dangerous enemy that can quickly overpower your squad during early missions with its Mindspin ability, a roulette-wheel type attack that can inflict different status effects on your soldiers. It can inflict panic and disorientation, as well as re-animate a unit's dead body--good or bad--to attack your squad. If it takes control of a dead body or inflicts status effects on your allies, defeating the Sectoid will remove the effect instantly.
Primary Strategy: In early missions, you should eliminate the Sectoid as soon as possible with a round of attacks. Melee attacks will do extra damage to it, while flash bangs can cancel its debuffs for a short duration. When you have five to six soldier squads later in the game, it's better to ignore Sectoids and focus your attention on eliminating damage dealing enemies first. Sectoids typically prioritize Mindspin and status ailments, and use their wrist-mounted plasma pistol as a last resort.
The Chryssalid
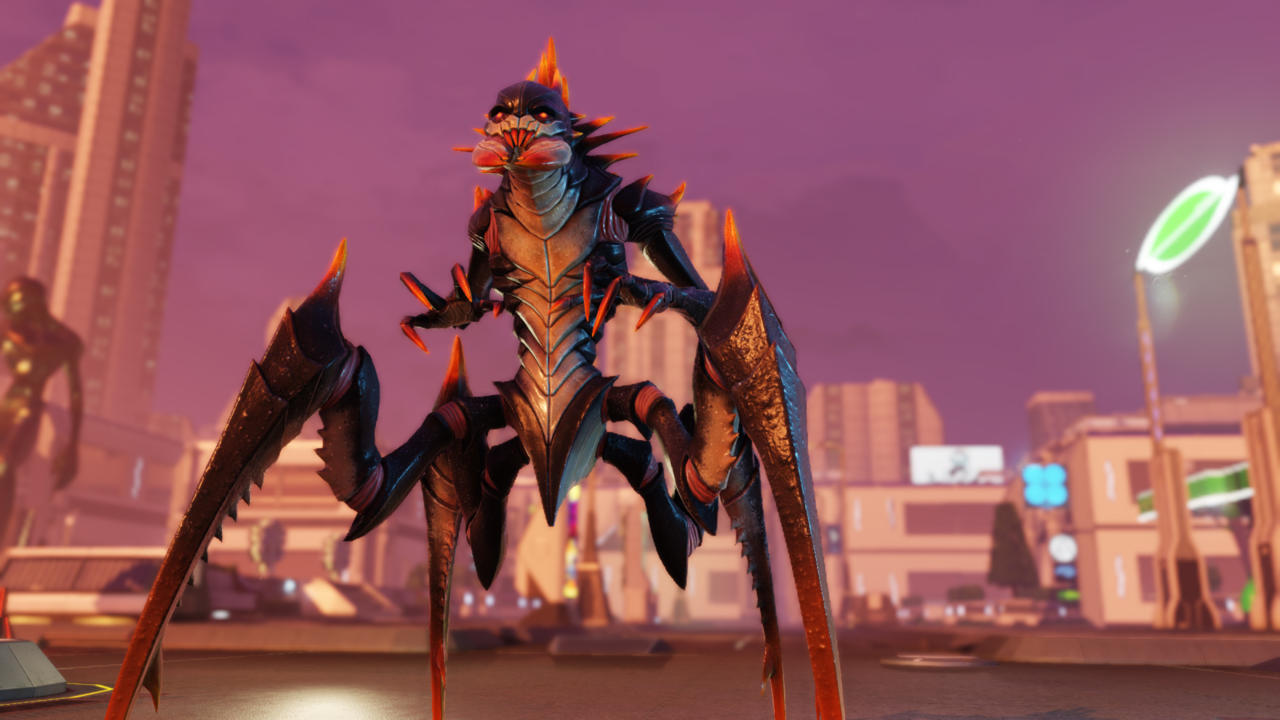
Description: The Chryssalid is a swift four-legged alien that can overwhelm your squad with its poisonous attacks. If an ally dies of poison, their body transforms into a cocoon. You then have a limited number of turns to destroy the cocoon before it births three more Chryssalids. The Chryssalid also has the ability to burrow underground, giving it an effective means of setting up ambushes against your squad.
Primary Strategy: The Chryssalid's poison attacks and cocoon reproduction ability make it an enemy that you don't want near you at any time. Put your soldiers on Overwatch and attack from a distance.
The Berserker
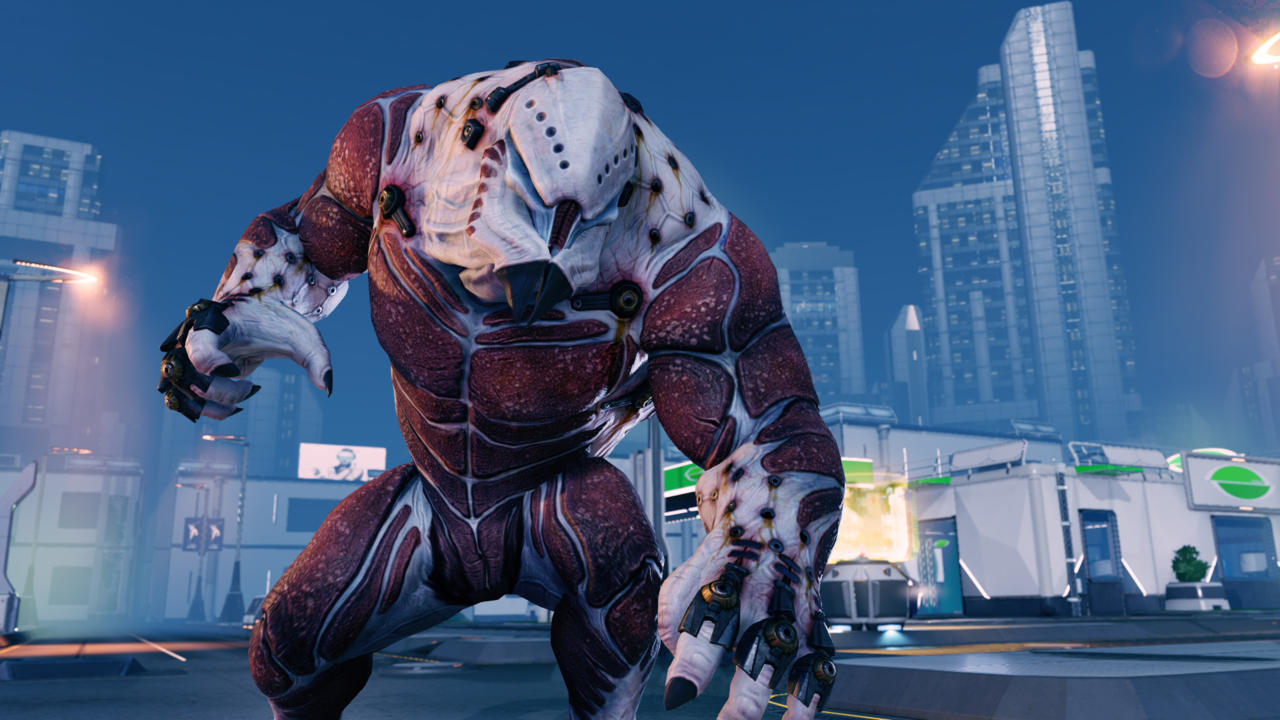
Description: The Berserker is a large enemy that's more of an animalistic monster than a calculated squad member. As a result, it charges towards your soldiers with reckless abandon. The Berserker can become enraged after being hit, which increases its attack range and damage. However, when it's in this state, it will attack anything that gets too close, be it friend or foe.
Primary Strategy: The strategy is simple: hose the Berserker with everything you have. Putting your soldiers on Overwatch is also essential, as the Berserker needs to move to attack.
The Muton
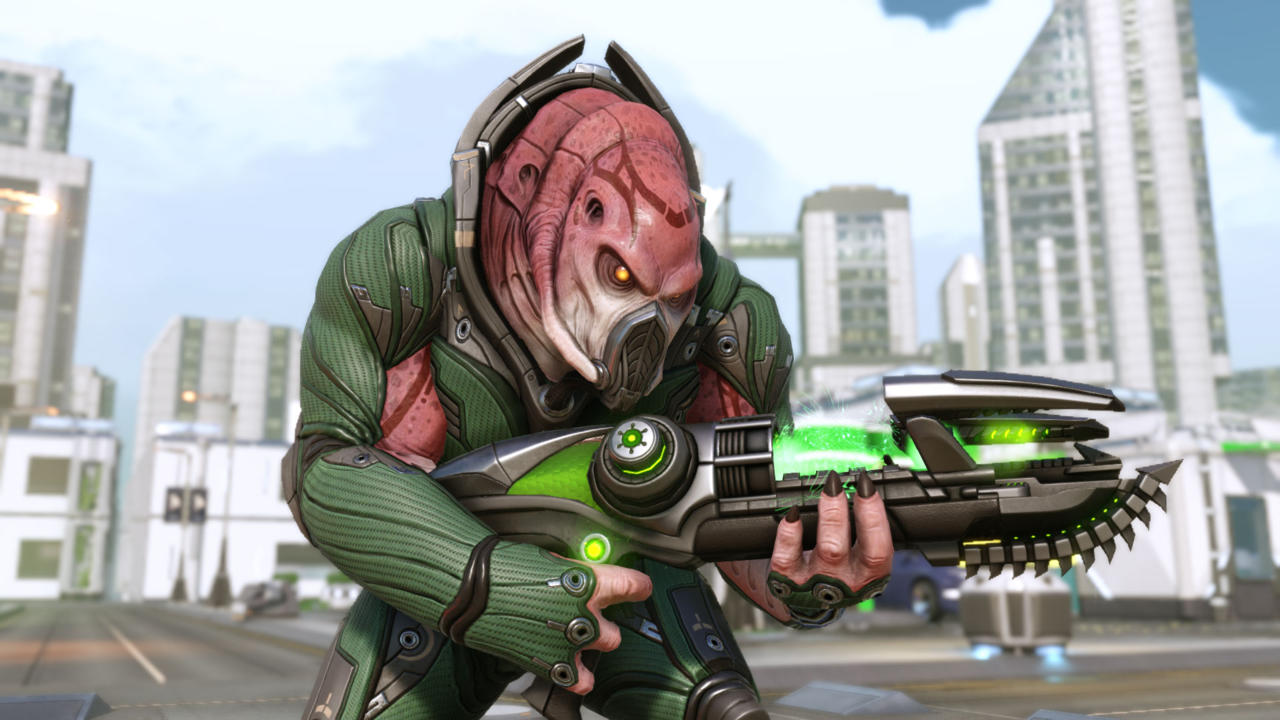
Description: The Muton is just as brutish as its previous incarnations, but because its alien DNA has now been spliced with human genes, it has new abilities that give it an extra edge in battle. With skills like Suppression--which allows it to reduce the aim of its targets--and an area-of-effect Alien Grenade attack, the Muton can easily get the upper hand over your squad if you're not careful.
Primary Strategy: Avoid using melee attacks against the Muton. If you're not careful, it can use its bayonet for a deadly counterattack. It's best to attack the Muton from a distance or flank it. Make sure to spread your soldiers out to avoid its Alien Grenade. The Muton is also susceptible to burn, poison, and acid rounds.
The Viper
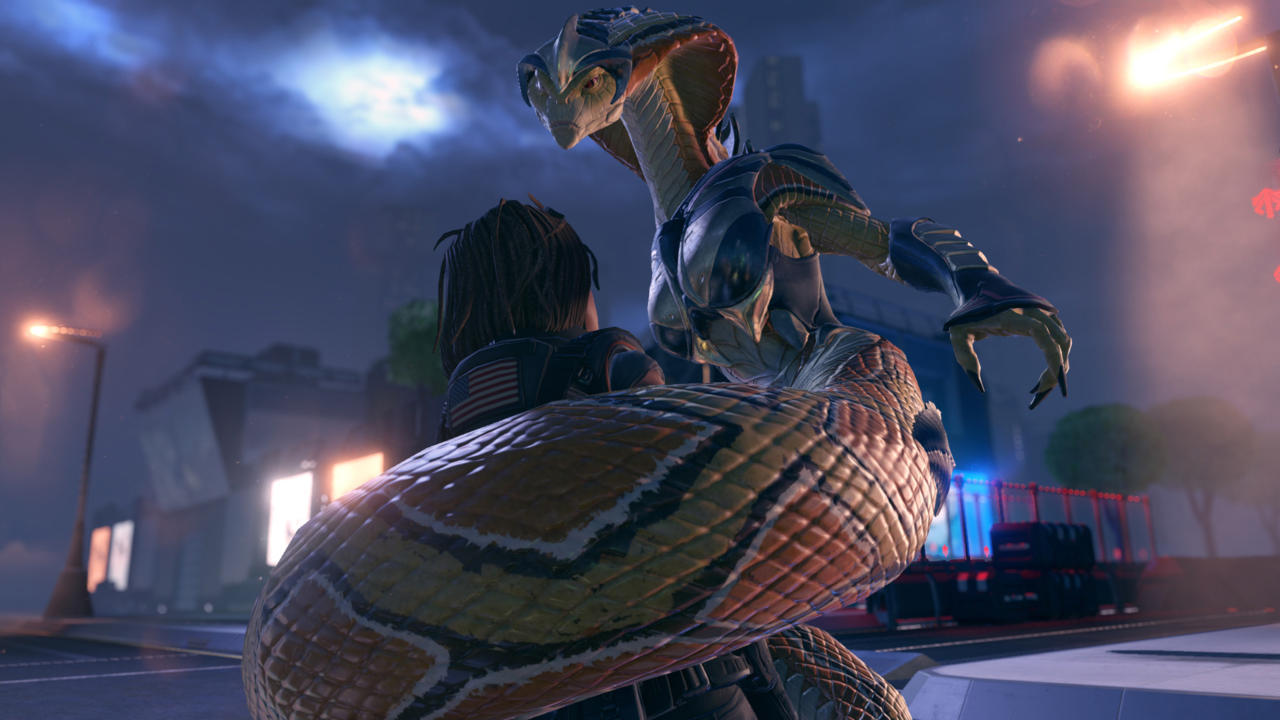
Description: The Viper is a lethal humanoid snake woman that's equipped with an assortment of different skills, such as spewing acid or using her tail to ensnare and strangle soldiers. She can also use her tongue to drag your soldiers out of cover.
Primary Strategy: It sounds counterintuitive, but try to have your squad stay as close to the Viper as possible. Once it binds someone, a nearby soldier can take a clean shot to free their ally. Flash bangs are also a good way to break the Viper's grip.
The Archon
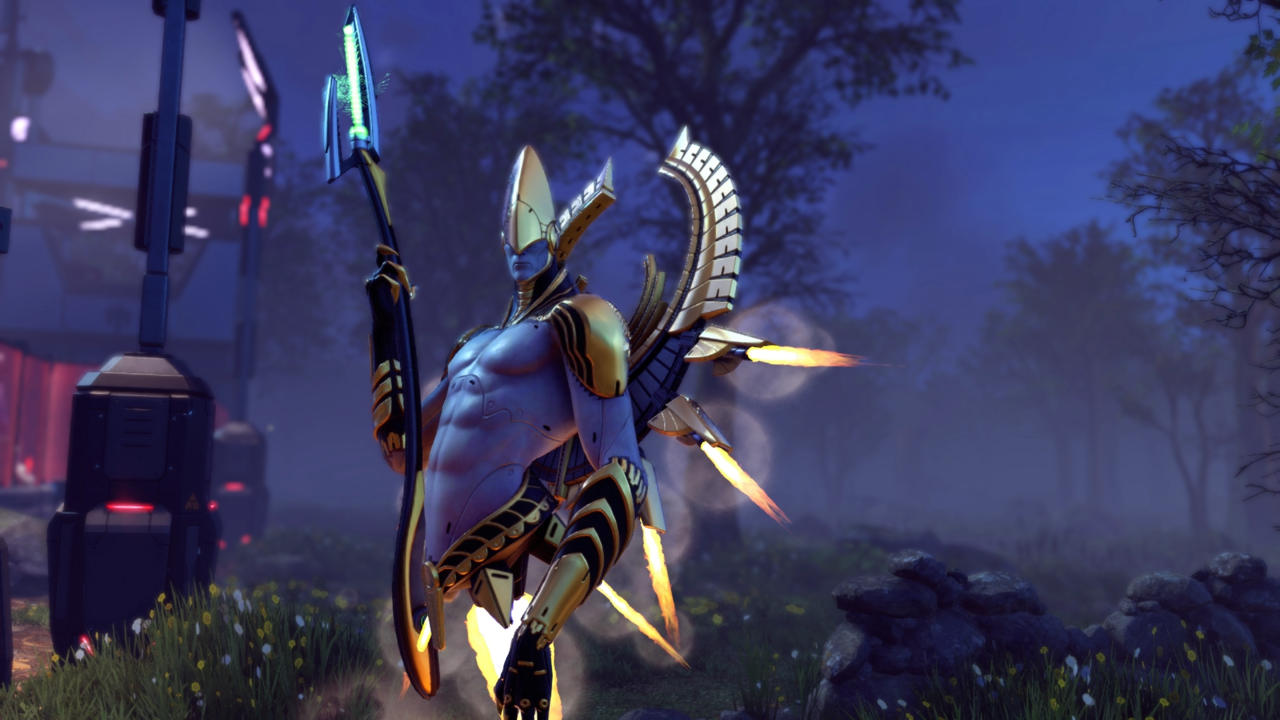
Description: The Archon is an altered form of XCOM: Enemy Unknown's Floaters, meaning it's capable of flight. When it's in the air, it can use a deadly ability called Blazing Pinions, an area-of-effect attack that unleashes explosive lasers that rain down onto the battlefield after a single turn delay. Additionally, the Archon can be injured into a "frenzied" state that allows it to use melee attacks.
Primary Strategy: Attack the Archon as early as possible. If one sets up Blazing Pinions, retreat immediately. Unless the Archon has low health and you have at least three high percentage shots, you don't want to take too many risks when this devastating attack is imminent.
The Andromedon
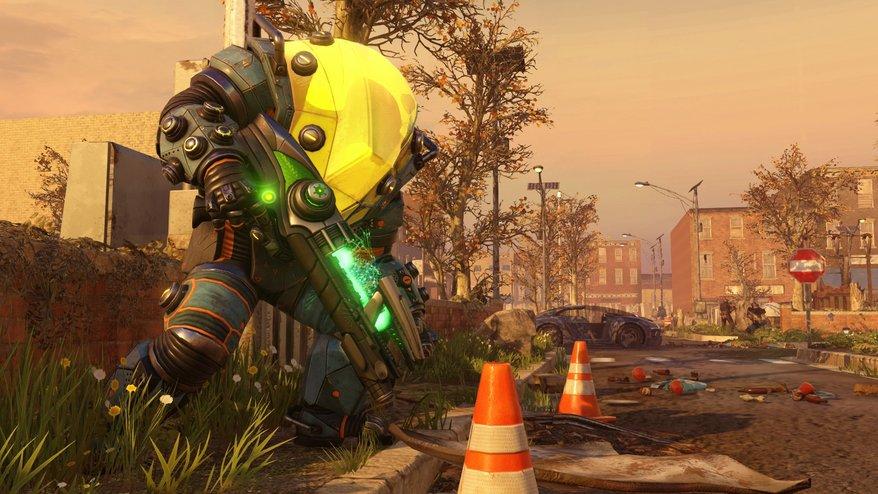
Description: The Andromedon is an alien encased in a heavily armored battlesuit that makes it capable of tearing down walls and delivering powerful melee attacks. It can also spew acidic liquid that pools up on the map upon impact, causing further damage to soldiers caught in it. If the alien in the armor is killed, the armor can act autonomously, charging at nearby foes.
Primary Strategy: Try to group your attacks to kill the Andromedon in one turn, if possible. Otherwise, flank it, put your soldiers in Overwatch, and make sure your squad has high percentage shots.
The Gatekeeper
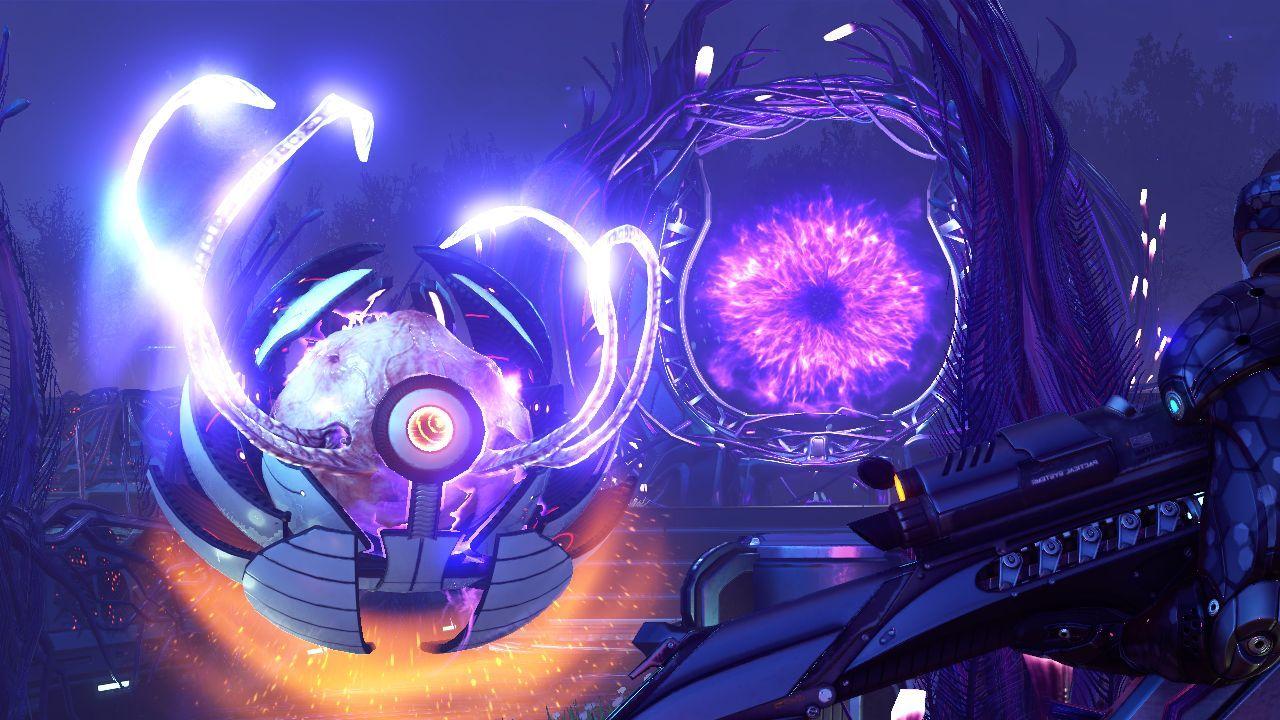
Description: The Gatekeeper is a floating psionic entity with strong offensive and defensive capabilities. In its closed state, it's highly resistant to damage; when it opens up, it can shoot a high-powered Fire Beam attack. To make matters worse, the Gatekeeper can also reanimate multiple dead bodies--good or bad--in a single turn.
Primary Strategy: Given the Gatekeeper’s powerful abilities, it's important to eliminate it sooner than later. Try to flank it and group high percentage shots to kill it in a single turn. Overwatch is also essential, as letting a Gatekeeper get too close might allow it to use Consumption, an ability that saps life from nearby units.
The Faceless
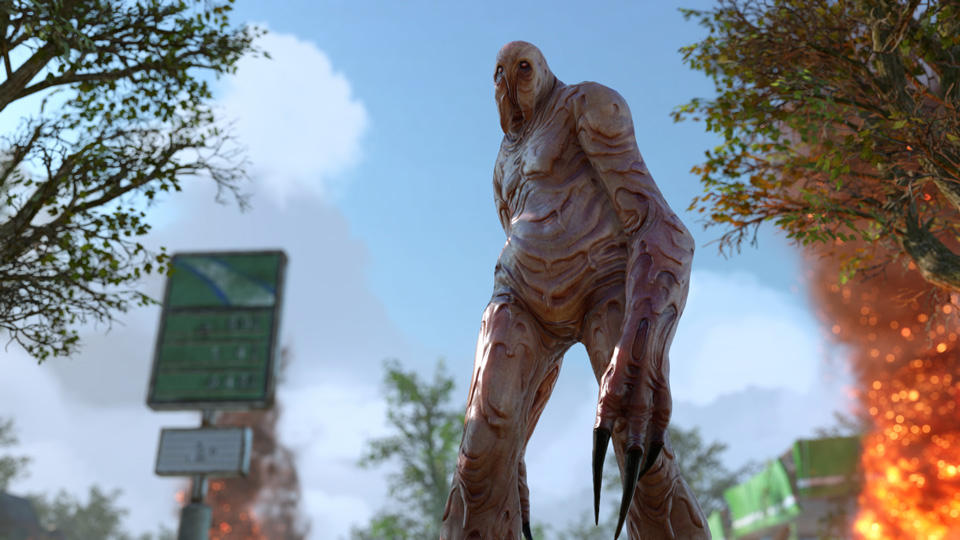
Description: The Faceless is an alien capable of disguising itself as a human civilian. But in its true form, it becomes a towering monstrosity that has significant attack range due to its long arms and claws. Its special ability is liable to imbue every civilian interaction with an extra dose of paranoia.
Primary Strategy: Overwatch is essential against the Faceless' roster of melee-focused attacks. And given its healing abilities between turns, you'll want to group your squad's attacks. But be sure not to position your squad members too close to each other, as the Faceless can swipe multiple targets in a single attack.
