Zelda Breath Of The Wild: How To Survive Trial Of The Sword's Final Floors
GameSpot may receive revenue from affiliate and advertising partnerships for sharing this content and from purchases through links.
Mastered
The first DLC for The Legend of Zelda: Breath of the Wild, called The Master Trials, is out now. It includes a new quest known as The Trial of the Sword, which challenges you to overcome 45 enemy-filled rooms with nothing but the armor and weapons you find within. It's a rigorous trial, but if you finish it, you unlock the true power of the Master Sword--higher attack without having to worry about the sword powering down as quickly.
There are three sets of trials; if you've made it past the first two, click ahead to see how to best handle each grueling floor of the final set. Don't forget to fill your hearts before you head in, and set up a treasure chest tracker on your Sheikah Sensor so you don't miss any loot. If you're just now starting the trials, first check out our survival tips for beginners.
For more about Breath of the Wild, check out our full review, our guide roundup, or our feature detailing everything you need to know about it. And be sure to check out our roundup detailing where to find all the new armor sets and items.

Floor 1
Enemies: Stalkoblins
Loot: Arrows
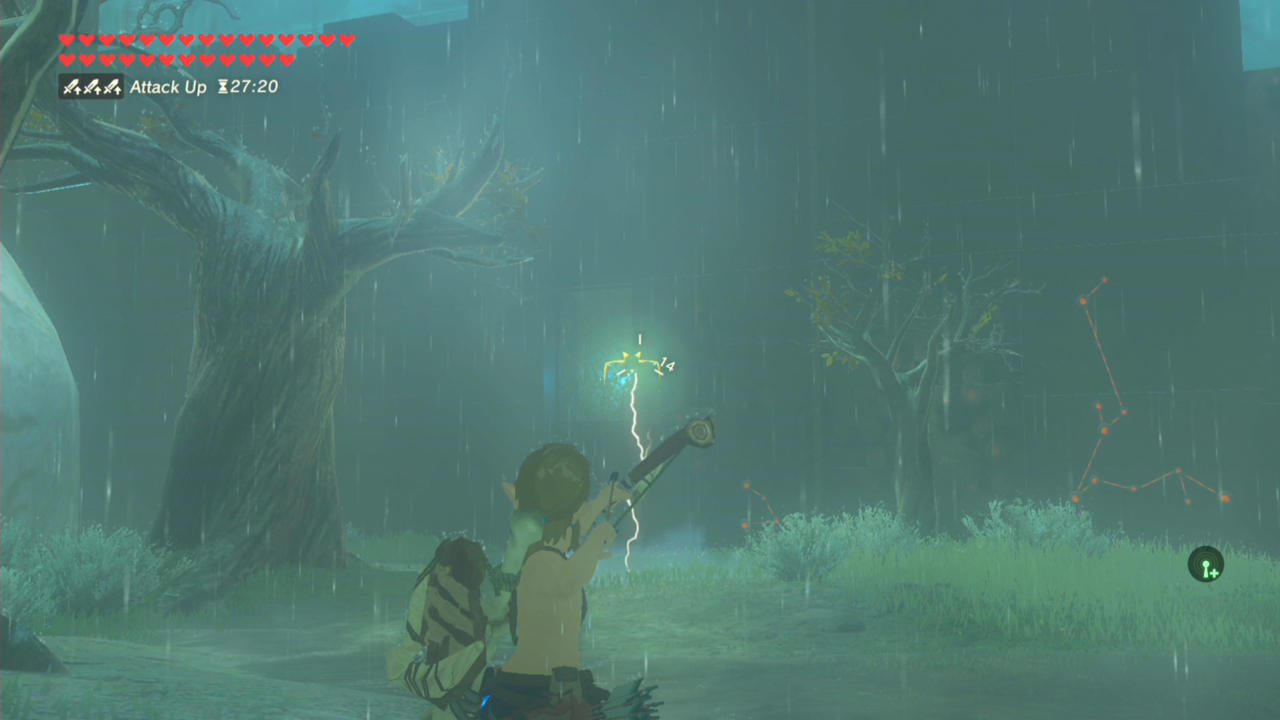
This first set of rooms puts you in the middle of a thunderstorm. Like in any other thunderstorm in Breath of the Wild, don't equip anything metal and you should be good.
There are several Stalkoblins on this first floor, and each one only takes two hits to kill. Use bombs start your attack; if you defeat one, you can steal either its wooden weapons or its arm to take out the rest. Smash open the wooden boxes using the Boko Bat to get the arrows.
Note: Although it might seem wise to only collect bone or wood weapons and equipment from fallen enemies, the many rusty weapons on these floors will come in handy later. If you can, try to keep a balance of the two types.
Floor 2
Enemies: Electric Keese, Stalizalfos
Loot: Royal Guard Sword (48 attack)
Use arrows to get rid of the Electric Keese, since they'll shock you if you try to use melee attacks. Run into the hut and wait for the Stalizalfos to come out, then take them out as you normally would. There's meat in the boxes inside, so if you want to cook it later, don't throw bombs in here--the fire from the explosive barrels with roast the meat, which limits how many hearts you can get out of each ingredient. Use Magnesis to access the treasure chest, which is buried in the ground to the left of the fort.
Floor 3
Enemies: Electric Chuchus, Stalmoblins
Loot: Knight's Shield (40 parry power), Knight's Bow (26 attack)
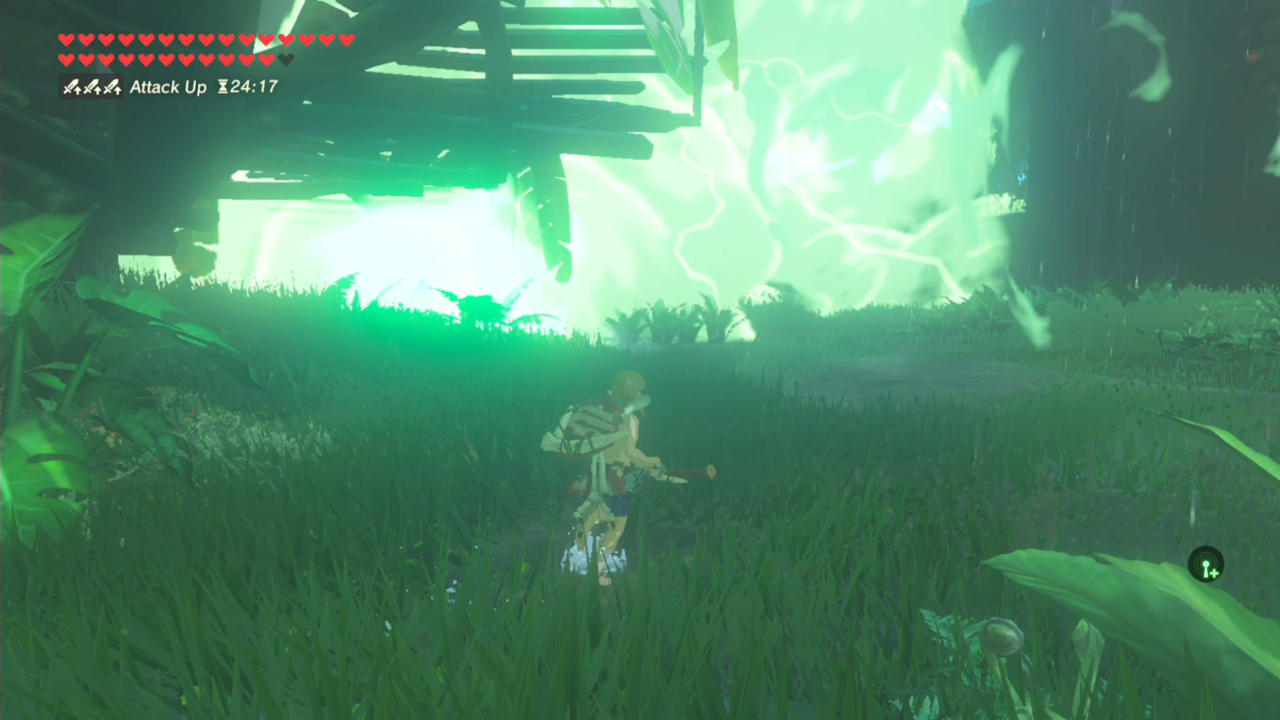
You have a couple options here, but if you want to play it safe, use bombs to deal with the Chuchus and Stalmoblins from the tree fort. Grab your loot from the chests; use Magnesis to get the treasure chest off the platform, but be careful not to get shocked if it starts to attract lightning.
Floor 4
Enemies: Stalkoblins
Loot: Arrows, cooking ingredients
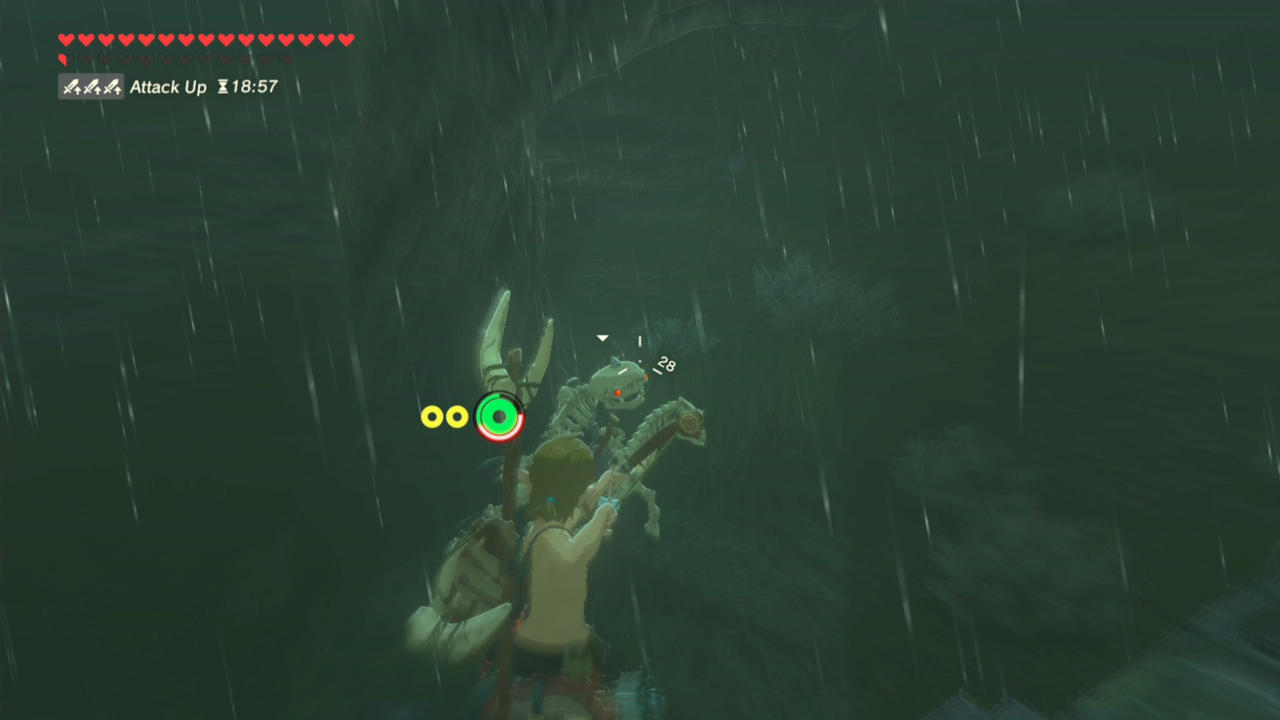
Throw a bomb into the pack of Stalkoblins on horseback and steal a horse. Be wary of the one with electric arrows; hop off your horse and draw your bow to slow time in midair, then take it out.
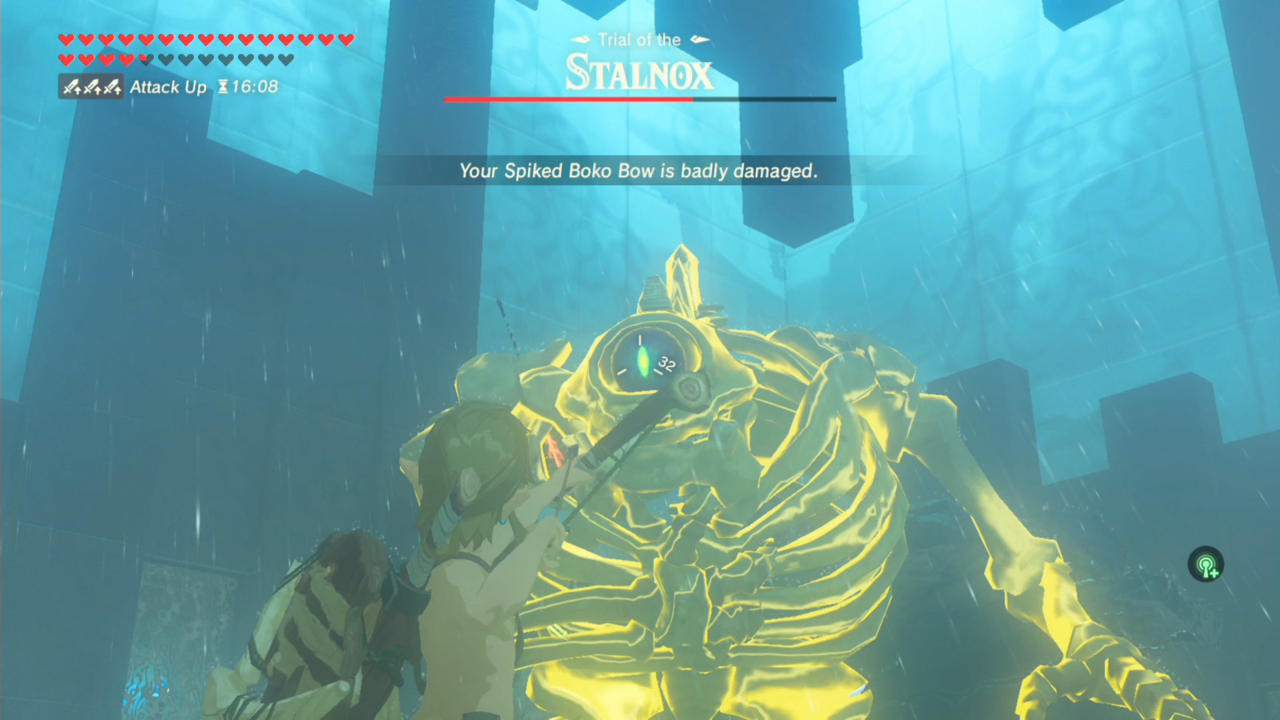
Floor 5
Boss: Stalnox
Loot: Great Frostblade (30 attack), Flamespear (24 attack), Thundersword (22 attack), Ice Arrows
Use Stasis to stop the Stalnox in its tracks and shoot it in the eye as you would a regular Hinox. Once you've defeated it, be sure to grab the elemental weapons, which will greatly help you in the coming floors. Use Magnesis to grab a treasure chest containing ice arrows.

Floor 6
Safe Room
Loot: Flamebreaker Boots, Ancient Arrows (x3), Knight's Bow (26 attack)
The first thing you need to do is sneak up on the Fairy and grab it before it gets scared off. Grab everything from the treasure chests and put on the Flamebreaker Boots. Save the ancient arrows for later (seriously), and don't forget the hearty truffles. Cook all your food before you go.
The next set of floors is all fire and lava.
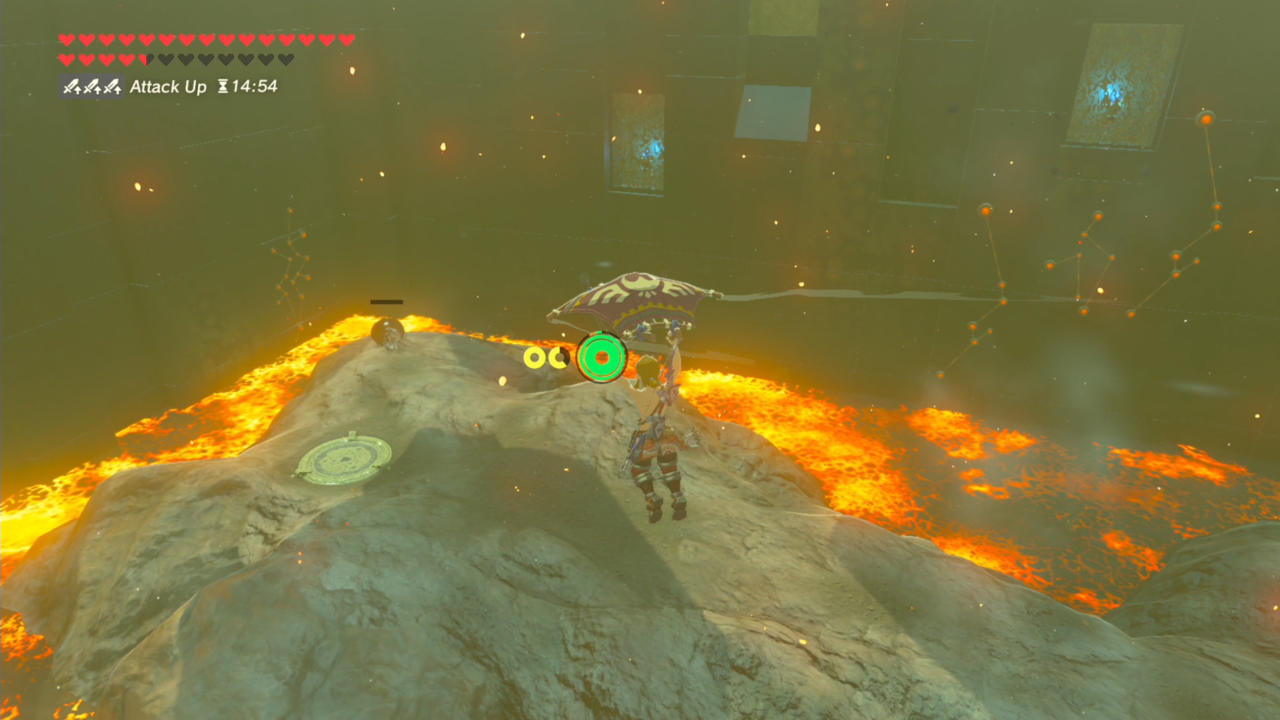
Floor 7
Enemies: Fire Chuchus, Igneo Pebblits, Rock Octorok
Loot: Upgrade your rusty equipment.
Use bombs to quickly defeat the Chuchus and Pebblits. Then, while avoiding the Rock Octorok's projectiles, ride the updraft to the platform with the Rusty Claymore on it. You can throw it, and any other rusty equipment leftover from the stormy floors, at the Rock Octorok before you kill it. It will suck them up and then return them to you shiny and new (and possibly with higher attack power).

Floor 8
Enemies: Fire Lizalfos
Loot: Fire Arrows, cooking ingredients
You can use the Great Frostblade to one-hit KO the Fire Lizalfos if you want, or you can preserve that sword and take them out normally. Use a heavy weapon to break the metal crates and get your loot.

Floor 9
Enemies: Moblin, Fire Lizalfos, Meteo Wizzrobe
Loot: Meteor Rod
Use the Great Frostblade to one-hit KO the Fire Wizzrobe and Fire Lizalfos, then take out the Moblin. Grab the Meteor Rod from the defeated Meteo Wizzrobe and save it for later. Go into the skull hideout and break open the metal crates for some food.
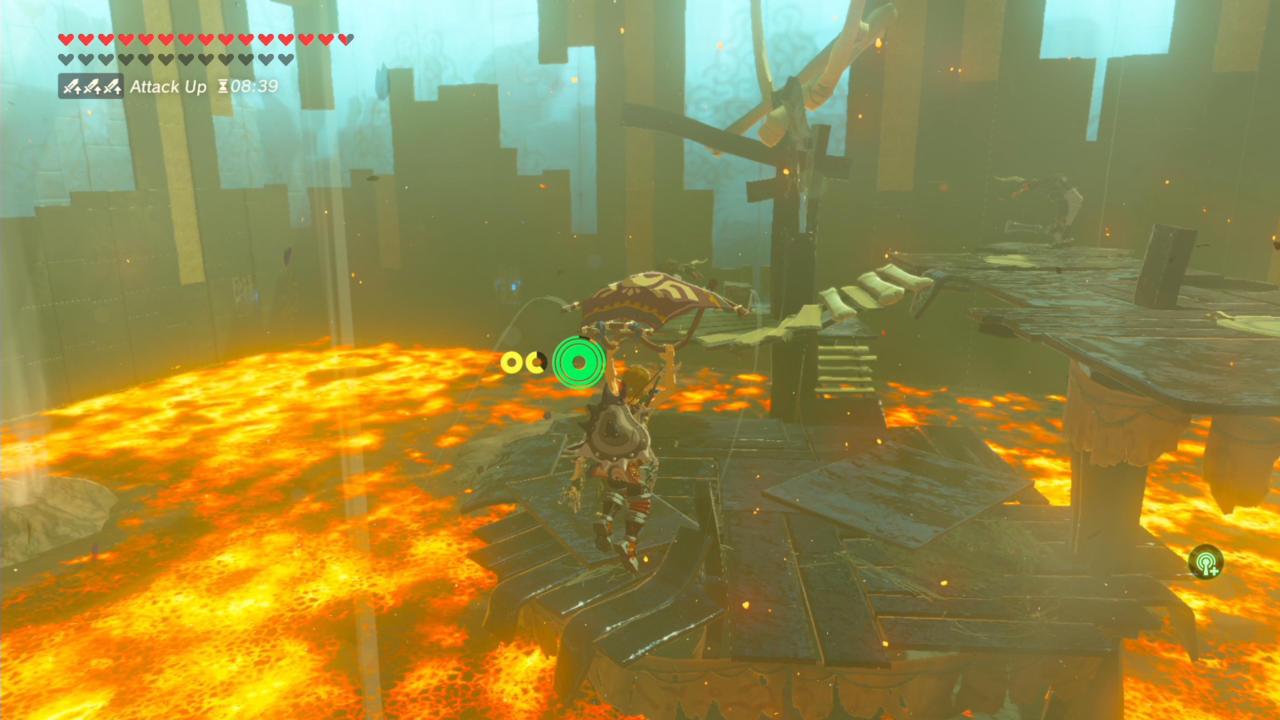
Floor 10
Enemies: Fire Lizalfos, Moblins
Loot: Ancient Arrows (x3)
Take out the lone Lizalfos first, then deal with the Moblins. If they flank you, shoot at them from far away instead of attacking up close. Use Magnesis to fish a treasure chest containing the ancient arrows out of the lava.
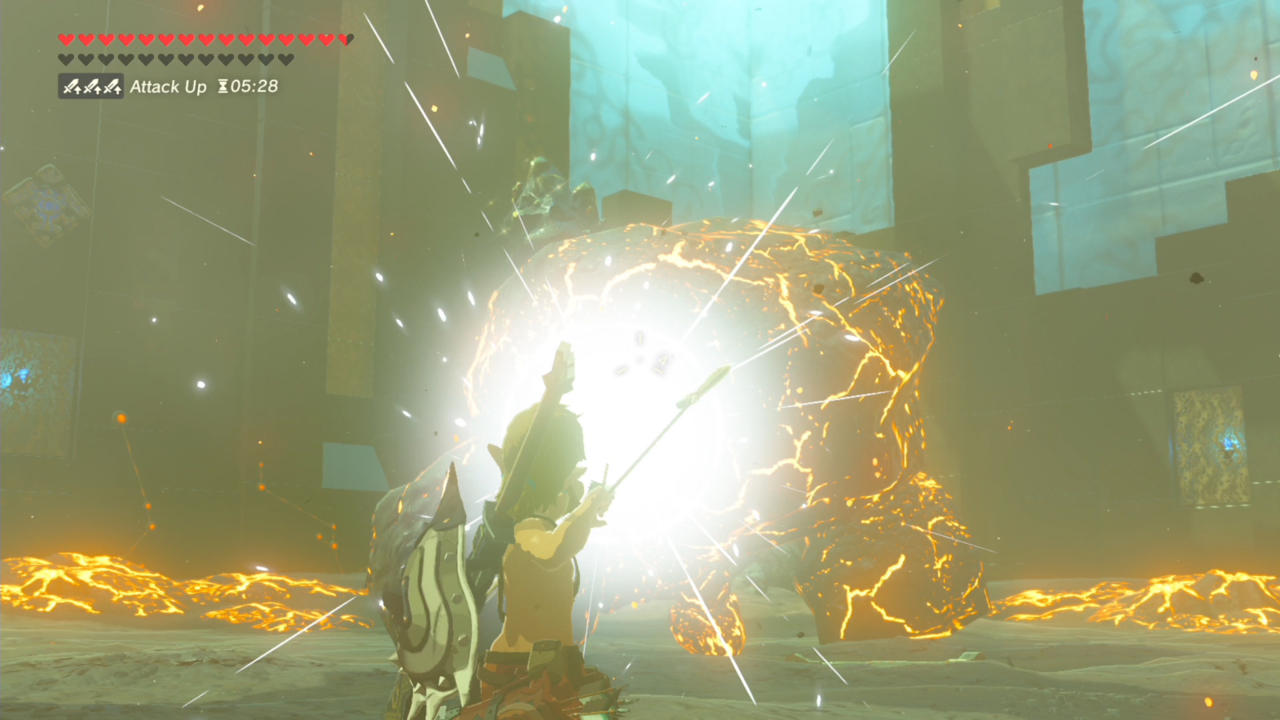
Floor 11
Boss: Igneo Talus
If your Great Frostblade is still in good shape, use it to cool off the Talus, then climb onto its back and hack at its exposed ore. You'll have to repeat this process to get rid of the fire effect on the Talus before you can climb on it, but if you move quickly, it shouldn't be a problem.

Floor 12
Safe Room
Don't move! There are two fairies on this floor. Crouch and move slowly to sneak up on them, and then grab them--they'll save your life later on. Cook some cold-resistant meals and equip your Flamespear before proceeding to the snow and ice set of floors.
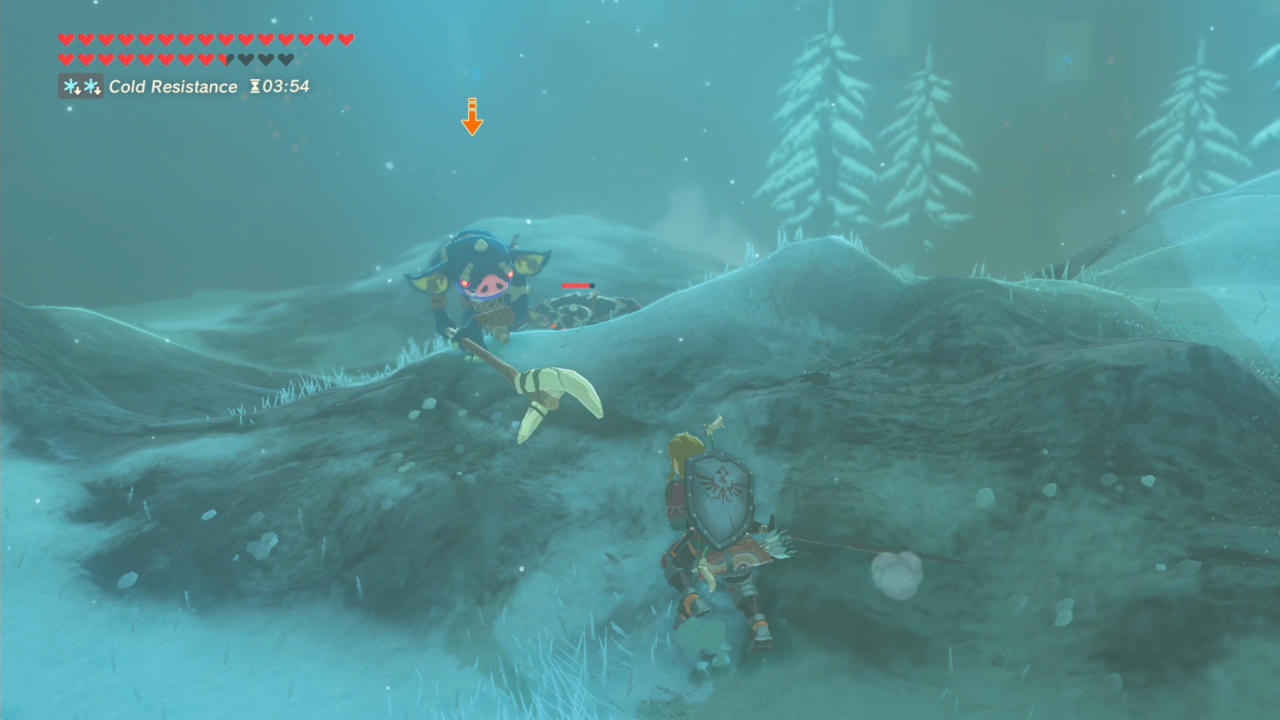
Floor 13
Enemies: Frost Pebblits
Loot: A cooking pot! The boxes next to it contain meat.
Keep your weapons in good shape by skipping melee attacks and using bombs to take care of the Pebblits. Cook the meat before you move on.

Floor 14
Loot: Ancient Arrows (x3)
Keep your Flamespear equipped to deal with the cold. Melt the ice block to the right of the starting area to get the ancient arrows, which you'll need to save for later on. Start a campfire or hold a fire arrow near ice blocks to melt them--it takes a bit of time but uses few resources.
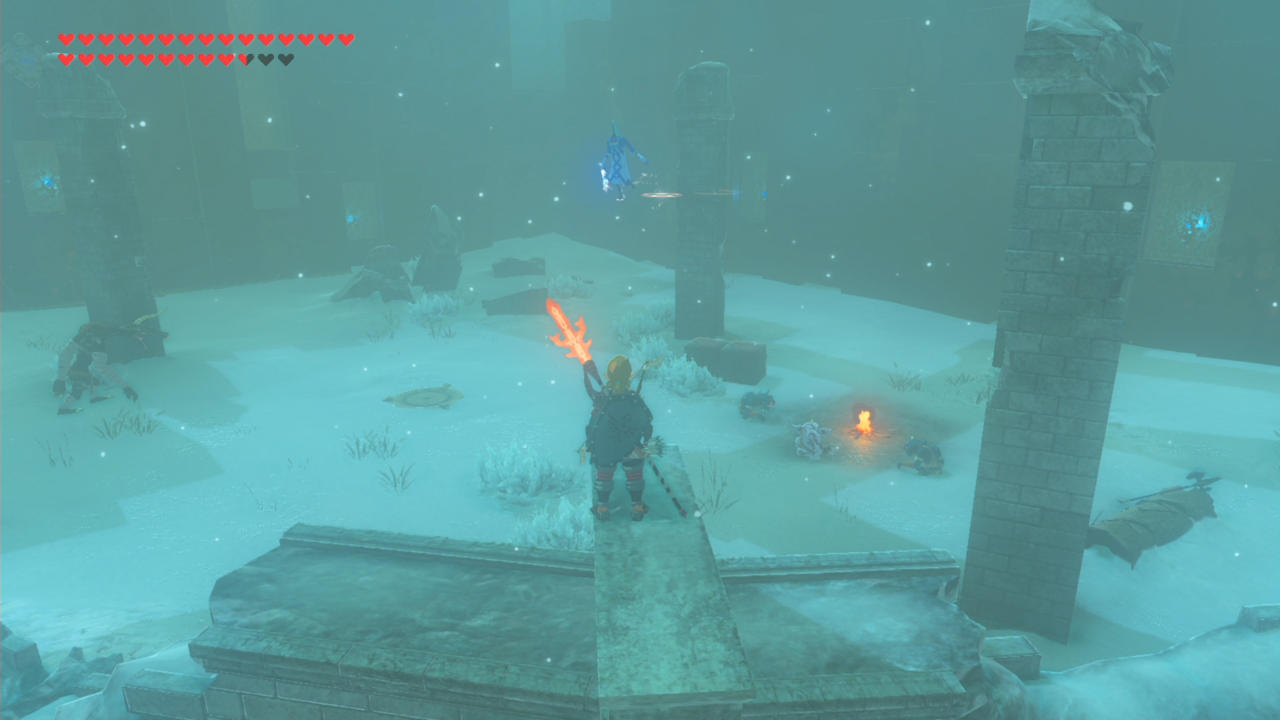
Floor 15
Enemies: Ice Wizzrobe/Blizzrobe
Use your Flamespear to one-hit KO the Wizzrobe.

Floor 16
Boss: Frost Talus
If you have the Flamespear, Meteor Rod, or fire arrows still handy, you'll be able to make quick work of this Talus. Use the same strategy you used with the Igneo Talus; heat it up in order to make it safe to climb, then hack at its exposed ore.

Floor 17
Enemies: Lynel
You can fight the Lynel to get its awesome loot, but can also hit it with an ancient arrow to get rid of it. If you're struggling, check out some of our tips on how to defeat a Lynel.
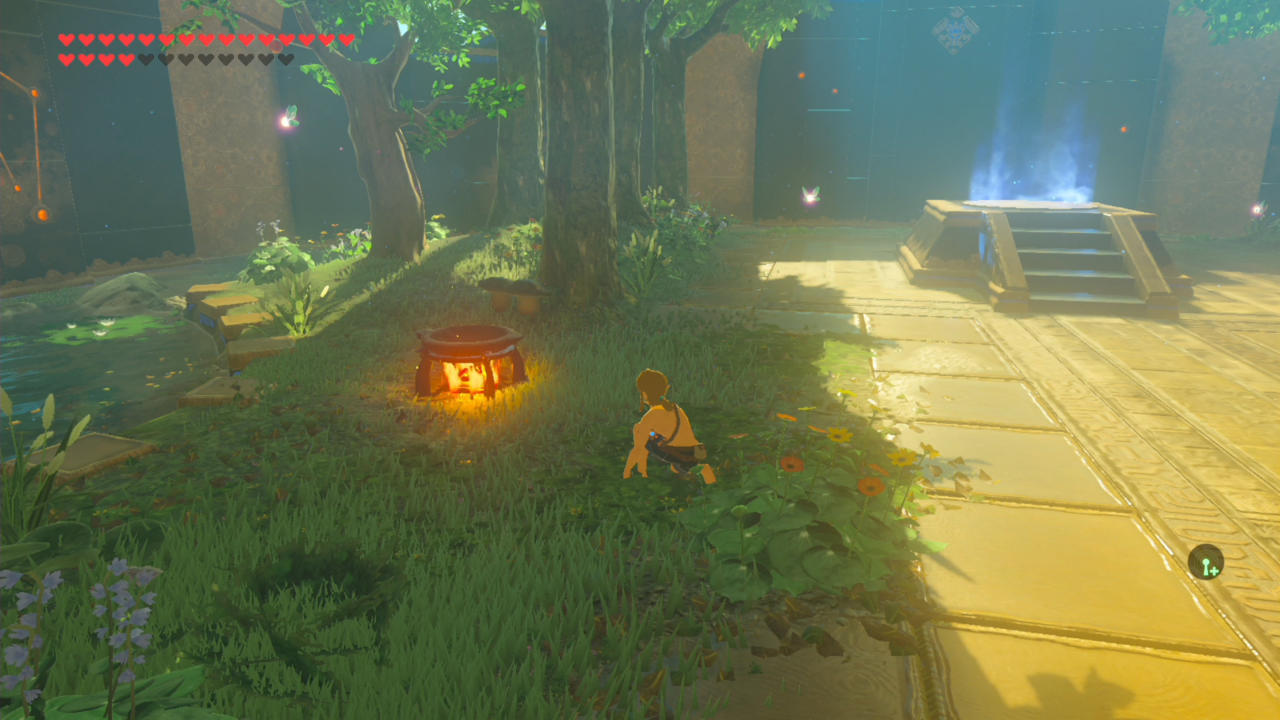
Floor 18
Safe Room
You know the drill. Sneak up on the fairy, grab the loot, and get cooking.
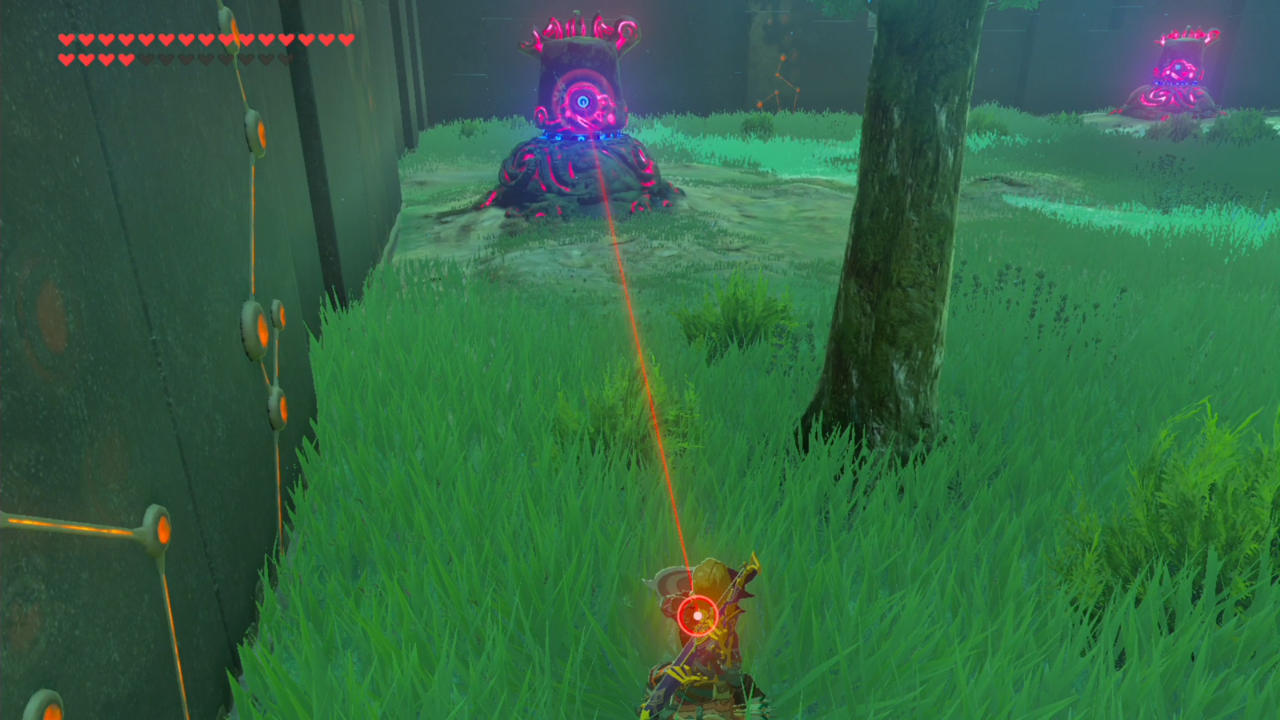
Floor 19
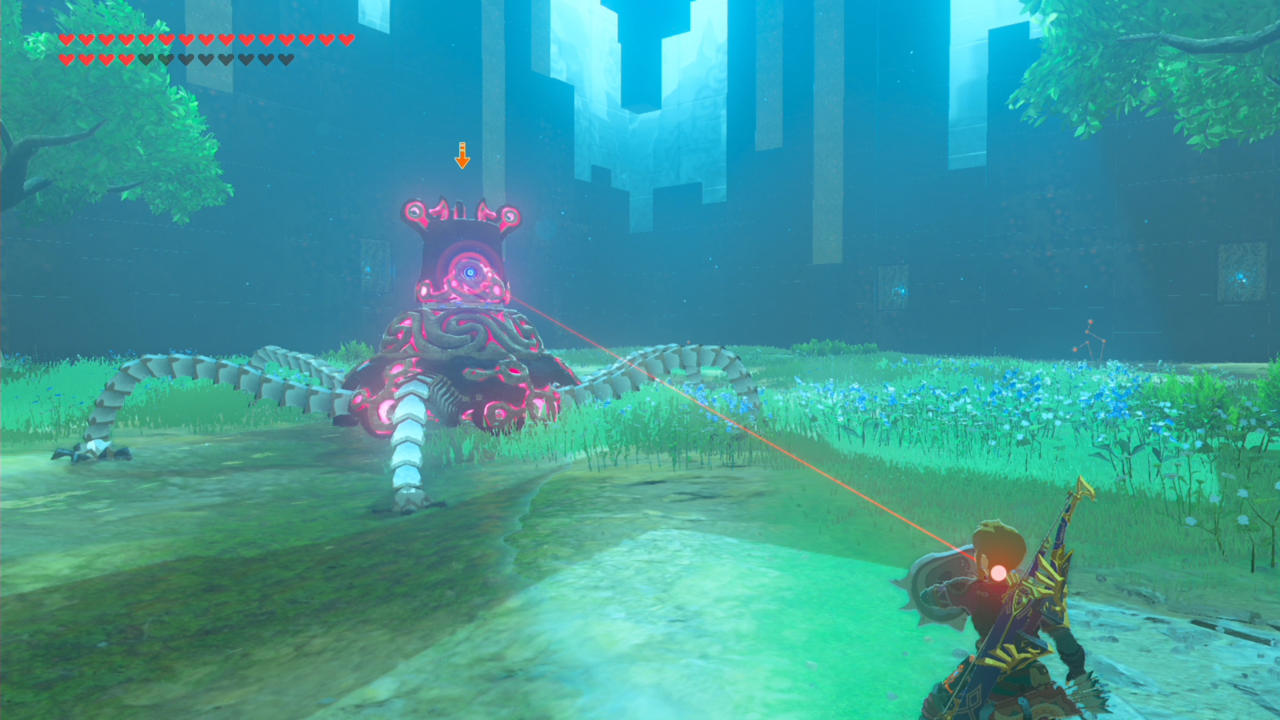
Enemies: Decayed Guardians
Only one Guardian will activate at first, but as you defeat them, more will light up. You can manually activate a Guardian by hitting it. Stick to the edges of the floor and use the trees for cover.
Save your ancient arrows and instead parry the Guardians' beams. Use ZL to lock on, hold your shield up, and hit A to deflect when you hear the final beep. If you get overwhelmed near the end, you can use an ancient arrow or two, but be sure to save a couple for later.
Floor 20
Enemies: Guardian Stalker
Remember to parry!
Floor 21
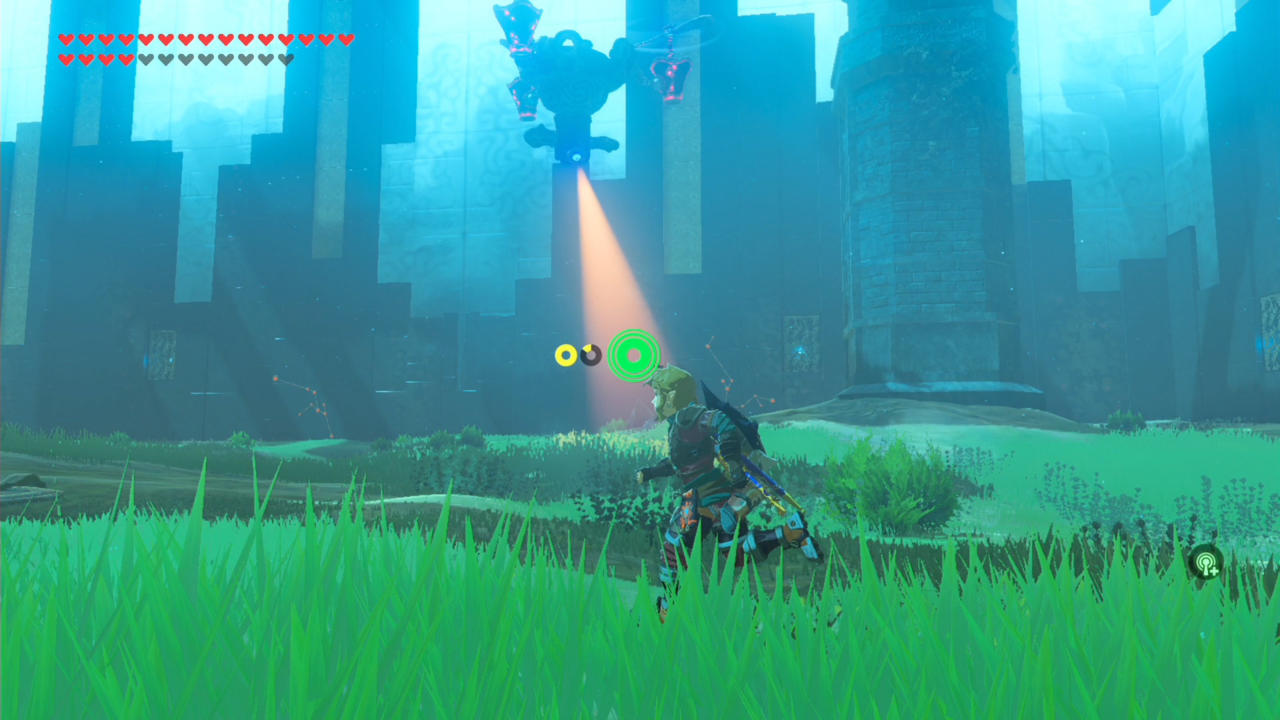
Enemies: Guardian Skywatcher
Aim for the engines on its underside. Once those are done, the Guardian Skywatcher is pretty much useless.

Floor 22
Enemies: Guardian Turret, Guardian Stalker, Guardian Skywatcher
Run for cover in the castle, open the chests, and target the Skywatcher first. Use bomb arrows to take out the propellers and finish it off on the ground. Next, lure the Stalker away from the Turret's line of sight and parry its beam three times. Finally, shoot a few arrows into the eye of the Turret and take it out.

Floor 23
Enemies: Horseback Bokoblins (x9), Guardian Turret, Lynel
Deal with the Lynel first. Equip an ancient arrow to take care of the Lynel. Next, set fire to some grass and ride the updraft with your paraglider. Pick off the Bokoblins one by one with regular arrows while avoiding the Guardian Turret. Finally, finish off the Turret... and congrats, you're done!