Hey guys i made a new sig. I dont like it really much but here it is :

I put 2 renders in one and now it looks like the Splinter Cell one is sneaking him but the other noticed him. I See You...... :P Well give me your thoughts and ratings please.
Hey guys i made a new sig. I dont like it really much but here it is :
I put 2 renders in one and now it looks like the Splinter Cell one is sneaking him but the other noticed him. I See You...... :P Well give me your thoughts and ratings please.
I wrote a new review again... A Half Life 2review this time. Please recommend and read it. Critique's are welcome.
ITs my longest review till now.
I wrote a new review for Titan Quest. Please recommend and read. Gimme your comments.
Everything for now and the sigs will come later this week. I think....
I created this sig for grafkhun. Now here it is:
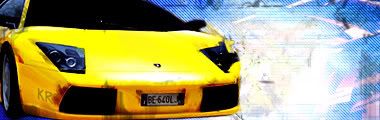
I just tried a lot of things. Gimme your critiques. Search my codename ! :P The URL is: http://i209.photobucket.com/albums/bb51/KillingRemmie/lambosig.jpg
Also i created some union thingies. the tags:  .
.

Also for my union. This avatar:
![]()
Lol im pretty dumb cus the text is coming out of the wrong side :P Give me all of your thoughts bout the sig,tags and avatar.
Also i need your guys help. I need a new theme for my profile. I also created a grunge/abstract colorfull header. Dont come with something like 'Just pick something you like'ok? :P
This was everything for today.
I made a banner for the new union The Blades of Gamespot.
The URL: is http://i209.photobucket.com/albums/bb51/KillingRemmie/elderscrollsbnnerjpg.jpg
Here's it:
I wrote a new review. For Star Fox Adventures this time. Please read and recommend.
Also i made some tags for the Blades of Gamespot union. I just got officer for making this :D


I dont relaly like it by myself.
Here's my newest sig:
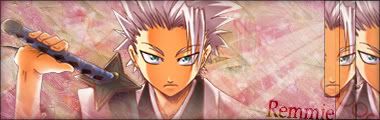
I used a new technique. I think this outcome is pretty good . One of my best till now. Btw im busy at my new sig and thats gonna be vector. Btw every1 who requesteda banner/ sig request it again please.
Okay this is my first tutorial. Its not hard and it has great outcomes.
First make a new document. I take 380x120. Then fill it with black and grab a white soft brush of 20 pixels. Brush from the center to the sides and connect some brush lines to eachother. Here is my outcome: 
Okay now go to Filter>Blur>Radial Blur. Settings: Amount-100, Zoom,Best. My outcome:

Now create a new layer and do the same thing. Then put your new layer onLighten. My outcome:

Okay now save. Now create a new layer . Image>Apply Image>Okay(alt+ctrl+shift+e) Now go to Filter>Distort>Ocean Ripple, Settings: Ripple Size:8, Ripple Magnitude:9. Ok. Erase most of the parts and just leave some of the ripples at the sides and play around with theOpacity. My outcome:
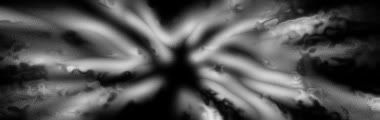
This was before i changed opacity. Of course this isnt the whole thing. This is just for an simpl;e background with some standards.
full outcome:

IF YOU RIP THIS YOU"RE A PUs*Y!!!!!!!!!!!!!!!!!!!!!!
Now this is a very simple background with a good look. I used it for my Gamer Dogtag image which had an great outcome:

I have made a new image(About Me image) and it's here: http://i209.photobucket.com/albums/bb51/KillingRemmie/gamerdogtag.jpg
also i wrote a new review about Resident Evil 4 Wii Edition and i'll make some sigs and stuff in this week.
This was all for 2day. Sup with you guys?
Log in to comment