So not everyone has the luxury of purchasing an arcade cabinet (or in my case, building my own cabinet) in order to play arcade games in their own home. Arcade cabinets can be quite costly (anywhere from $500 to $3000+), and take up a moderate amount of space. So what can a person do if he wants to play c-lassic arcade games, but cost and space is an issue? The alternative is building/buying a arcade supergun.
A supergun is essentially a condensed version of everything inside of an arcade cabinet minus the monitor. It provides a basic interface between you, the arcade board, and your tv. A supergun is for the most part a simple project to build. To begin, the most basic parts consist of various jacks and buttons for outputting video, sound, controllers, etc. and typically a plastic box/enclosure to house all of the components.
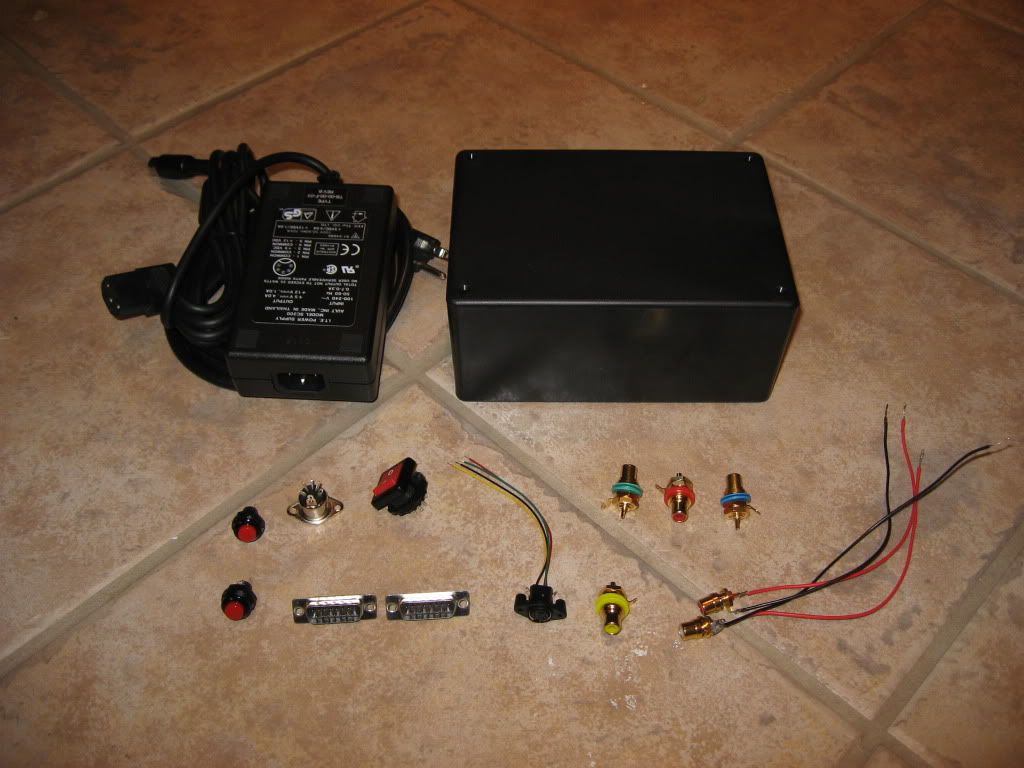
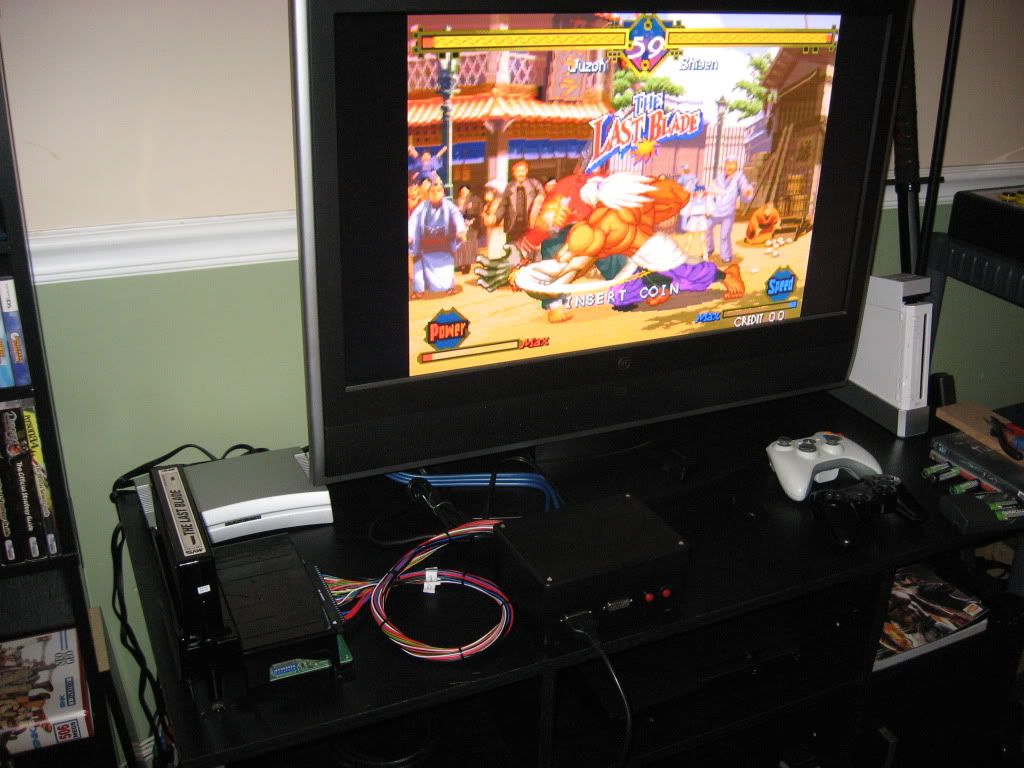
Beyond the basics, there are several different parts needed to make this device work. First there's a matter of powering it. Most arcade boards require both a +5V line and a +12V line; and there's also a select number of boards that also need a -5V line to power it. For the sake of simplicity, I'm foregoing the -5V line as I don't plan on picking up any boards that require one. This leaves me with needing the +5 and +12; both of which I've got covered with a dual voltage power supply seen in the above picture (to the left of the black box). Another option that's available is using an AT/ATX s-tyle power supply from an old PC; they can provide all of the required voltages including the -5V.
Aside from power, another crucial component of a supergun is the video encoder. What do we need a video encoder for? Well you see, arcade boards output pure RGB signals to a RGB monitor. Most TVs today don't have a RGB input; just your typical component, composite, and S-Video. As such, we can't just plug the arcade board right to the TV as it won't know how to interpet the video signal. Enter the video encoder:
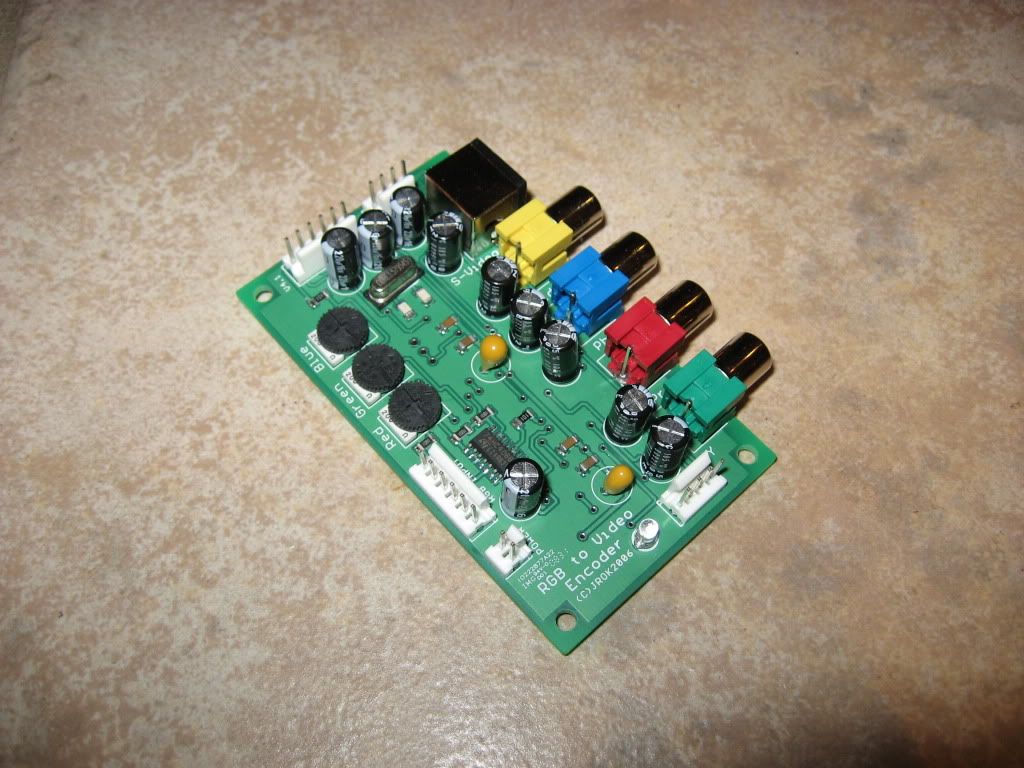
This little board comprised of various capacitors, resistors, processing chips, etc. will take the RGB video signal coming from an arcade board, and convert it into something that a TV can understand. Of all the components of a supergun, the encoder is by far the most expensive item. Depending on the quality of the encoder and how many outputs it has, it can cost anywhere from $25 for a simple one w/ just composite and S-video to $85 for a full suite of outputs. The one pictured above is a $85 one with composite, s-video, and component video outputs.
So now that there's power, video, and an asortment of buttons and jacks, there's one more crucial piece needed to make this thing work. That piece is a JAMMA harness:
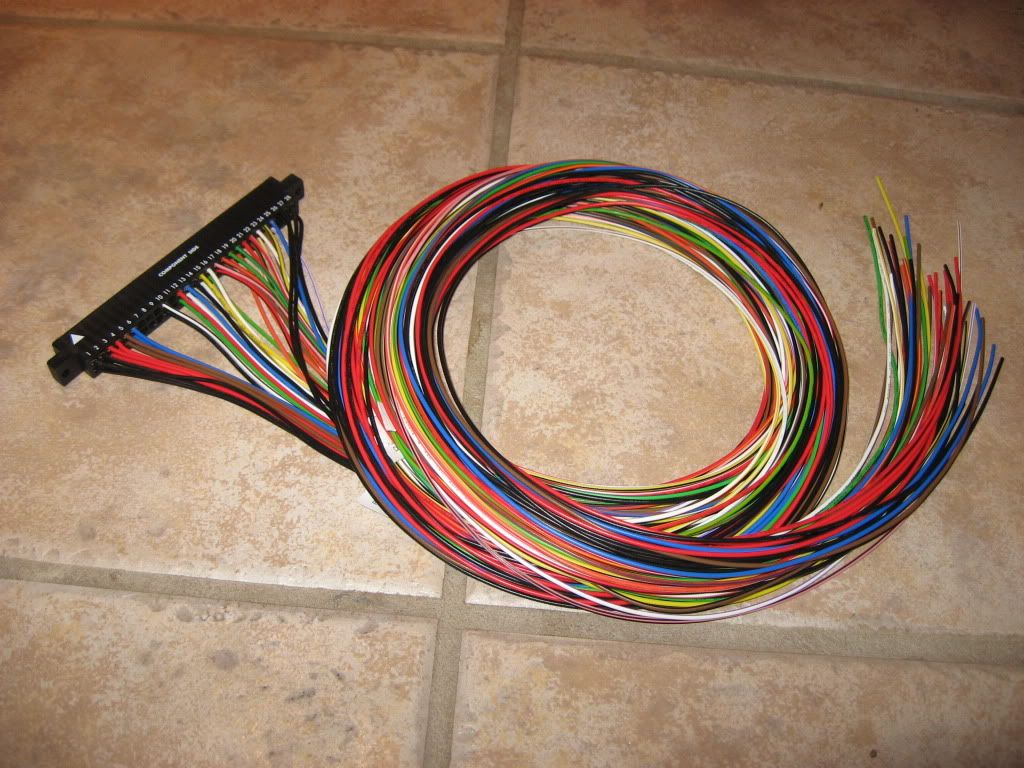
This harness of wires is like the brainstem of an arcade cabinet; it connects and interfaces the arcade boards with all of the rest of the components. Some of the wires connect to the power supply to run the whole thing, some output the audio and video signals of the game, and others connect to the joystick and buttons so the game can actually be played.
A brief history: some of the earliest arcade games each had individual custom wiring configurations. So whenever an arcade operator saw that a game is no longer making him a profit, he would replace the game in the cabinet and update the external art. However due to the different wiring of each game, every time the operator changed games he would have to rewire the entire cabinet.
Enter the Japanese Arcade Machinery Manufacturers Association (JAMMA). About 1985, they developed a wiring standard which was adopted by most arcade games by the 1990s. Thanks to the development of the standard, arcade operators no longer had to rewire entire cabinets when switching games; now all it required was pulling out the old board and plugging a new one in.
With that aside, we can now assemble this supergun. Unfortunately, I don't really have any pictures of the construction of this thing in progress like I did with the arcade cabinet project; that's mainly due to there not being anything particularly complicated here. Half of the project consists of drilling round holes into the plastic box; with the only hard cut being the rectangular slots for the controller ports.
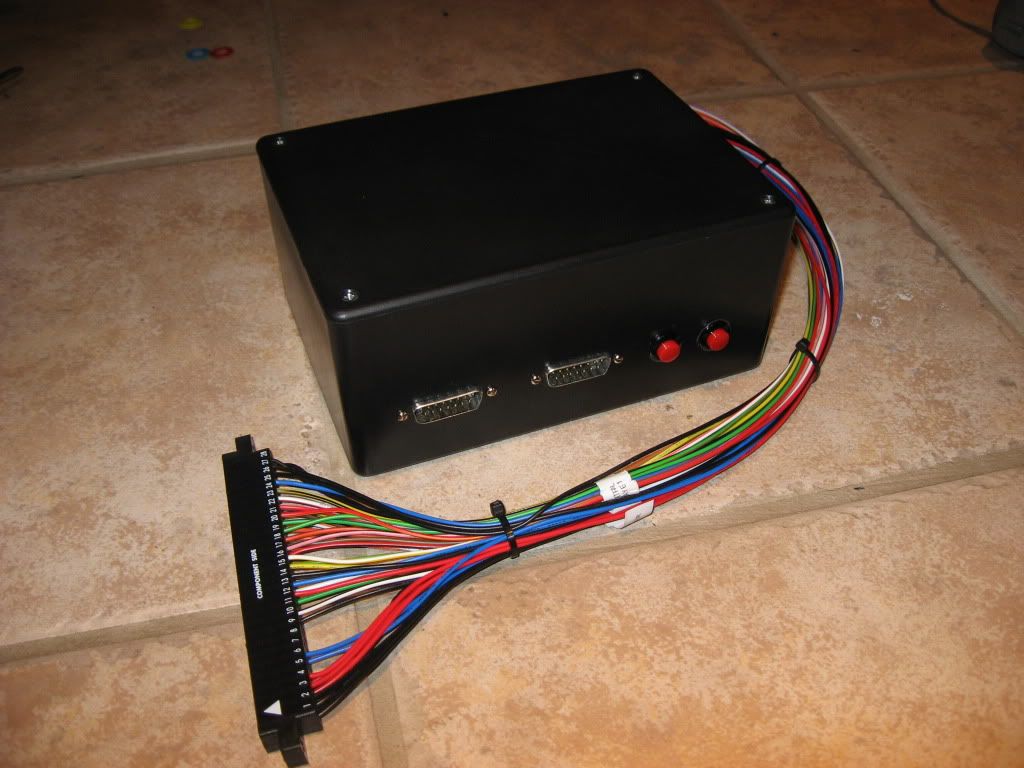
On the front of the box are the two controller ports, a test switch, and service switch. The controller ports are 15-pin connectors, which are compatible with Neo Geo/Neo Geo CD controllers. The test switch allows access to an arcade game's options menu to set thing up. Finally, the service switch is basically one way of "inserting coins" into the game to play.
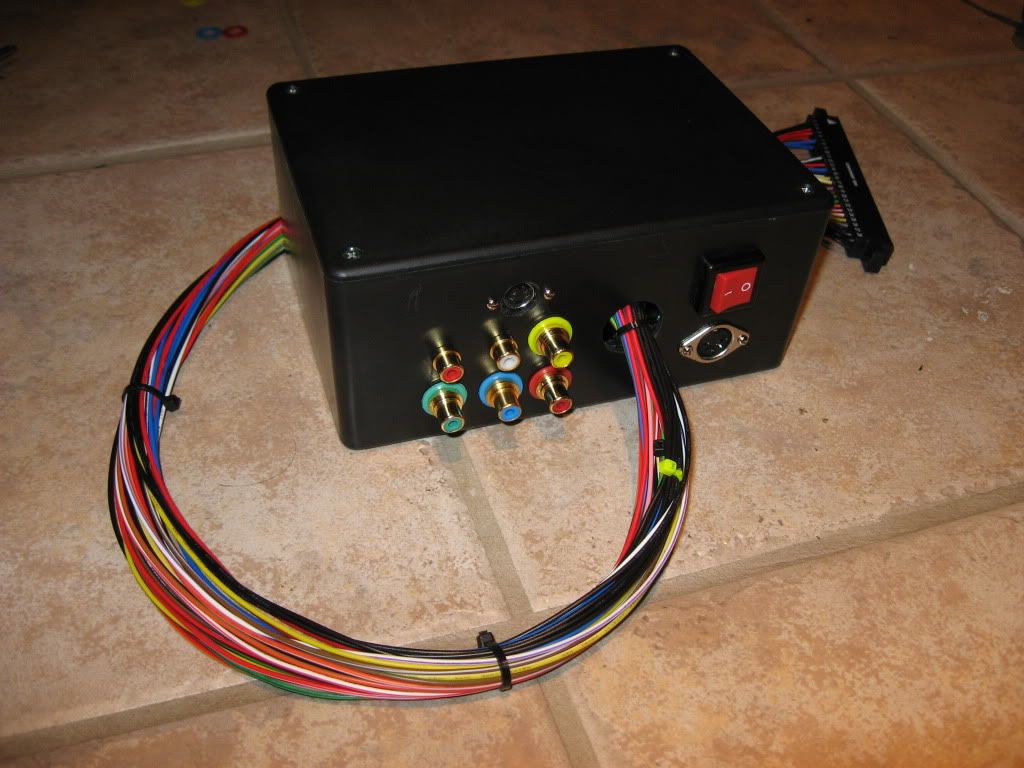
On the backside are all of the various jacks for audio, video, and power along with the JAMMA harness itself. I included composite, component, and s-video jacks along with mirrored monorail audio (note: a large number of arcade games only output mono audio).
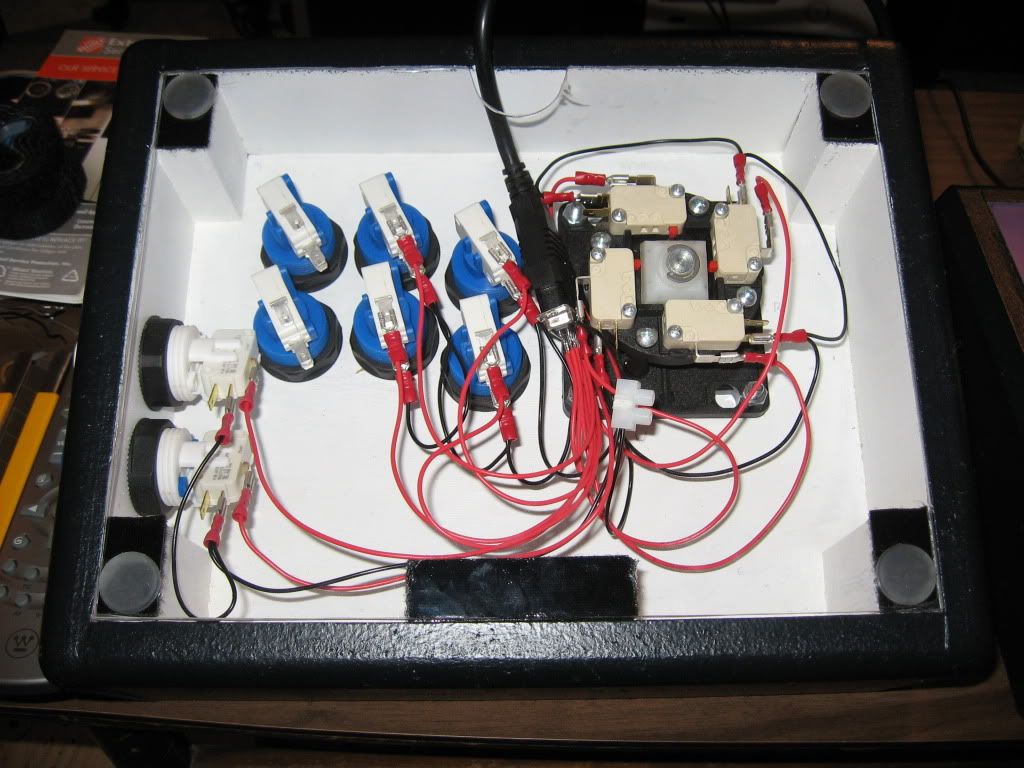
Now to take a look at what is happening inside of this little black box:

The entire second half of building a supergun is soldering all of the wires into place inside the enclosure. This is probably the hardest part of the whole project, mainly due to all of the close quarters soldering that's required. As you can see, there's lots of wires inside of the box, and I have my encoder hot glued to the bottom of the box. So you have an idea of how tricky it is wiring this thing up, it took me pretty much an entire day to wire and solder everything inside this box with the hardest part being the controller ports with 11 wires soldered to each one. I originally tried to put everything into an enclosure that was half the size of this one, but like hell if I could get it all to fit and make clean solder joints as needed.
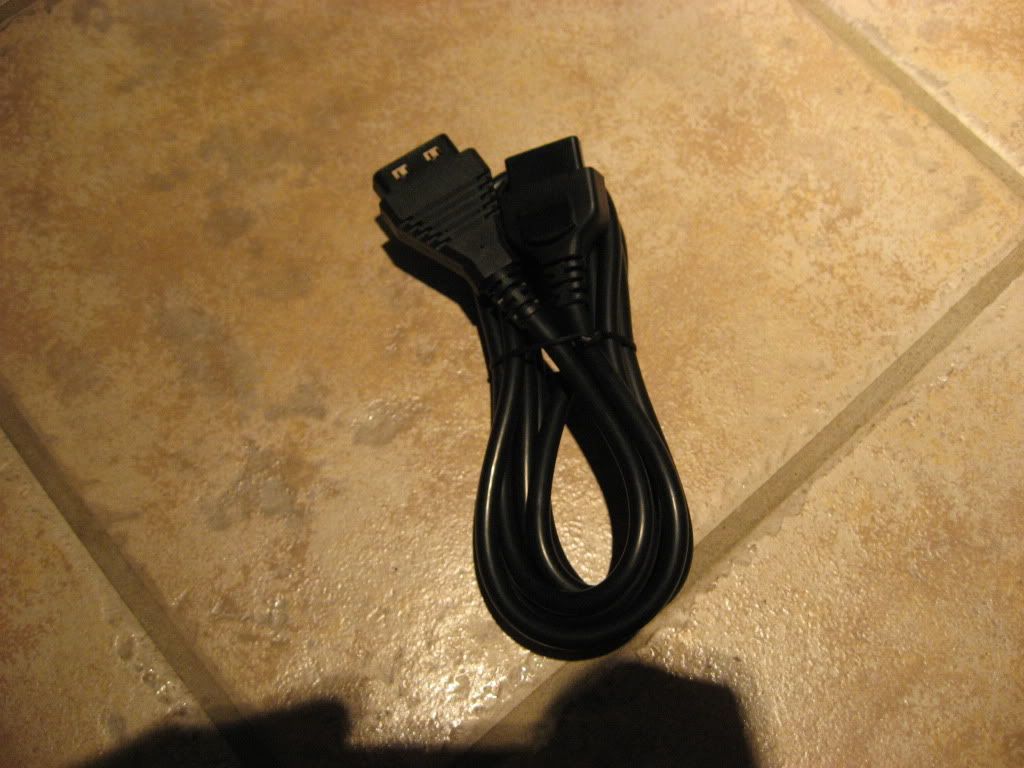
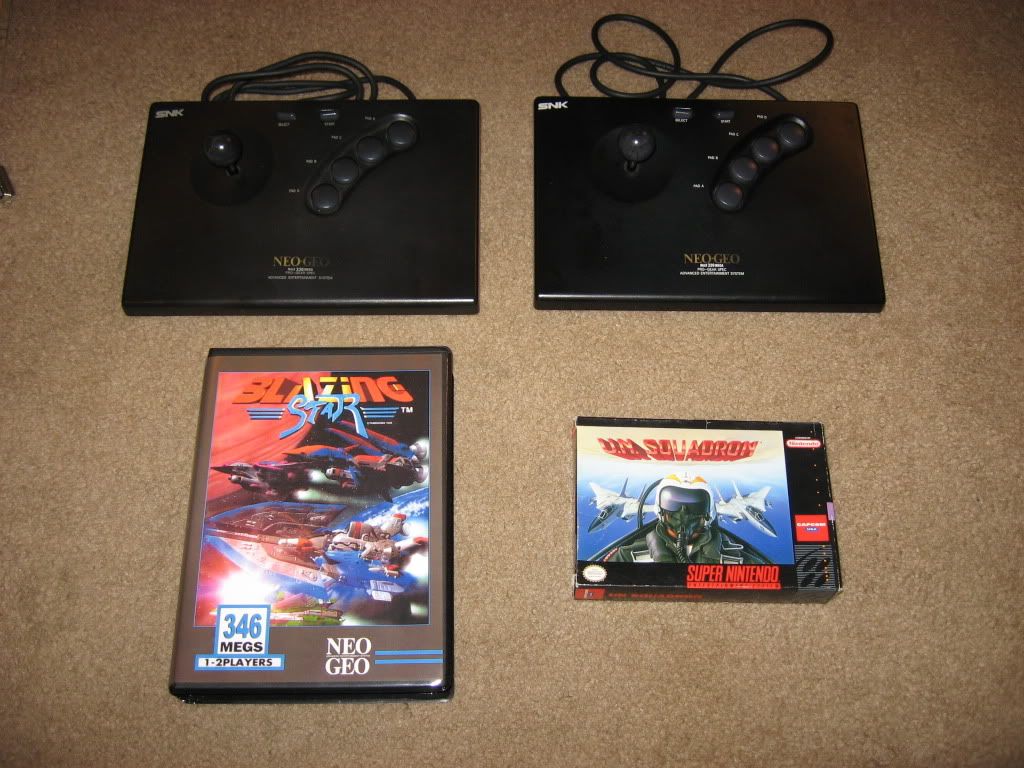
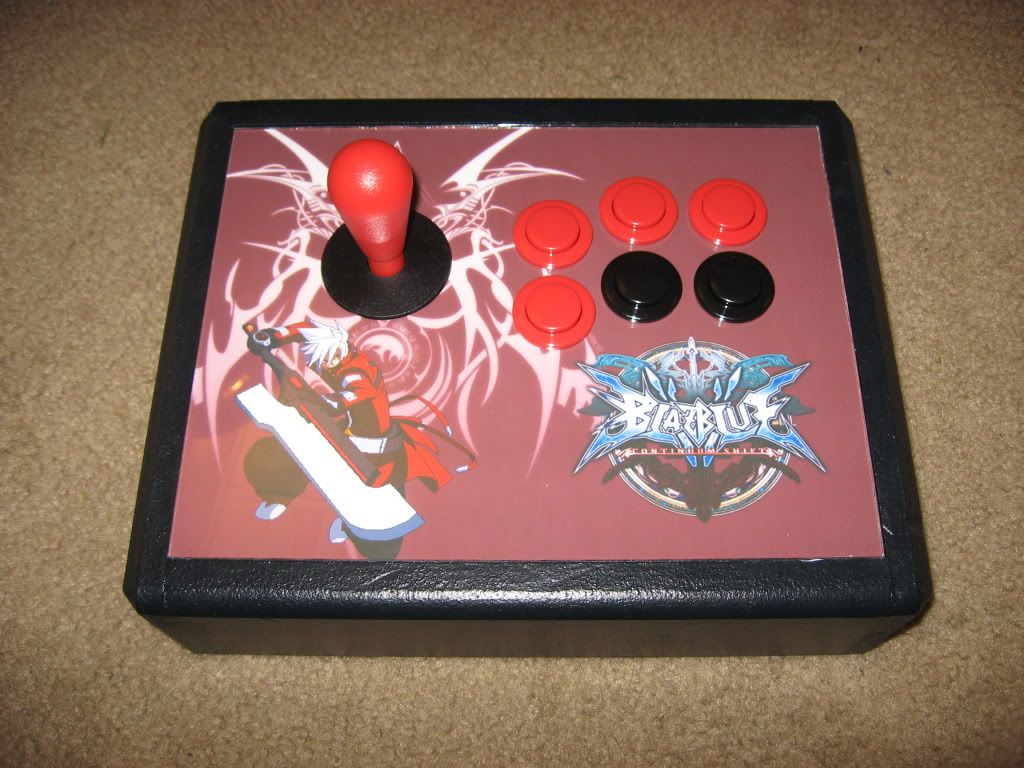
With the supergun built, there's really just one more thing to address: controllers. As I said previously, the controller ports are wired to the Neo Geo/Neo Geo CD configuration, so I could go purchase a few NGCD controllers to play games. Alternatively, I can also take one of my spare arcade sticks and wire it up using a spare Neo Geo extension cable like this:
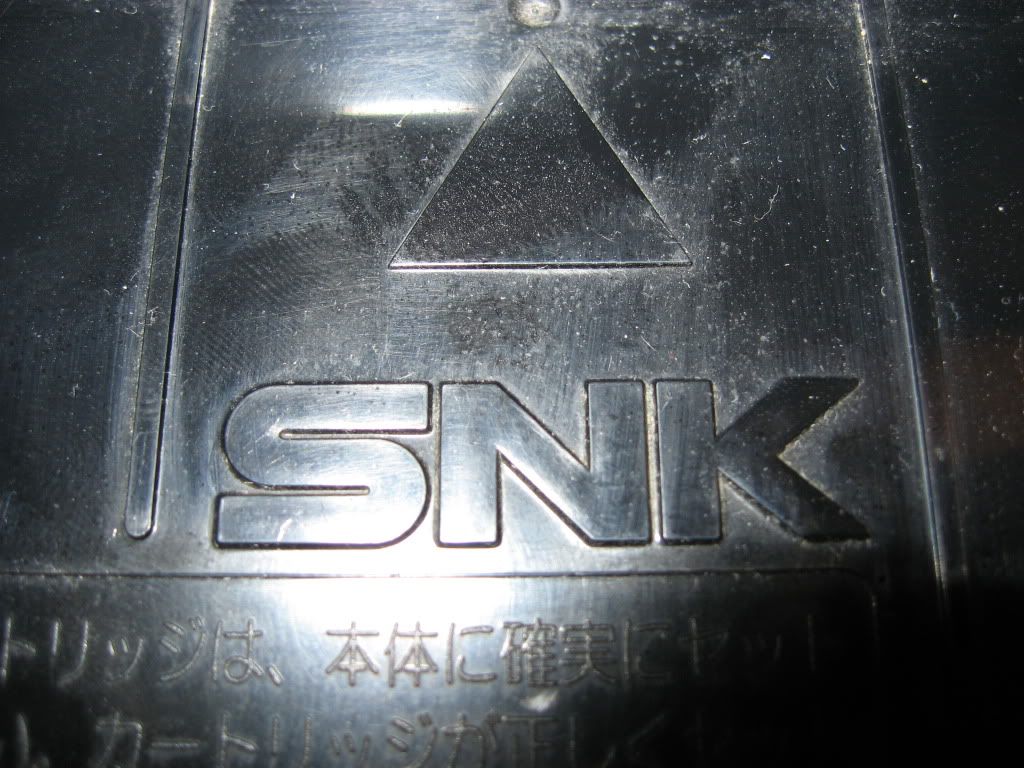
That's about all there is to a supergun. With this project built, I can play arcade games on just about any TV and relive some great memories. As long as the arcade board utilizes the JAMMa standard, I can use this device to play it. My particular poison when it comes to arcade games? Meet the Neo Geo MVS:
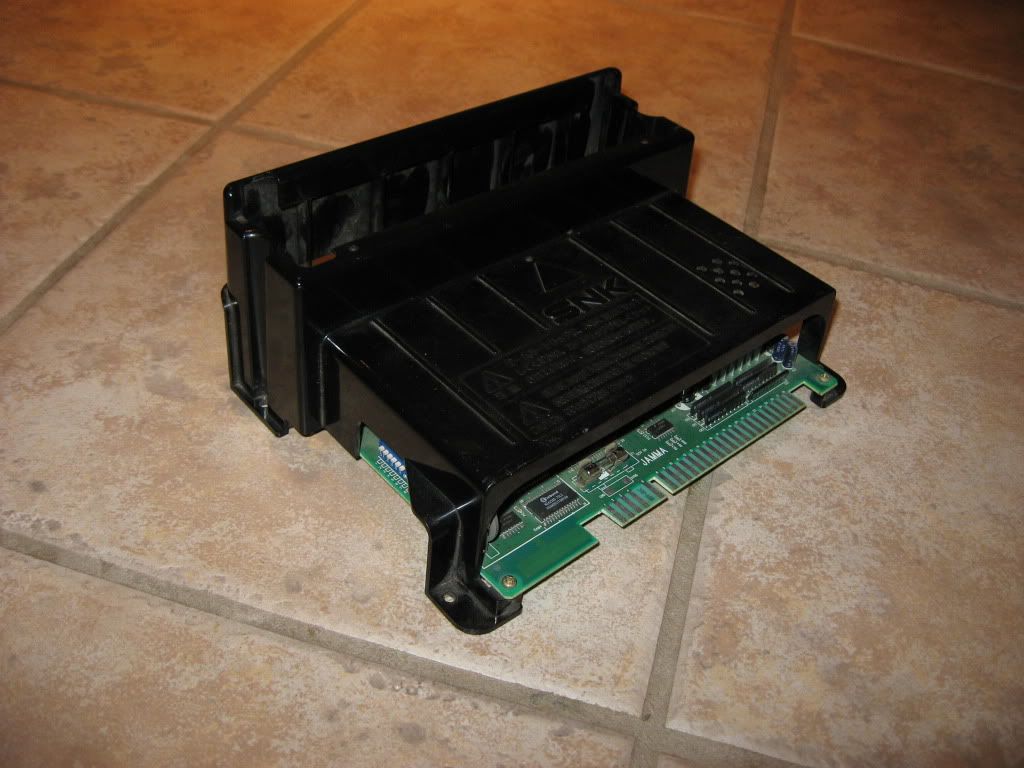
This particular model is the MV-1C, a top-loaded 1-slot motherboard. As far as what I like to play on it:
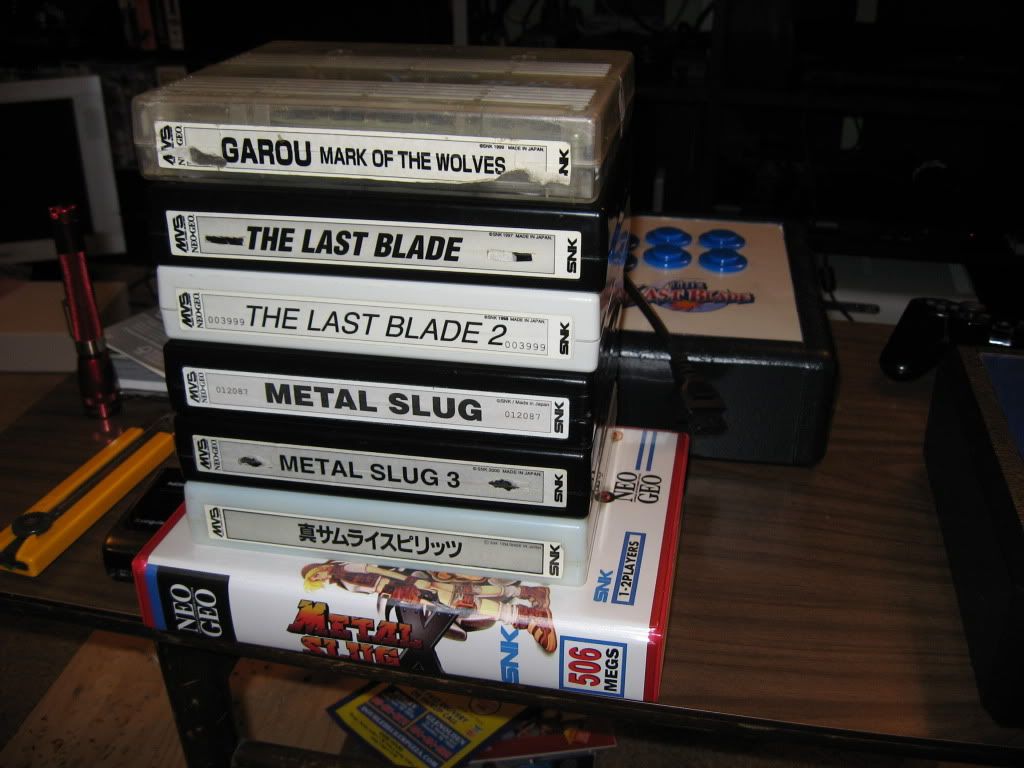
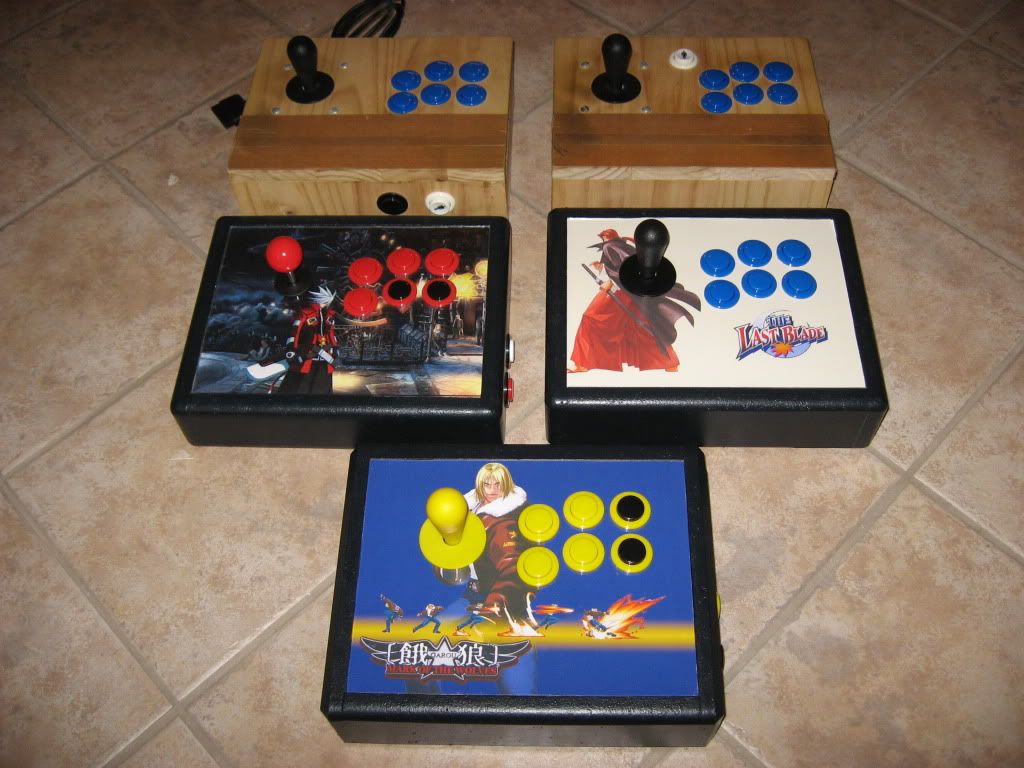
From top to bottom: Garou Mark of the Wolves, The Last Blade, The Last Blade 2, Metal Slug, Metal Slug 3, Samurai Shodown II, and Metal Slug X. As you may see, MVS carts are fairly large in size. A single MVS cart is about as tall as a dvd case, slightly wider, and as thick as two dvd cases stacked together. As a reference:
Well, that about wraps up this little project. Feel free to leave any questions in the usual spot below, and I'll try to get back to you as soon as I can. Now if you'll excuse me, I've got some gaming to do...
--JT
P.S. Happy Blog #100


Log in to comment